
Happy National Papercrafting month!
This Saturday was National Scrapbook Day and I was fortunate enough to get a couple of weeks done in my project life album thanks to my sweet husband who kept all our kids busy.
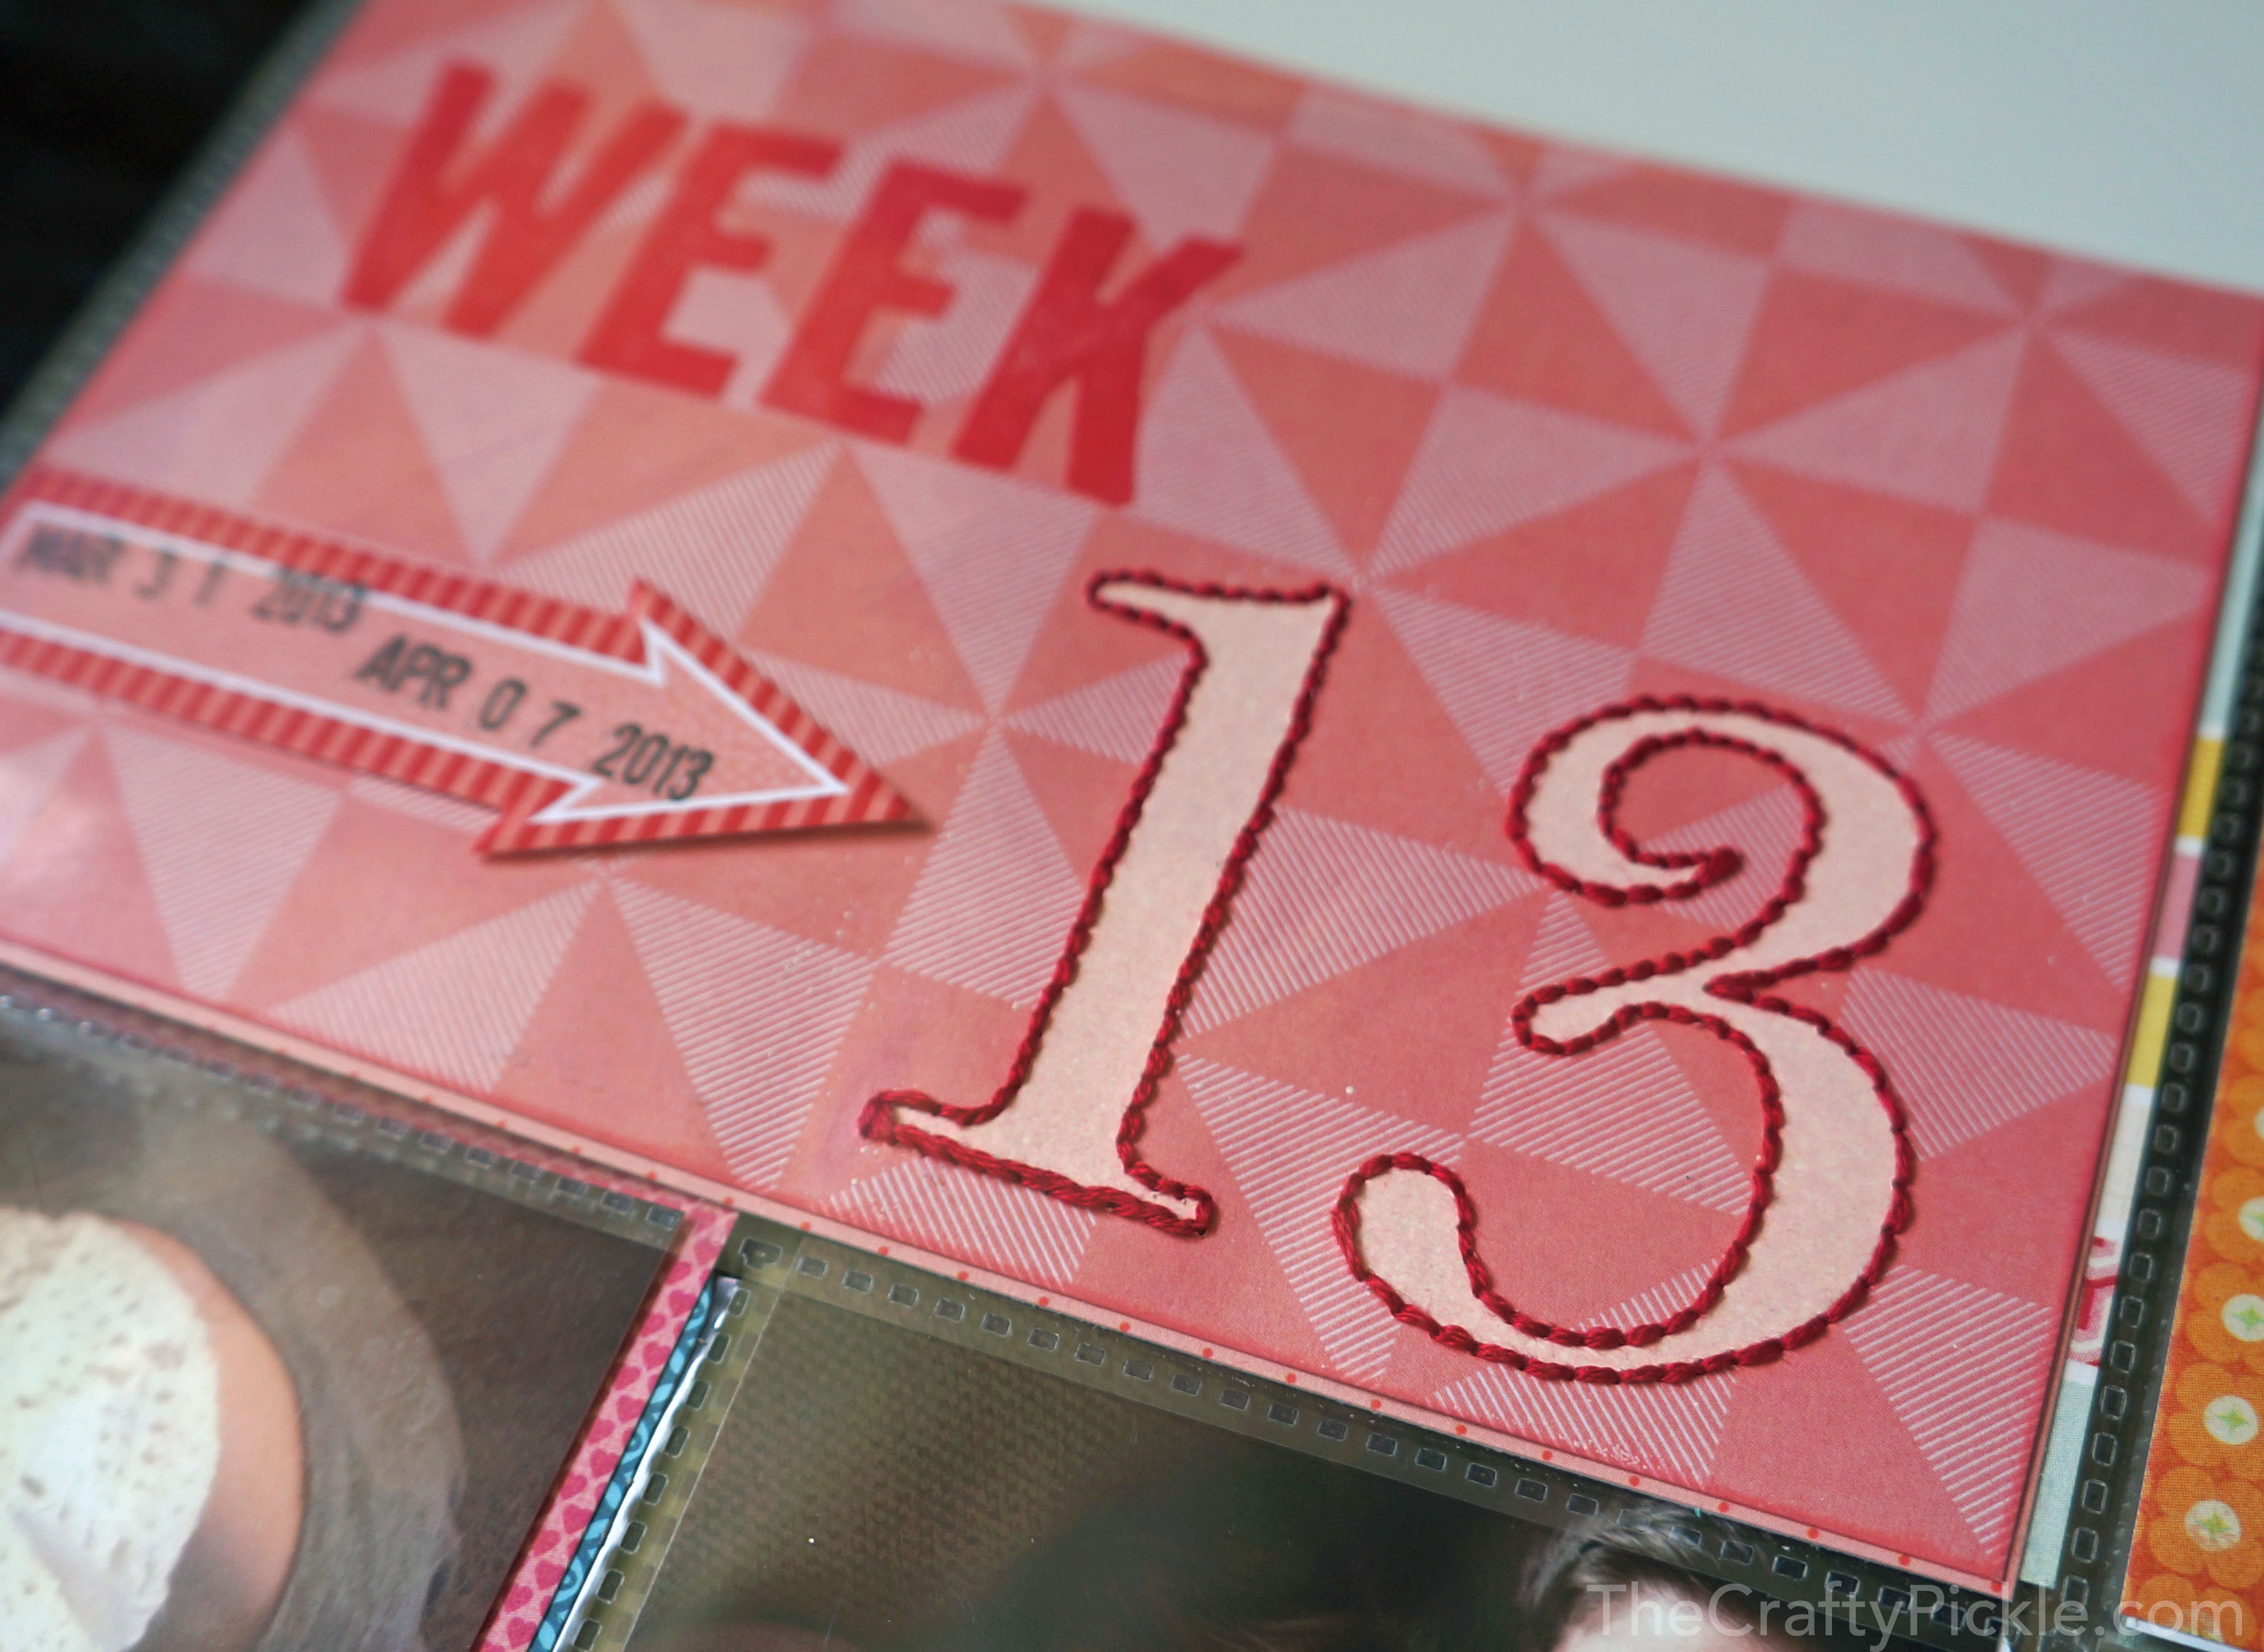
WEEK 13:
I had in my head that I wanted to create a rainbow layout for my week thirteen. I had been thinking about it for a couple of weeks. When I went to print my photos I realized that I was going to need to put in an insert of some sort as I didn’t have quite enough room. I am pretty happy with how the monochromatic rainbow look came out.
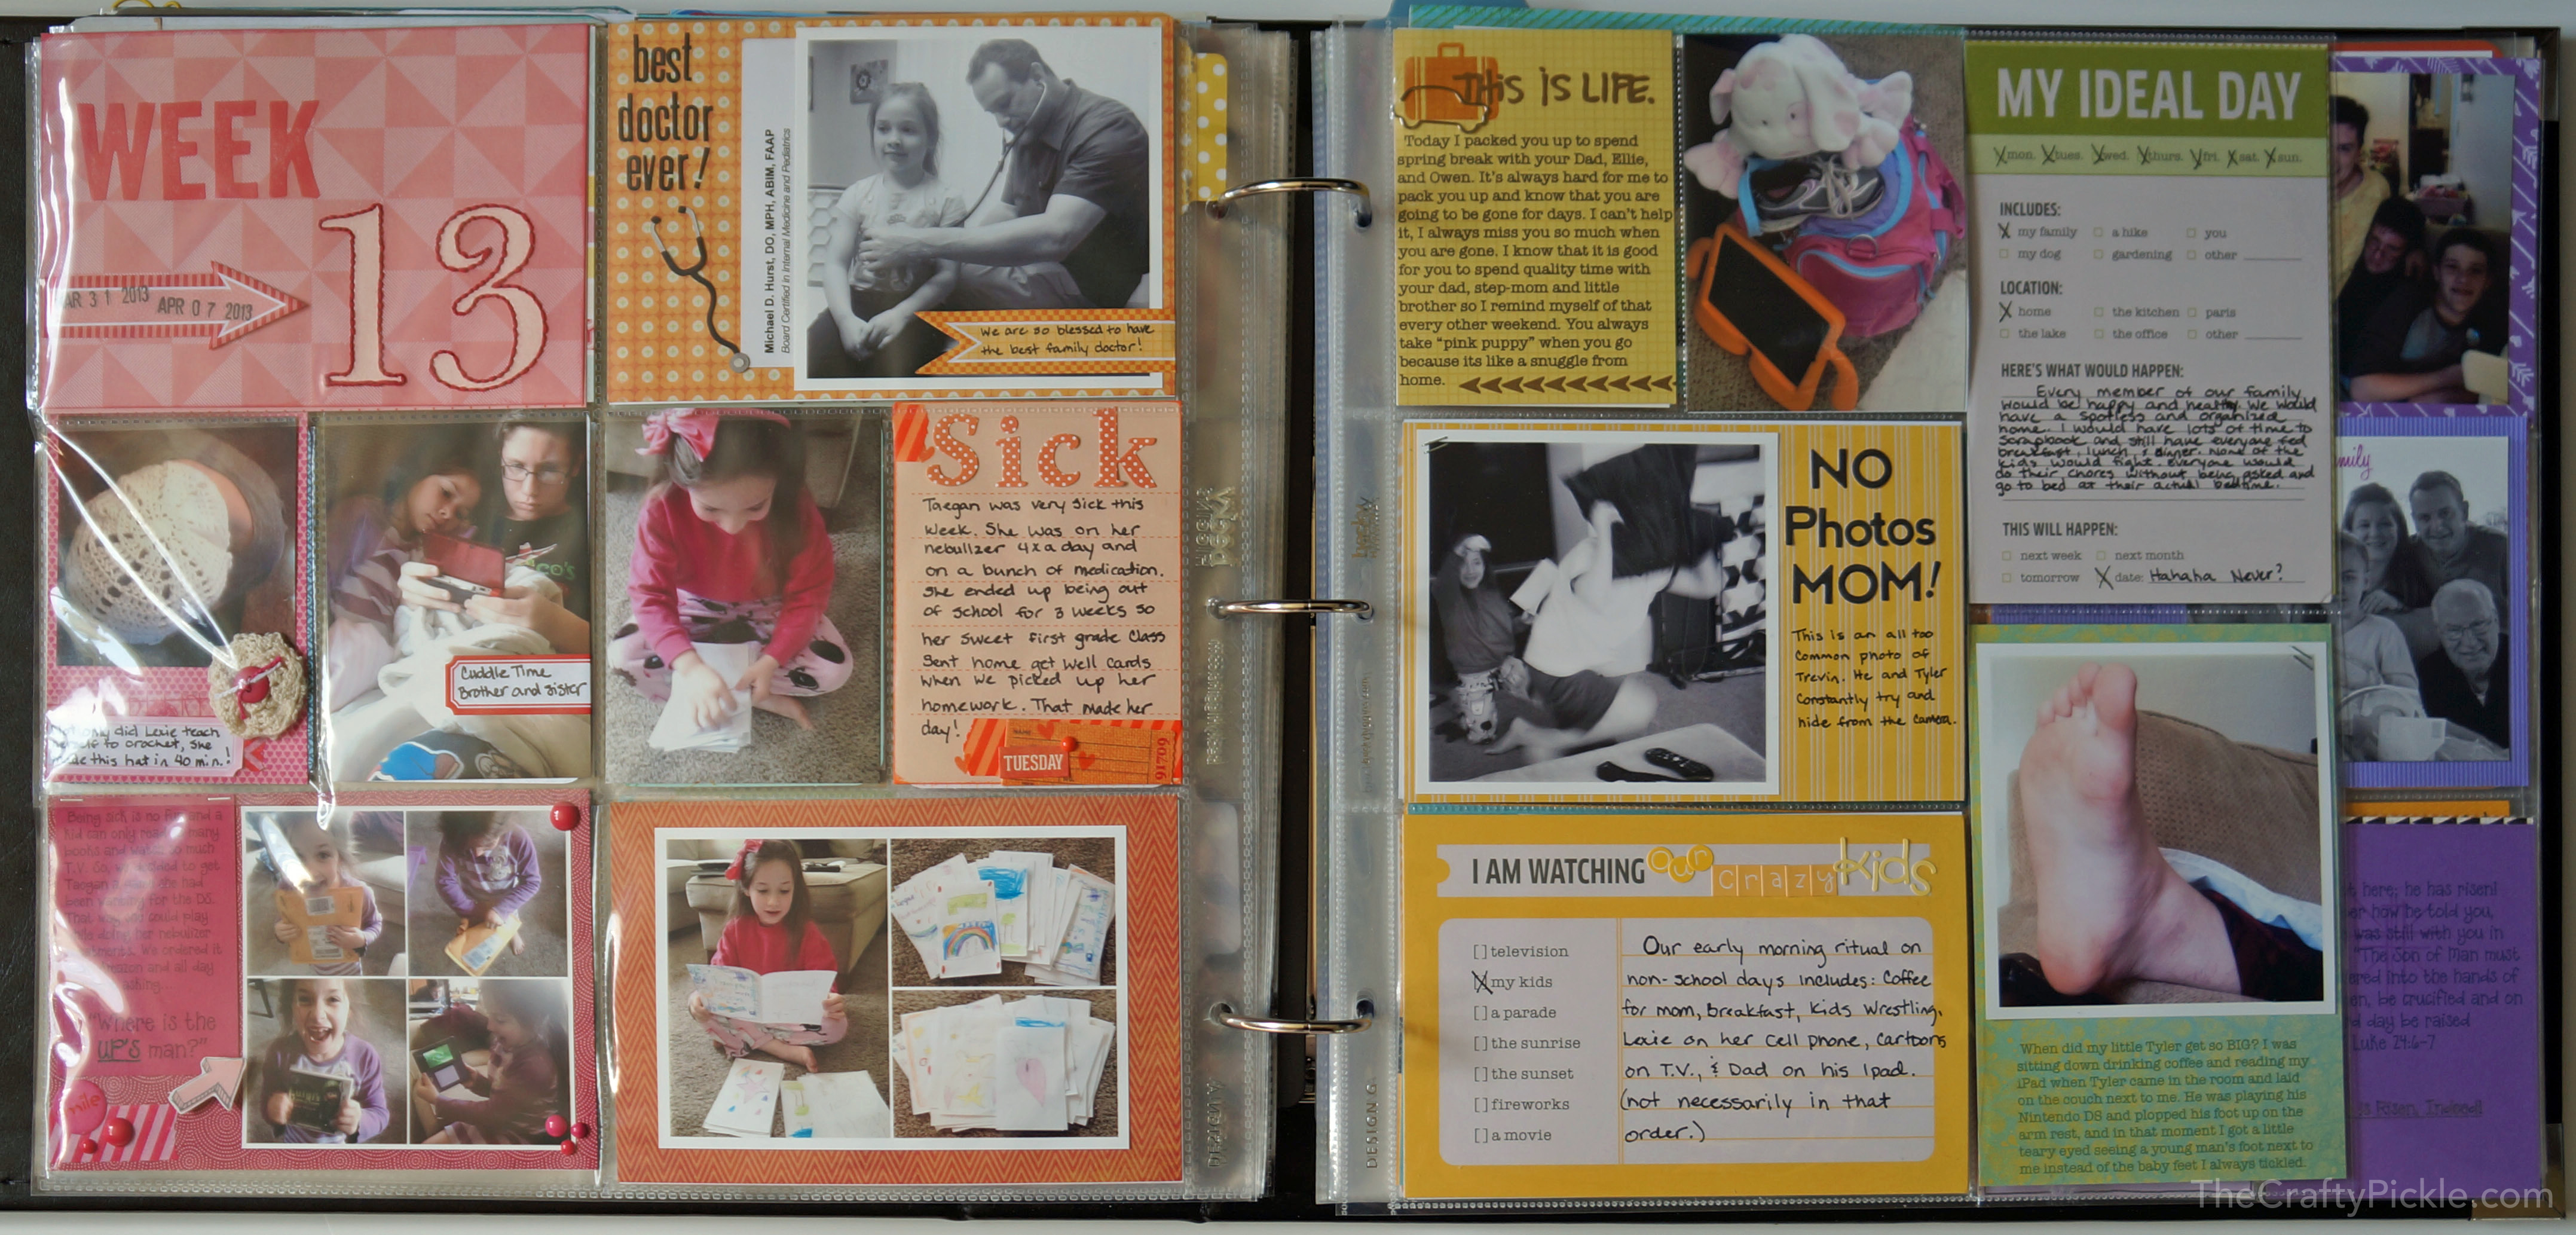

for the first page and half of the insert I did redish pink though lime green. For the Title card I used letter stickers by Amy Tangerine and I stamped and embossed the number 13. I felt it needed a bit more pop after embossing so I hand stitched around the numbers.
The second half was aqua though purple. I found that I was seriously lacking purple paper so I took some purple cardstock and stamped a cute arrow background with white ink. (every piece of patterned paper used in this week was all different, 19 different patterns!)
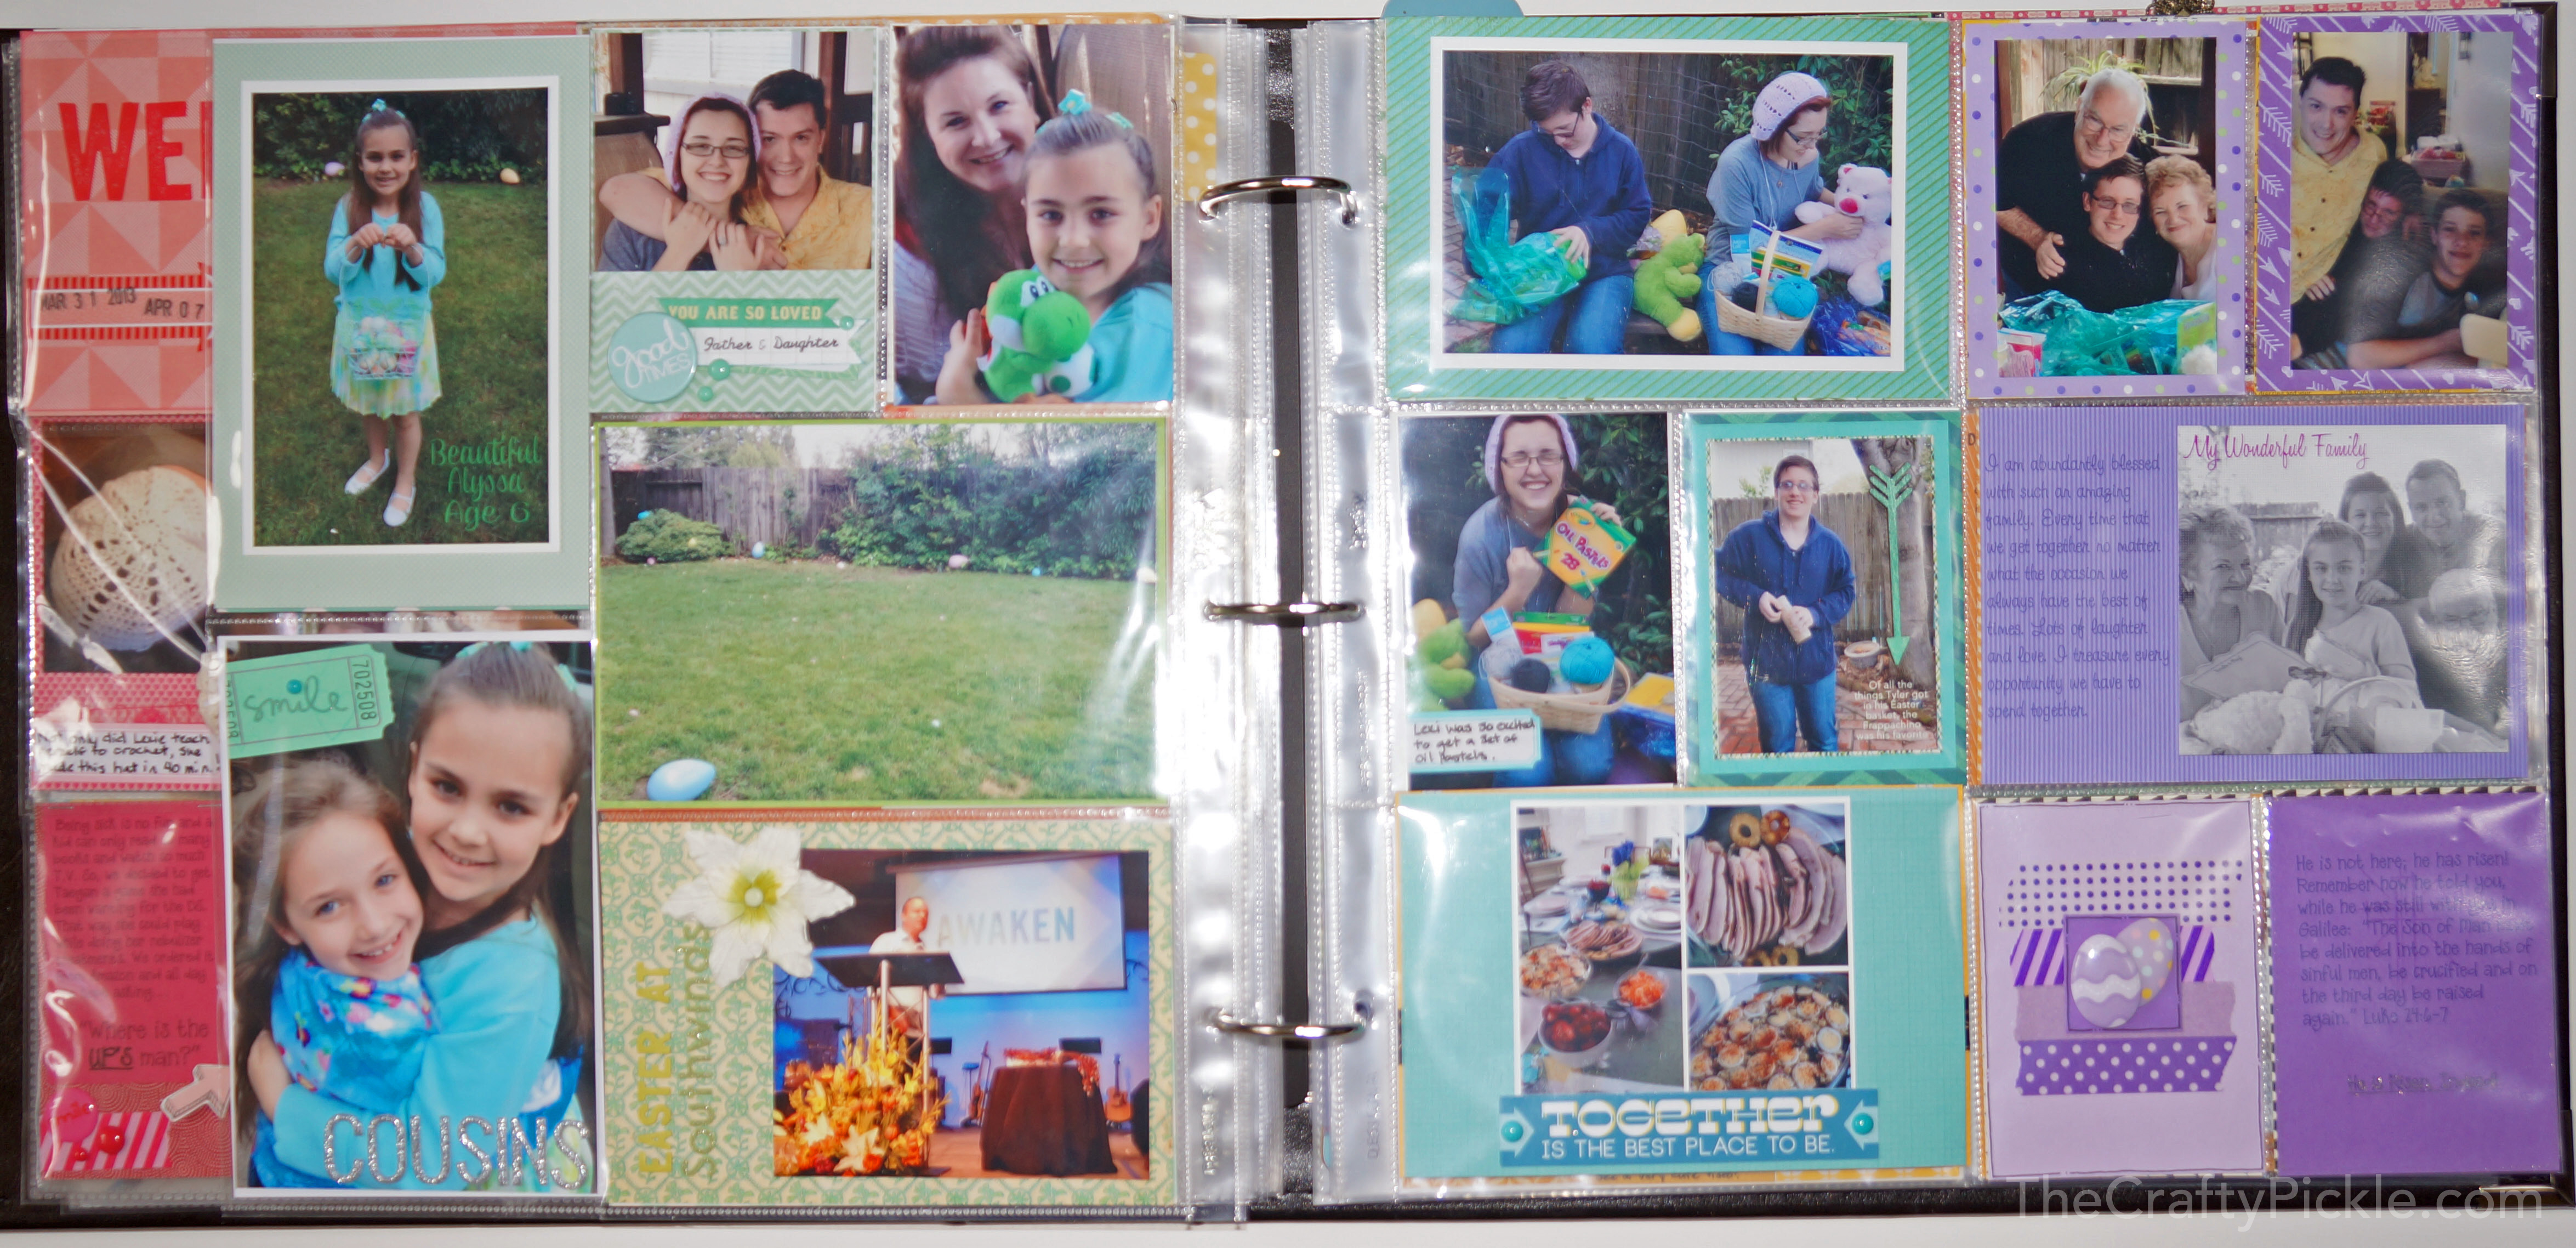


I was excited that I got to use my latest fab find, a cursive typewriter! I used it to make the “Father & Daughter” Tag.

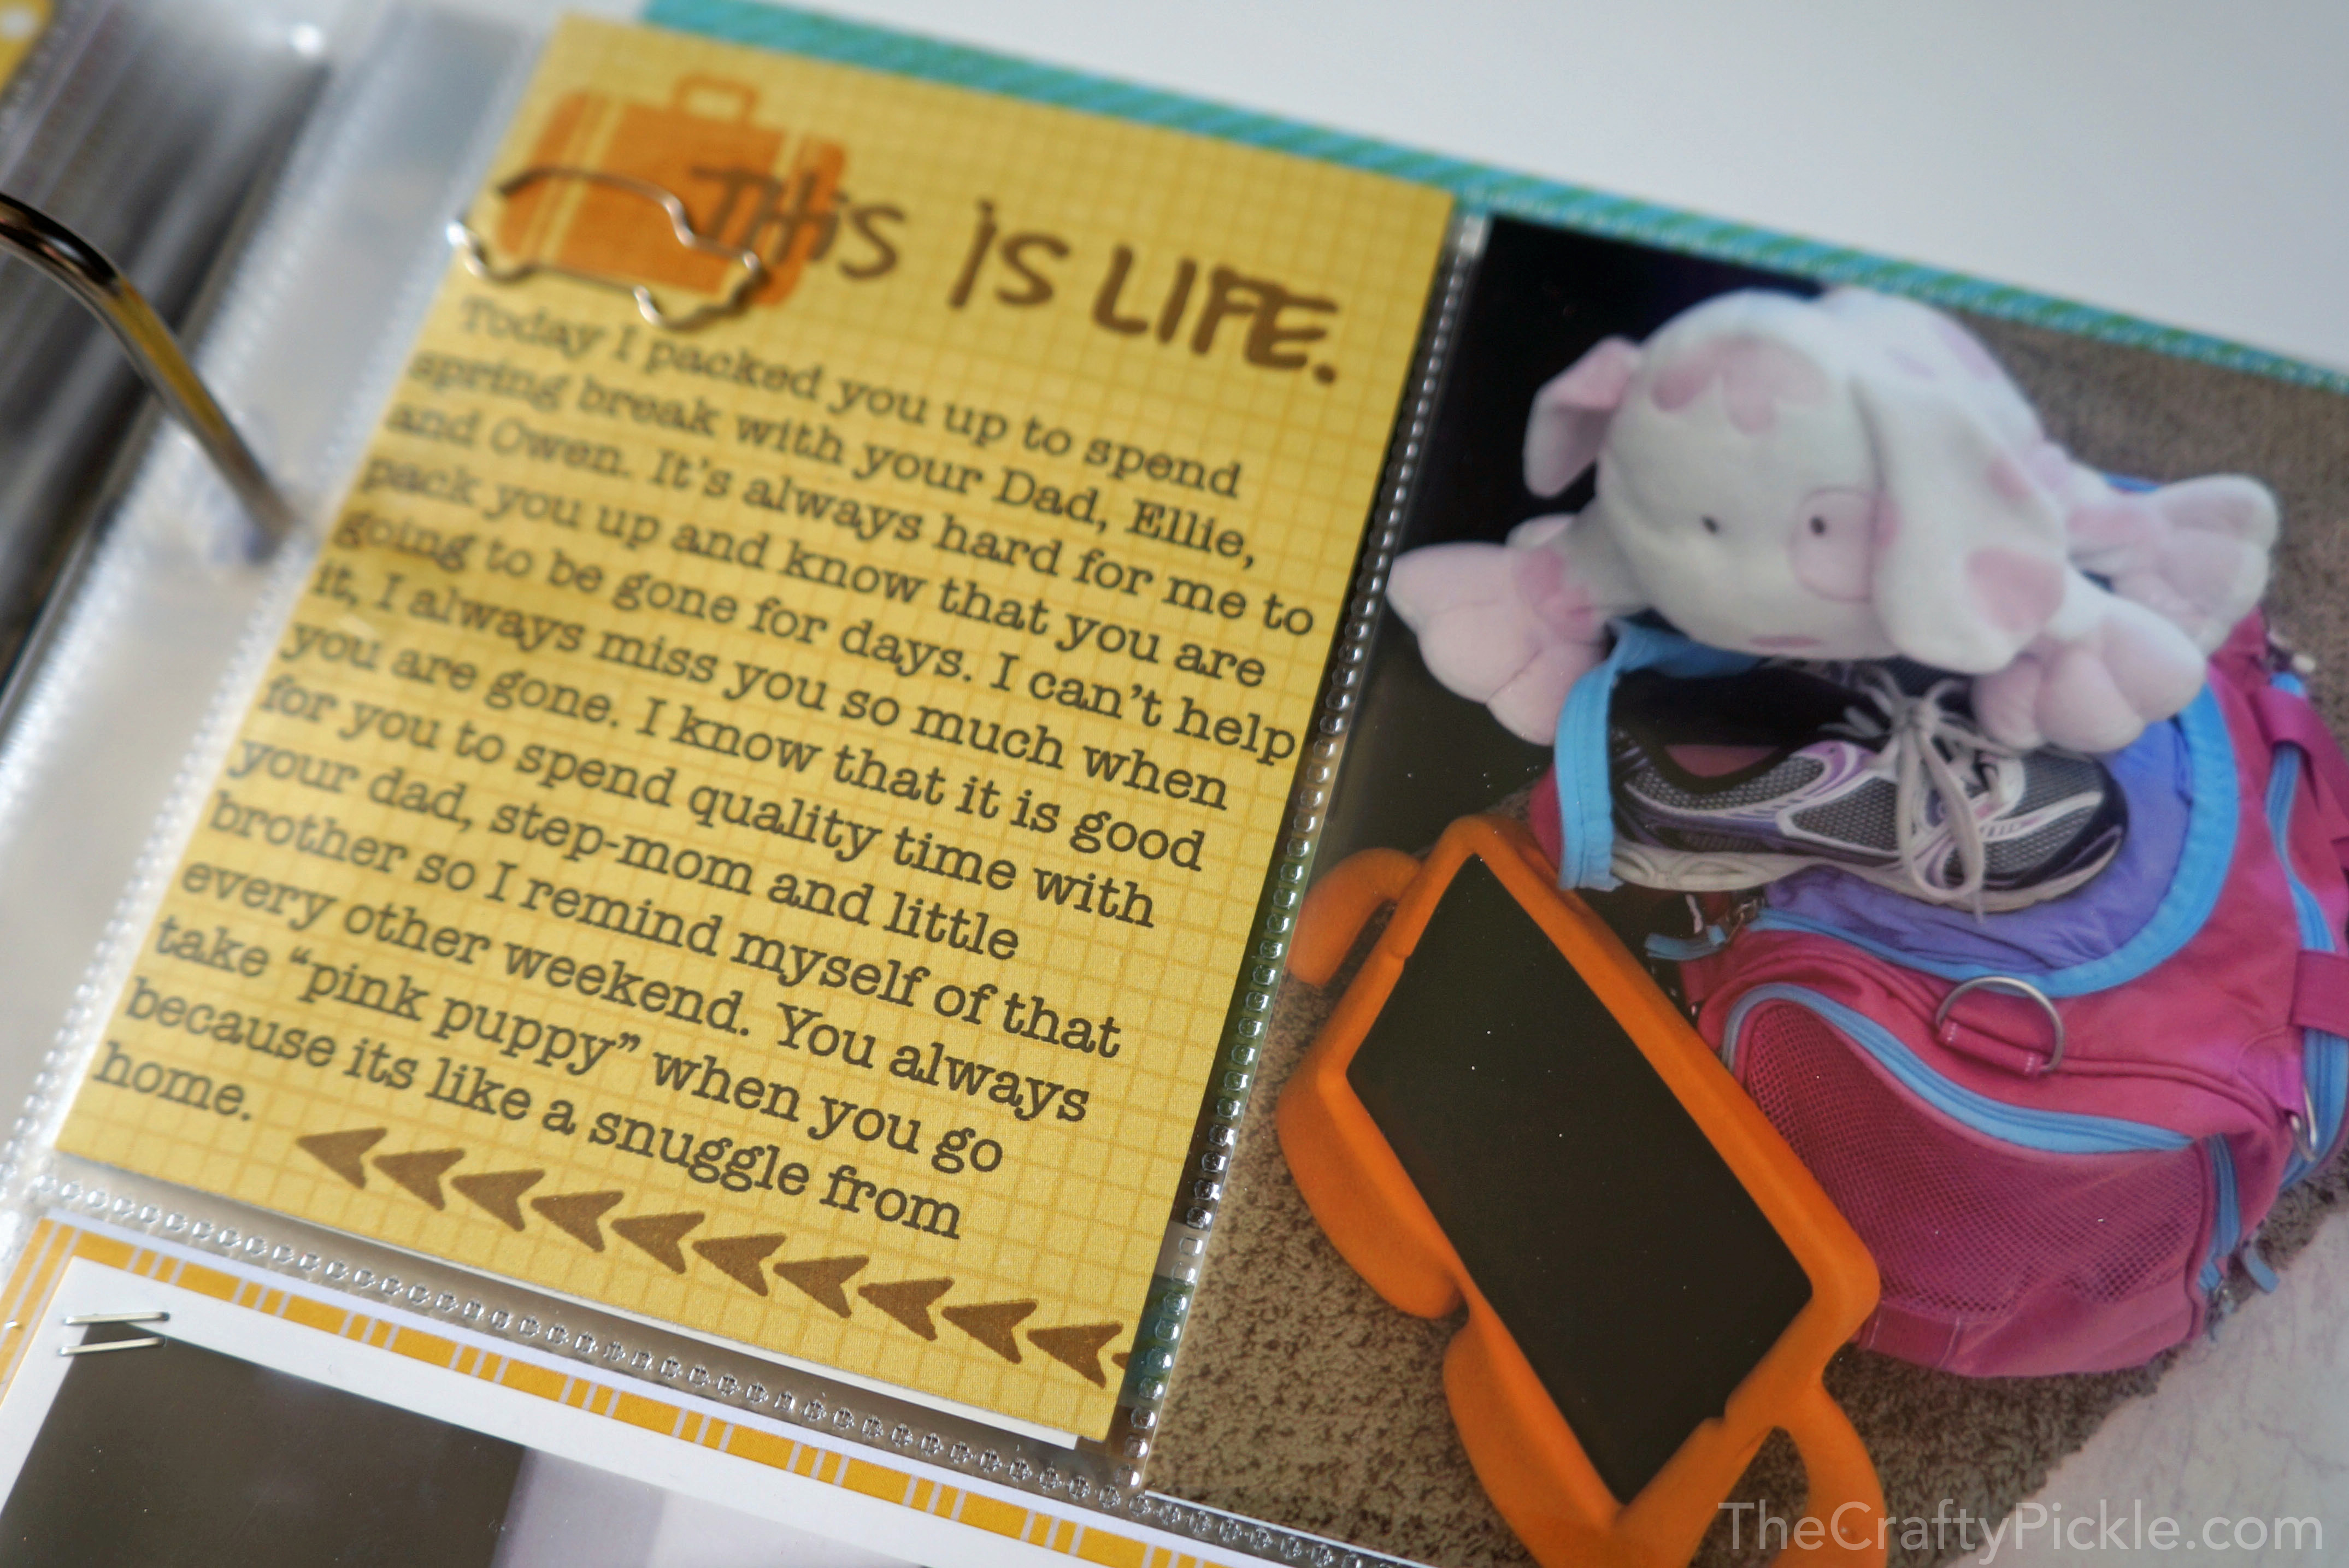
WEEK 14:
For week 14 I didn’t have a ton of photos. My husband and I went out to dinner one night and I took a “to-go” menu when we left. I incorporated a lot of that into my layout, which made it more fun.
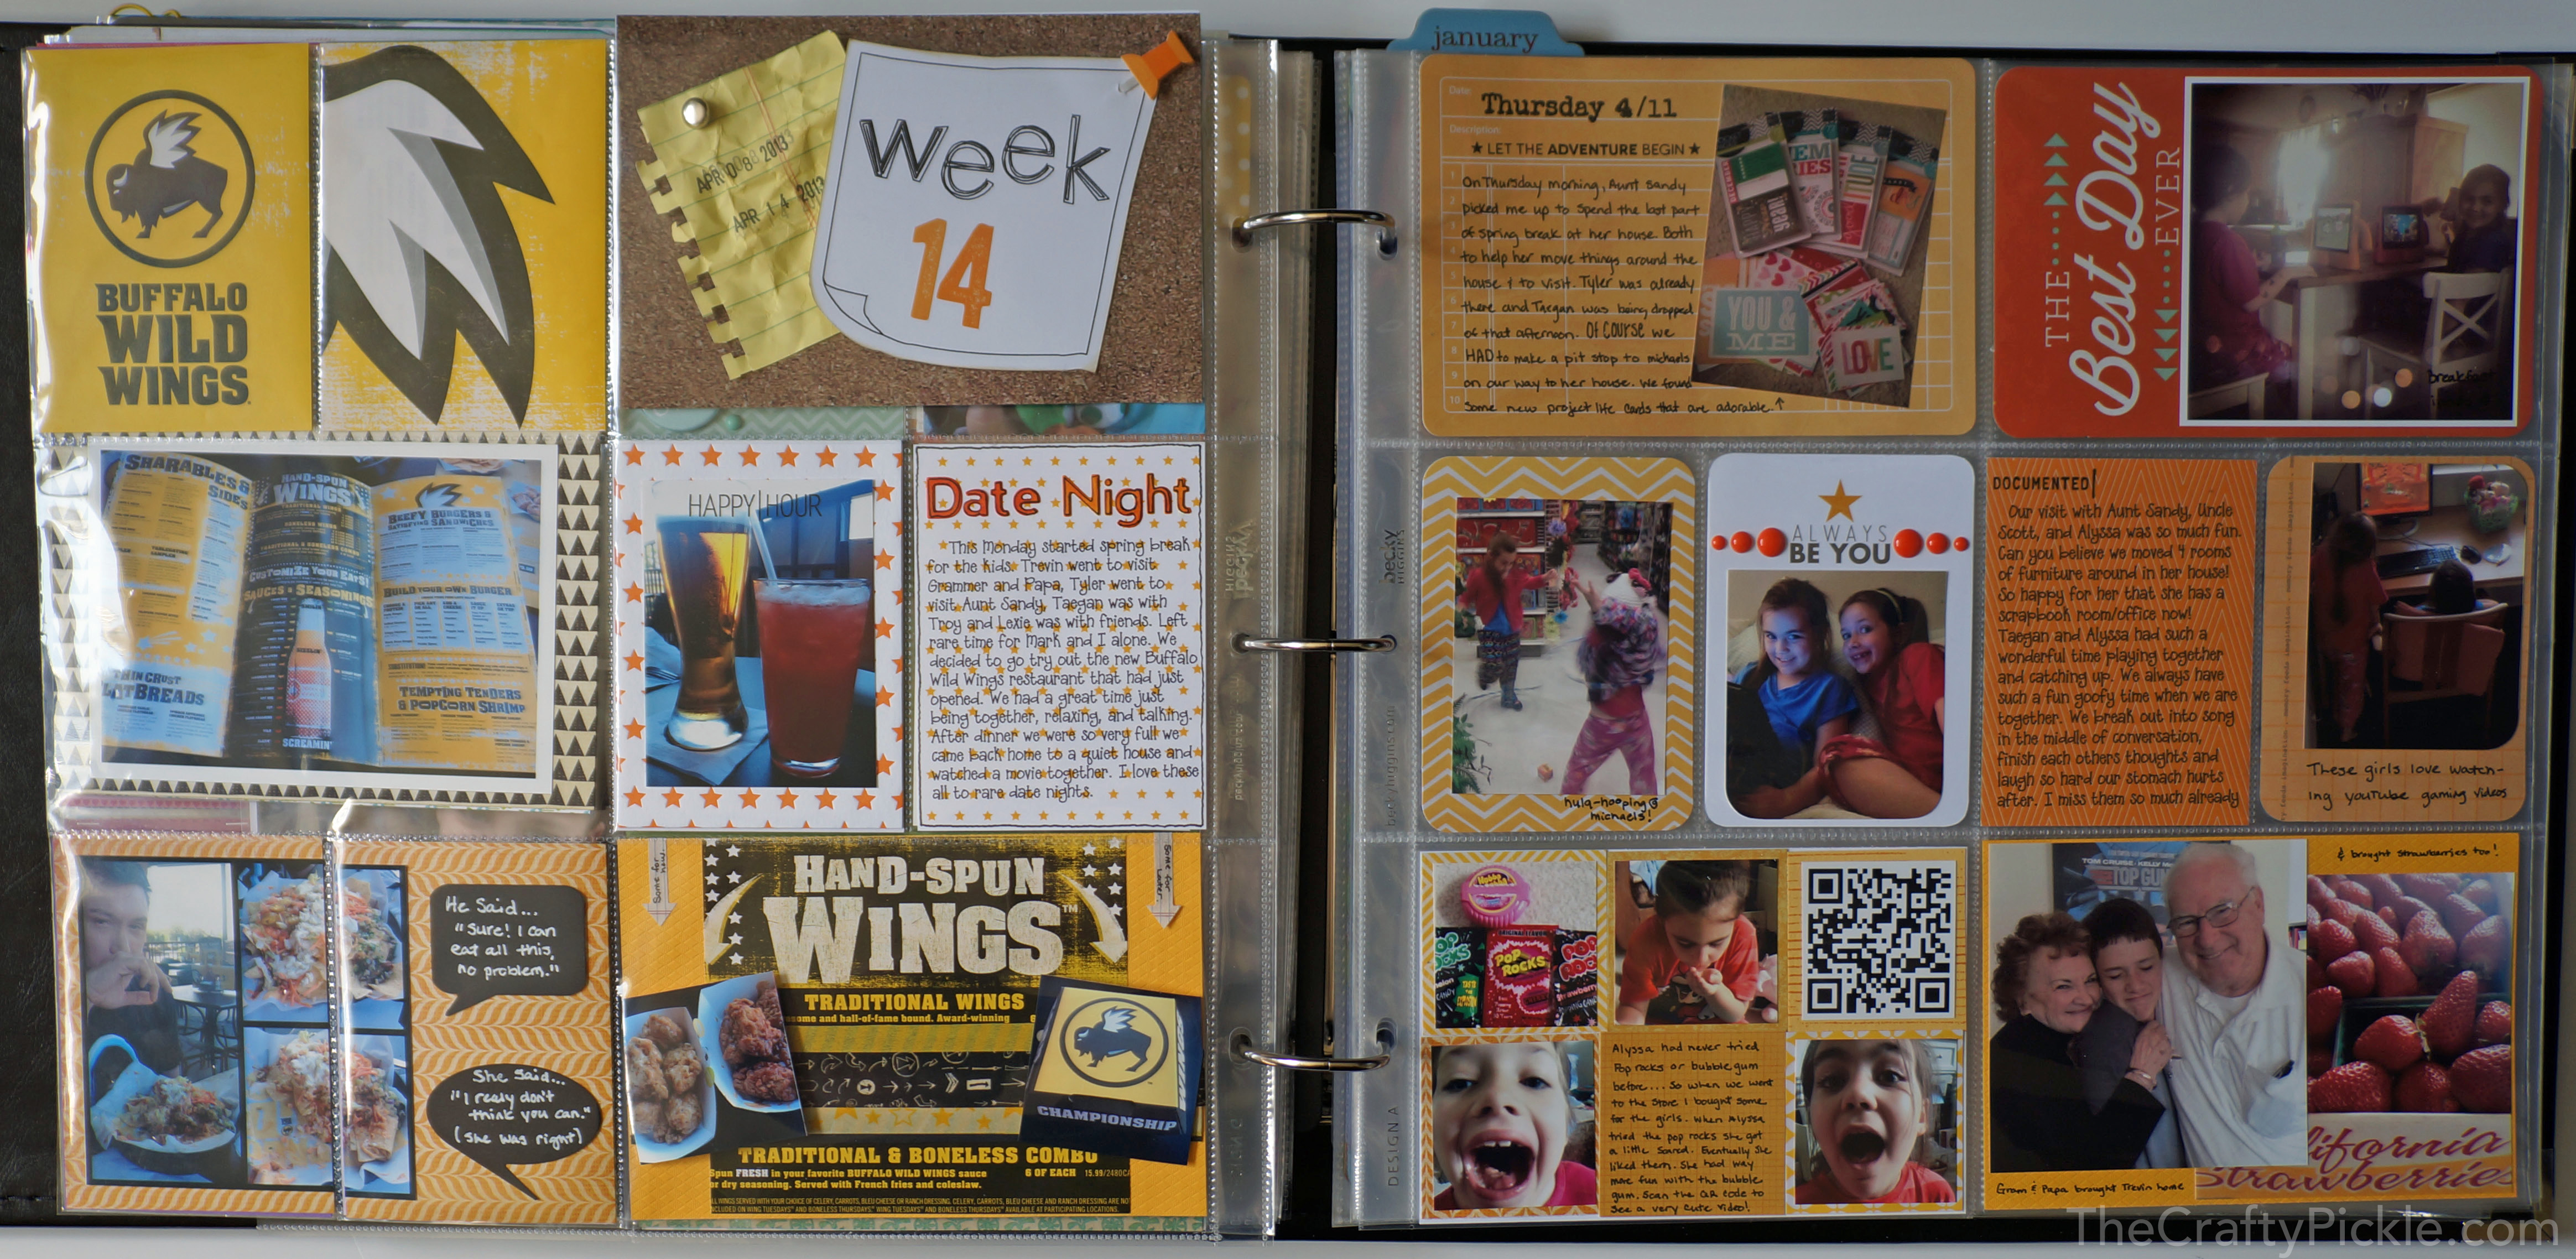


For the title card, I used a piece of cork paper. I pierced a hole and stuck part of a Doodlebug pushpin though a post-it-note type paper. The post-it was a sketch from the Silhouette online store as well as the letters. I LOVE using the sketch pens on the silhouette. I then took a piece of yellow lined scrapbook paper I had in my stash, used a notebook style border punch along the side and then crumpled the piece into a ball. I flattened it out and stamped the dates. I used a large silver brad to mimic the look of a thumb tack.
I used some basic gray and studio calico stamps for the title part of the card above and *gasp* my own writing. I am still having a hard time with journaling in my own writing and not using the computer all the time. However, I know my children will more than likely want to see moms writing over computer font’s in the future.
For the card below I edited a photo that didn’t come out so great but still wanted to use. I used a bokeh filter which made it look a little more dreamy. It worked out beings it was breakfast for the girls and light was spilling in from the window behind them (with both on their ipads no less LOL)
This next card was so FUN! I incorporated a QR code into the page so that it can be scanned and go to a video on YouTube of my niece chewing gum for the first time. Pretty funny stuff. No journaling could do that one justice. I see myself using these QR codes more often!

Whew! That’s all the photos I have for you today. I feel really good that I got a bit more caught up. I was also able to do a couple of cards and some pages in my December Daily album. It was a very busy yet productive weekend! I hope you all enjoyed your National Scrapbooking Day as well, no matter how you spent the day.
Happy Crafting!
