
Hi Friends!
This month I was fortunate enough to win a NSD contest for one of Scrapbook Circle’s May kits. I won on instagram with my friend, Toni, who is also sharing her ideas and inspiration using this amazing kit on her blog today. Please visit her at Lifescrapbookrepeat.blogspot.com. You have to see what wonderful things she has created!
Here is a photo of the beautiful kit that we won.

This kit had wonderful papers from Elle Studio, Maggie Holmes, Amy Tan, Fancy Pants, Lily Bee, and Basic Gray. It included some pretty adorable embellishments as well. Those bows designed by Maggie Holmes were one of my favorites and I love the Lily Bee labels for project life! Want one for yourself? There are still some available at Scrapbook Circle. Just click HERE. Hurry as supplies are limited! The company owner, Lisa, can also hook you up with a subscription if you wish. Check out even more inspiration and ideas on the Scrapbook Circle facebook page HERE.
When I sat down to work with this kit I tried to limit myself from using other things that I had on hand. the things that I did add were: 1 sheet of white sticker letters from Basic gray, some various washi tape, Gold Mister Huey’s spray, various pens, ink and markers, various clear stamps, some sequins, cardstock in a few different colors, and my silhouette cameo. This really helped me stay focused on the projects I wanted to complete and saved so much time. Normally it takes me more time “shopping” my stash for the supplies I think I will use than actually doing the project. My goal with this kit? To complete one layout, one project life spread, and one card. And so, I started out on my mission on a peaceful mothers day weekend!
My first project was some snapshots I had of my daughters first ballet class. I knew when I saw the TuTu trim in the kit that these photos would work perfectly. The layout came together surprisingly quick! The background paper was not pink at all, it had a slight mint distressing around the edge. I took some distress ink in a rose shade to make it fit just a little better. I used glue strips to adhere and pleat the tutu trim and I altered the gray sticker letters slightly by outlining them and then using a glitter pen to give some sparkle. The journaling is inside the cute little bag.

For my second project I tackled my week 17 photos for my project life album. The colors in the photos matched pretty well with the colors in the kit. For my title card I used the 12×12 sheet of paper included from Elle Studio. The top left corner had the layering look that I thought was ideal for a title card. I took a pencil and my old school lettering templates and lightly traced the letters for week. I then erased the lines so that I could barely see them and took my black journal pens in three different sizes and started dotting everything outside the letter. I spread the dots more and more as I moved away from the letter. The “seventeen” was white sticker letters from basic gray that I colored with a copic marker.
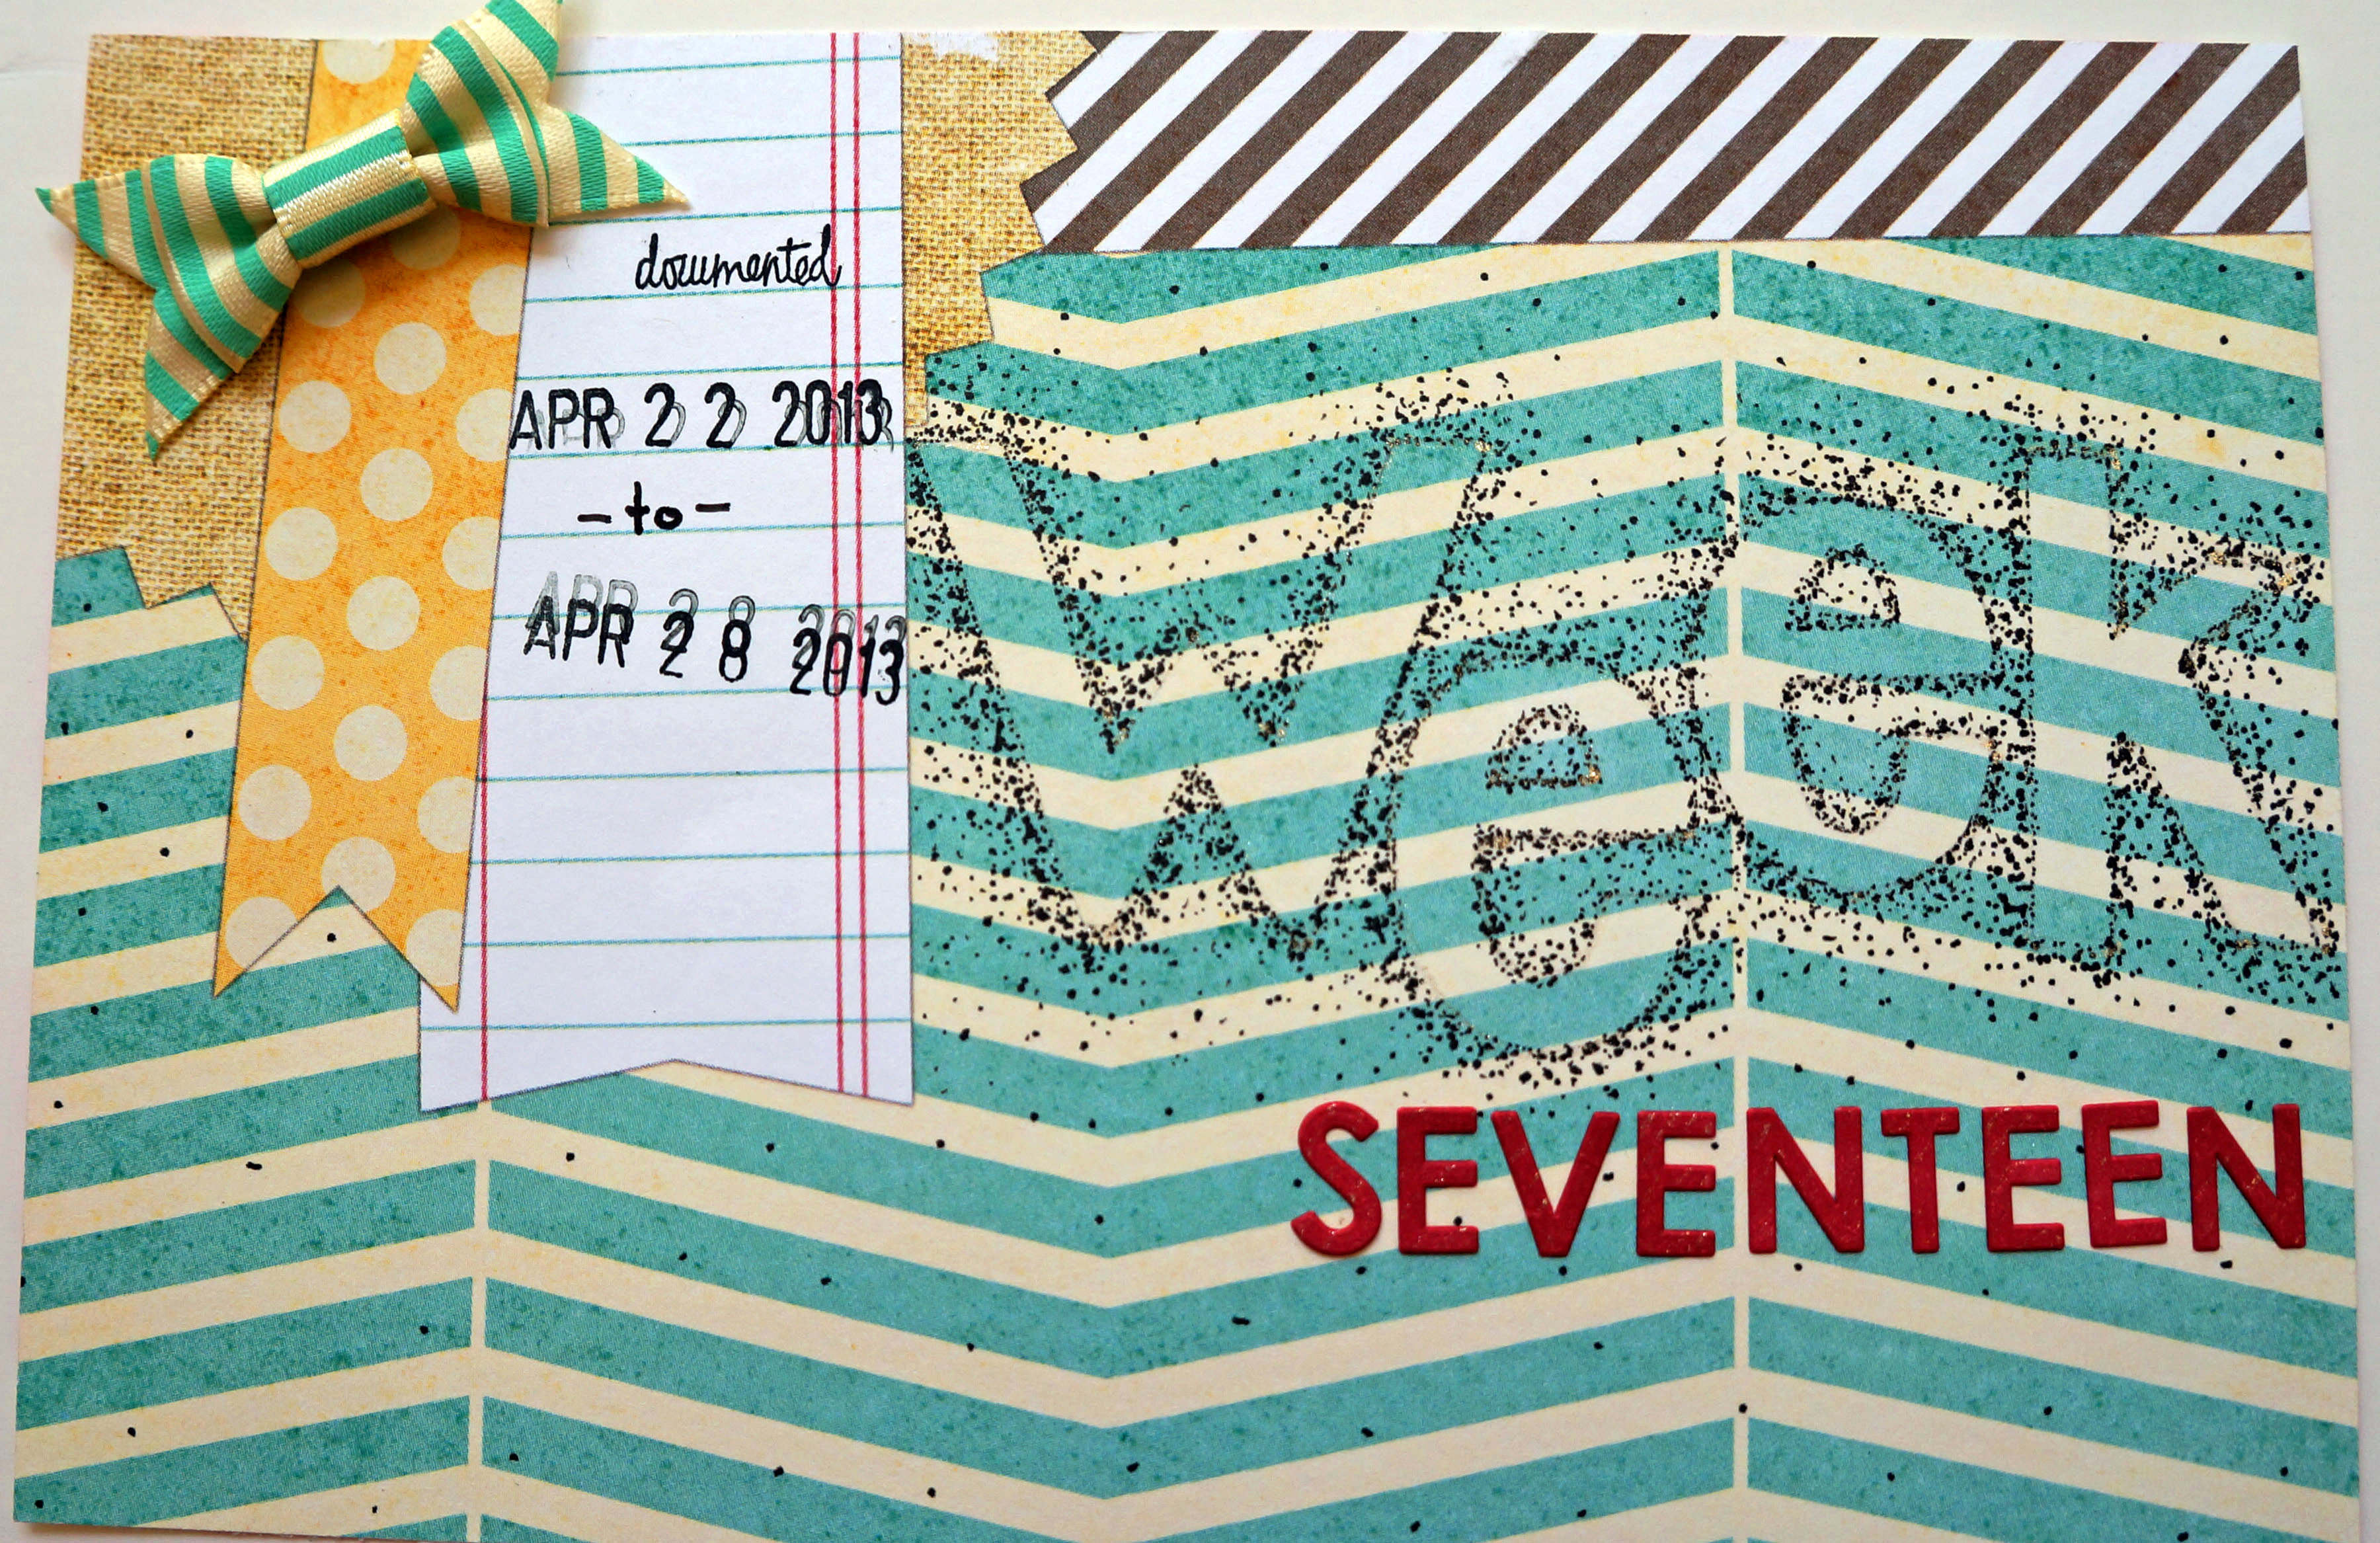
All of the larger letter stickers are the gray ones that were included in the kit, and the small letter stickers were the white that I added in. I altered the color as I needed to with my copics or another alcohol based marker. The tab stickers were perfect for little bits of journaling here and there. Proof that one can complete a project life layout with normal sized scrapbooking supplies.


Now remember when I said I wanted to complete one card as well as the layout and project life spread? I thought that I would be making a card with the last little bits of the kit but it turned out that I had so much more to work with still. I created 4 cards! I am not much of a card maker so this was big for me. All cards that I made I put on white cardstock card bases.
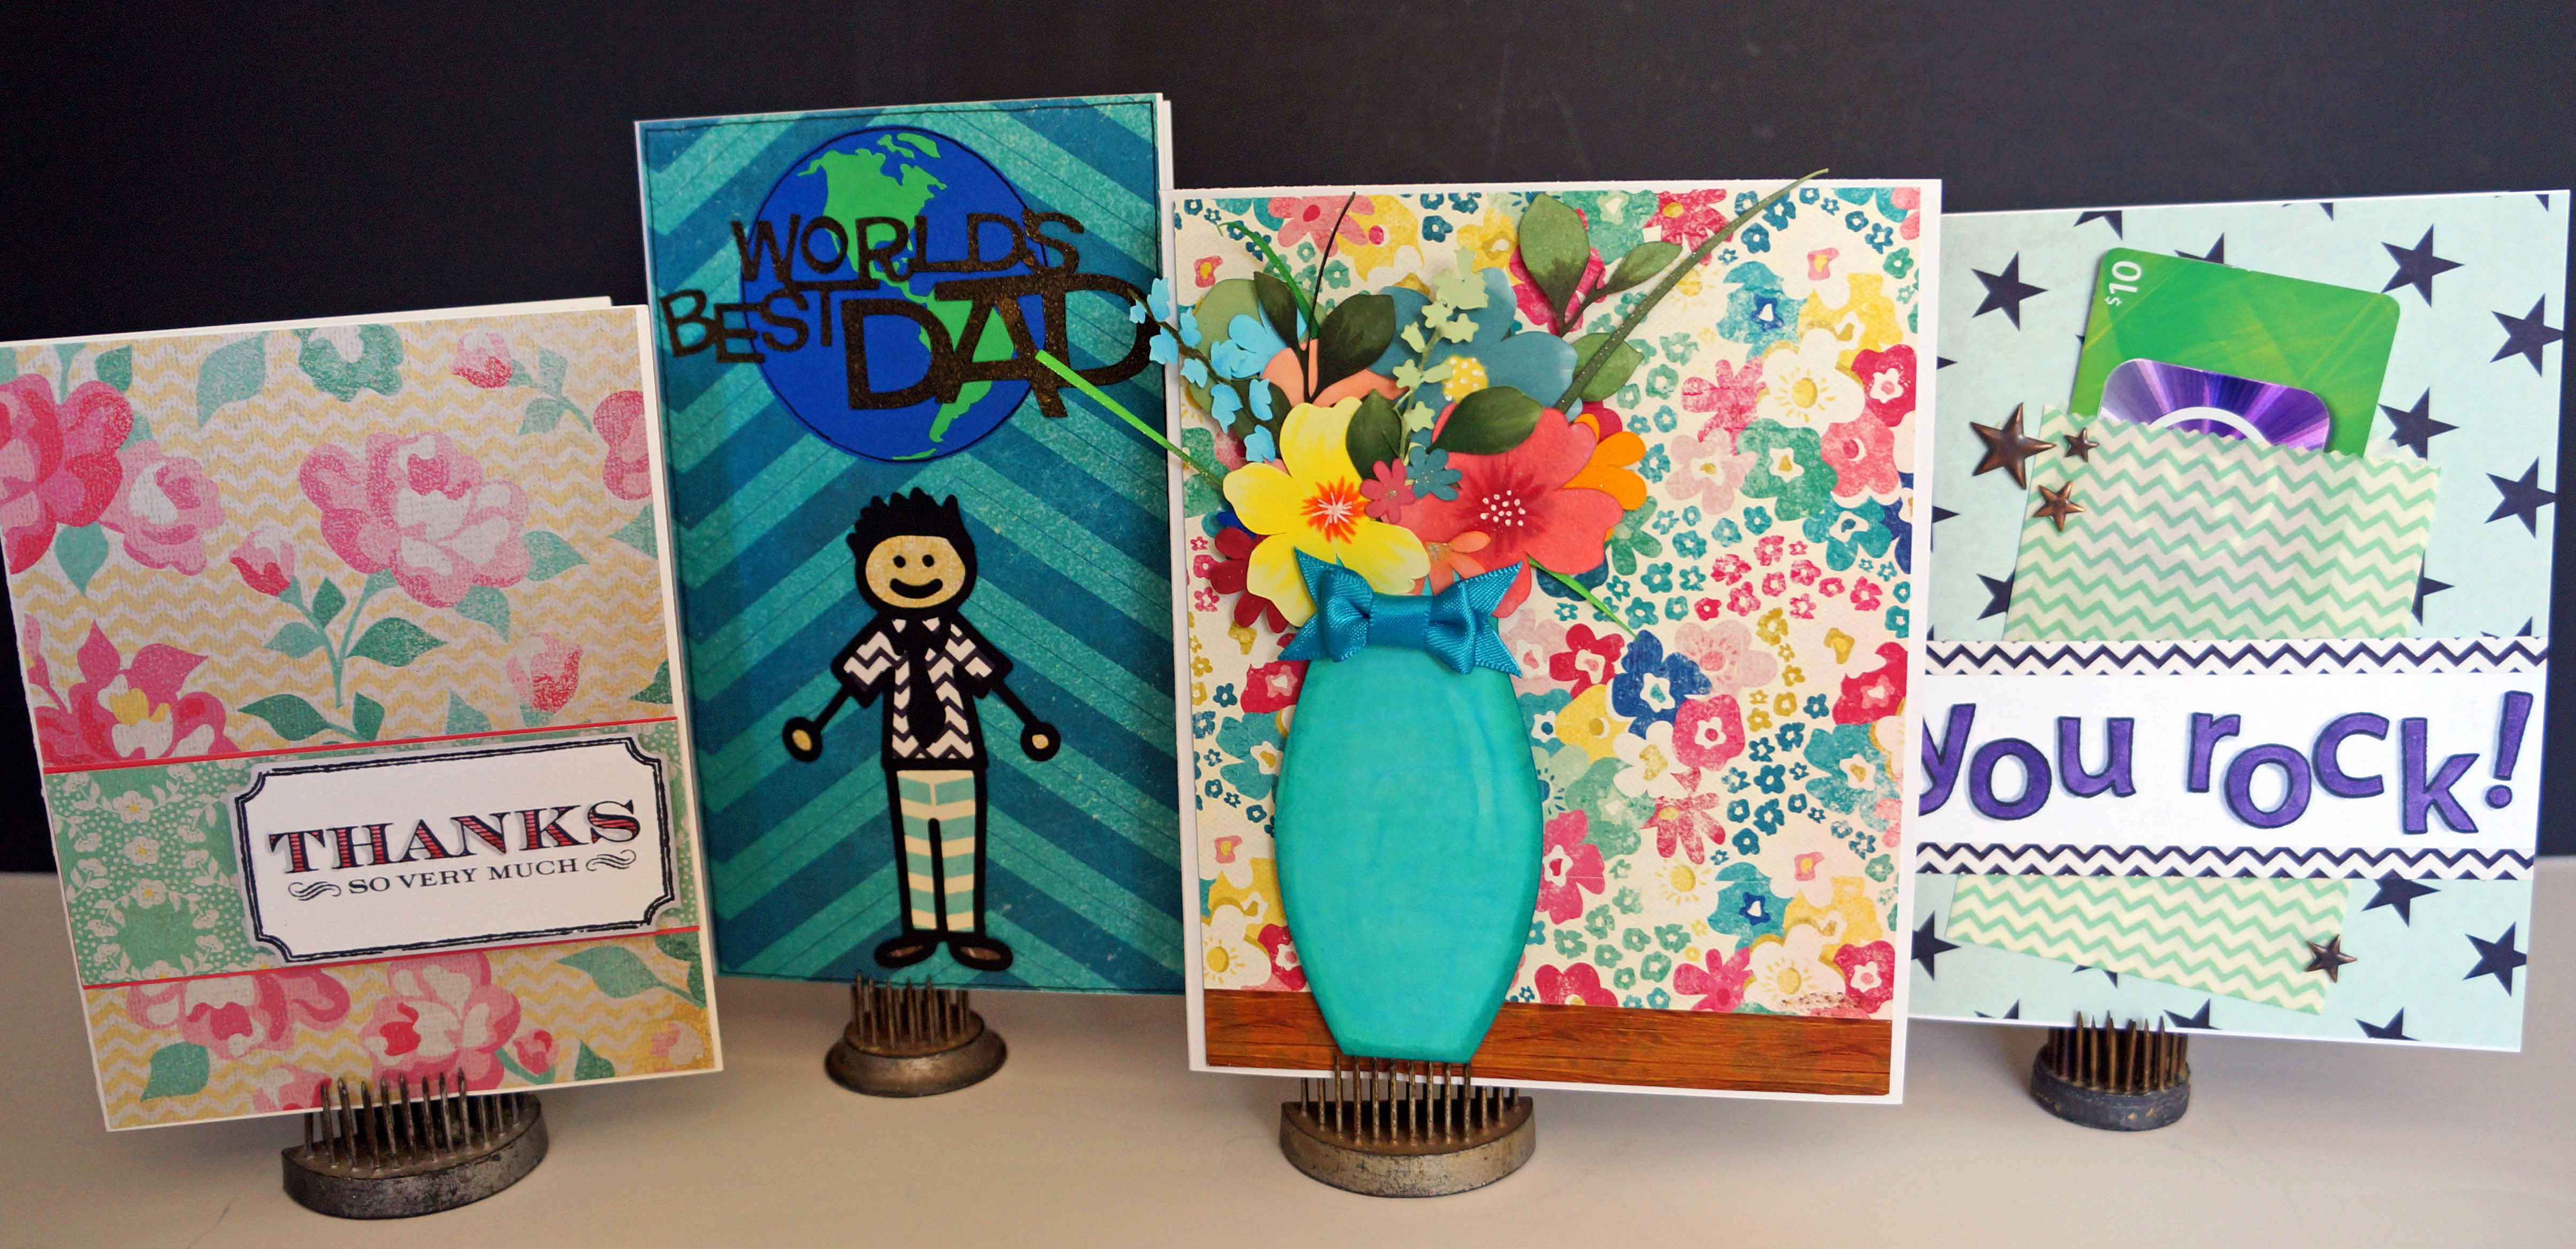
My first card is simple and sweet. A nice little thank you using three pieces of the paper included in the kit. I colored in my stamped image with a copic and then cut it out of the white cardstock. I attached it using pop dots to give it a bit of dimension.

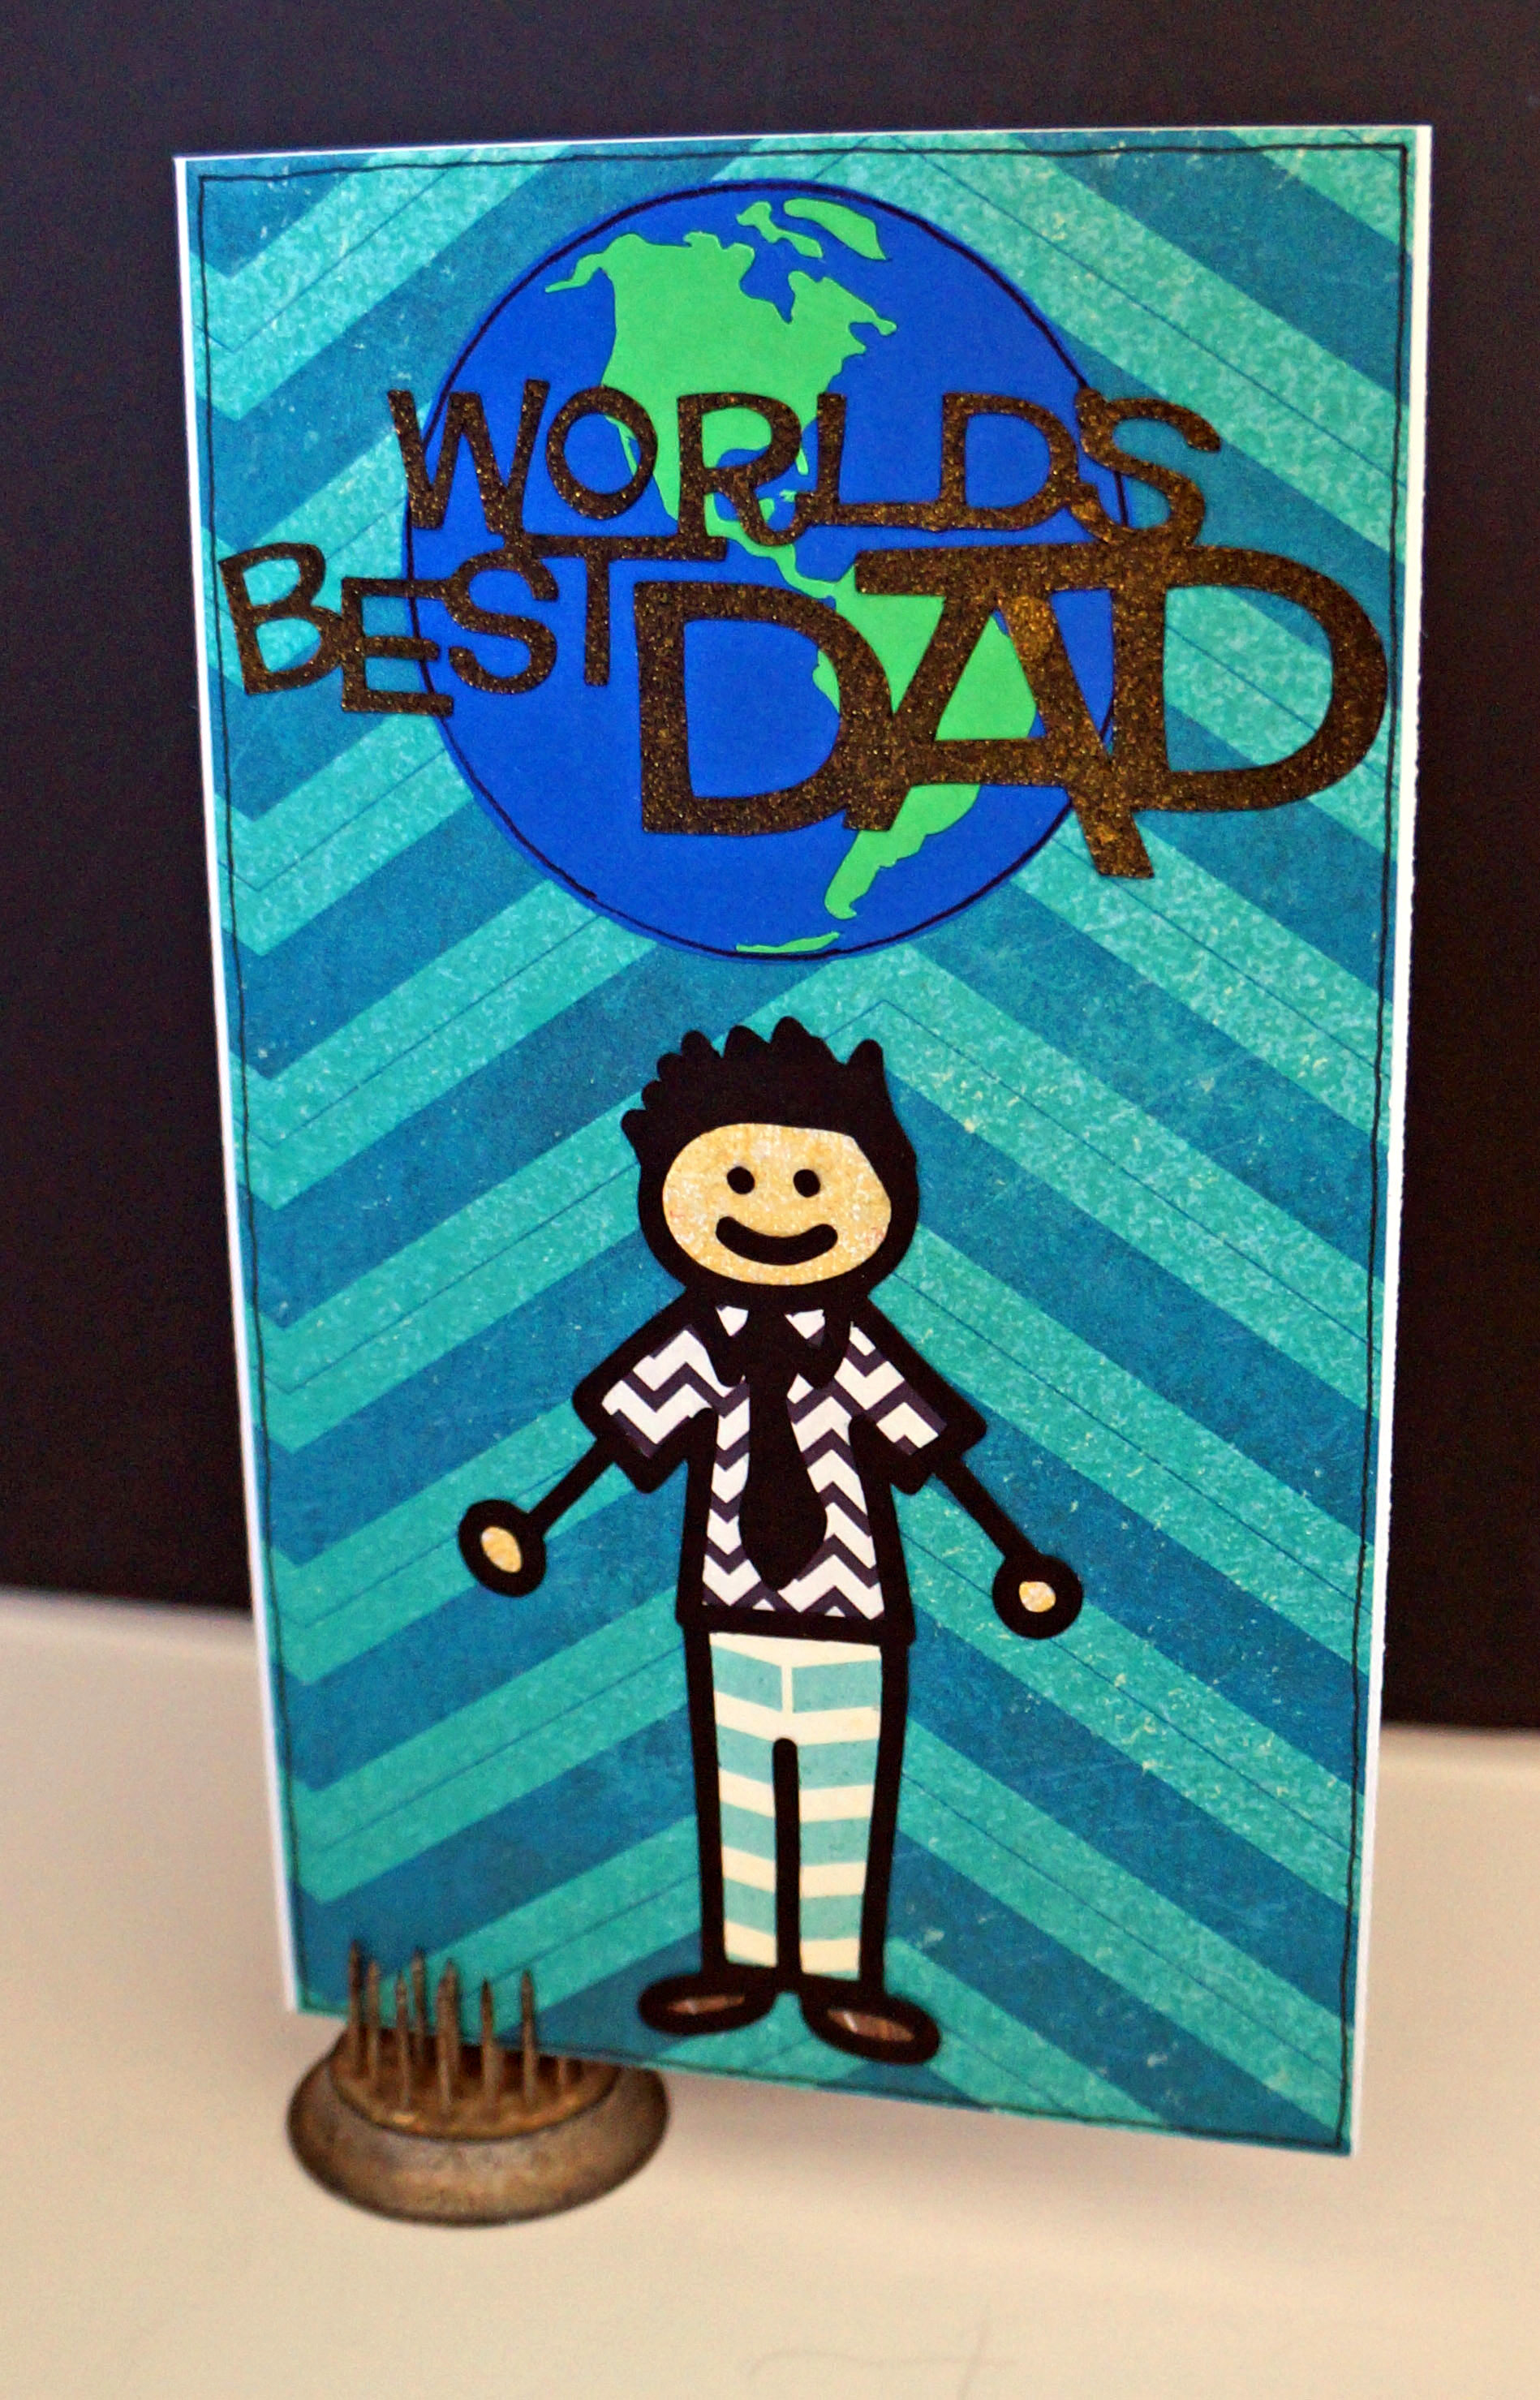
My second card is father’s day inspired!I loved the green & blue print of the background and thought it fit a more masculine card. I used my silhouette for the title, the world, and the dad image outline. Notice his clothing? Yep, all little scrap pieces of paper that were in the kit and nothing else. was like coloring with paper and the end result is a fun whimsical card for Dad.
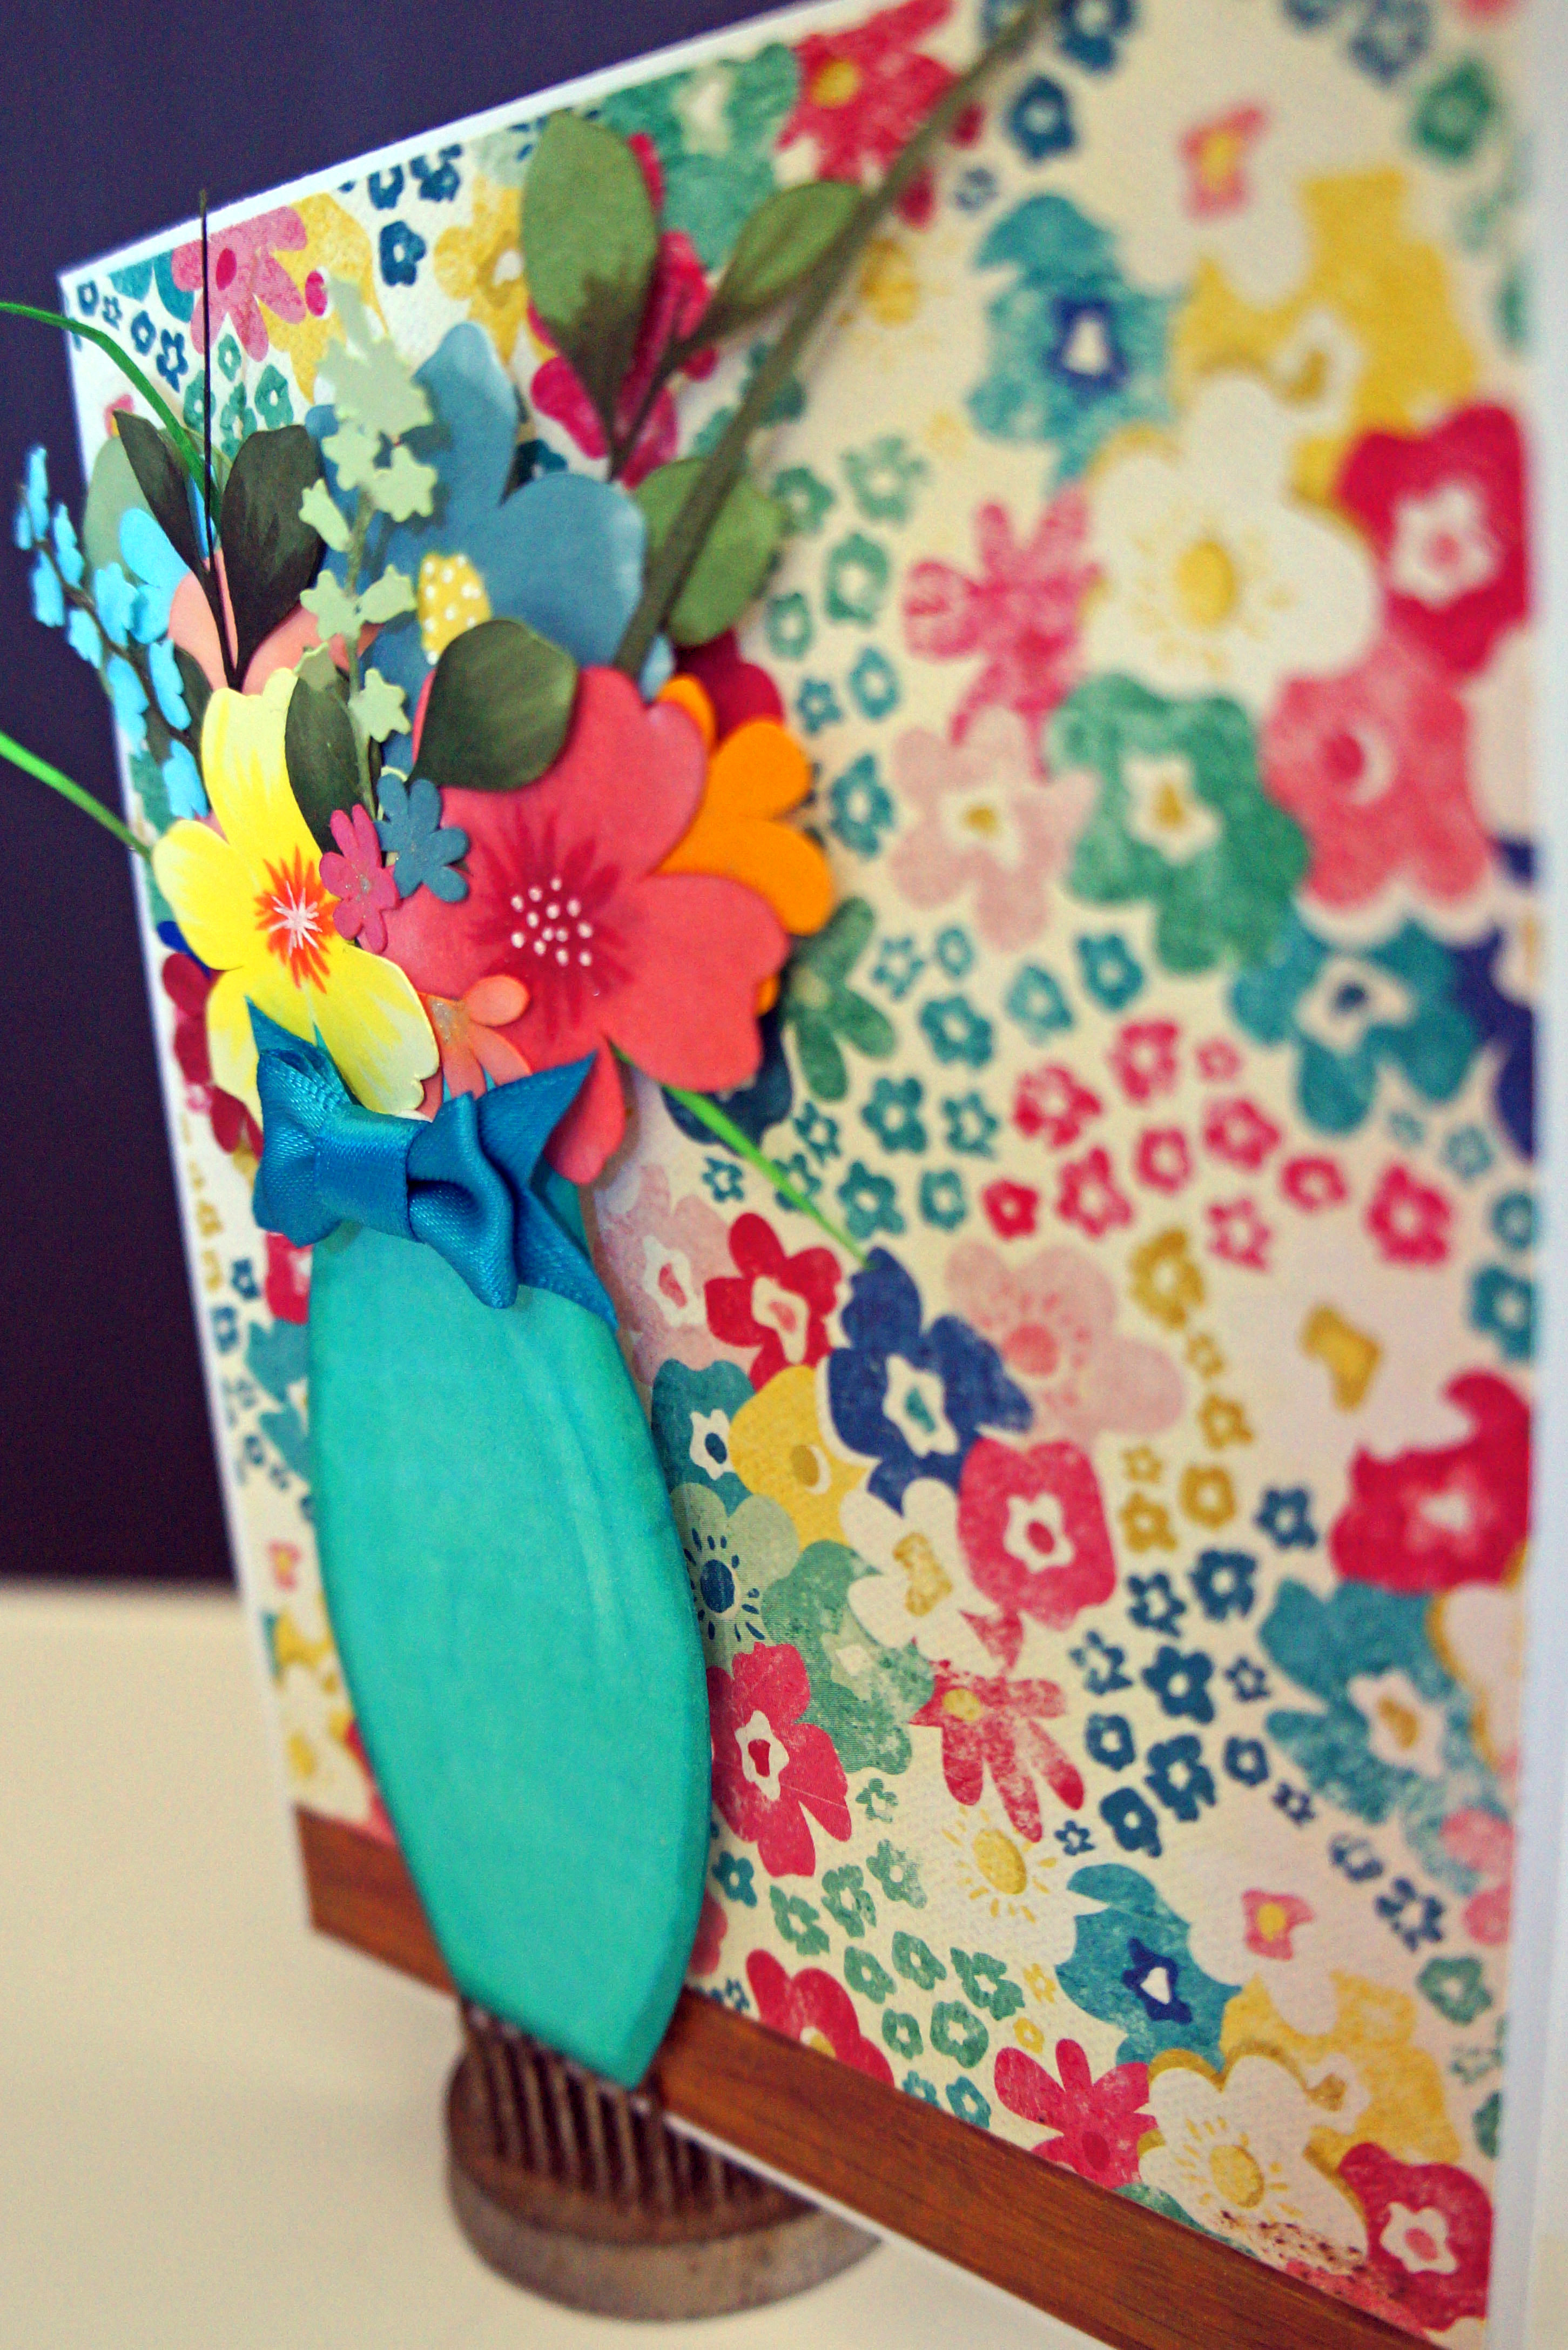
My third card was inspired by the floral paper, the pattern almost made me think of wallpaper. I popped some woodgrain washi on the bottom to mimic a table and cut out a vase and some flowers (all out of white cardstock) with my silhouette. I then went in with copic markers in complimentary colors as the background and colored in the different elements then I built my paper floral arrangement to the back of the vase die cut. The bow embellishment was the perfect touch and I added pop dots to the back of the flowers and vase. This card would be great for a birthday, thank you, mothers day, get well, or a “just because” card.

By my 4th card I was starting to have less to play with so keeping things simple I made this card with a scrap of the star print paper and one of the little paper bags I had still. I stamped “You Rock” on white cardstock and colored in with a purple copic. I shaded using a gray copic and then bordered the white with some of the black zig zag patterned paper I still had. Added a few of those adorable little metal stars to tie in the star theme and popped in a iTunes gift card. This would make a good birthday, graduation, or other gift type of card.

You know what else? I STILL had more supplies left. I cut all remaining paper down to 3×4 and or 4×6 to use in future project life layouts. I also integrated the few embellishments I had left over in their proper spot in my scrapbook room. Mission complete!
This is the first kit that I have used start to finish and I have to say that it was simple, fun and has changed how I will continue to scrapbook. Kits are a fabulous way to go if you get overwhelmed by all sorts of supplies like me. Joining a monthly kit club like Scrapbook Circle is a great way to keep up on the latest trends, However if that is not in your budget right now, consider putting together some kits of your own from supplies you already have on hand. How do you begin to put together your own kit? Check out this video by Glitter Girl on 2peas in a bucket. This has to be one of my most favorite videos she has done. She even has a PDF to assist you further. I have already began to assemble some of my older supplies into my own kits.You can also look at past kits that appeal to you of various kit clubs and try to copy them as close as you can. If you are a paper crafter on the go, this is perfect for when you are packing up for crop night!
I hope you enjoyed my start to finish with this kit. Don’t forget to stop by Toni’s blog HERE to see more ways you can use this kit. Here is a little sneak peek of what you will see 😉


What a lovely kit! And lucky person who will get that flower vase card!! Soooo pretty! Thanks for shari
Amazing work! Really great – I particularly love that first one, the ballerina – cool stuff!
Thanks so much for you kind words!
Wow…you have some amazing projects! That tutu lace is just perfect for your page, and your cards are fabulous!
Congrats on the win! Looks like you put that kit to good use! LOVE the ballerina layout and all your cards are adorable!
Fabulouos job killing that kit! Love the flower vase card!
Love what you did with the kit! Your projects are soo great but I especially love how you dotted around the work on your PL spread.
Wow- LOVE how much you did with the kit. I loved that kit too and made 5 layouts with it!
WOW what a great job of using that kit up, and congrats on winning it. I have to say that flower card is just stunning and love all your PL stuff too. Great work 🙂
I love the title card you did… Thank you for sharing the dot technique you used! Great work getting through the kit too!