Layering with Pattern paper and TCP flair

 I love to layer pretty papers when creating my own project life style cards, I think the layers just make the cards really interesting and not so flat.  I also ink all the edges to make the colors pop.

One of my favorite ways to do this is with a Circle punch, or several,  in a variety of sizes.

 To start I chose to use a pad of 6×6 pattern paper from My Minds Eye Indie Chic collection I punched out several circles in different patterns and sizes.

I also used some layered stickers from the same collection to embellish my cards.  The circle “theme” is also perfect for embellishing with Flair buttons for added interest and personalization. My go to flair is always from TheCraftyPickle.

For this card I layered 3 circles in different patterns and sizes then embellished with this adorable doodle flower flair from TheCraftyPickle shop

This card has a beautiful 3D layered sticker and a Watercolor butterfly flair. Using the layered stickers and flair buttons just add that special touch to make this card pop with interest. 

I created a total of 4 cards for this set. I really like to have a few handmade embellished cards on hand to keep in my stash so I can just grab them when needed to fill in a layout. 

I also added some pretty sequins from the Spring Fling mix available in TheCraftyPickle shop.  They are my favorite  embellishment when I want to add a little bling. 

I hope this post inspires you to create a few handmade card to keep in your crafty stash.

Happy Scrappin’

Carrie for ThecraftyPickle.com

Happy Birthday America

I hope you are all enjoying your 4th of July celebrations with family and friends.  Today I wanted to share with you a fun shaker card I created to go in my Project life album. 


 When I saw this All American flair set and matching Star Spangled confetti mix from TheCraftyPickle shop I knew I was going to create a fun shaker card with them. 

 To create my shaker card I started with a 4×6 white card with rounded corners, I used my steel dies to cut out a few star shapes. 

 Then I cut a piece of clear plastic acetate 1/4″ smaller than the 4×6 card base.

 I attached the clear plastic to my card with some 1/4″ foam tape.  This creates the pocket for my confetti.

I then add a little liquid adhesive to my base and sprinkle a few stars down so they are stationary. Once dry I then add a lot more of my star mix, these will move around inside my shaker pocket.

To finish the pocket I attach another 4×6 card to the back on top of the foam tape, creating the pocket.

To complete my card, I inked and attached the star shapes that I cut out to make the windows. Last but certainly not least I added my two flair buttons from TheCraftyPickle.

 I love this fun interactive card… I could shake it all day. 

Thanks for stopping by today!

Carrie for ThecraftyPickle.com

Fantastic FlairTastic Friday!!!!

Happy Friday Everyone!

Every Friday though the summer months we will bring you a new idea/concept using flair. Your not going to want to miss these fun posts! These ideas will come from not only our designers but also super neat flairtastic ideas we find from our customers and other talented papercrafters. Make sure that when you share any of your projects on Instagram or Facebook using flair, that you tag it #FlairTasticFriday. You just might see your own photo featured here on our blog!

Super fun finds today on the blog ….we are going to be showing you different ways to display all of your beautiful flair!

First, check out the fun things we found using flair in artwork and displays!

5c097fd3e9a836c27949b06b707e97ea 3265ace006265a94b41edd0b64327f27 7ab17e5e99dafd4fd85af681e09da285 8d8360c5255ab41e009dee3637a35c75

We just loved all the different ways that people used flair as artwork and home decor…such wonderful idea to display all the fun flair from the store!!!

Found on
wedding decor ,Heart canvas ,Hoop , Frame it!!!

Next we have a few ideas from the TCP Designers!

First, we have an adorable table display that would be perfect for any party or even a wedding.  Carrie used some custom TCP flair and Graduation flair to decorate a table at her daughter’s graduation party.To see more about the custom flair that Carrie had created view her previous blog post HERE.

#FlairTastic Friday's: Displays @ TheCraftyPickle.com

Next, Joann is displaying something adorable and useful for your everyday. She decorated this inexpensive metal display board at the local craft store, added a bit of washi and some number flair from the TCP shop and she now has a great visual daily/weekly reminder of things going on for her family. Did you know you can make any flair button in the shop into a magnet? Setting up a fun calendar like this can be done in a snap! Stop by Joann’s blog for more info!

#FlairTastic Friday's: Displays @ TheCraftyPickle.com

Next up is Taniesa who has a special gift she created for her daughter for her birthday. Using pieces of clipart she found, she created flair that represents everything her 8 year old daughter is into at the moment. She then attached it to a painted canvas and filled in spots using buttons, gems, enamel dots, and other fun bits and pieces. Tutorial on this project is coming soon! You can create fun flair like this too by choosing the Create your own Flair listing in the TCP Shop!

#FlairTastic Friday's: Displays @ TheCraftyPickle.com


How will you display your flair?

We are so excited for this month and can’t wait to share with you all the exciting things we have planned! Foil Flair is coming and you will LOVE our Pickle Planner Flair! SO many more cute things too. It is going to be a very exciting month ahead! Stop by The Crafty Pickle Etsy Shop if you haven’t been by recently. We will be releasing a few little things between now and our next big release. We will also be having a big TCP Birthday celebration this month with giveaways and a brand new exclusive foil flair coming mid July!

Dont forget to use the hashtag #FlairTasticFriday to play along with us!

See you for more FlairTastic Ideas next Friday!

Till Then….

Happy Crafting!

thecraftypickle.com

Swim and a Movie night!!!

pop-close2 popcorn2

pop-close

We are starting something new at our house next week …”Swim and a Movie” …we are going to be swimming in the evening and are going to be watching a movie outside at our new house to have some fun!!!

So I made up these cute popcorn containers with this awesome movie night flair and the cinema confetti and sequin that goes with it perfectly in these little baggies that I had in my stash!!! These popcorn containers just needed a little hep of cuteness!!!

Everyone at the party is going to love these!!!

Product used:
Cinema Confetti and Sequin
Movie Night Button Flair

kristin  for ThecraftyPickle.com

Super Sweet Wedding Card!!!

Happy Tuesday!
Joann here today sharing a wedding card that I made using the CTMH Cricut Artiste Cartridge!
When this cartridge came out I fell in love with it. It has so many great cuts, which include tons of 3D items, boxes, labels, cards with envelopes, phrases and much more (check out the handbook here).  I cut the frame (pg. 60) and the phrase (pg. 61) from the CTMH Artiste Cartridge.
I cut both images twice, once out of black and once out of a light grey cardstock to help add a little shadow. I also cut a few stripes of pattern paper to add to the left side of the card and a stripe of CTMH Cotton Candy cardstock to help add some color.
I finished my card by adding a heart flair from TCP Watercolor Hearts and some TCP Something Shiny sequins.
That is my card for today, thank you so much for stopping by! Don’t forget to stop by the shop to take a look and pick up some goodies!
Supplies used
b600a-tcp2bdt2bpost2bbadge

Happy Mail

Hi there, today I am going to share something a little different with you. I would like to share my process for creating some PL cards for a swap at PLCS. The theme of the swap is Happy Mail and I knew that I had to use these fabulous Happy Mail flair badges from The Crafty Pickle Shop for my cards. I have to say that the font is super cute but the silver glittered words is what sold me. I hope you enjoy watching my process of creating these cards.


Treasa for ThecraftyPickle.com

YAY for FlairTastic Friday!!!

Hi Crafty Friends!

It’s Friday and you know what that means?

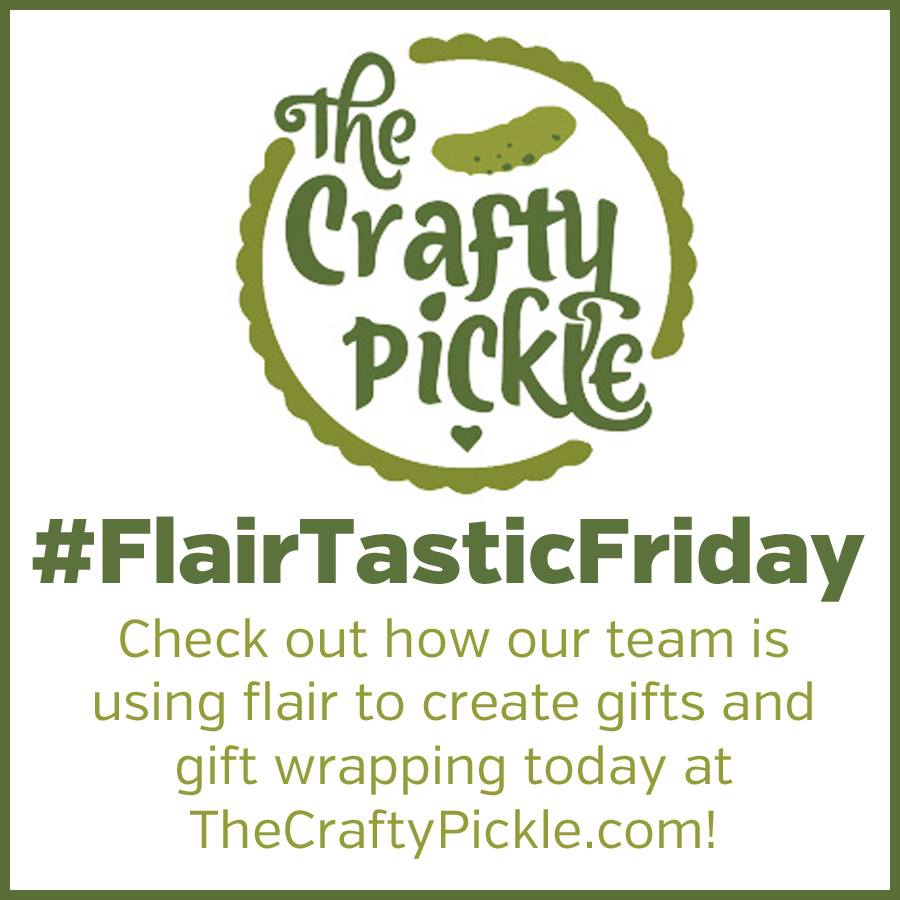
It’s our first FLAIRTASTIC FRIDAY FEATURE!!!!

Gifts using Flair @thecraftypickle.com #FlairTasticFriday

Every Friday though the summer months we will bring you a new idea/concept using flair. Your not going to want to miss these fun posts! These ideas will come from not only our designers but also super neat flairtastic ideas we find from our customers and other talented papercrafters. Make sure that when you share any of your projects on Instagram or Facebook using flair, that you tag it #FlairTasticFriday. You just might see your own photo featured here on our blog!

Today’s theme is using flair in either a gift or gift packaging. I love how creative our designers got this week and I know you will too. These are just a peek of their projects… make sure you pop by each of their blogs to find out more details on these awesome projects and see even more flair inspiration!

11221826_10207398122339658_7745996532712887847_n

Isn’t this little pad of paper and pen set made by Treasa so adorable? I could totally see this as a fab teacher gift or it would cheer up any office cubical or even a note station by the phone! I will definitely be making a few of these, Thanks for sharing Treasa!!! Visit Treasa’s blog HERE.

Gifts using Flair @thecraftypickle.com #FlairTasticFriday

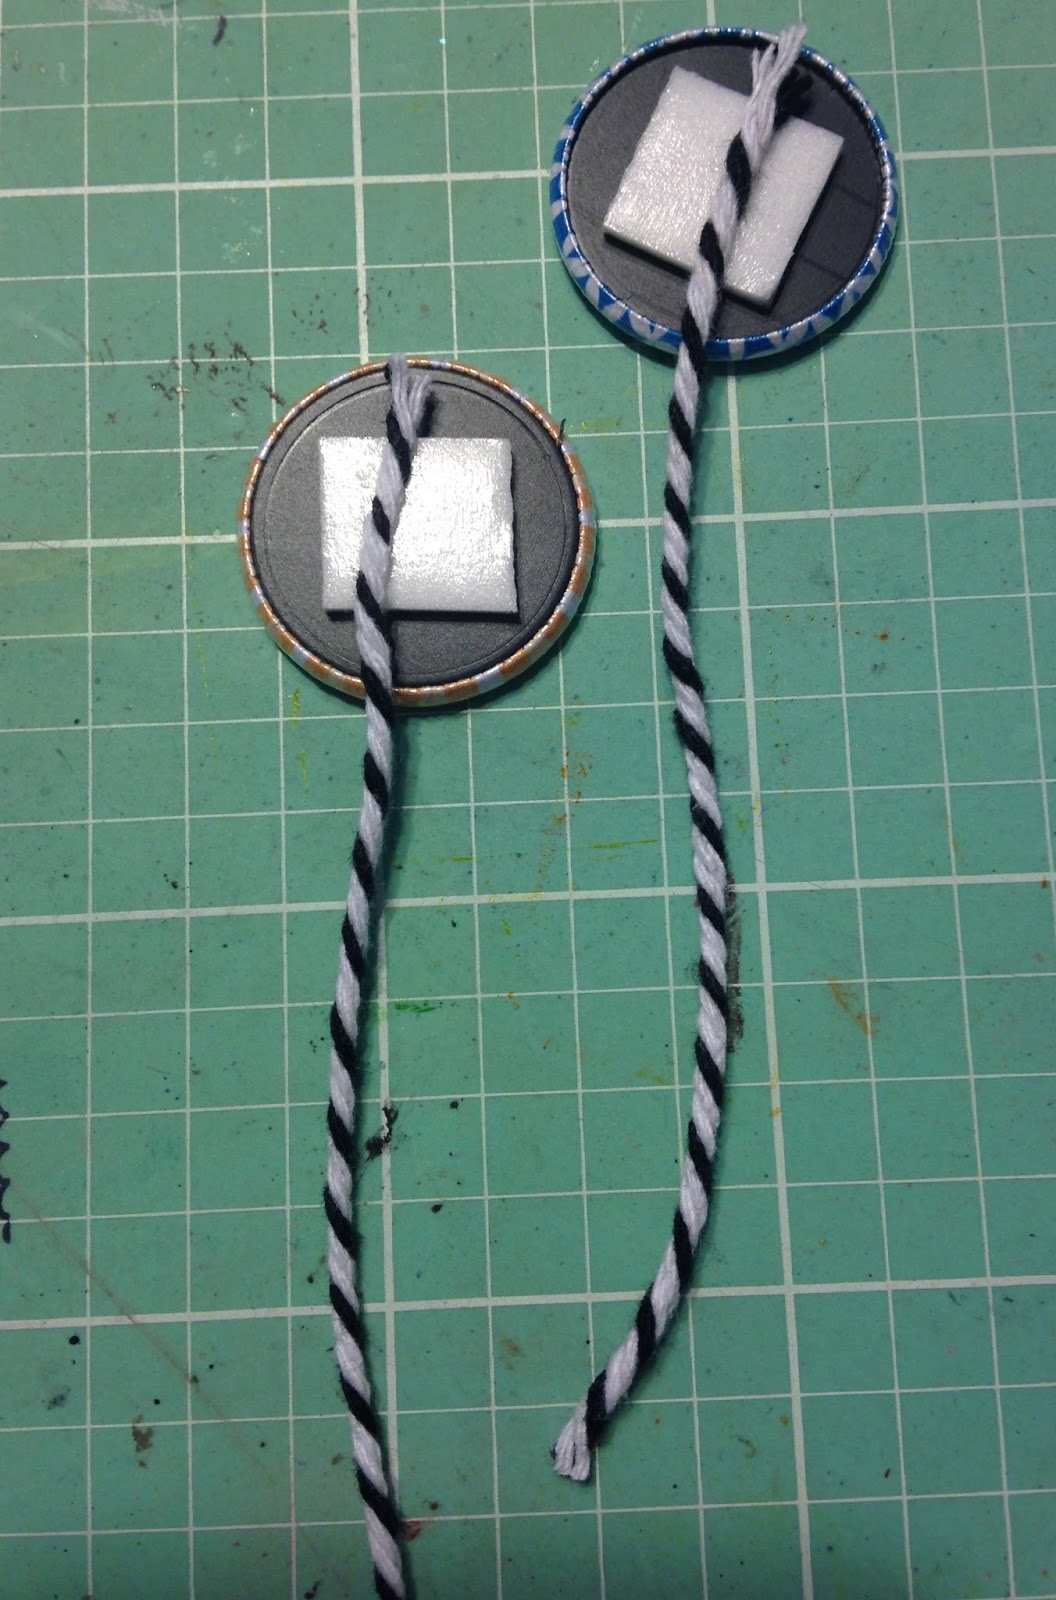
Flair is the perfect little embellishment to add to a cute bottle of bath soap or lotion. Our designer Kristin added our surprise flair with some die cuts for a cute little gift embellishment cluster. LOVE this idea. Couldn’t you see dressing up a bunch of bottles of antibacterial gel and passing them out at wedding or baby shower? LOVE this idea, Kristin! Stop on by Kristin’s blog right HERE.

Gifts using Flair @thecraftypickle.com #FlairTasticFriday

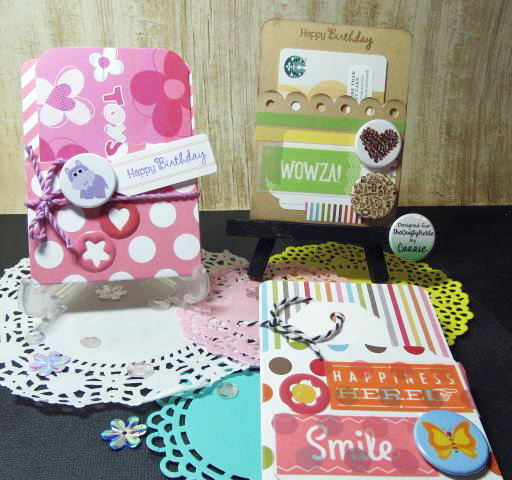
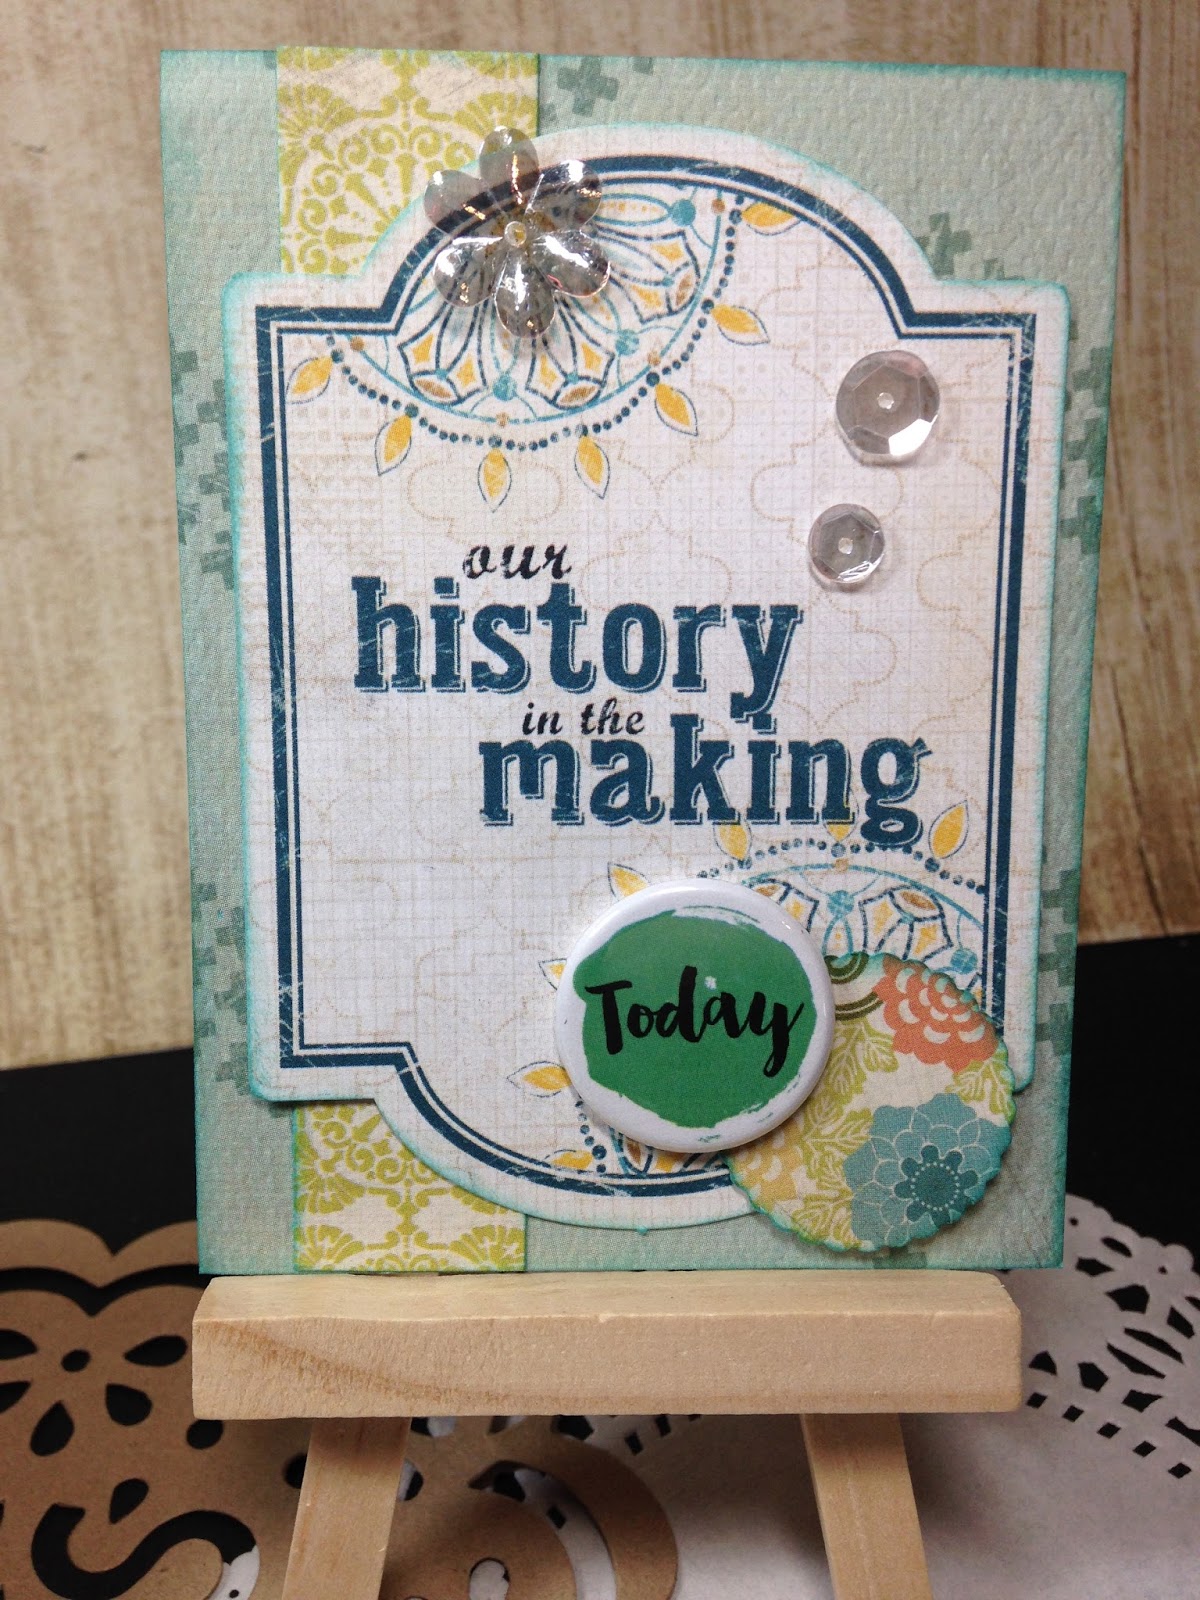
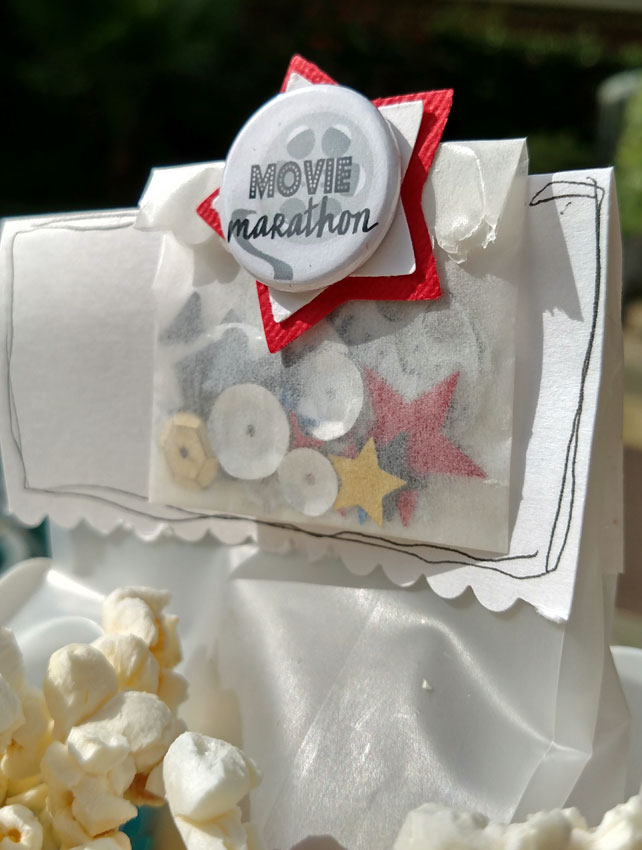
Designer, Carrie whipped up these cute little gift tags and gift card holders. These are great to have ready for last-minute gift giving. Even topping a plain wrapped gift with this cute little tag pocket would just add the perfect touch! Great idea, Carrie! Stop by Carrie’s blog HERE.

Gifts using Flair @thecraftypickle.com #FlairTasticFriday

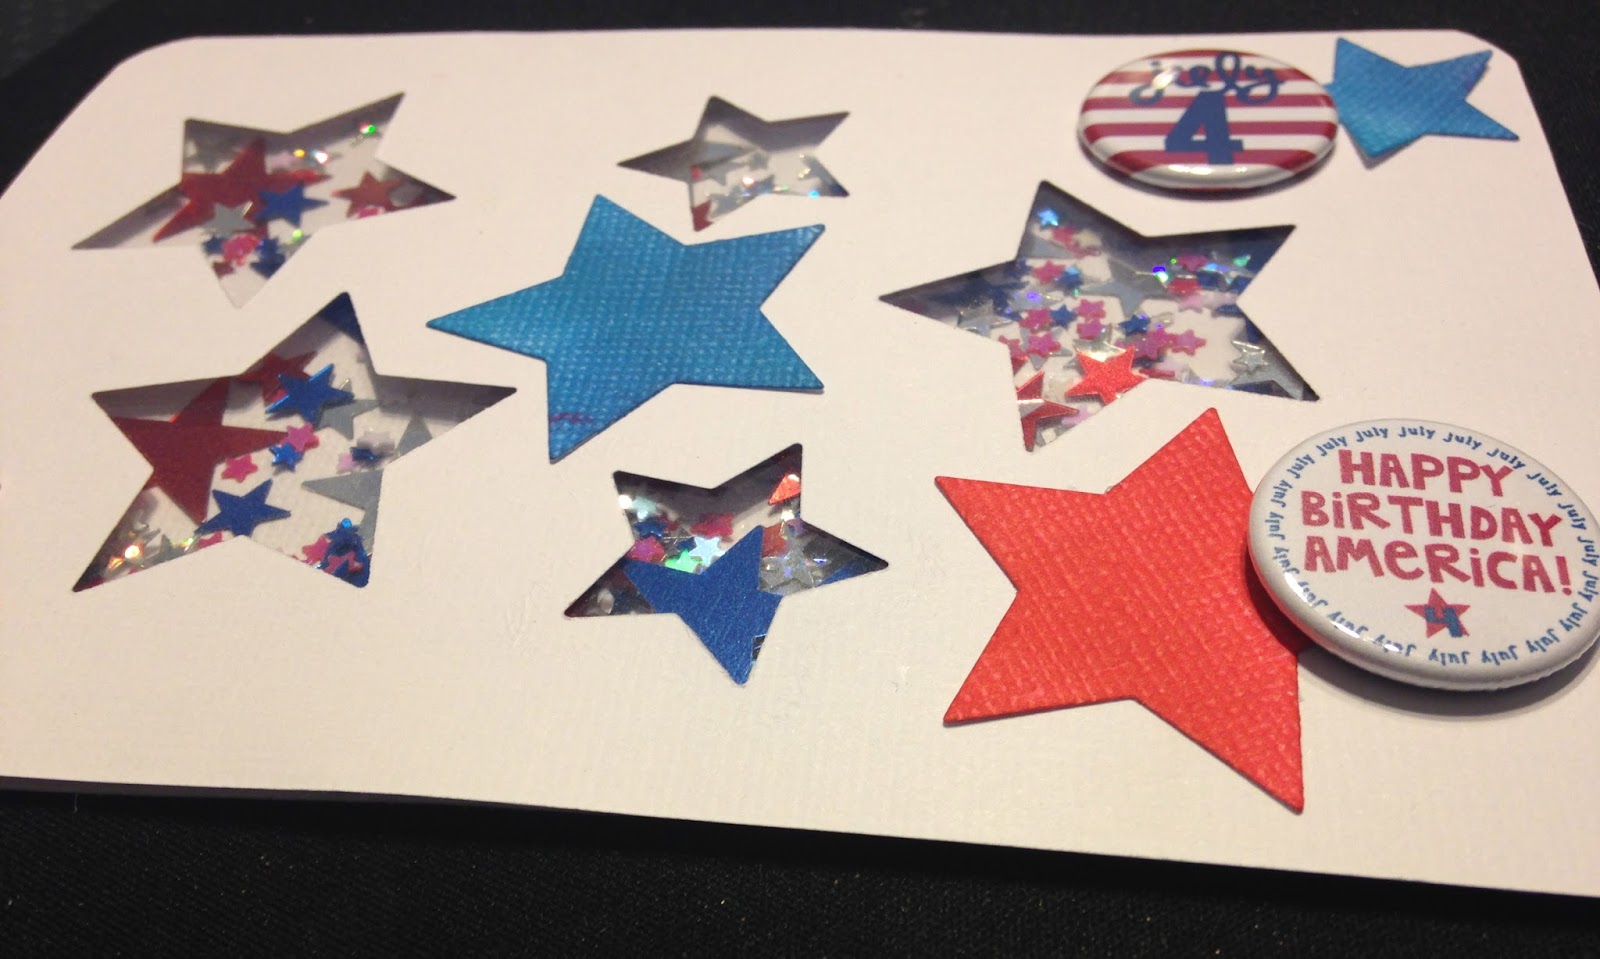
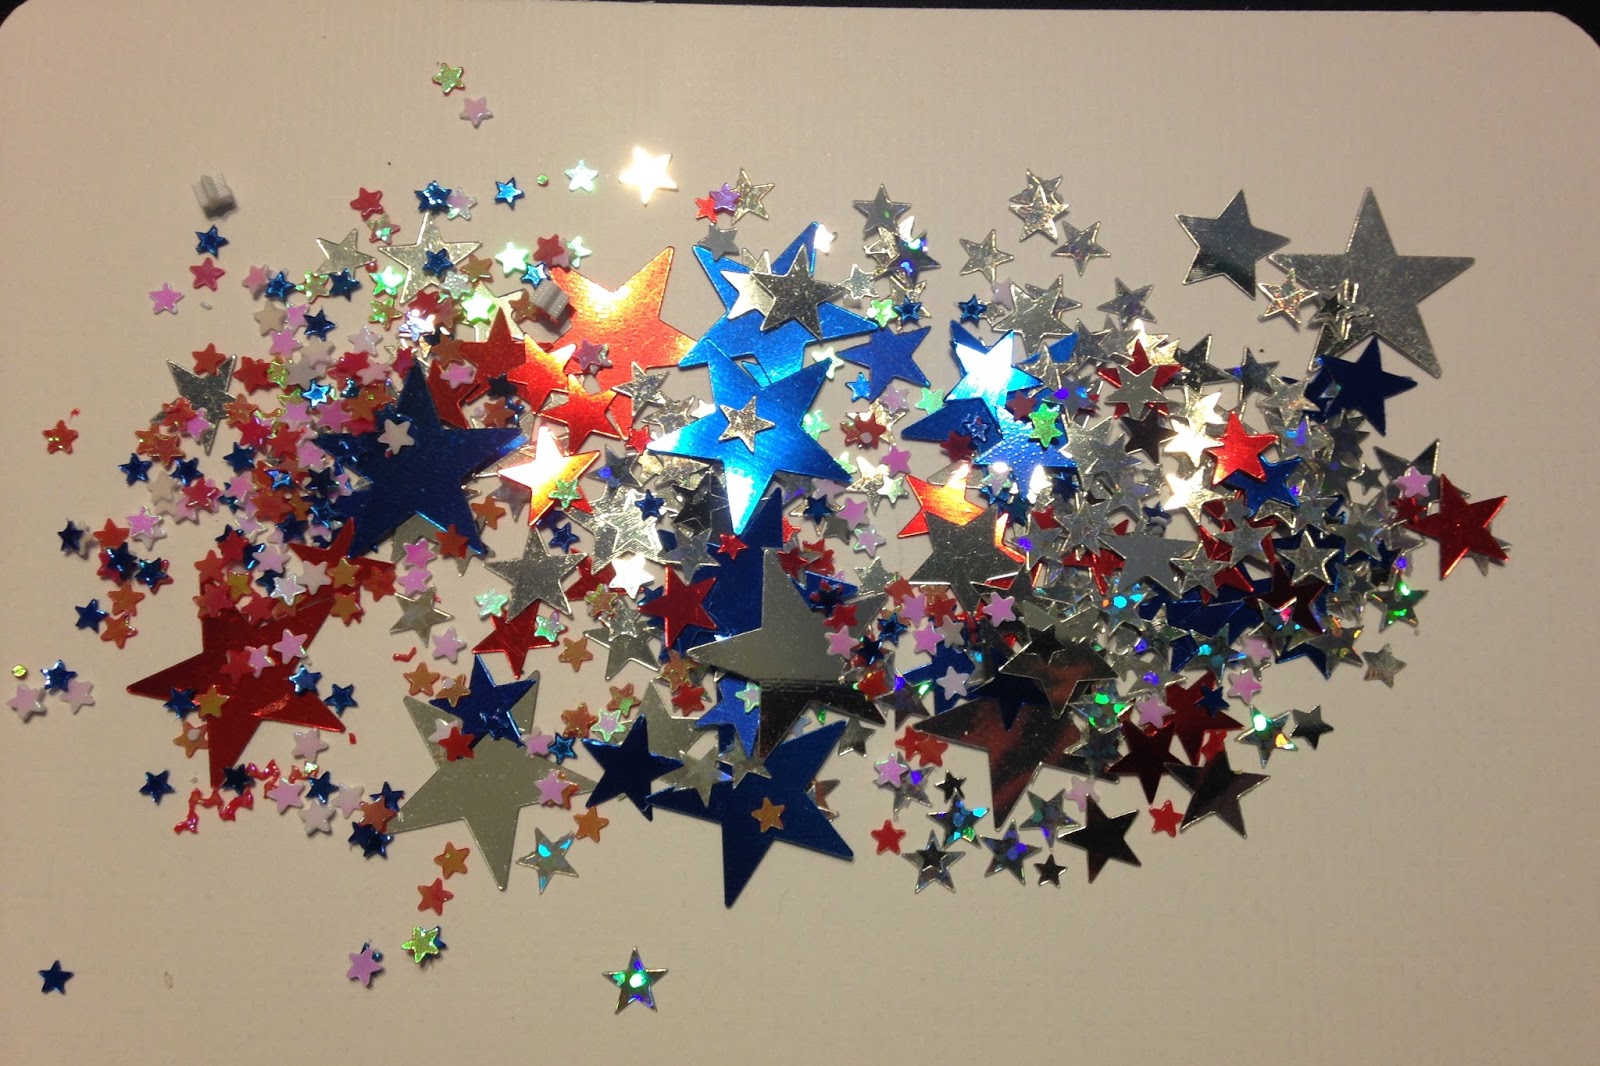
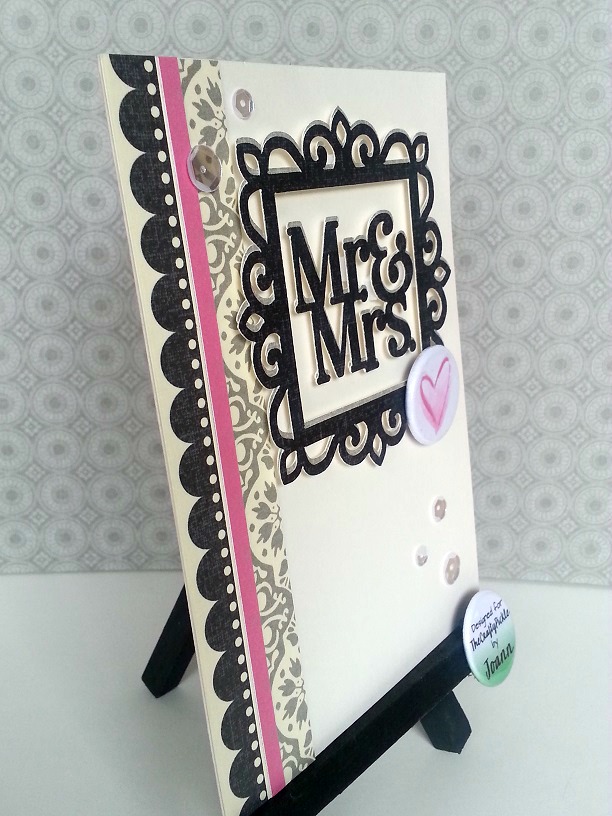
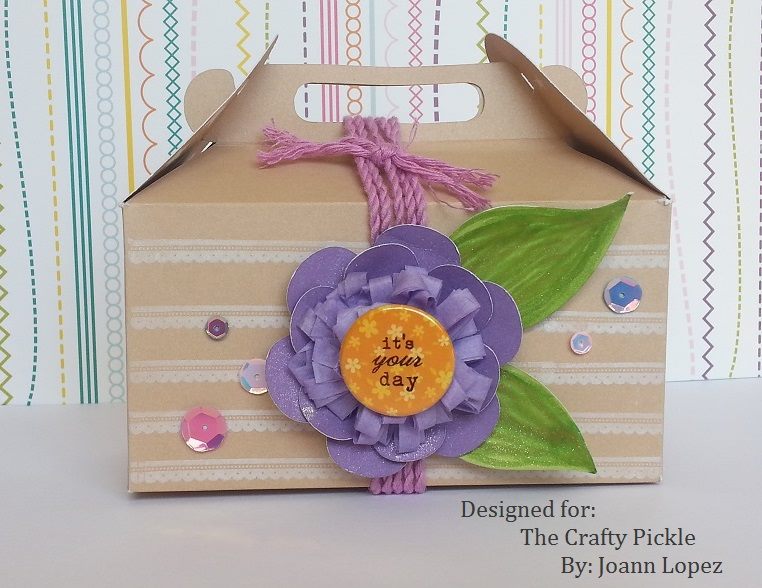
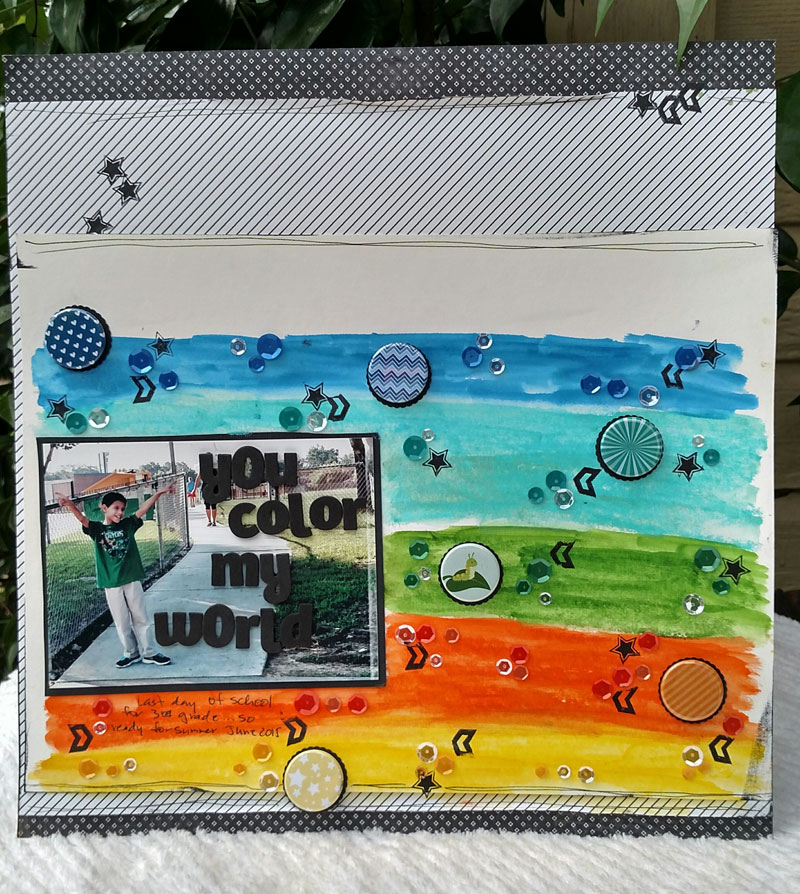
Last but certainly not least is a great gift wrapping idea from our designer, Joann! She used her CTMH Cricut cartridge, Flair, and sequins to dress up this gift for a friend. My most favorite thing about this is that she took our Color Pop Flair and used stazon ink and STAMPED DIRECTLY ON THE FLAIR!! WHAT?!? How come I never thought of this before? Genius I tell you, Genius! It makes me look at our color pop flair in a whole new way. If I were to get a gift like this, It would be hard to open it because the outside looks so very pretty! Thanks so much for sharing this with us Joann! Check out our sweet Joann’s blog HERE.

Our Designer, Stephanie is on vacation but she will be back with the rest of our team very soon to share even MORE #FlairTasticFriday ideas with you all!

I can’t wait to share with you all the exciting things we have planned in the next few weeks including a HUGE shop update! Foil Flair is coming and you will LOVE our Pickle Planner Flair! SO much more cute things too. It is going to be a very exciting month ahead! Stop by The Crafty Pickle Etsy Shop if you haven’t been by recently. We will be releasing a few little things between now and our next big release.

Dont forget to use the hashtag #FlairTasticFriday to play along with us!

Wait until you see what we have in store for you next week!

Till Then….

Happy Crafting!

thecraftypickle.com

Happy Card featuring Color Pop flair

Hi Carrie here to share with you today a fun Birthday card I created using some of my favorite flair embellishments from #TheCraftyPickle

The flair I used is from the Color Pop line from The Crafty Pickle.  There are nine different sets of Color Pop flair in a rainbow of colors.  These flair embellishments are the perfect embellishment for any layout, card or crafty project.  I just love how versatile they are. 

I started with a cut out banner card. I traced out the banner with a pencil then stamped HAPPY into each banner

Then I colored in each banner with my Spectrum Noir color pencils in a rainbow pattern. 

To Create my Balloon bouquet I used my Ranger circle blending tool and Distress ink The colors I used are spun sugar, spiced marmalade, tumbled glass, mustard seed and mowed lawn.

I added some twine to the back of my flair buttons with 3D foam squares. Then I clustered my flair in a Balloon Bouquet tied with a bow.  I think my card came out super cute.

Be sure to pop over the TheCraftyPickle shop and pick up some Color Pop flair for your next Crafty project.

Thanks for stopping by today. 

Carrie for ThecraftyPickle.com

Bugs Everywhere!

loving my life

How cute is this fun little pocket page with lots of cute little bugs all over the page!!! Super sweet page with two different sets of very fun little bugs to add to any page!! She used the dragonfly from the Cute  Bug Button Flair and the new, bird and butterfly from the Spring Flair Collection.

Products used:

Spring Flair Collection

Cute Bug Flair

stephanie for ThecraftyPickle.com

Color Color Color!!!!

My son loves rainbows and lots of fun colors so the Color Pop Flair is just perfect for any of the pages that I put together with just a little “Pop” of color!!!

On this page I wanted the flair to be show cased so I added my favorite circle punch to the back of each flair with black cardstock and then used black stamping with the CTMH Stamps and all the great color mixes of Sequins to this page …because both my boys “Color my World” for sure!!!


color

And then here is the close-up:

color-close

Here is a list of the products that I used:
Something Shiny Sequins
Winter Sequins Mix
Christimas Holiday Sequins
Aqua Blue Yellow Orange Color Pop Flair
Cute Bug Button Flair