
Minnie and Me!!!

Hi, Joann here today sharing a birthday card with you using the Close to My Heart “Build-a-Cake” stamp set!
Here it is…
This is a really fun stamp set to have! I started off my stamping my cake image using CTMH Inks in colors Black, Honey and Cotton Candy! I did want to point out that the top layer image of my cake is part of the stamp set (the original image has some flowers, but after I stamped my image I took a blending pen and some of the Cotton Candy ink and filled those flowers in to give me a polka dotted cake layer). I then took a black gel pen to outline my cake and add some small details to my flower on top and simply layered my top panel to some pattern paper.
I completed my card by stamping my sentiment onto some vellum and adhered both my sentiment and some AWESOME TCP Relish Mix to my card. I know in the first picture my top left sequins look a bit purple but it’s actually pink, I think my light was hitting it a bit too much, but you can see the pink in the second photo a lot better.
Well that is all for today, thank you so much for stopping by! Have a fabulous day!
Here is a look at the stamp set I used!
So in love with these stamps from Close to my Heart …it made it so easy for me to complete this fast and easy page…i tried t keep it black and white with just a little pop of color from Ace’s cat bed!!! Ace is such a sweet cat and loves our family and we love him right back!!!
Here are a few close-ups of my page:
And here are the products that I used:
Close to my Heart- Hello Summer Everyday Life, Hopscotch Alphabet, Love My Cat Everyday Life
Flair Meow
Flair “I love you to the moon and back”
Happy Tuesday, friends! Joann here today sharing a card with you using the Close to My Heart Cricut Artistry Cartridge.
Here is my simple card for today…
This cartridge seriously has some fabulous cut designs! I used the image on page 45 in the handbook to create my card with my Cricut. I started out by placing a 4 x 5 1/4 rectangle on my screen and placed the solid image (pg. 45 ) right in the center. I then hit the slice button to cut the image out, I used some CTMH Cardstock (this exact pattern is the retired one, but you could definitely pick up the new patterns HERE) to use as my top panel. I also cut the coordinating “Grateful For You” image from the same page out of some brown card stock.
I then took my card base and placed my top panel on top and traced my image to it to cut it out with a craft knife, I did this because I wanted to add some acetate to see through the card. So when I was done with that I glued my acetate piece to my card base then layered my top panel and finally glued my “Grateful For You” image right in the center.
I finished my card by gluing some TCP Relish Mix and added some Wink of Stella glitter to my image. Super simple card but I really like the way it turned out! It’s also a great card to make multiples of if you need several because of the simplicity of it.
Well thanks so much for stopping by, have a FABULOUS day!!
Hi friends! Joann here today on The Crafty Pickle blog, thank you so much for stopping by!
As you may know, I own 4 out of 5 of the Cricut Collections that Close to My Heart offers. I absolutely love them. So with that being said I took one of the stamp sets from the Cricut Artiste Collection to create my card!
I started out with stamping and masking some balloons onto my front panel using CTMH Inks in colors Lagoon, Cotton Candy, and Honey and stamped the balloon strings using the same stamp set with some CTMH Black Ink.
Using the same stamp set from the Cricut Artiste Collection, I took one of the sentiments and stamped it with some Honey Ink and used my scissors to cut it out, there is an image on this cartridge that will cut this banner.
Before gluing my top panel to the base of my card, I took an older CTMH stamp set One Way Border and stamped one of the images multiple times with Black Ink to create a background. I finished it off by gluing my top panel down and gluing some TCP Relish Mix to my card.
Hope you enjoyed and thank you so much for stopping by! Have a fabulous day!
Supplies used
CTMH Inks Lagoon, Cotton Candy, Honey, Black
CTMH stamp set One Way Border
Hi there Crafty friends, it’s Lisa here today to show you a card I created for The Crafty Pickle.
For this card I used the Close To My Heart Thriller set. To obtain the “grunge” look for the background, I used Ranger’s Alcohol Ink and the Alcohol Blending solution. I mixed these together on a blending sponge and made quick dabs all over the cardstock. Once the cardstock was covered in color, I added the blending solution to the sponge and made quick dabs all over the cardstock. This blended all of the ink and made the colors look more cohesive. Once I achieved the look I was aiming for, I then sprayed the cardstock with the Black Soot Distress Spray to darken up the background a bit.
I stamped the sentiment “scary Halloween to you” on cardstock that I distressed with the Frayed Burlap Distress Ink. To finish the card up, I added a few sequins to the sentiment and the background from the Crafty Pickle Relish Mix.
I hope you enjoyed looking at my card, as soon as the Crafty Pickle shop reopens, be sure to take a peek at all the awesome Relish Mixes and Flairs to add fun to your projects.
Happy Monday!
I am super excited to share with you today a project I have been dying to try ever since I saw a demo video by the uber talented Tim Holtz. I will post the link to his video along with a list of products I used at the bottom of this page.
I really like this NEW “Fallen Leaves” stamp set by CTMH. The outlines are perfect for this technique. Follow the link to purchase one for yourself.
I stamped the leave images onto craft cardstock then stamped over a few with embossing ink and applied the Sticky embossing powder ( like liquid glue when heated )
then I applied the foil sheets in three different metallic colors. These foil colors are really pretty, the photo does not do them justice.
I fussy cut a few extra leaves after they were dry and adhered them to my card with 3D foam squares to add some dimension.
This is my finished card. I added a cream color photo mat to the Kraft card stock. I really love this technique and plan on foiling more in the future.
Thanks for stopping by today. Be sure to view Tim’s video to see his handy work.
Products used for this project:
Distress Inks in Vintage Photo, Rusty Hinge and Wild Honey
Ranger Sticky Embossing Powder
Ranger’s Transfer Foil Sheets : Vintage foils
Tim Holtz Ranger Demo – Sticky Embossing Powder with Foils – CHA 2015
Hi, Joann here today sharing two Christmas cards that I made using the Close to My Heart “Make It Merry” stamp set.
Here is my first card…
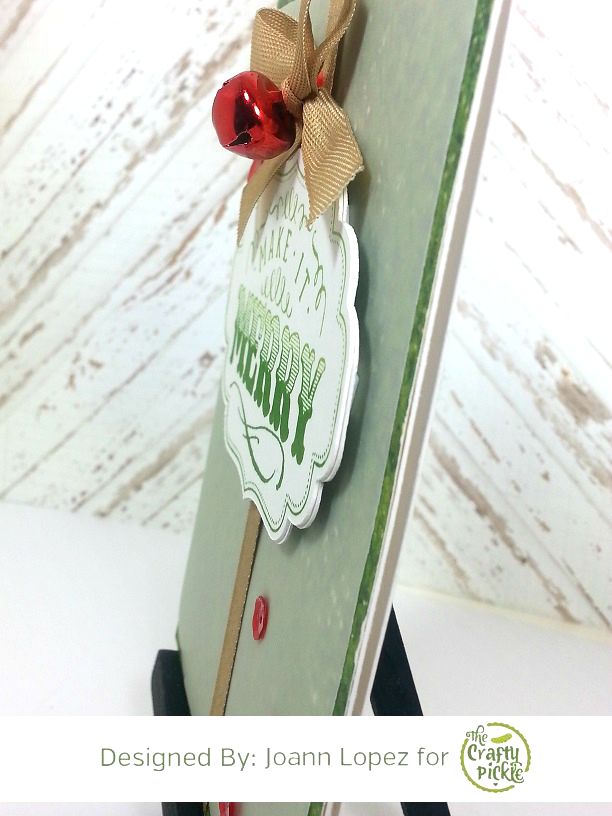
I used CTMH Artbooking Cricut Cartridge to cut my tag, which coordinates with this stamp set. I took CTMH Pear and Topiary Inks to stamp my image onto my tag (I tried to create an ombre effect, it’s acutally a bit more noticeable in person). I cut a piece of vellum a bit smaller than my colored card stock and then tied some ribbon to my top panel before gluing it down to my card base.
I finished it off by adding a bell to a bow I tied, scattered a few TCP Relish Mix and popped my label on some foam adhesive to add a bit more dimension to my card. That is all for this card!
Now my next card is mimicking a card that I posted on my blog a few days ago. I loved how it turned out, I did make a few changes to make it a little different.
Here it is…
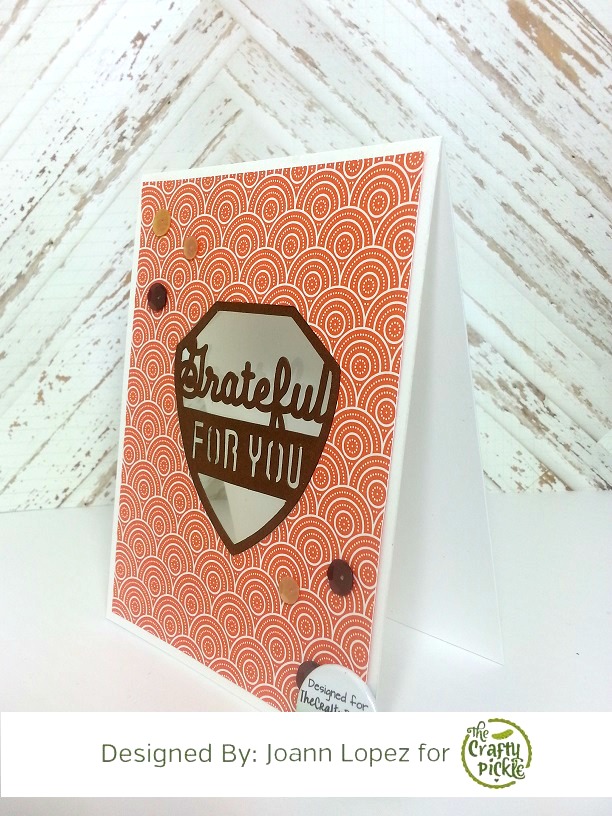
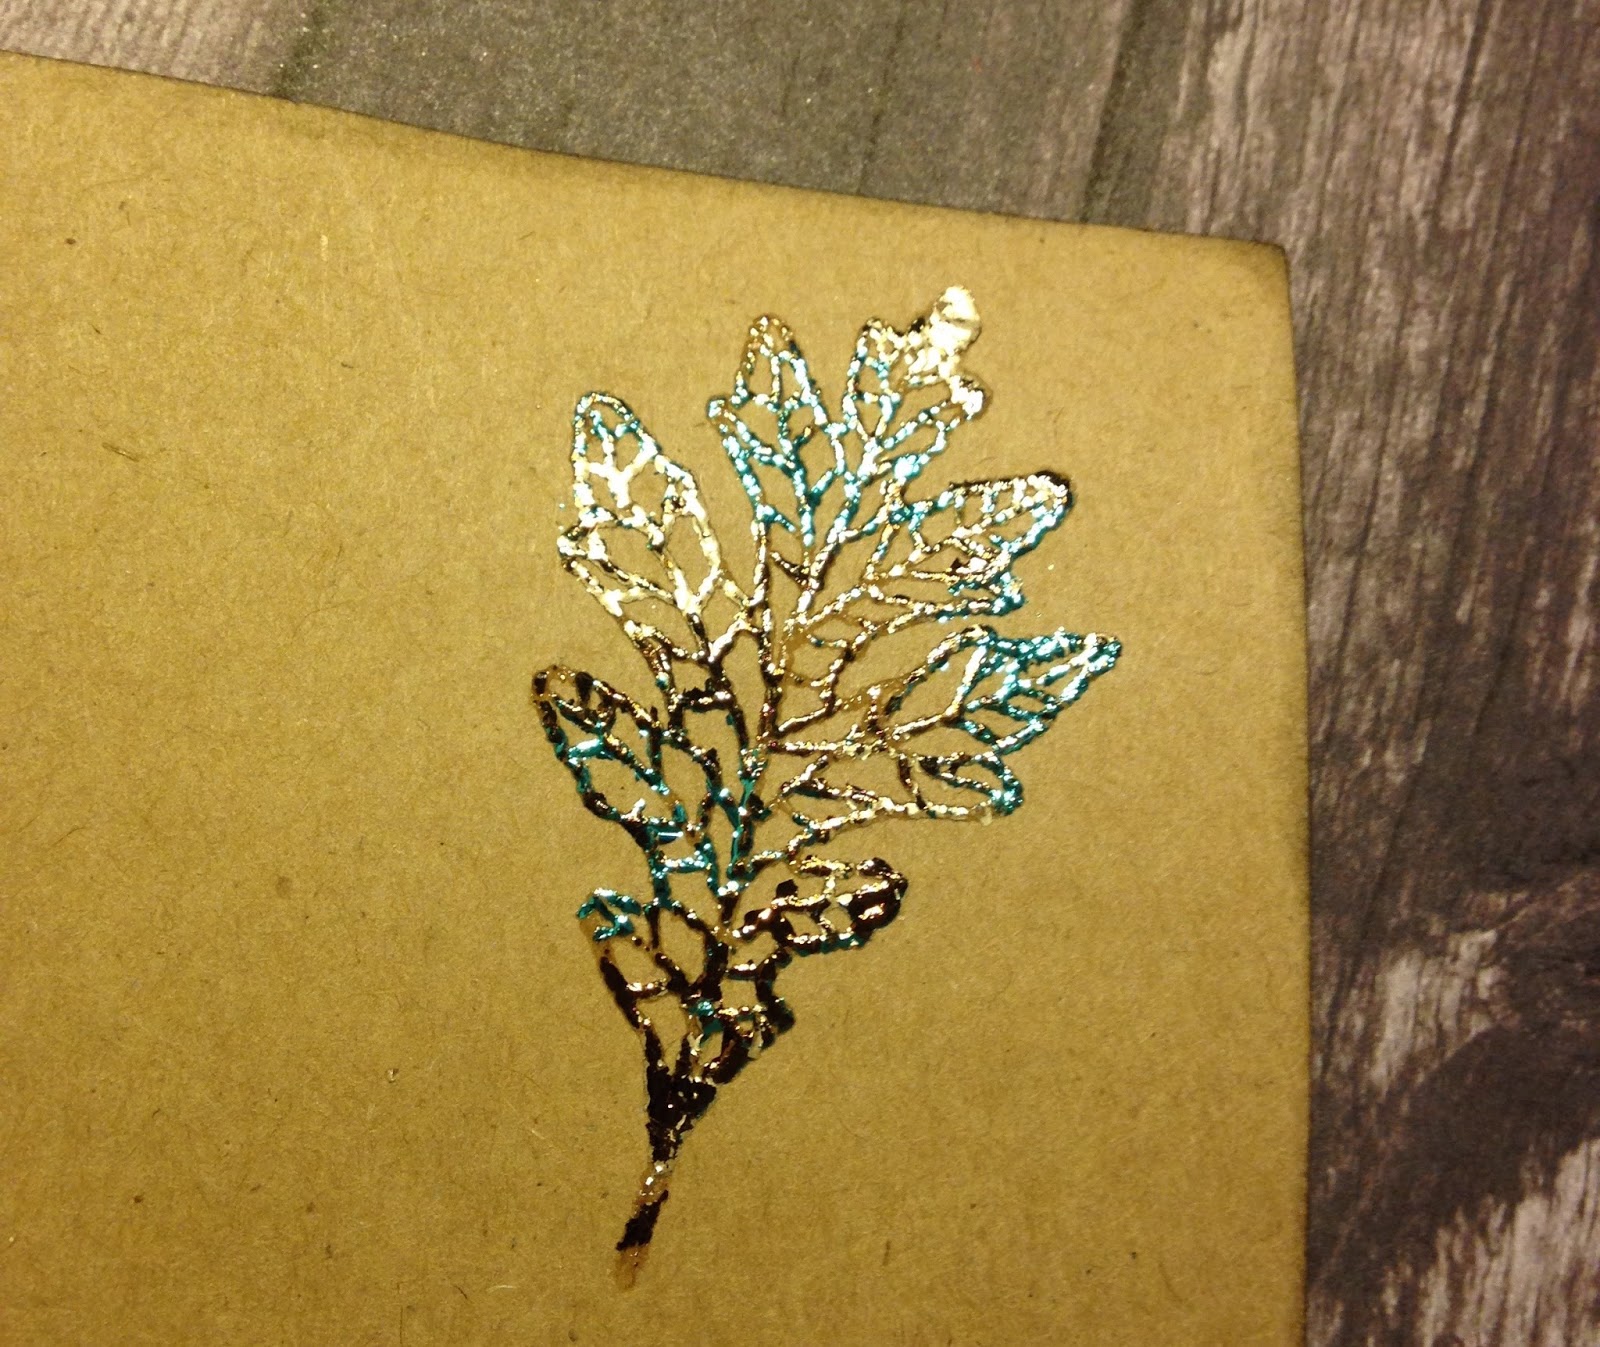
I took some stitched circle dies I have to cut my circles out of some pattern paper. I stamped my sentiment, also from “Make It Merry“, onto some vellum with VersaMark and heat embossed it with some black embossing powder.
I drew some white lines and then glued my circles down, adding some dimension to 2 of them. I scattered some tone on tone TCP Relish Mix to match with the pattern paper. Super easy and simple!
Well that is all for today! Thank you so much for stopping by!
Supplies used
CTMH Artbooking Cricut Cartridge
Close to My Heart “Make It Merry” stamp set
Happy Tuesday to everyone checking in on the blog today …
First there really are no rules to journal in your Bible but I got this cute little card in the mail the other day and thought I would share it ….I am no expert in this field just enjoy playing in my Bible …
I usually come home from church on Sunday and that evening try and make my little entry into my Bible ..sometimes I like to think about what I am going to do for a bit and sometimes I just want to do a little bit in my book..just depends on my mood … but all the products from the store work fabulous for my book and all the CTMH
stamps work wonderful in the side margins of your journaling bible also…
Check out my sweet page….
I used:
Close to my Heart Stamps
Valentine Flair
Pickle relish mix
Washi tape
Thanks for looking at my work!!!!