
Hi Crafty Friends!
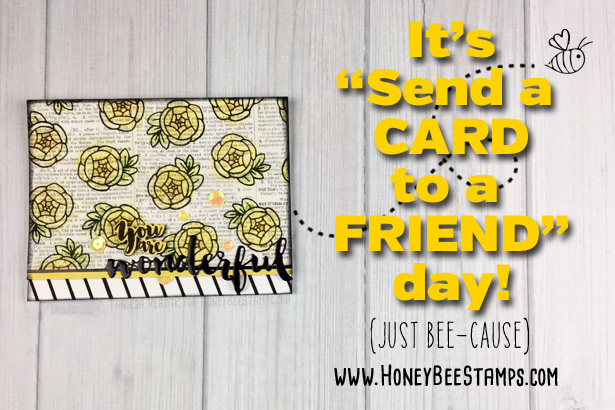
Did you know that today is “Send a Card to a Friend Day”? I didn’t even know it was a thing, but there is a holiday and occasion for just about anything now days and this is one I can completely get behind. I don’t know about my fellow card makers out there but I am horrible about actually getting my cards in the mail and in the mail on time. Today is the perfect push to grab some cards and send them to your friends… Just BEE-cause!
Today’s card features the Honey Bee stamp sets “Zen Bouquet”, “Camera Love”, and “Beautiful Life”. I also used the Stand alone “Wonderful” die and the matching die set for “Beautiful Life”.
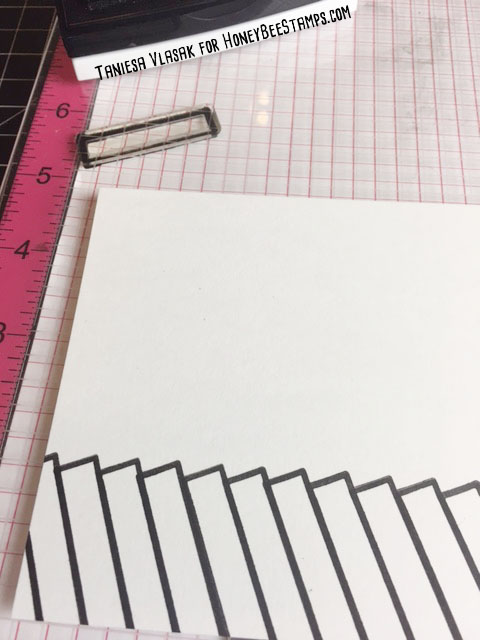
So I had a general idea of the card design in my head and I knew I wanted a striped border at the bottom of my card. Problem was I didn’t have a background stamp or border stamp that was a stripe. So I got a little creative and pulled the little label stamp from the Camera Love stamp set and with the help of my Misti, I made my own border using versafine onyx black ink.
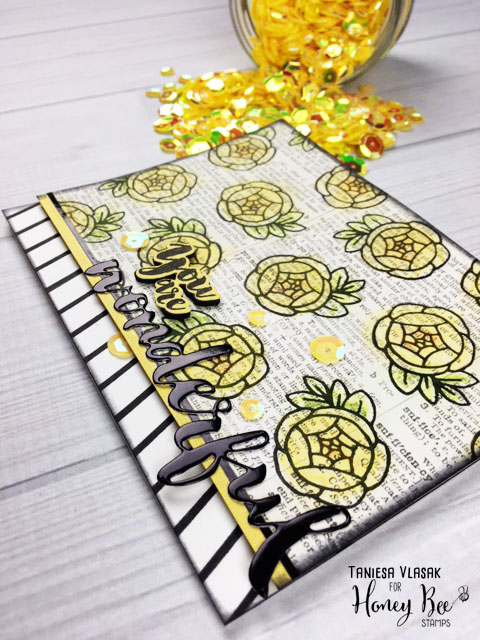
Next I pulled a piece of text like patterned paper that I had in my scrap pile and stamped this large flower from the Zen Bouquet stamp set with the same versafine onyx black ink in a random pattern.
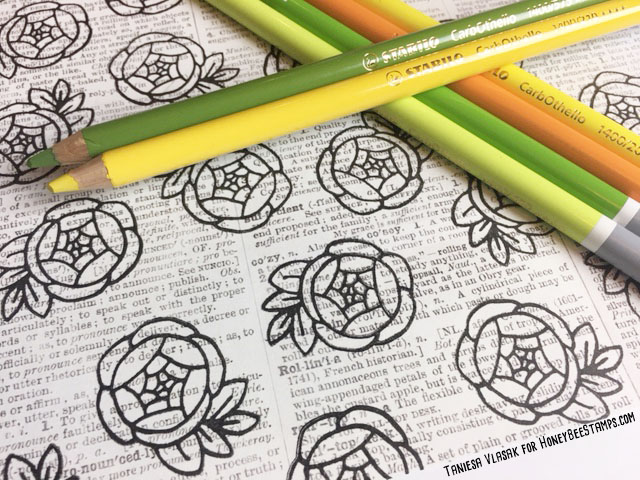
I colored the flowers and leaves with these chalk pastel pencils that I have been playing around with. These are from Stabilo and they are called CarbOthello. They really are great for adding color and shading die cuts! I simply scribbled on the color, super easy and quick!
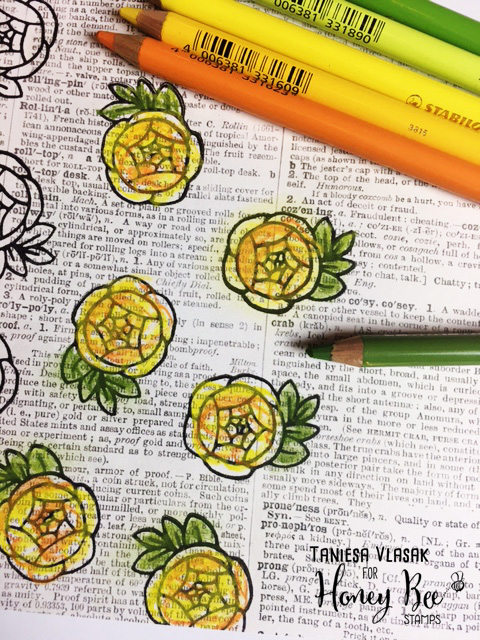
After I was done scribbling in that color, I just smudged the color around with a Fantastix blending tool. You can use a qtip, makeup applicator, or even just your finger is fine.
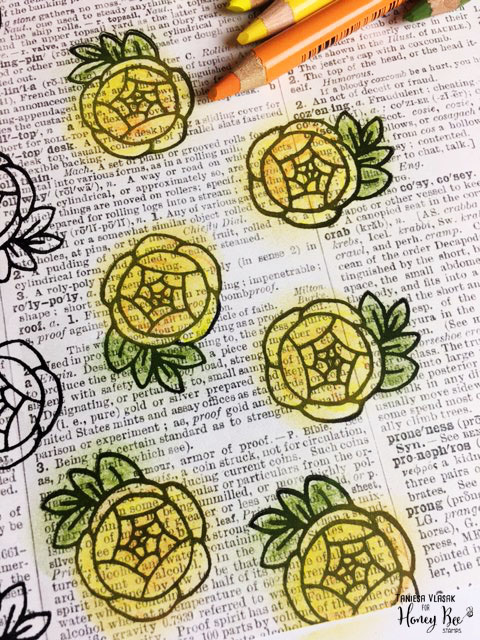
I wasn’t careful about staying in the lines. In fact I like the glow like effect when I didn’t stay in the lines.
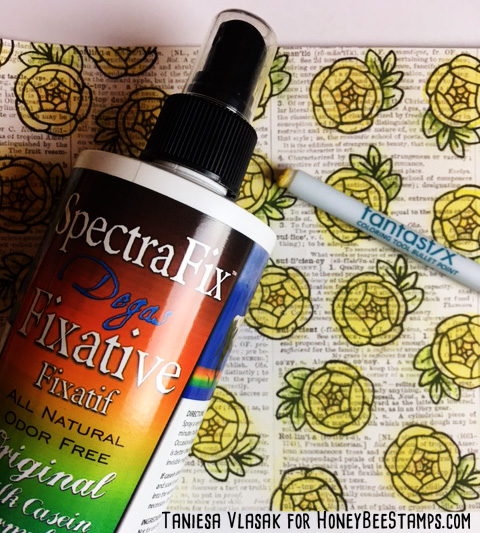
After all the coloring was done I lightly misted my paper with a fixative as you see above. If you don’t have a fixative like this you could use something as simple as hairspray.
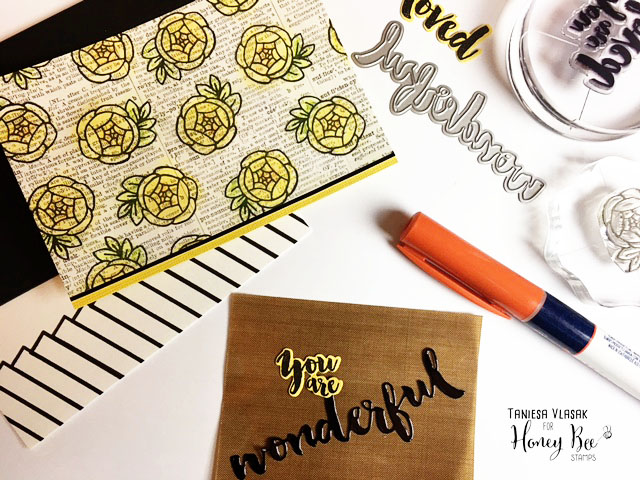
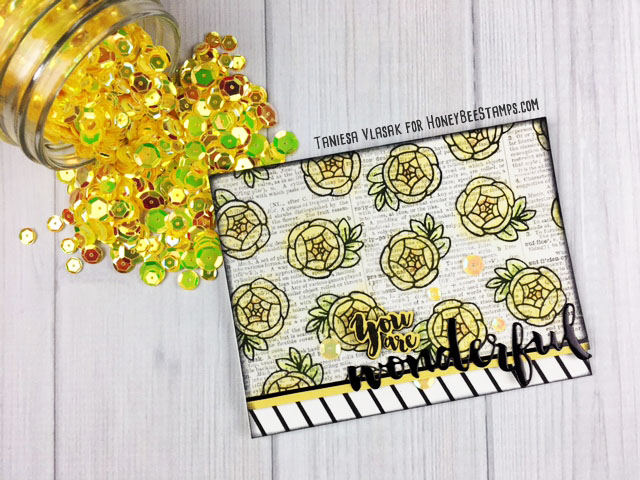
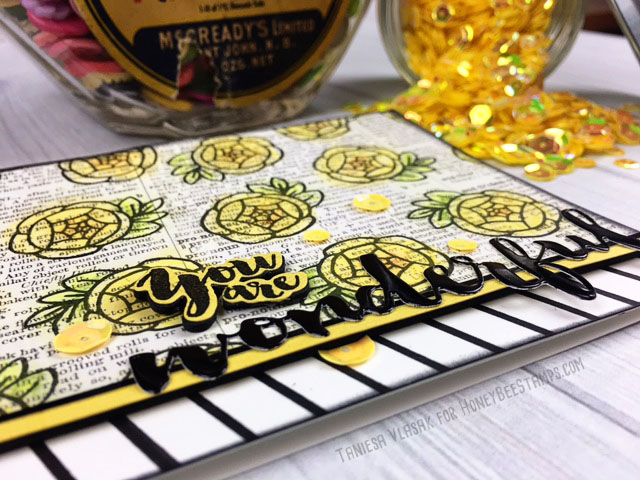
I trimmed the floral panel to size and glued it to a piece of yellow cardstock that was slightly longer than my floral panel. I added a thin piece of glossy black cardstock as an accent piece. From that same glossy black cardstock I die cut the word “wonderful” and set aside. I stamped and die cut the “you are loved” stamp from the “beautiful life” stamp set out of yellow cardstock and black foam. I cut away the word “loved” and replaced with “Wonderful” instead.
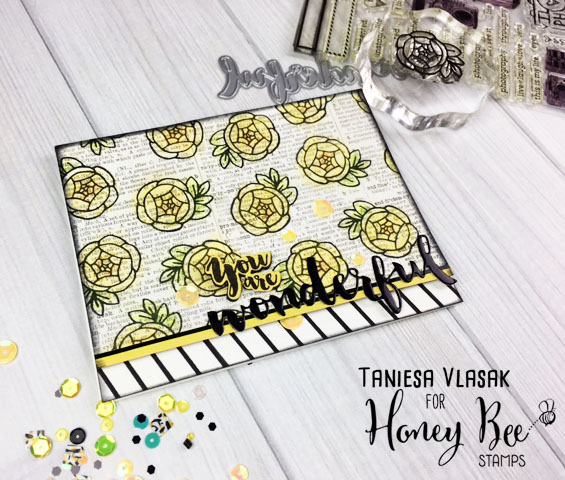
Time to put it all together. I put a piece of foam behind the floral panel and then adhered that to the white striped edge cardstock panel which was cut to 5 1/2 x 4 1/4. I glued down the wonderful so that it hung off the edge of the top panel just a bit and then glued the foam backed “you are” piece above the main sentiment.
Once all that was done I placed the completed panel on a A-2 size card base. I think this is a great card to send for any occasion but especially to a friend, just because, to let them know you are thinking of them.
I hope that you are encouraged to brighten someone’s day with a little happy mail today!
Listed below are the supplies I used today. Affiliate links are used where available (at NO cost to you, they help me with the cost of running my blog and I am so thankful for your support!)
 |
 |
 |
 |
 |
 |
 |
 |
 |
 |

