Surprise 2nd BEE-day Blog hop (and a swarm of awesome new releases!)

Hap-BEE Friday, Friends!

We have enlisted some very talented designers to help Surprise Melissa (the owner of Honey Bee Stamps) for her 2nd Honey Bee Stamps Birthday. Be sure to hop along for all the fun & prizes!! Each stop on the hop will have a drawing for a FREE stamp set of their choice from the Honey Bee Stamps store. Be sure to comment at each stop to enter all of the drawings. The winners will be announced on the Honey Bee Stamps Blog on May 3rd at Noon PST.

 I have to say this month’s new release is my favorite so far. I sat down to make one card and ended up making a few more. I’m telling ya, my mind was buzzing with ideas for these new products.

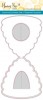
My first card is this cute bee hive card which is a shaker card.

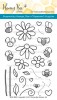
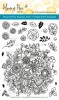
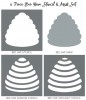
I made this card using the new Hive card die and Hive stencil set. I also used two of the bees from Busy Bees and the Bee-You-Tiful sentiment set.

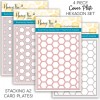
I love that the stencils make shading the hive super easy. I used my distress inks and finger daubers to do the shading. the inside of the shaker has the new layered hexagon die cover plates cut apart, and I used Nuvo Drops to add Honey like accents. I filled the shaker with the special birthday Honey Jar sequins mix and of course that cute little busy bee!

Next card is another hive, but this time I used only the stencils. All 4 of them actually. I used the hive cut out to lay down color, the two shading stencils to give detail, and then when I was all done with that I used the hive cut out piece as a mask and applied the blue distress ink background.

The leaves are from the Busy bees stamp set. I just made a branch with a zig clean color real brush brown marker. The hexagon confetti / sequins is in the spring sequins pack. The cute little bee is from the Build a Bee stamp set.  The bee is actually on a little action wobbler and, with the addition of the google eyes, it makes for a very fun interactive element.

This next card was totally inspired by a pack of acrylic mirrored hexagons I have been hoarding. You could achieve a similar look with mirror cardstock that I used as an accent strip along the side of the card.

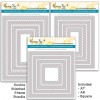
I colored my little build a bee with my zig markers and added some hexagons that I cut out using the new stack hexagon dies. I also added those awesome hexagon mirrors. I think the patterned paper along the side added the perfect final touch. I love this sentiment from the Bee You Tiful sentiment set. I think it’s the perfect card to remind someone how bee-you-tiful they are, inside and out.

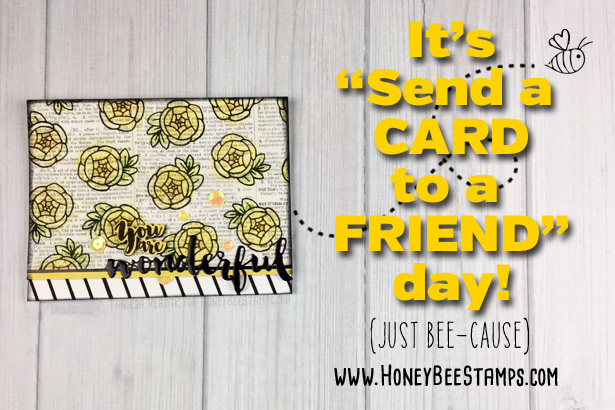
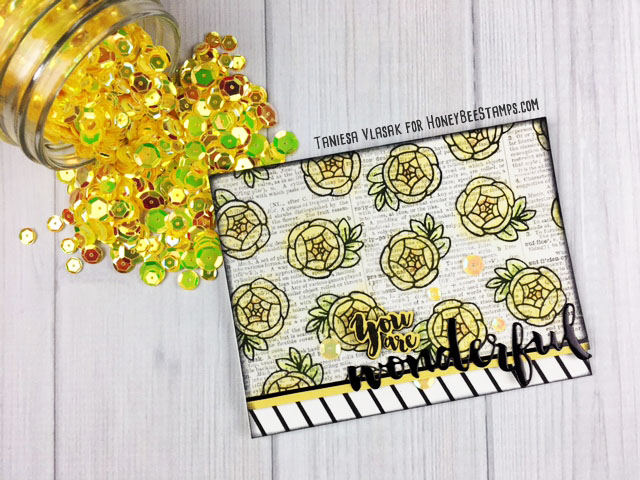
Okay, now a super quick card that is great for any of our new buzz words

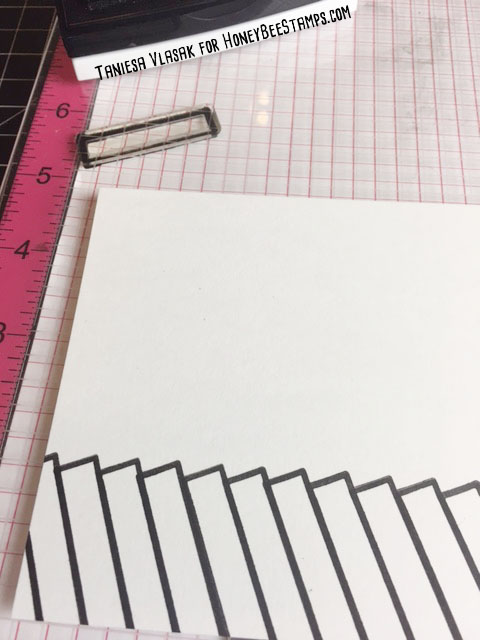
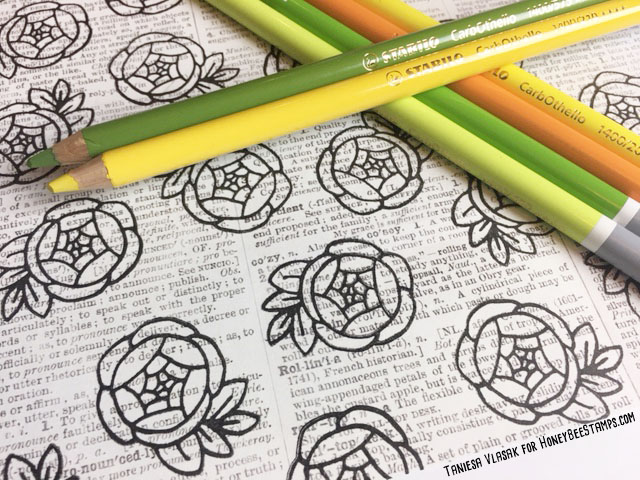
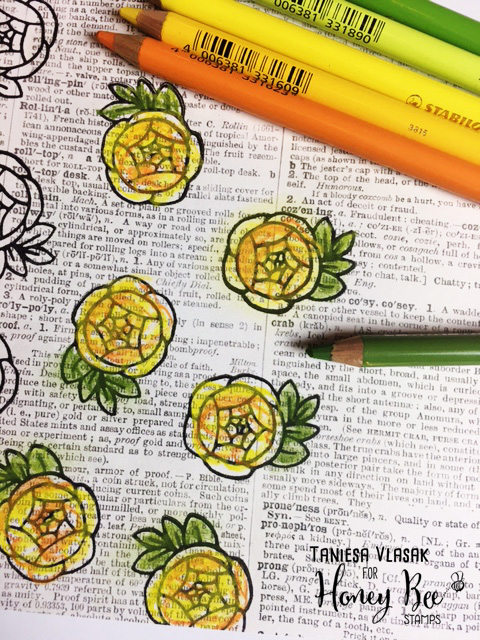
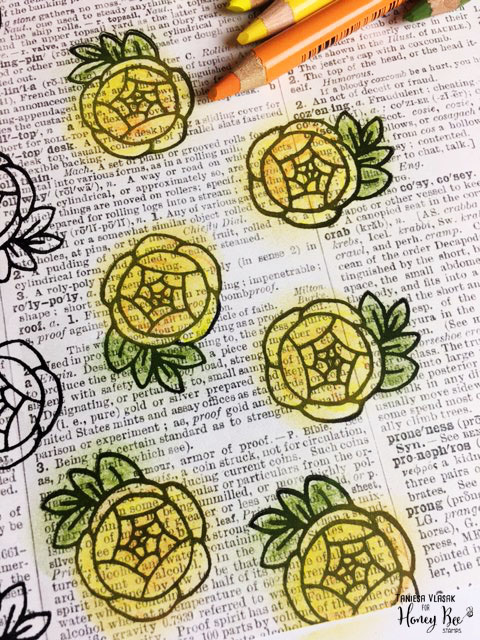
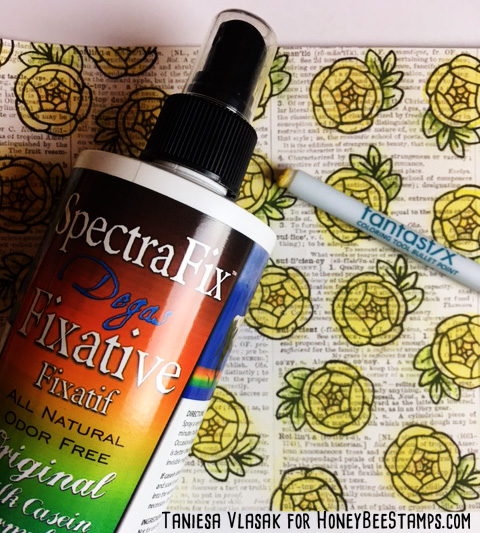
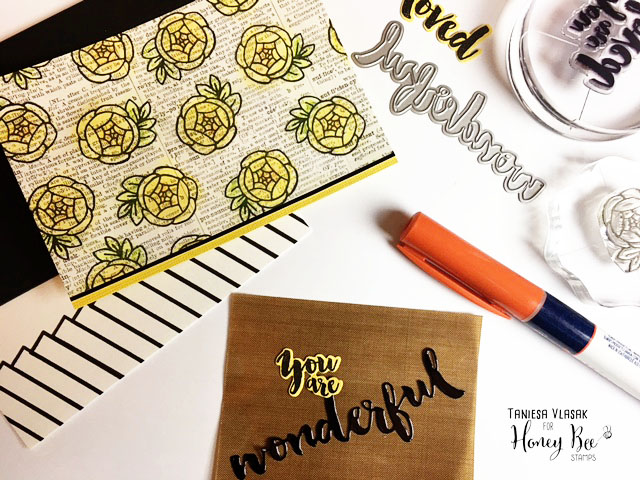
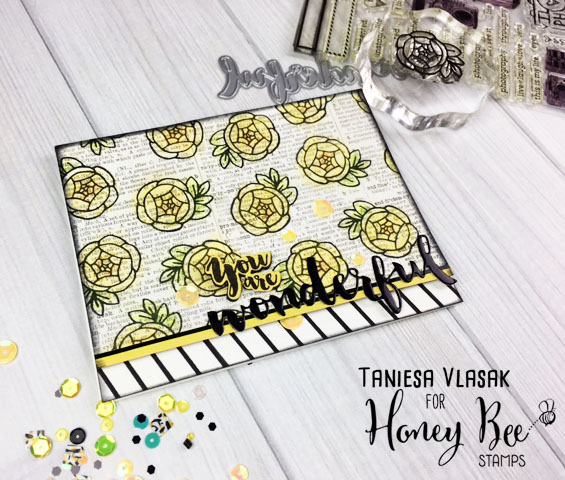
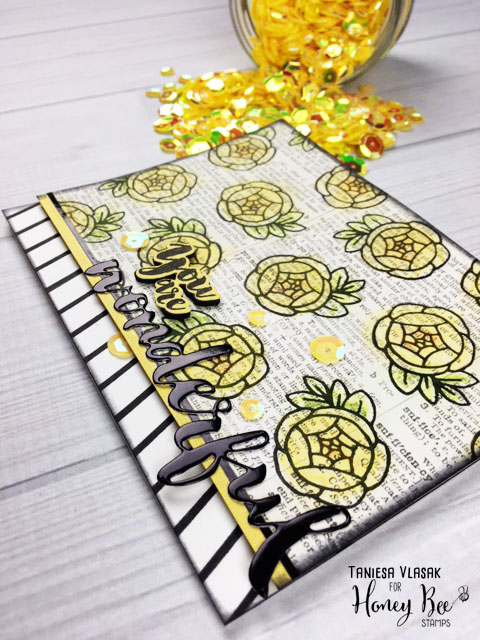
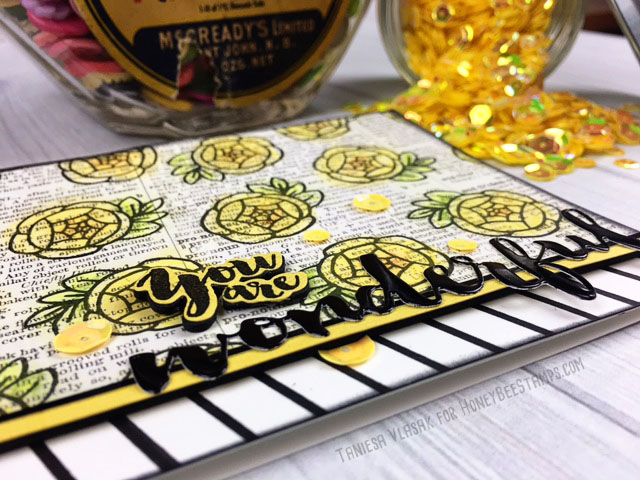
This card was super quick to make! I had a piece of cardstock that was already stamped and embossed using the Zen Bouquet stamp set. I trimmed it down to A-2 size and used the new Hello Buzz word dies to do a fun inlay look. This could work with your favorite patterned paper too.

You can keep it simple and leave it just black and white, Or you could color it in to make the word stand out even more! The main panel was cut using the Honey Bee Stamps Double stitched A-2 dies.

These next cards were so much fun to make. I did one card with Color burst watercolor powers and the other with distress oxide inks.

I couldn’t decide which I liked better so I thought I would show you both!

I used the Stick with me stamp set and the prickly sentiments stamp set for the sentiment. The bee is from the Busy Bee stamp set.  I had one little hexagon outline cut out left over from another project so I stuck it on one of the sentiment strips. I thought it was a fun little touch. Which one do you like better?

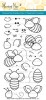
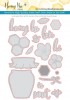
Last but not least is my first real attempt at no line coloring. I took the jar from the sweet as honey stamp and die set (which was a part of Honey Bee Stamps very first release, and one of my most used stamp sets!) and I decided to turn it into a mini Terrarium with the help of the new stick with me stamp set.

I colored the cacti, plants, and rocks with my Copic markers and then added a bit more detail with my colored pencils. For the background I used the hexagon stipple plate die. On the little banner, I used a sentiment from the prickly sentiments stamp set.

The jar is layered with 4 pieces of cardstock instead of using foam, (I had scrap paper I needed to use up). The sentiment is popped up with one layer of foam tape. I finished the card off with a bit of twine around the top of the jar. This was probably my most challenging card but I had a lot of fun. I will be practicing those no line coloring skills more often now!

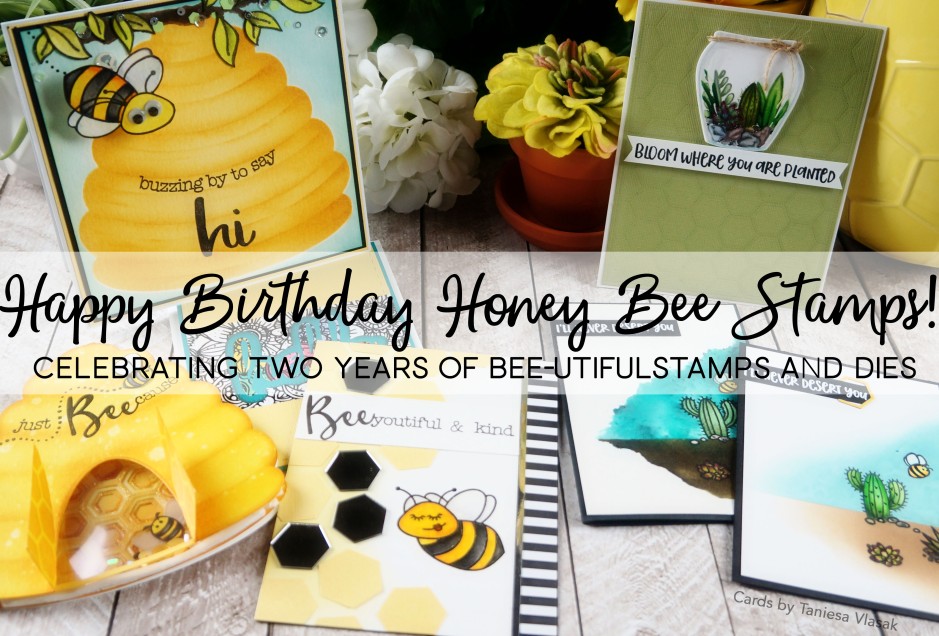
Here is a photo of all the cards created today. Supplies are listed below.

I hope I inspired you with ways to use these awesome new products (and some of your older ones too). Come back soon BEE-cause I will have lots more projects to share!

Don’t forget to leave a comment for your chance to win your choice of stamp set from Honey Bee Stamps!

Next up on the Hop is the kind & talented, Yana Smakula! Buzz on over and see what beautiful creation she has to share with you today.

Here is the lineup for the Hop in case you get lost:

Honey Bee Stamps

Jennifer McGuire

Stephanie Klauck

Amy Rysavy

Lisa Cisneros

Sandy Allnock

Taniesa Vlasak (Thats me!)

Yana Smakula

Nichol Spohr

Supplies used (Affiliate links where available, thank you for your support!)

Misti and Honey Bee Stamps | A perfect match!

Hi Crafty Friends!

Welcome to the Honey Bee Stamps and Misti Blog hop!

You should have arrived here from the blog of the Amazing, Lydia Fideler!  If you are starting with my blog today, make sure you go back to check out Lydia’s post as she is the first person on the hop!

I was so excited when I found out that we would be working with the kind folks over at My Sweet Petunia. I have had my Misti since they first launched and It is the most used stamping tool in my craft room!

Today I have a fun little project for you. Instead of making a card I decided to make this cute little tissue box that holds those purse/pocket packs of tissue perfectly.  I took inspiration from the Honey Bee Logo and the My Sweet Petunia logo for my colors.

Today I will be featuring the Bless Your Heart stamp from Honey bee stamps ( and don’t tell Melissa…. but if you look closely, you might see a couple of stamps from our April release coming up VERY soon! I had to sneak something in 😉 Shhhhh! )

Making the tissue box is super simple if you have a paper trimmer, scoreboard, and scissors.

Cut a piece of Cardstock to 8 inches by 7 1/2 inches. I used a piece of Strathmore mixed media paper. Both because I planned on doing some watercoloring but also this is super sturdy for a tissue box.

Time to score! Start with the 8″ length at the top.


Then turn your paper 90 degrees and score again.

Once you did your scoring, take a bone folder and burnish / crease all of your score marks. Then grab your scissors for some trimming.

to make the cutting easy, I first cut along the score lines on the sides that had the double score line close to each other. then I trimmed away the pieces you see above.

Before I assemble the box I wanted to do my stamping and coloring. Because I am working on a textured surface, the misti tool is even more helpful. Let me show you….

I could have lined this up at the top of the misti but instead I decided to use my creative corners to give it a little push upwards.

You’ll see above that my first stamping didn’t go so great, which is normal for textured papers. I Just re inked and stamped again.

MUCH better!

Then I die cut a little hexagon for the tissue opening.

I have a handy little tip for you. Instead of taping your paper down to watercolor. Flip over your misti and attach your projects with magnets to the backside. This will hold your project down while you color or paint.

I sketched out some hexagons with a watercolor pencil by Prima.

Then I water colored the top of my tissue box. The watercolor honeycomb reminded me of the Honey Bee logo and website. I didn’t have a pink Petunia but I did have this cute little daisy (which may or may not be a stamp from a brand new stamp set coming soon) So I painted that pink. Of course my little bee is yellow and black. You can’t tell too well but there is a lot of glitter accents from my Wink of Stella glitter brush pen. And I even mixed a little Gold watercolor in my yellow for the honeycomb.

If I tilt it just right you can see just a bit.

After I was done watercoloring I cut two side pieces to 2 1/4″ x 1′ from yellow polka dot paper and two longer side pieces to 4 1/4″ x 1″. I inked the edges of the yellow paper with some Black ink and for the black & white paper I inked it a bit with some Fossilized amber distress oxide ink and then some black distress ink over that.

I adhered those down with some Scor tape and then glued the small long flap and one of the sides together. The other side of the box i left without adhesive so this box could be refilled.

How cute would this be to hand to someone who has some bad spring allergies or a seasonal cold. I think it would make just about anyone smile. I mean look at that cute bee!

I have one more fun “tip” to share with you all. I love my creative corners but I really wasn’t sure how to store them. I wanted to be able to keep them with my Misti and my mini misti and not have the pieces all over the place.

I had this stampin up box and it was just the perfect size. I took a cd sleeve and made a pocket for the inside to hold my mini misti grid paper, my grid transparency and a scrap piece of plastic I use to stamp on sometimes. On the other side my Creative corner pieces fit perfectly!

I cut my packaging to fit on the inside of the stampin up case.

If you don’t have a case like this you could do the same thing with a 5×7 photo case.

Here is a few photos of the final project. What do you think?

Thanks so much for stopping by!

Next stop on the hop is the talented Ilina! Buzz on over and show her some love!


Here is a list of everyone participating in today’s hop. Don’t forget to comment at each blog post for a chance to win!

Taniesa Vlasak <—-That’s me!

You are WONDERFUL!

Hi Crafty Friends!

Did you know that today is “Send a Card to a Friend Day”?  I didn’t even know it was a thing, but there is a holiday and occasion for just about anything now days and this is one I can completely get behind. I don’t know about my fellow card makers out there but I am horrible about actually getting my cards in the mail and in the mail on time. Today is the perfect push to grab some cards and send them to your friends… Just BEE-cause!

You are WONDERFUL | Taniesa Vlasak for HoneyBeeStamps.com

Today’s card features the Honey Bee stamp sets “Zen Bouquet”, “Camera Love”, and “Beautiful Life”. I also used the Stand alone “Wonderful” die and the matching die set for “Beautiful Life”.

So I had a general idea of the card design in my head and I knew I wanted a striped border at the bottom of my card. Problem was I didn’t have a background stamp or border stamp that was a stripe. So I got a little creative and pulled the little label stamp from the Camera Love stamp set and with the help of my Misti, I made my own border using versafine onyx black ink.

You are WONDERFUL | Taniesa Vlasak for HoneyBeeStamps.com

Next I pulled a piece of text like patterned paper that I had in my scrap pile and stamped this large flower from the Zen Bouquet stamp set with the same versafine onyx black ink in a random pattern.

You are WONDERFUL | Taniesa Vlasak for HoneyBeeStamps.com

I colored the flowers and leaves with these chalk pastel pencils that I have been playing around with. These are from Stabilo and they are called CarbOthello. They really are great for adding color and shading die cuts! I simply scribbled on the color, super easy and quick!

You are WONDERFUL | Taniesa Vlasak for HoneyBeeStamps.com

After I was done scribbling in that color, I just smudged the color around with a Fantastix blending tool. You can use a qtip, makeup applicator, or even just your finger is fine.

You are WONDERFUL | Taniesa Vlasak for HoneyBeeStamps.com

I wasn’t careful about staying in the lines. In fact I like the glow like effect when I didn’t stay in the lines.

You are WONDERFUL | Taniesa Vlasak for HoneyBeeStamps.com

After all the coloring was done I lightly misted my paper with a fixative as you see above. If you don’t have a fixative like this you could use something as simple as hairspray.

You are WONDERFUL | Taniesa Vlasak for HoneyBeeStamps.com

I trimmed the floral panel to size and glued it to a piece of yellow cardstock that was slightly longer than my floral panel. I added a thin piece of glossy black cardstock as an accent piece. From that same glossy black cardstock I die cut the word “wonderful” and set aside. I stamped and die cut the “you are loved” stamp from the “beautiful life” stamp set out of yellow cardstock and black foam. I cut away the word “loved” and replaced with “Wonderful” instead.

You are WONDERFUL | Taniesa Vlasak for HoneyBeeStamps.com

Time to put it all together. I put a piece of foam behind the floral panel and then adhered that to the white striped edge cardstock panel which was cut to 5 1/2 x 4 1/4. I glued down the wonderful so that it hung off the edge of the top panel just a bit and then glued the foam backed “you are” piece above the main sentiment.

You are WONDERFUL | Taniesa Vlasak for HoneyBeeStamps.com

Once all that was done I placed the completed panel on a A-2 size card base. I think this is a great card to send for any occasion but especially to a friend, just because, to let them know you are thinking of them.

You are WONDERFUL | Taniesa Vlasak for HoneyBeeStamps.com

I hope that you are encouraged to brighten someone’s day with a little happy mail today!

Listed below are the supplies I used today. Affiliate links are used where available (at NO cost to you, they help me with the cost of running my blog and I am so thankful for your support!)