And the winner is…..

Happy Monday Everyone!

It’s time to announce our blog hop winner! The winner is……

Kimberly Jaster!!!

Congrats, Kimberly! Please email me at tcraftypickle@gmail.com with your mailing address.

Be sure to check our our DT members blogs as some had prizes along the way!

Thanks for playing!

Happy Crafting,

The Crafty Pickle

Explosion Box by Elodie

Hi Crafty Friends!

   I am so excited to share with you an adorable project made by designer, Elodie! She made the cutest explosion box using CTMH stamps and TCP Flair! I am excited to make a valentine one similar for family. Take a look!

Hello friends! Today I want to show you another project made with TCP button flair and Close to my Heart stamps.

For this project, I decided to make an explosion box for asking to my friend if he wants to be the godfather of my little boy.

I used CTMH stamps for making the banner.

DSCN1471

DSCN1473

DSCN1472

I’m sorry but the text on my box is in French: “Dis oui” = “Say yes”

DSCN1474

DSCN1475

DSCN1476

DSCN1477

DSCN1478

And my friend say …. Yessssss !!!

Supplies used:

Colorful Star button flair set 

Blue Patterned Color Pop Flair set

Winter Sequins Mix 

Christmas Holiday Sequins Mix

All the Details

Thanks for stopping by !

Elodie

Totally adorable, Right?!?!  Thank you so much for sharing this fantastic project with us, Elodie!! (Who couldn’t say yes to that adorable little boy!!!)

Have a great Wednesday!

Happy Crafting!

TheCraftyPickle.com

MISTI

I have the MISTI tool and have had it for almost a month. I had planned on doing a review of the MISTI but Lisa Babitz from Iplayedwithpapertoday.wordpress.com has a wonderful review that I agree with 100%. If you haven’t seen the MISTI you must check it out!

I Played With Paper Today!

MISTI

I must confess that I am a bit of a “craft tool addict” and get much pleasure in purchasing and trying out all the latest tools and gadgets that I can get my hands on.  I see a project I like, and I immediately check out the supply list and the tools that were used!  Anyway, I recently discovered a tool that looked very interesting.  (Thanks for sharing this, Verna!)  It is called the MISTI (Most Incredible Stamp Tool Invented).

MISTI

Very briefly, you use this by placing your stamp (clear or red rubber cling) to the acrylic lid.  The paper is placed on the black foam (or in that section with the foam removed).  When the stamp is inked up and the lid is closed, the stamp comes in contact with the paper and your image is produced.  If you open the lid and close it again, the stamp…

View original post 1,399 more words

Shake it up!

Hi Crafty Friends!!

 Shaker cards are so hot right now, I love how fun they are to make and to give. Designer, Joanne, is sharing one of her shaker creations today using the Close To My Heart Artbooking Cricut Collection and some moonshine sequins (That gets packed free with all flair orders from TCP Etsy shop). Take a look at her beautiful card!

Hi! Today I am sharing a cool shaker card. But before I get started, have you check out the new and fabulous products in the TCP Etsy shop? If not, PLEASE stop by, there’s some really great stuff!

I recently purchased the CTMH Artbooking Cricut Collection and let me tell you, I absolutely LOVE this cartridge! It’s geared towards making mini-albums and layouts easier and faster, but you could totally use this awesome cartridge in so many ways.

So here is what I made…

I used some AC red foil specialty paper and cut an image that was meant for a mini-album page (Artbooking Handbook pg. 56) and made it into a shaker card! I used my gypsy to hide the ring holes (you could also use Cricut Craft Room) and sized it to where it would be a bit smaller than a standard A2 card. I took the “Merry Christmas” cut (from pg. 75) and used it as my sentiment for the front of my card.

As for my awesome sequins… did you know that when you place an order with TCP Etsy shop, it will come packaged with some fun sequins and what can you make with that awesome sequins you ask… A SHAKER CARD!!!

I hope you are leaving feeling inspired! It was super fun taking an image that was meant for something else and making it work in a whole new way.

Hope you enjoyed this card and as always, thanks for stopping by!

Supplies used:
Moonshine sequins (Included with Flair orders from TCP Etsy Shop)
Thank you so much for sharing, Joann. Such a beautiful card!
Happy Crafting!
The Crafty Pickle

Project Life with Mona

Hi Project Life Friends!!

  Today we have a Project life layout from designer, Mona! Take a look and be inspired by her creative details.

Hello.

Today I want to show you another PL page made using The Crafty Pickle badges and CTMH stamps.

I’m trying be up to date with my pages till the end of the year, so I will be showing  lots of its here.
TFL!

used flairs:

OCTOBER 
COZY FALL
days of the week
speech bubbles

stamps:
feathers
LOL

Thanks so much for sharing with us Mona, LOVE your project life layouts!

Happy Crafting, 

The Crafty Pickle

Winners Announced!!!

Hi Pickle Friends,

I apologize for the delay in posting. It has been very chaotic over here with the holidays approaching and personal commitments. Thank you all for being so patient. The following lucky ladies are winning some exclusive flair sets!!!

Ruth G (Krafty Kringle Exclusive Whimsical Flair)

Michelle Duffy (December Recorded Exclusive Whimsical Flair)

Elaine Clark (Merry and Bright Exclusive Whimsical Flair)

Thank you so much to all who entered the giveaways. Winners if you could please drop me a email (click the button in the right hand side of my blog) with your mailing address I will get these adorable buttons right out to you!

If you are wanting to see and or purchase the exclusive December Days Whimsical Flair Button sets you can Click HERE.

Happy Crafting!

The Crafty Pickle

Check out the Krafty Kringle Kit!!!

Hi Pickle Pals

This week I am featuring all three of the Whimsical Twist December Days kits! It’s going to be a fun week of announcements and giveaways! I Hope that you stick with me this week for all of it!

Now Shipping! December Days kits at Whimsical Twist!

The first kit that I am sharing today is the Krafty Kringle Kit designed by Diana Fisher. Diana created a homespun feel with this kit with a fabulous Kraft base (Including a great 7×10 album) and accents with traditional red, a light blue and some soft greens. She brought in product from Pink Paislee, websters pages, elle’s studio and more! I just love what she has put together and I am sure you will too. This kit is unlike the traditional daily kit in where it is meant to mark the events and celebrations for the entire holiday season. I just love all of the little pockets to keep mementos from the season. Fantastic job Diana, your kit is amazing and I can’t wait to see what Magic you create!

Krafty Kringle @ WhimsicalTwist.com

Krafty Kringle @ WhimsicalTwist.com

To see more photos of Diana’s kit check our her blog HERE

You can purchase this amazing kit HERE.

and for $5 more you can get the kit and the December Days Class HERE (Save $10!)

Krafty Kringle Flair @ WhimsicalTwist.com

How about some pretty, EXCLUSIVE flair designed just with the Krafty Kringle kit in mind? This exclusive set of 6 flat backed button flair will be on sale this week in the Whimsical Twist Shop but you can win a set NOW! Giveaway ends Thursday at midnight so be sure to comment with your name and location. All winners from this weeks giveaways will be announced on Friday!

a Rafflecopter giveaway <———- Click here to enter (lots of chances to win!)

Dont forget about class sign ups too!

Whimsical Twist December Days Class

Hope you all have a fabulous Monday!

The Crafty Pickle

Traditional Thursday: Layouts featuring Pebbles, Crate Paper, and American Crafts.

Today I thought I would share a few scrapbook pages that I have been working on. It’s been nice working on my project life album, but sometimes I want to do traditional layouts as well. So I picked up a few of my favorite lines from Pebbles, Crate Paper, and American crafts and decided to dive in!

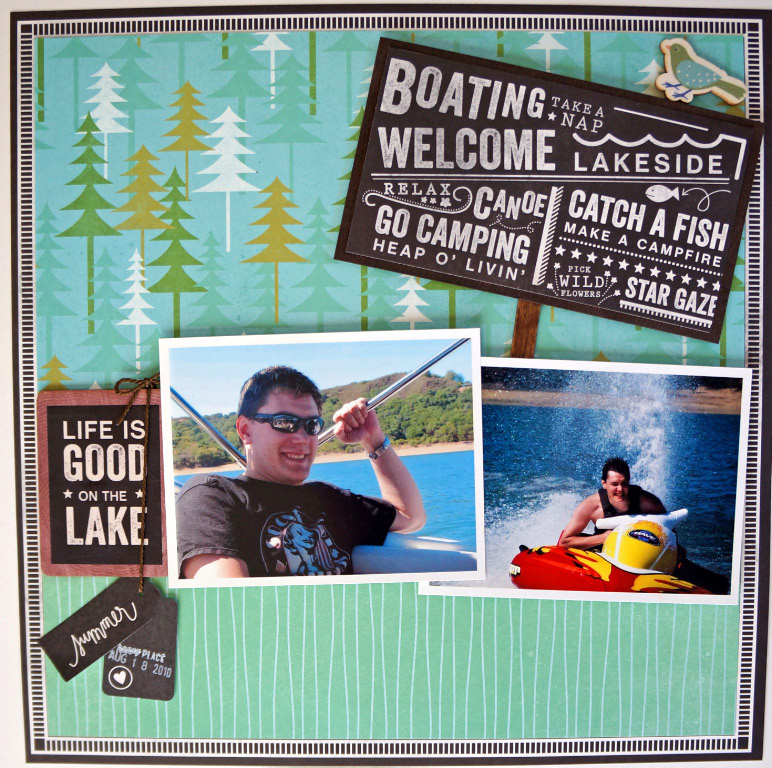
First, I adore the Pebbles Lakeside line! It was so perfect for some photos that I had that I just couldn’t find the right look for and had set them aside.

This is a simple layout I did with all Lakeside papers and embellishments:

Working Lakeside with Pebbles @thecraftypickle.comWorking Lakeside with Pebbles @thecraftypickle.com

I cut a portion of the chalkboard 12×12 paper to use as a sign embellishment and attached it to some wood grain cardstock. I then added a few pop dots for added dimension along with a small popsicle stick I rubbed on a dark brown ink pad. The wooden sign, tags, and little bird are all embellishments from the same Lakeside line by Pebbles.

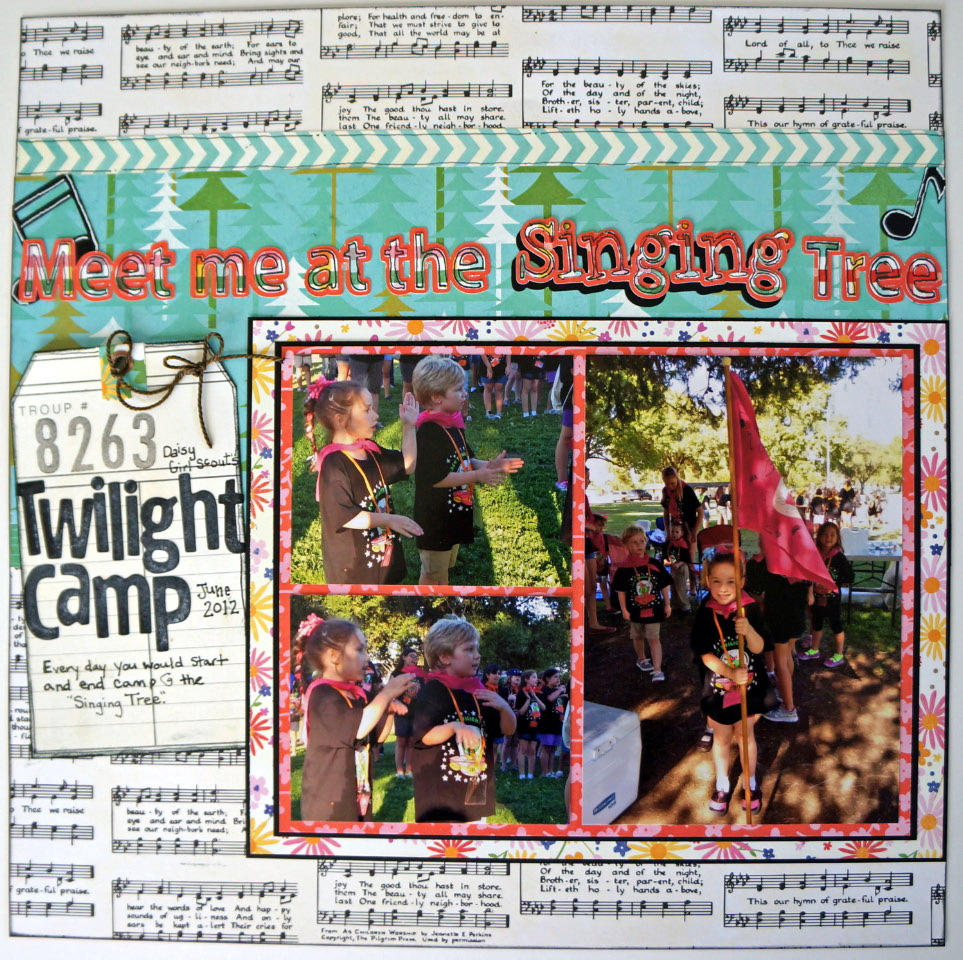
For a different look on this next layout, I used the same Lakeside line but pulled more of the floral papers and the sheet music paper as a background. It was the sheet music paper in this line that inspired me to create this layout in the first place. It worked perfectly for a girl scout camping photo of my daughter at the “singing tree”. I really wanted to pop the floral patterns in the paper so I matted each on black cardstock. The title was done on the silhouette as well as the music notes. To get the outline effect of the title as well as the shadow piece on “singing” I used the offset option in the silhouette software.

Working Lakeside with Pebbles @thecraftypickle.com

Those chalkboard alpha stickers… yep, amazing! I rubbed regular white chalk on them and erased to give them a more used chalkboard look. I am in love with these alpha stickers and I know I will be using them again on some school related pages soon!

Working Lakeside with Pebbles @thecraftypickle.com

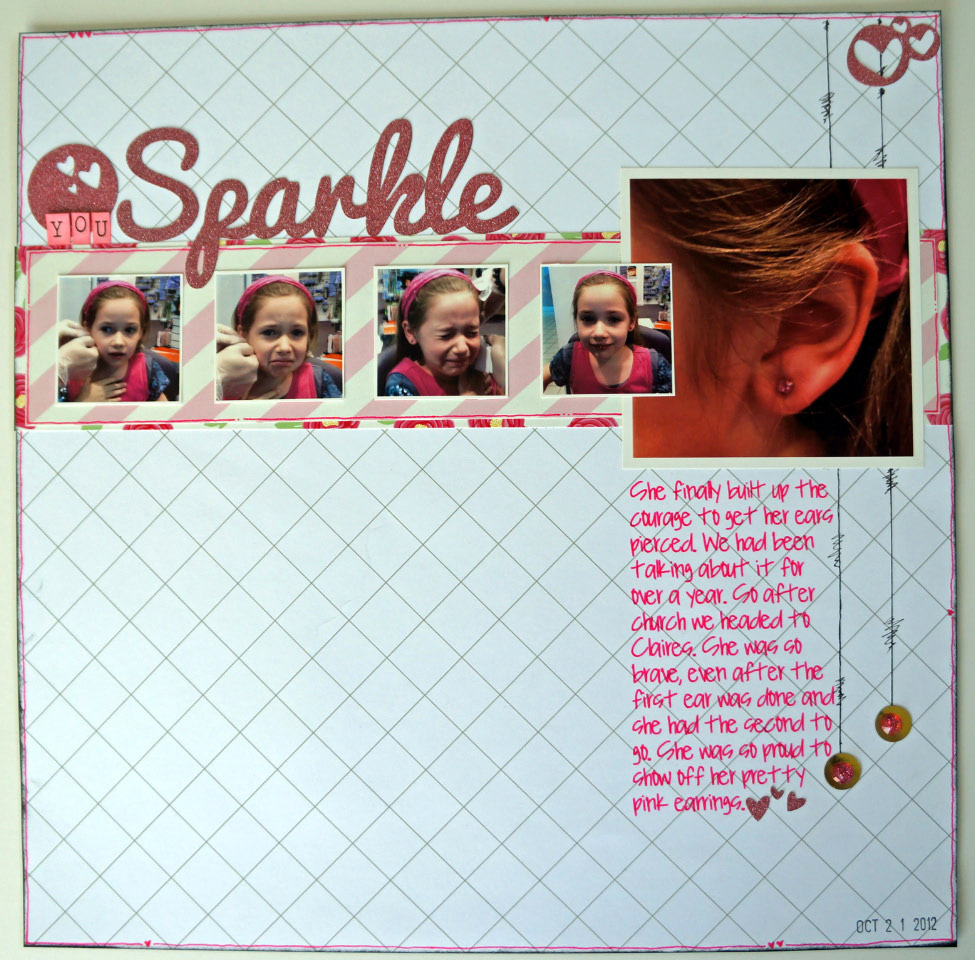
Next my little girl really wanted me to put her ear-piercing experience in her album (she was scared at the time but now loves to show off her *bling* and loves looking at these photos.) I created another simple quick layout using some American Crafts Mayberry papers and some American Crafts POW glitter paper.

Ear Piercing Experiance @thecraftypickle.com

If you haven’t worked with the POW Glitter Paper yet its amazing in the silhouette. It cuts so crisp and smooth and the glitter doesn’t come off the paper like some other glitter papers. I love making sparkly die cuts!

Ear Piercing Experiance @thecraftypickle.com

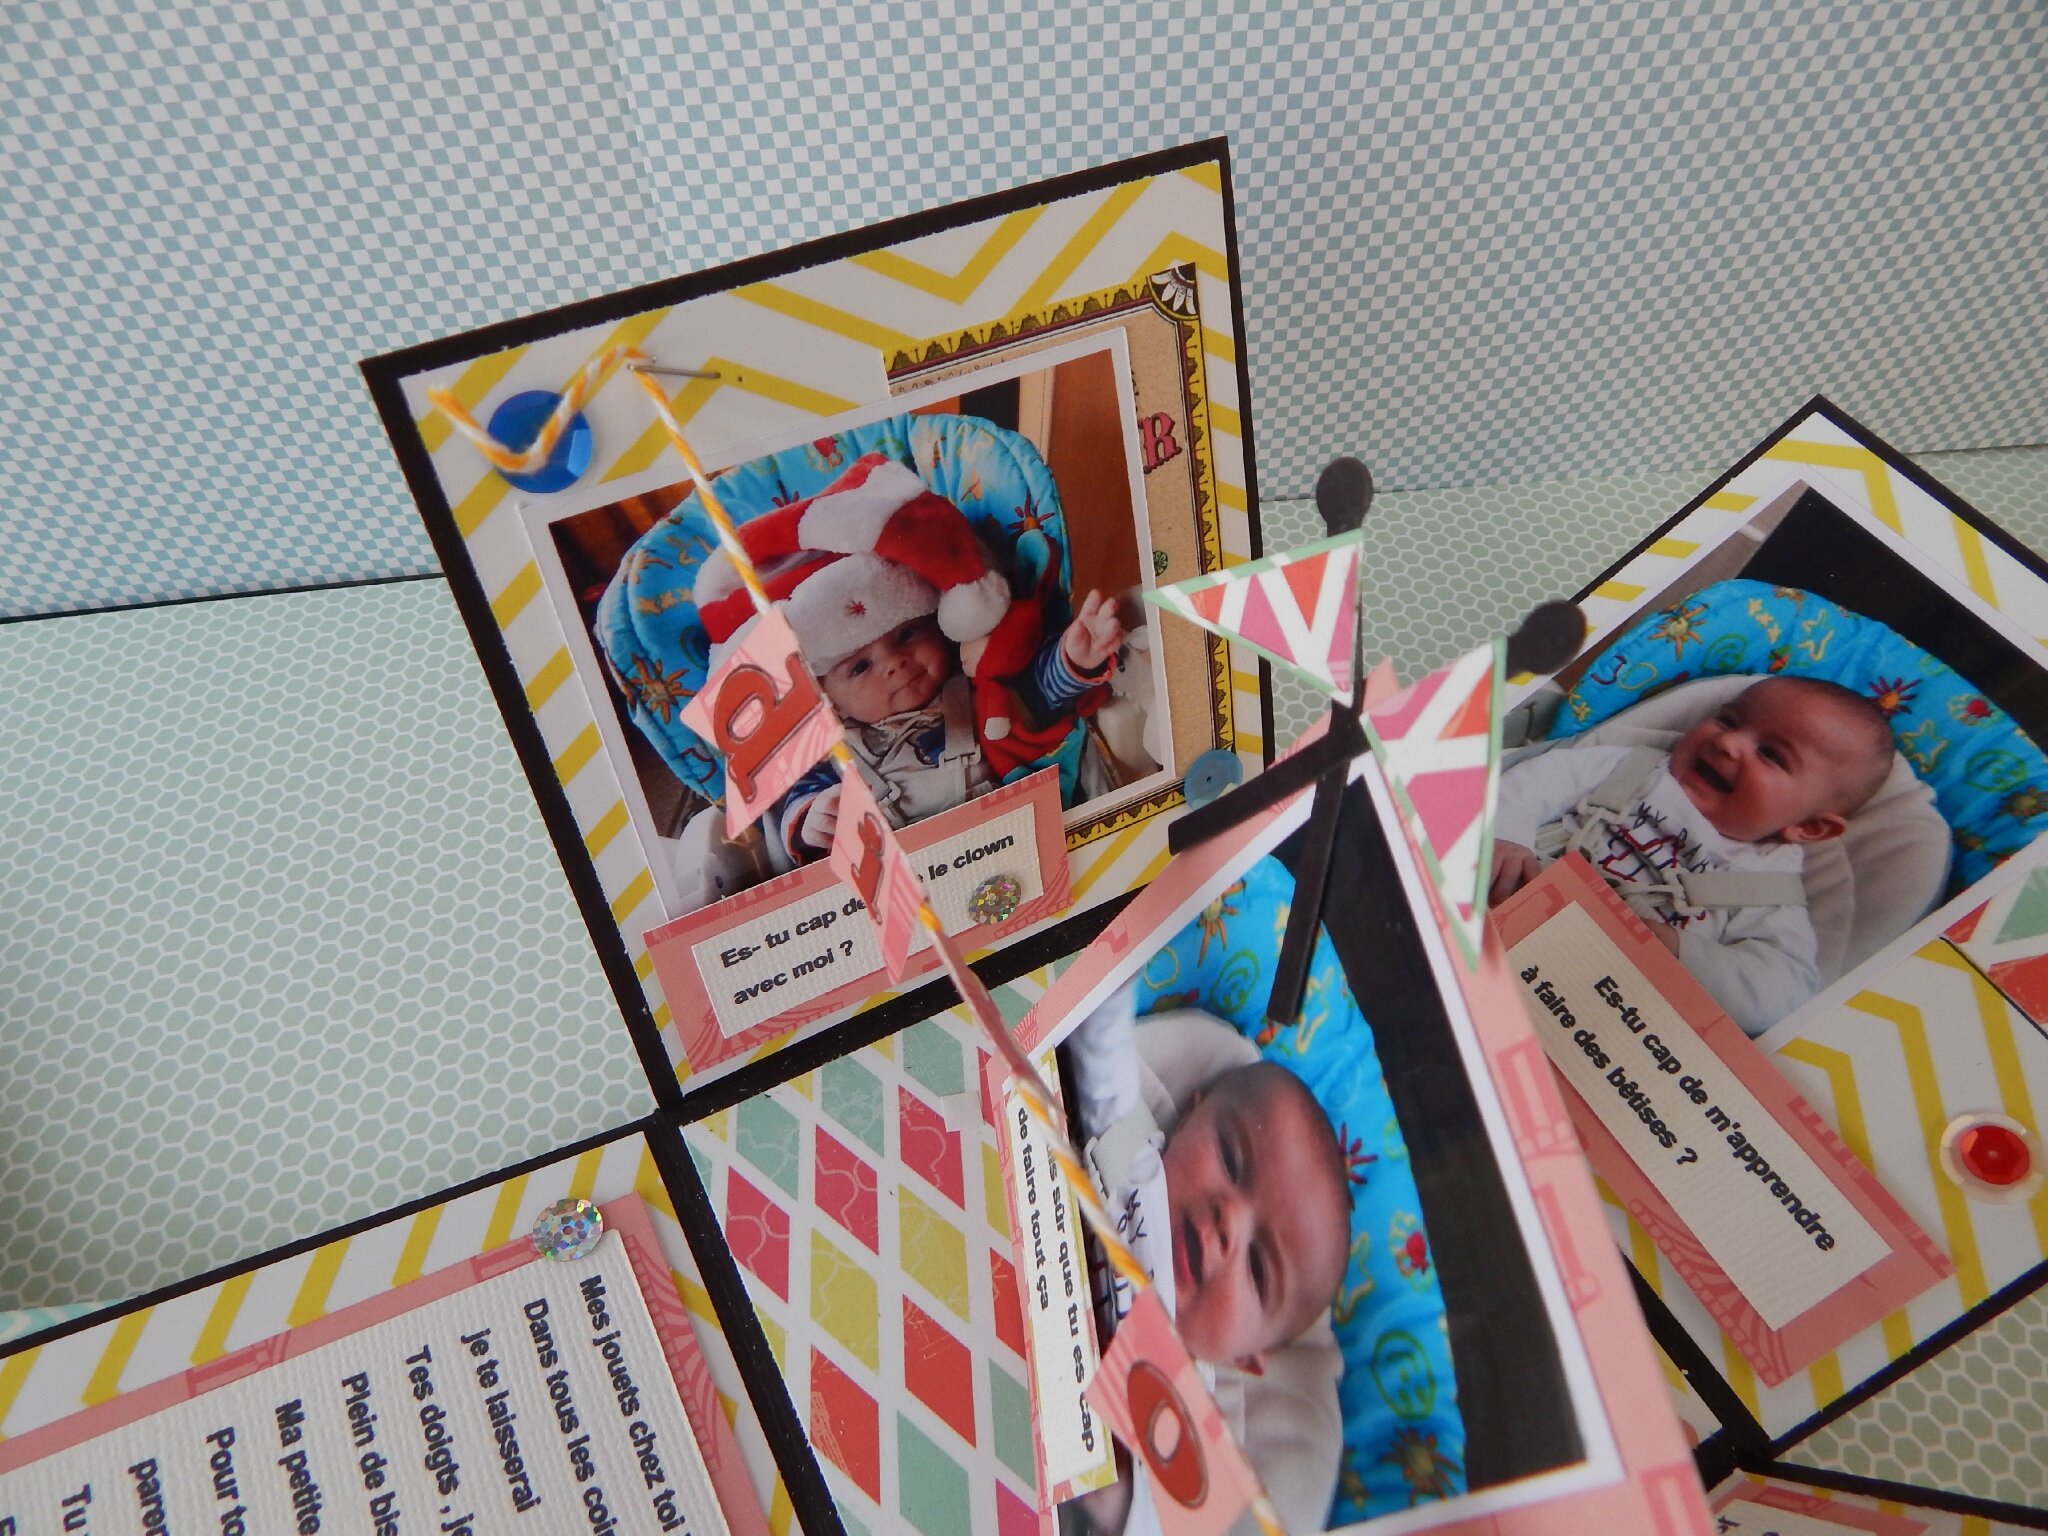
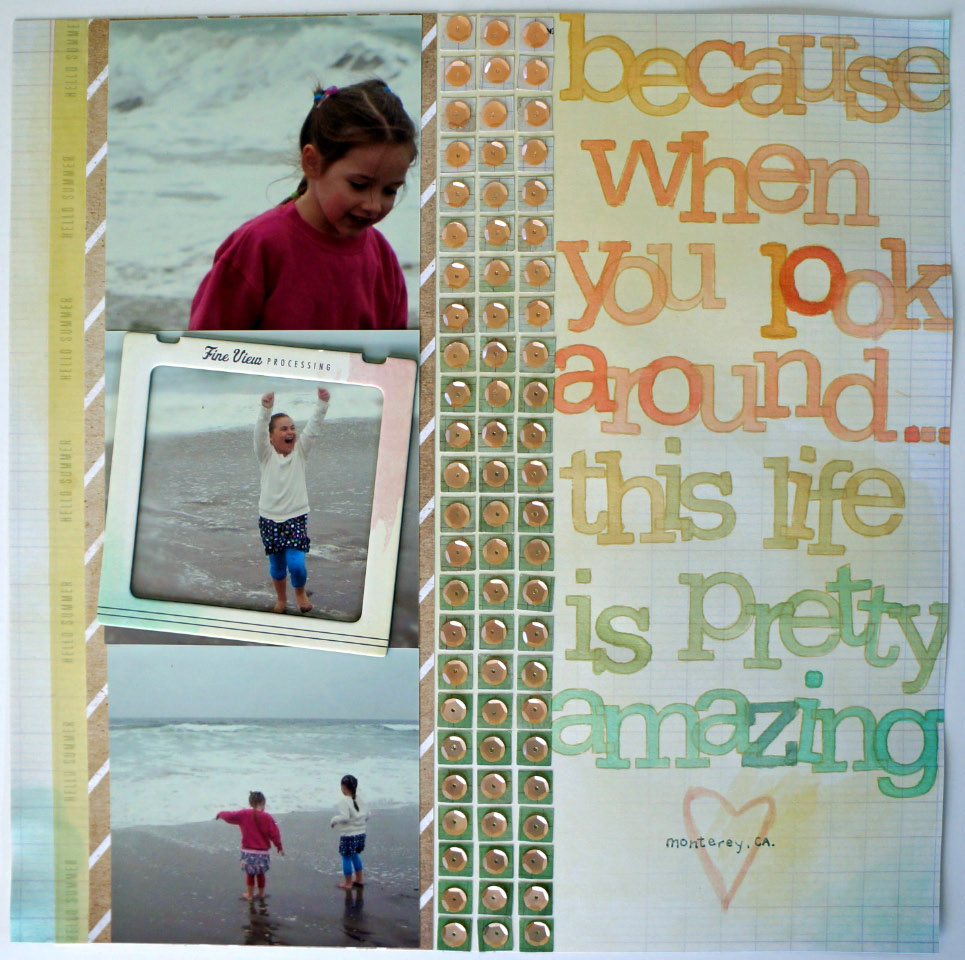
Finally, this last layout has to be one of my favorites, mostly because of the photos of these two precious little girls. I decided to pull papers from the beautiful new ThePier collection by Crate Paper. I love the soft tones in the papers and embellishments offered in this collection. I wanted to keep the colors soft as to not overpower the photos which I really want to be center focus.

ThePier @thecraftypickle.com

The washi tape strip on the left was cut from a 12×12 washi paper sheet. I also used one of the slide frames from the collection to draw the eye to the center photo (isn’t her expression priceless?) The little green squares were all punched out using a 6×6 piece of ombre paper from ThePier 6×6 paper pad that I had and I attached peach matte sequins to the squares using a clear liquid adhesive. The sequins reminded me of seashells 🙂

ThePier @thecraftypickle.com

I was stuck for a while after working on the sequins portion and then last night at 2am I remembered a layout that I saw from April Foster that used the amazing Noah alpha stamps and the watercolor effect she used.(Yes I wake up in the middle of the night and think about scrapbooking, don’t you?) I shortened the popular quote by a couple of words to make sure it all would fit and I painted in the letters using three different colors of Mister Huey’s (Cameo, Shell, and Dewey) I mixed in a little bit of the shell color with the other two colors to give each letter color variation. I was really happy with how it came out.

I hope you enjoyed my Traditional Thursday layout share. Definitely click around on the links provided to check out these amazing collections!

Happy Crafting!3

Project life, Facebook style!

Hi Friends!

Just a quick little post today before things get crazy in the afternoon here, as they always do. If you are a member of facebook there are a BUNCH of scrapbooking groups out there that are full of inspiration and sweet people that share the same passion for storytelling though their albums.

You can always do a search for groups using the terms “scrapbooking” or “project life”

Two of the groups I am in that are very active are

Project life 2013

and for my other hobby, Organizing my supplies LOL, there is this group:

Scrapbook/Craft Organization Ideas

 
Hope this helps add a little inspiration and fun to your day!

Happy Crafting