Hi Friends!
Happy (almost) Easter! Today I have a fun project for you using supplies you probably have on hand with the exception of one or two items.
When I was a little girl my Gram had these ornaments that were made from sequins and beads. I LOVED them…. How they sparkled and shimmered. It is one of my childhood memories that I treasure. She also had these beautiful eggs she would put out at Easter time that were real eggs that she blew out. She painted and decorated them and they were beautiful (and fragile). So I let that inspire me for the project I will show you today.

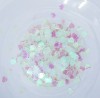
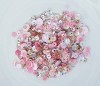
The sequins eggs are the perfect holiday project If you happen to be a sequins hoarder like me. I received some brand new Kat Scrappiness spring sequins and thought this would be a perfect way to use up some of them. Here is what you will need…
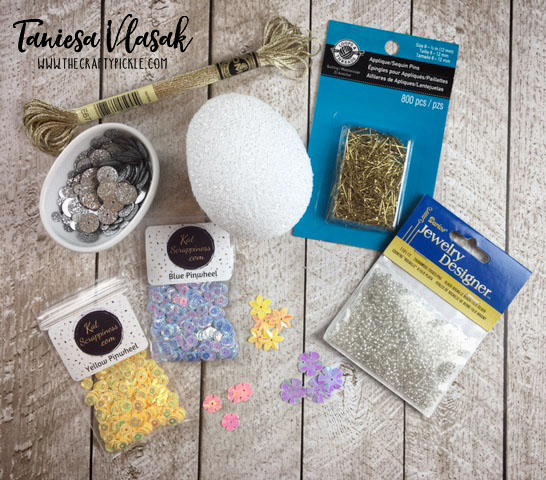
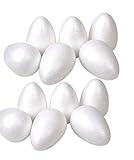
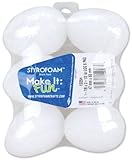
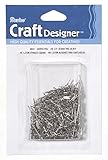
You will need a styrofoam egg, I couldn’t find the smooth foam, but if you can, get that one! the smoother foam holds up a little better. When grabbing your foam eggs from the store, you will also need to pick up sequins pins (if you do not already have them). You can find them by the sequins in your craft store. Stash items to grab is: sequins, string or embroidery floss (if you want them to hang), and something to work on like a plate or bowl. I used a small salad plate with a lip and a few condiment bowls.
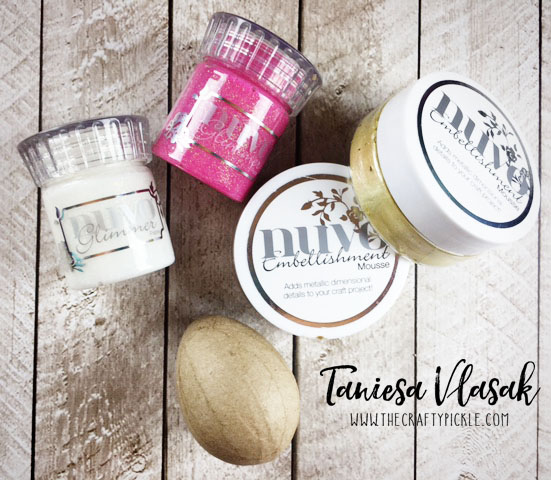
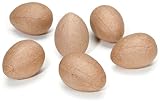
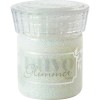
In addition to the foam eggs, I also picked up some paper mache eggs and decorated these with Nuvo mousse and Nuvo glimmer paste. I rubbed the Mousse on the egg with a paper towel and once dry painted a thin layer of the glimmer paste over. Another great way to use your Nuvo Products. You could even make polka dots with your Nuvo drops!
All you need to do is put a pin through your sequins and push it into the foam. If you are using small seed beads in addition to the sequins you will place this on your pin first and then the sequin.

I placed mt sequins in random or in a simple pattern, but really you can do any pattern you wish with these. I went with simple so that I could do this while I watched TV with the family. You can search for more tutorials and videos on YouTube. There is some magnificent ornaments by some very talented people out there. I found this relaxing and fun, and in the end I have a bunch of pretty decorations.
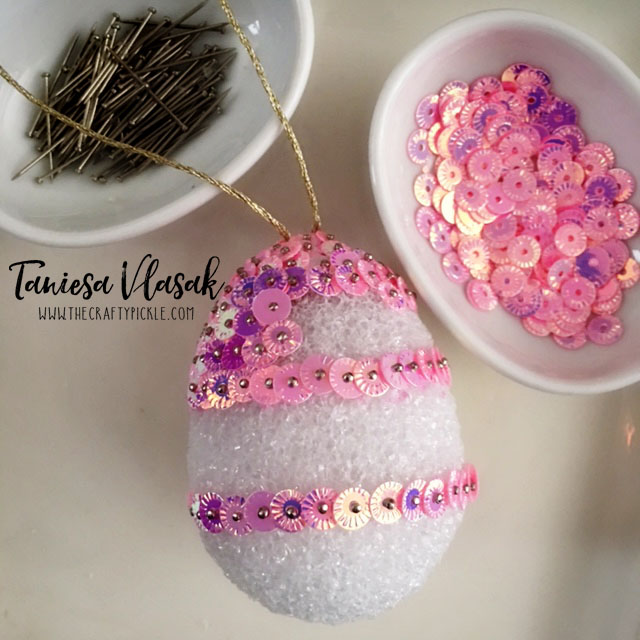
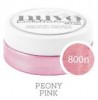
For the smallest sequin egg I decided to use sequins that would be slightly transparent, So I covered the foam egg with some pink nuvo mousse and let dry overnight.


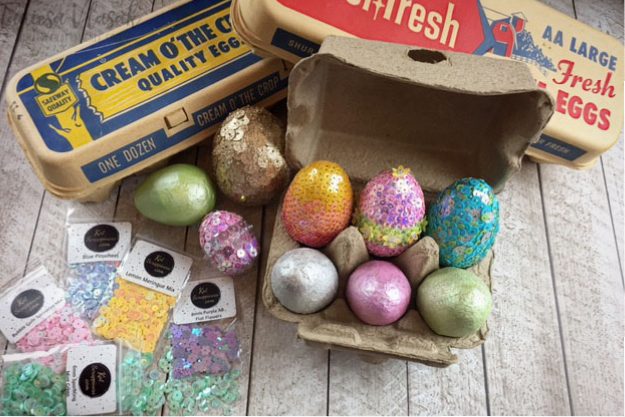
One egg that I completed had colors that blended into the next…

and another egg where I just made the three different sequins colors completely random, although I did have more blue compared to the other two.

This egg below I made so that it could be hung on a branch or an Easter “tree” by just adding some floss before I started pinning the sequins. Just poke the twine or string into the foam and fill the hole with hot glue on Low Temp, or pin it into the egg.

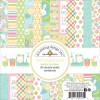
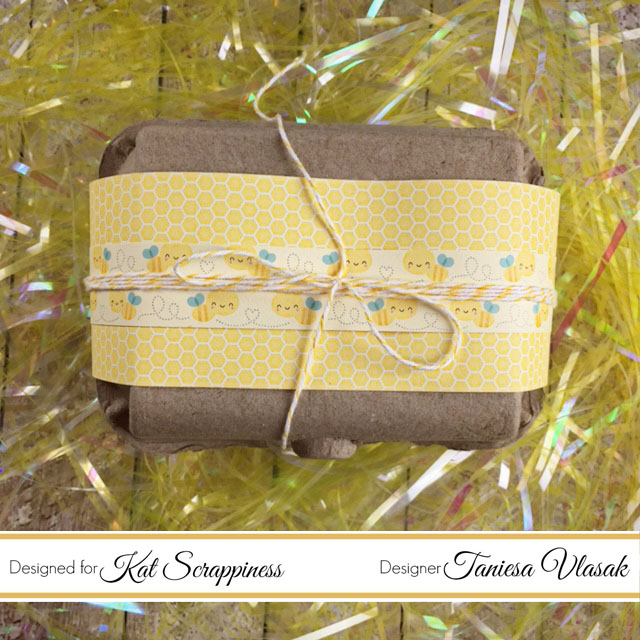
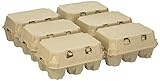
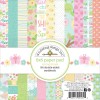
I thought it might be fun to pack up in a small egg carton and gift some of these eggs. This one I got at the Target dollar spot and I decorated it with a bit of Doodlebug Spring paper and some twine. you can also find the egg cartons on Amazon.

Or you could even put eggs in a basket with some chocolates to give as a gift to the host(ess) of Easter brunch or dinner.

Thank you so much for visiting. I hope you were inspired to break out your papercrafting supplies and make them work for your holiday decor too! Supplies are listed below.
Happy Spring!

Supplies used *Affiliate links where available at no cost to you, Thank you for your support!*
 |
 |
 |
 |
 |
 |
 |
 |
 |
 |