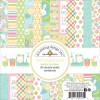
The Honey Bee Stamps Holiday Release is now available in the store. To celebrate the new release, we are having the Season’s Tweetings Blog Hop. So please get comfy and hop along with us!
Forgive me for the short blog post today as I just had surgery on my right hand (makes typing a bit more difficult than I thought it would). I do have a few projects I completed using the new Honey Bee Stamps Holiday release that I hope will inspire you.
I hope you found these projects inspiring! All new products are available in the Honey Bee Stamps shop —–> Here! (affiliate links used at no cost to you. Thank you for supporting this blog!)
Be sure to visit each blog & leave a comment to be entered to win!!! We will be giving away a $50 gift card to the Honey Bee Stamps store. The winner will be posted on our blog Monday, November 13th.
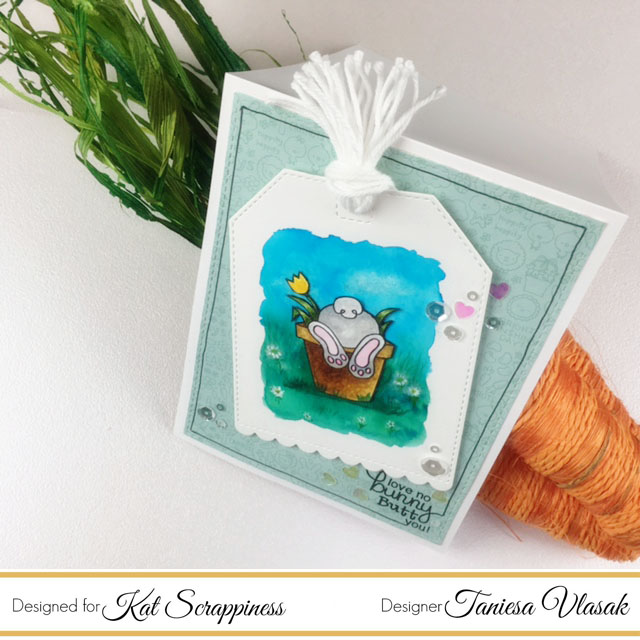
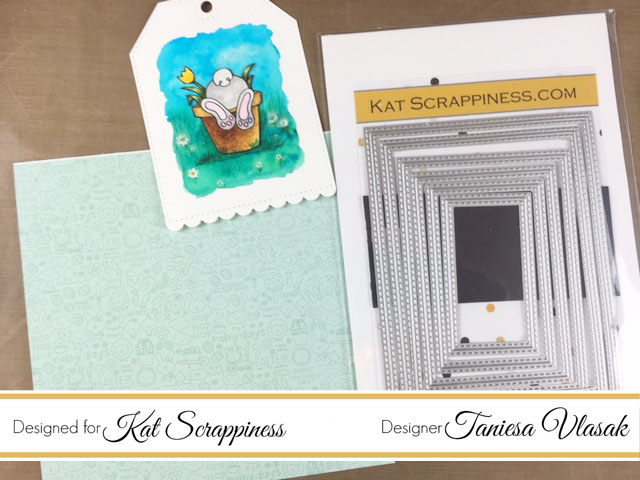
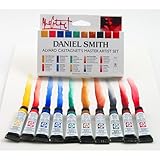
While the background was drying, I painted my little bunny with some Daniel Smith watercolors. I did three layers of color on the terra-cotta pot to add shading and depth.
Once everything was dry, I fussy cut the image and went over the image with a black marker. This hides any imperfections I had when cutting.
I cut out the watercolor background paper with the second largest of the Stitched Scallop nesting dies and assembled my little bunny scene. I added some suggested flowers here and there as I felt it needed just a bit more “something” and this felt like it completed the scene.
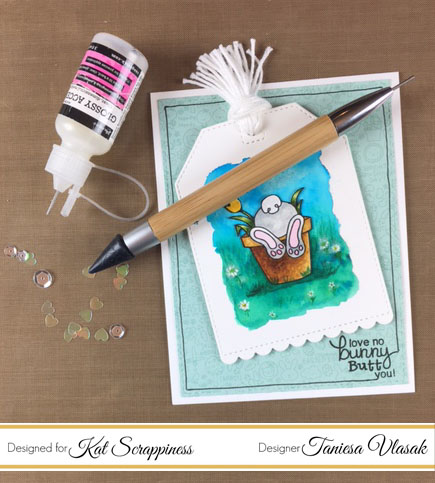
So I will be honest, I couldn’t find my stamping press in my craft room (I think it’s time for some crafty spring cleaning) So I dug out my old stamp positioner. Remember those? It worked great for stamping my sentiment in the corner of the card.
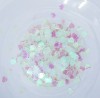
Then I took a .35 drawing pen and drew a border around my panel. on the inside of the stitching. I attached the tag to the printed panel with some foam tape and then glued the finished panel to a top fold card base. As a final touch I added some Clear sequins and some 6mm Heart confetti with Glossy Accents with up from my sequins and gem pick up tool.
Welcome to the Honey Bee Stamps November Release Honey Hop!!!
All this week we have been showing you little sneaks of our awesome new embellishments, stamp sets and dies! Well, here they all are! Everything will be available for purchase today in our shop HERE.
For my project today I am using the “Little Pickup” stamp set and the “Sending You” Sentiment set along with their coordinating die sets.
I just love this cute little truck! I knew that I wanted this cute stamp to be center stage so I gathered some scene building dies (Mountain range & stitched hills) and started assembling!
You might have seen this lil sneak on instagram when I was putting my “Little Pickup” together.
Now you don’t have to cut out all the pieces you see in this photo but it sure makes it fun. I love that the die set includes the tires and the window dies so you can make layered and interactive cards with this set. I fussy cut the fenders and popped them up with a bit of foam tape. I covered the wheels in glossy accents after die cutting them from another truck stamped image.
I had this Daniel Smith watercolor I have been wanting to use for a long time called Autumn Mystery Duochrome. I thought it gave the truck a rusty type of look while still looking oh so sparkly and pretty, The color changes slightly depending on the angle you are looking at it from.
Neat, Huh?!?!
After I got my truck assembled I glued the tree to the bed of the truck and added just a bit of the new Honey Bee Stamps exclusive glitter glass. I thought it gave the perfect icy-snowy texture. I also added the same glitter glass to the top of the mountains, and all the snowy hills. I used some Ranger Multi Medium in the Matte finish to glue on the glitter and gently pushed the glitter into the glue so it would stick very well. Once it was all dry I dusted off the excess.
I attached the truck to my scene with some foam tape. I stamped and die cut the sentiment on the front hill and attached that below the truck with a double layer of foam tape.
To finish it off I added some dots of glue and sprinkled on some glitter glass that I hand-dyed a soft blue color. *Video Coming Soon on embellishment dyeing process*
This was SO much fun to piece together. You all are going to love playing with this stamp set and all of the wonderful new releases from Honey Bee Stamps.
What’s a Honey Hop without some sweet prizes, right? One winner will win a gift certificate to purchase new goodies in the Honey Bee Stamps Store.
All you have to do to win is comment here (on my blog), on the Honey Bee Stamps blog, and again at each one of our designer’s blog by Sunday, November 13th. Winner will be announced on Monday, November 14th at Noon PST.
I am the last stop on this blog hop… but if you started with me you can just hop to the beginning, which starts with the lovely and Oh-So-Stinkin’ Talented Laura Bassin right —>HERE <—
Thank you so much for Honey Hoppin’ to my blog! I hope I inspired you to buzz on over to your crafty workspace and create something sweet! Check back on Tuesday when I will have some AH-MAZE-ING inspiration using Honey Bee Stamps with Essentials By Ellen products!
I am super excited to be representing Honey Bee Stamps on the Simon Says Stamp blog this week. I have three projects to share with you, and a video that walks through all three of them.
I will be listing all of the supplies used in my projects at the end of this post. Today I will be highlighting some of the brand new products from Honey Bee Stamps!
Zen Floral and Zen Bouquet were inspired from the popular adult coloring book trend. Both sets have matching dies and the large bouquet is almost 6 inches around. I thought that these would be perfect to show off today’s project share.
You can make a diy coloring book so many different ways, so I didn’t want to bore you with a step by step tutorial. Instead, I will walk through this project on camera and talk about several possible ways you can make your own custom coloring book with supplies you may have on hand already.
This coloring book measures approx. 5×7. To make this particular cover size, you will need two pieces of 5×7 chipboard, two pieces of cover paper measured at 5 ½ x 7 ½ , and two pieces of patterned paper that will go on the inside. Cut these slightly smaller than the chipboard. Mine measured 4 ¾ x 6 ¾. I adhered all of the pieces together with Scor tape but you can use your favorite adhesive. You can even skip covering the chipboard or paint it with acrylic paint.
I chose to decorate my cover with the Honey Bee Stamps Zen floral border stamp and die. I also used the Simon Says Stamp STAMPtember stitched scallop die and the Honey Bee Stamps Color my world stamp set and die. I did some simple ink blending with distress inks then went over the letters with my Sakura black Glaze pen. I even added a little shimmer inside the letters with my spectrum noir glitter marker.
I made the inside pages slightly bigger than a standard A2 card base with a bit extra at the top for binding. The inside pages are 4 ½ x 6 ½ . I have pre stamped some card bases for my recipient to color. Pages/ bases are all on Tim Holtz watercolor cardstock, Neenah solar white, or Strathmore bristol paper. This is a great way to get more use out of your stamp collection. Consider stamping several pages in one session to make multiple books or card bases ready to color.
Another fun product that I have included is the Simon Says Stamp exclusive Suzy’s doodles. These are printed on Tim Holtz watercolor paper. I adhered each to a page in the book with temporary adhesive. This way they stay put in the book for coloring but when you’re ready to take it out and make a card it comes off easily.
I stamped each of the Honey Bee pages twice for each design. The top piece being the watercolor cardstock and then using temporary adhesive I glued that to the other stamped panel on Neenah solar white. The Bristol paper is embossed and is a separate sheet.
As a finishing touch to the coloring book I made a cute removable pallet that can go in and out of the book. I used a pack of Peerless watercolor sheets and although you can just cut these in small squares or rectangles I thought it would be fun to use the hexagon die from Simon Says Stamp perfect shapes dies to arrange the paint in a fun “Honey Bee Stamps” sort of feel. I arranged the little paint hexagons in a gate fold pallet. The pallet base is created by using a 6×9 piece of Tim Holtz watercolor paper, 6×9 piece of printed paper and a piece of heavy acetate. The acetate protects the watercolors from running into each other should the pallet be put away damp, it can also be used as a mixing surface. Each end of the paper was scored at approx. 2 ¼ inches. I created a simple belly band to keep the pallet closed using a strip of the same patterned paper using the opposite side. I die cut a circle and stamped a floral from the Zen Bouquet stamp set to tie it all together.
I bound my coloring book using the We R Memory Keepers CINCH binding machine. There are other binding machines out there but I have only used this one. You could also punch some holes with a and bind using mini album rings, or tie together with ribbon or twine. You could even use an old planner or traveler’s notebook… SO many possibilities to create a coloring book for friends or for yourself to color on the go.
I am giving this coloring book as a gift, so I placed my coloring book in a mesh bag along with a waterbrush and chamois that I picked up from my local craft store.
I also made a card that coordinates with the album. I used the huge Zen Bouquet stamp which I have cut down partially, I used my Zig Clean Color Real Brush markers to do the coloring and added little touches here and there with my glitter marker and glossy accents. I used the Simon Says Stamp A2 curved card edge die and layered striped patterned paper behind it. For the sentiment I cut apart a sentiment from Honey Bee Stamps Happy everything (You Make Me) and added the new SSS Inspire die cut in the middle instead of “make”. For the final little accent I added the bee stamp from Honey Bee Stamps Sweet as Honey stamp set and die.
Here is a bonus idea if you wanted to give coloring pens instead or in addition to the watercolors with your coloring book. These are the Kaiser craft gel pens. I am not a huge gel pen girl but these are pretty darn amazing. Especially the glitter ones. They have a really fine tip to get into small places and the ink flows really well. I just removed the sticker and took the same patterned paper I used in my coloring book to make a belly band for the case. I die cut the word create which is a new Simon Says Stamp STAMPtember release, and glued that on the belly band. I finished it off with coloring one of the white hearts red, adding two thin strips of cardstock to the top and bottom and coating the die cut with my Sakura clear Glaze gel pen.
Listed below are the links to the products (or comparable products) I have used for these projects.
I hope you found today’s project share inspiring and can think of ways to make your own personalized coloring book. Thank you to Simon Says Stamp for inviting Honey Bee Stamps and myself to share in the STAMPtember celebration!
Good Morning Honey Bees! Welcome to our August release Honey Hop!!!
You should have arrived from Melissa’s blog. If you got lost you can always start at the beginning HERE.
All this week we have been showing you little sneaks of our awesome new stamp sets and dies! TOMORROW our new release goes live and to celebrate we are showing you some beautiful projects, TODAY!!!
What’s a Honey Hop without some sweet prizes, right? This time we not only have one awesome prize pack but TWO!! One winner will win our zen florals pack (Zen florals, Zen Bouquet, and each of their matching die sets) and our second winner will win our Alpha prize pack! (Color me alpha stamp set, sentiment alpha stamp set, and color me alpha die set). All you have to do to win is comment here on the Honey Bee Stamps blog and again at each one of our designer’s blogs by Sunday August 28th. Winner will be announced on Monday August 29th at Noon PST.
So Hop along and get ready to BEE inspired!
During our preview days this week I shared two videos. One for each new Alphabet stamp set that Honey Bee Stamps is releasing this friday. I love them both and I am sure you will too.
Brand new Sentiment Alpha!
And the oh so fun Color-Me-Alpha!
and now I have two cards to share! The first one you may of saw this week on social media….
For this card I used the main floral border in the new Zen Florals stamp set. I also used the Smile stamp set and die as well as the Sweet as honey stamp set.
First I used distress ink to blend a light blue background (Tumbled Glass). Then I water colored the floral images. After the watercolor was dry I went over with a clear Spectrum sparkle pen.
I heat embossed a dot pattern on black cardstock and adhered just below the floral border strip. I also embossed the smile die cut and the sentiment that was made up from the smile stamp set as well as the sweet as honey stamp set. Everything was heat embossed using the WOW rich pale gold embossing powder. I popped the smile die cut up on some black adhesive backed foam.
As an added touch, and something I have been doing a lot lately, is taking a coordinating image from the stamp set that I used for the card and stamping it on top of my custom signature stamp. I love how this just ties the entire card together and makes it just a little more special.
I also really like to stamp the envelope to match too.
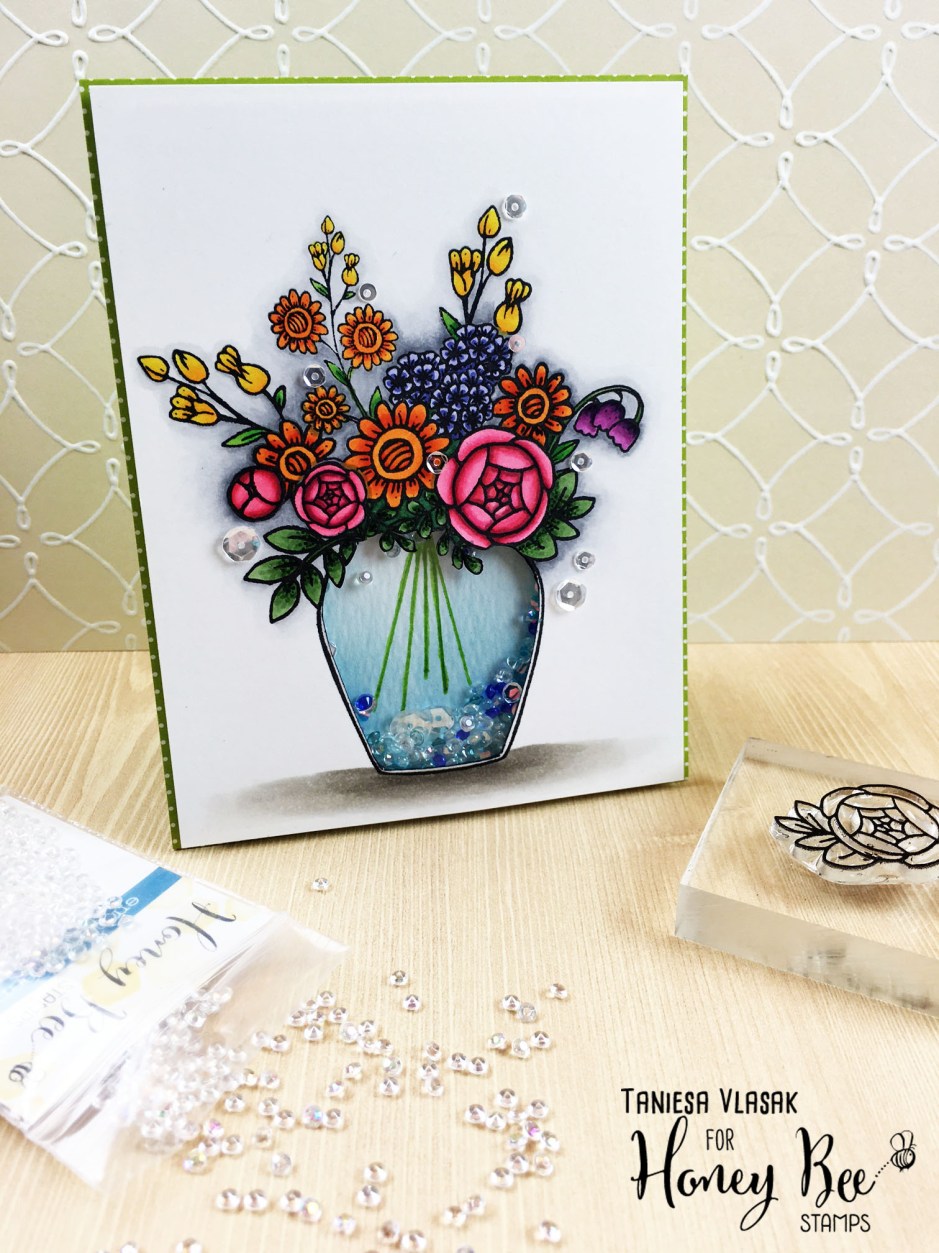
For my next card I decided to shake things up…. well, Literally. I made a fun shaker card with Honey bee stamps new Zen Bouquet set, Zen Florals set, new gems embellishment pack, and I also added in the jar from the sweet as honey stamp and die set.
I stamped out the various flowers from both zen sets into an arrangement on scratch paper first. Once I was happy with the layout I traced around the jar from the sweet as honey die set. I cut some masks for each of the florals using Simon Says Stamp masking paper. Then I stamped my arrangement using Simon Says Stamp intense black ink.
After everything was stamped. I took my Tim Holtz craft knife (best craft knife I have ever owned, I love this thing!) and I cut around the inside of the honey jar and around the overlapping florals and leaves. This leaves the window for my shaker card. I took a piece of craft foam slightly smaller than my card panel and I cut out the Honey jar from the foam in the same place as the card panel. This leaves the opening a bit larger so that my panel covers the foam completely.
Then I began coloring. I used 3 to 4 shades per color family of copics to color in my images. I used warm grays at the bottom of the jar to ground the image. Once I was finished coloring I adhered a piece of acetate to the back of the front panel to act as my window.
Now the fun part …. Wait, it’s all fun, ok ANOTHER fun part…. filling the shaker! If you have seen the sneaks, Honey Bee Stamps came out with these cute little clear gemstones to use in your shakers. I needed shaker bits to look a little bluish like water so I pulled out a tip my dear friend and fellow design team member taught me a year or so ago. You can dye your clear plastic embellishments any color you want with alcohol ink! So I thought why not these cute little gems. I took two shades of Ranger alcohol ink and a couple of plastic baggies and put some gems in each. I then put two drops of the ink in the bag and smooshed it around…. after they were coated well I poured them out on a paper towel and let them dry. here is a closer look at them….
Of course I need to buy more so I can dye these lil babies in every color of the rainbow!! I added some of these to my shaker window along with some clear sequins and some blue confetti. I covered up the opening in the back with a scrap piece of distress cardstock that I used a bit of ink blending on ( Broken china distress ink ) and that I drew in some stems with a green marker. I placed the shaker panel on a piece of Doodlebug green polka dot patterned paper and attached the completed panel to a top fold A-2 cardbase.
And that pretty much does it for my cards today. Thank you so much for hanging in there with my very long post today. I hope you were inspired.
There is lots more fun to be had. Keep on Honey Hoppin to our awesome Guest Designer’s blog, Deepti Stephens!!
Listed below are the links to the products I have used for these projects as well as postcard projects I have done in the past, and planning on doing. Affiliate links may be used, which means if you make a purchase, I receive a small commission at no additional cost to you. I really appreciate your support toward the costs of running this blog.
Hi friends, Joann here today sharing some mini note cards that I created for my son’s teacher using CTMH Treats of Friendship stamp set!
I stamped my images on some watercolor paper and colored them in using some Zig Clean Color Real Brush markers. I stamped my sentiment and layered my top panel to some fun foam for some dimension and stacked that onto some colored card stock.
I finished my cards by adding a bit of glossing accents to my sprinkles…really liked the way they turned out. Well that is all for today, thank you so much for stopping by! Have a wonderful day!
I love creating my own backgrounds using Adirondack alcohol inks
First thing I did was to squirt two colors of the alcohol ink onto my splat mat and then add some blending solution. This helps to spread the ink around. Then I just laid my glossy card stock right on top of the ink.
I love the watercolor affect this technique creates.
Once my card base was dry I stenciled some white clouds and then stamped my Happy Birthday sentiment by Technique Tuesday.
To complete my card I layered some pretty pattern papers onto my card base, added my beautiful Butterfly flair and tied some silver floss around the center.
Crafty Pickle flair is the perfect embellishment for beautiful greeting cards. Be sure and stop by The Crafty Pickle Etsy shop
I hope you had a great weekend! Treasa has some fantastic ideas for you using TCP’s Watercolor hearts flair set. Take a look.
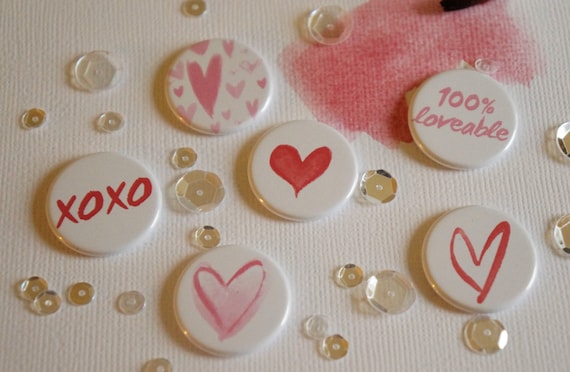
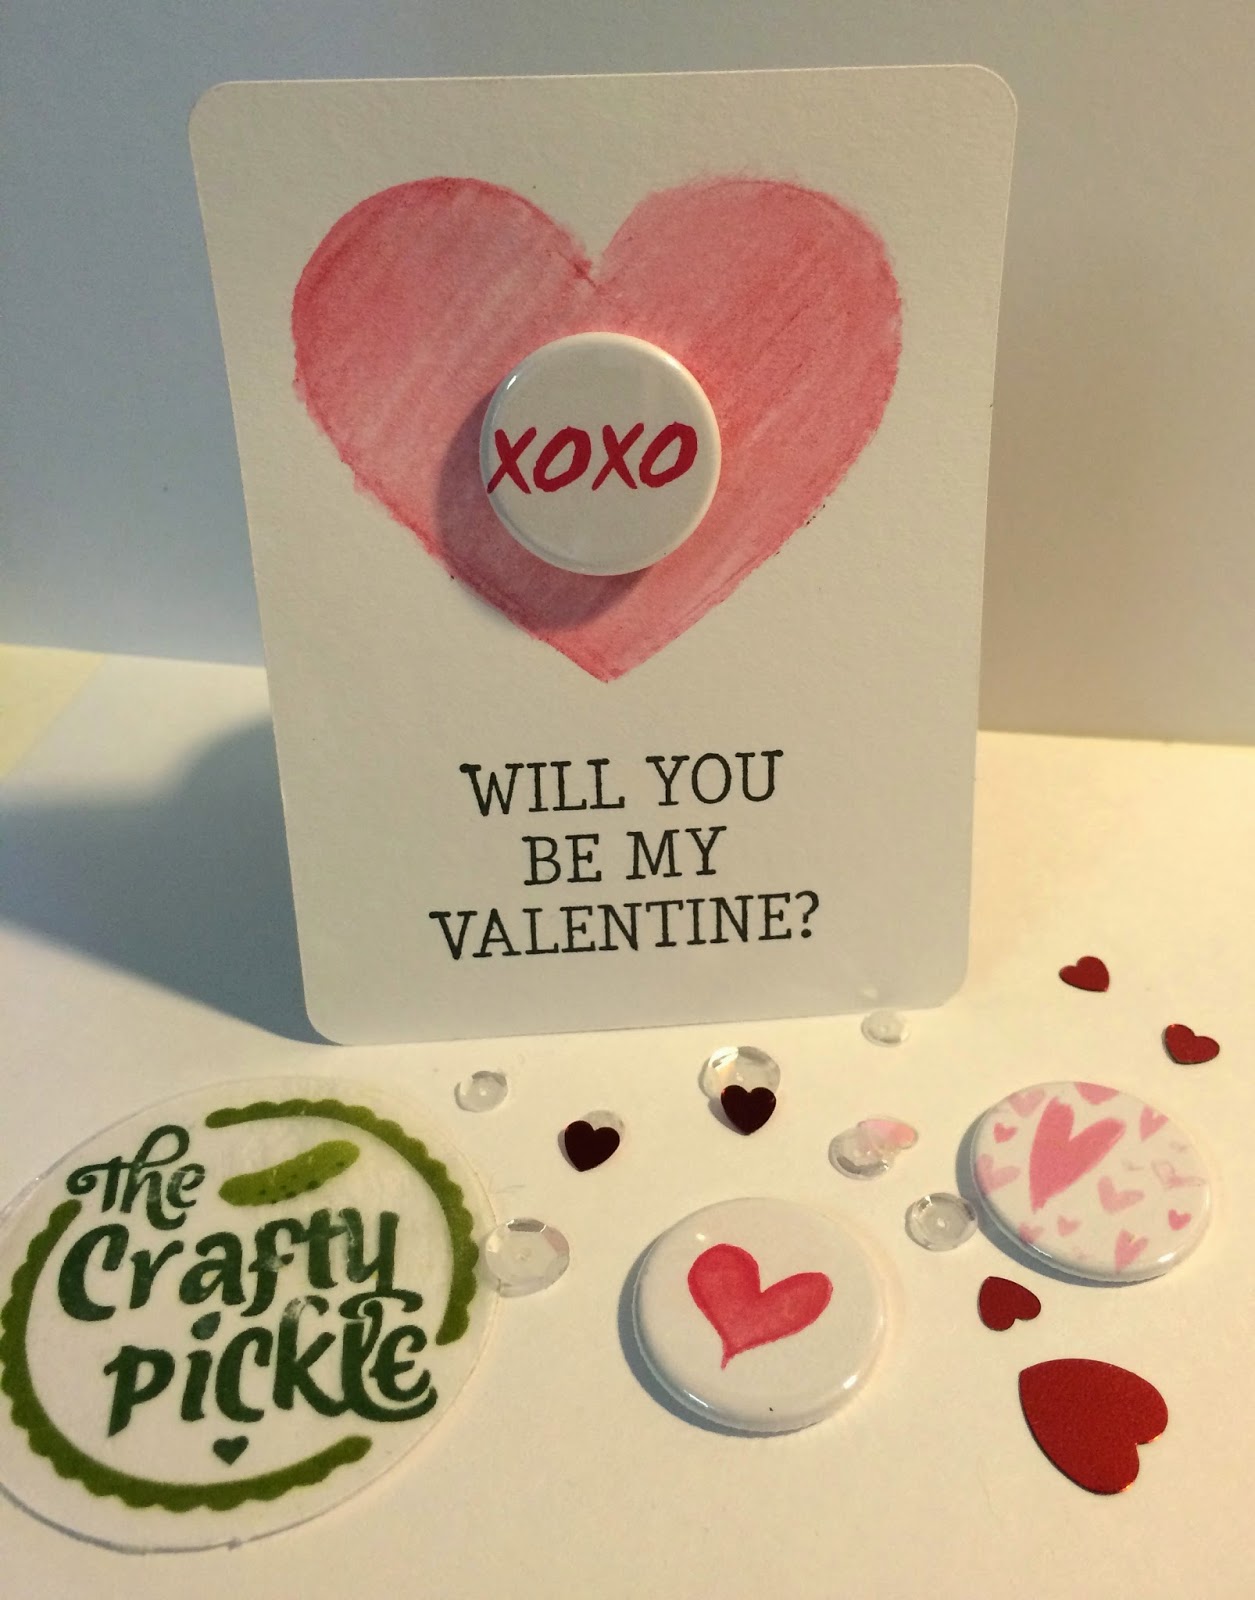
Hi there, I can not believe that it’s almost Valentines day. This year is already going by super fast. Today I wanted to share with you all some Valentines Day cards that I made for my Project Life album using watercolors. I was totally inspired these Watercolor hearts flair badges in The Crafty Pickle shop.
So I cut me down some 3×4 blank cards and got out my watercolor pencils and started creating. Here are the cards that I came up with.
I hope that these cards inspire you to pull out your watercolors and create some fabulous cards. Thanks for stopping by and Happy Crafting!!
Thank you so much for sharing with us today, Treasa! Your cards are absolutely adorable.


 Listed below are the links to the products (or comparable products) I have used for these projects.