Hi Crafty Friends!!
The Honey Bee Stamps Holiday Release is now available in the store. To celebrate the new release, we are having the Season’s Tweetings Blog Hop. So please get comfy and hop along with us!
Forgive me for the short blog post today as I just had surgery on my right hand (makes typing a bit more difficult than I thought it would). I do have a few projects I completed using the new Honey Bee Stamps Holiday release that I hope will inspire you.
This first project uses the new Come Let us adore him stamp and new rainbow crystal embellishments.


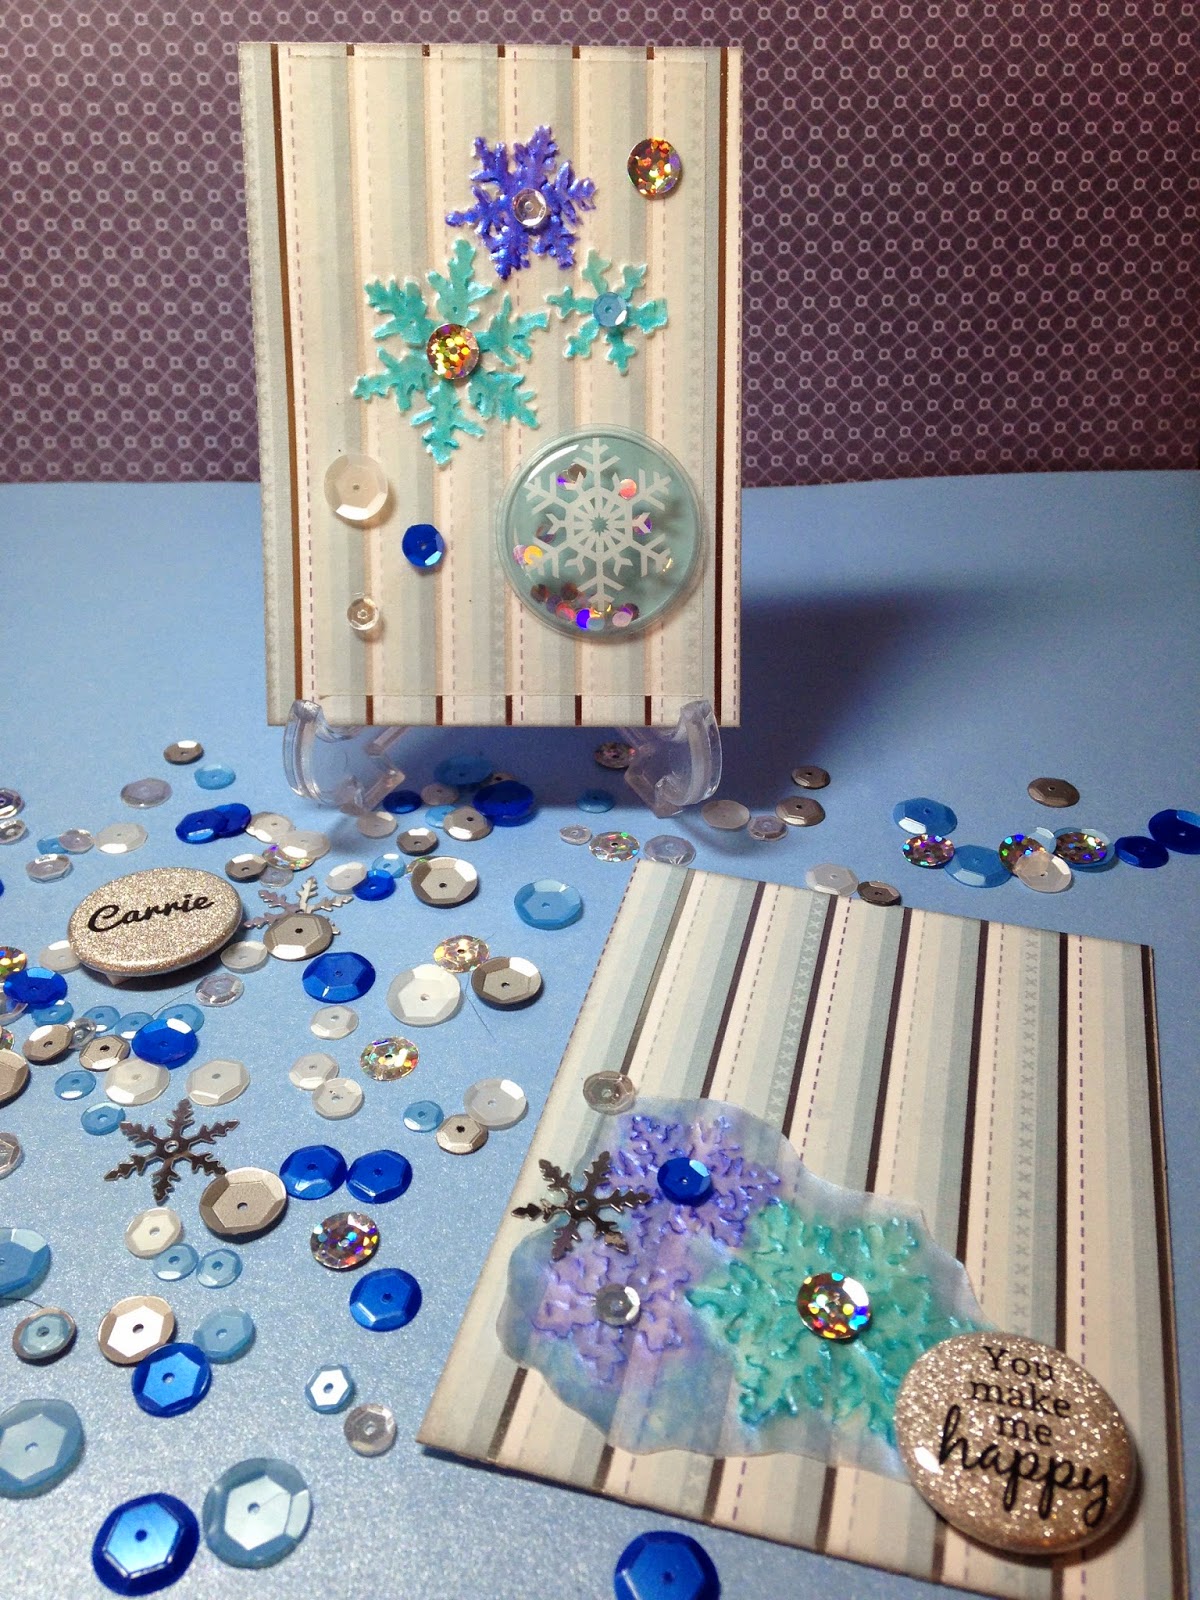
This next project features the Large Ornament and Snowglobe die!


The final card today is using the same large ornament and snow globe die but this time I made a shaker card filled with the new snow shaker mix and the cute little bird and snowbird from the Seasons Tweetings stamp set!


I hope you found these projects inspiring! All new products are available in the Honey Bee Stamps shop —–> Here! (affiliate links used at no cost to you. Thank you for supporting this blog!)
Be sure to visit each blog & leave a comment to be entered to win!!! We will be giving away a $50 gift card to the Honey Bee Stamps store. The winner will be posted on our blog Monday, November 13th.
The Blog Hop lineup is: