Happy Holidays!
I hope all of you are enjoying the season so far and have been keeping up with your December Daily albums or Journals. I wanted to share a little bit of my album today. I have up to day# 5 complete. (warning this post is kind of photo-heavy). For my 2013 December Daily I am using the Merry and Bright Kit from Whimsical Twist. I am also using items I have collected from this year and previous years as well as die cuts from my Silhouette. If you have any questions on products used please let me know.

For my title page I did it in three separate page protector layers. For the First layer I printed a title using Ali Edwards digital brushes on a transparency and placed that in the page protector

For the second layer I took a transparency and two silhouette die cuts (out of the silhouette printable gold foil) and adhered them on the transparency back to back. After sliding that into the page protector I sprinkled sequins on either side and sewed the protector closed.


For the Third and final layer of the Title page(s) I cut a piece of American Crafts POW glitter paper and slid that in the protector, On top of that was another transparency that I printed on the bottom.

The next page I kept really simple.

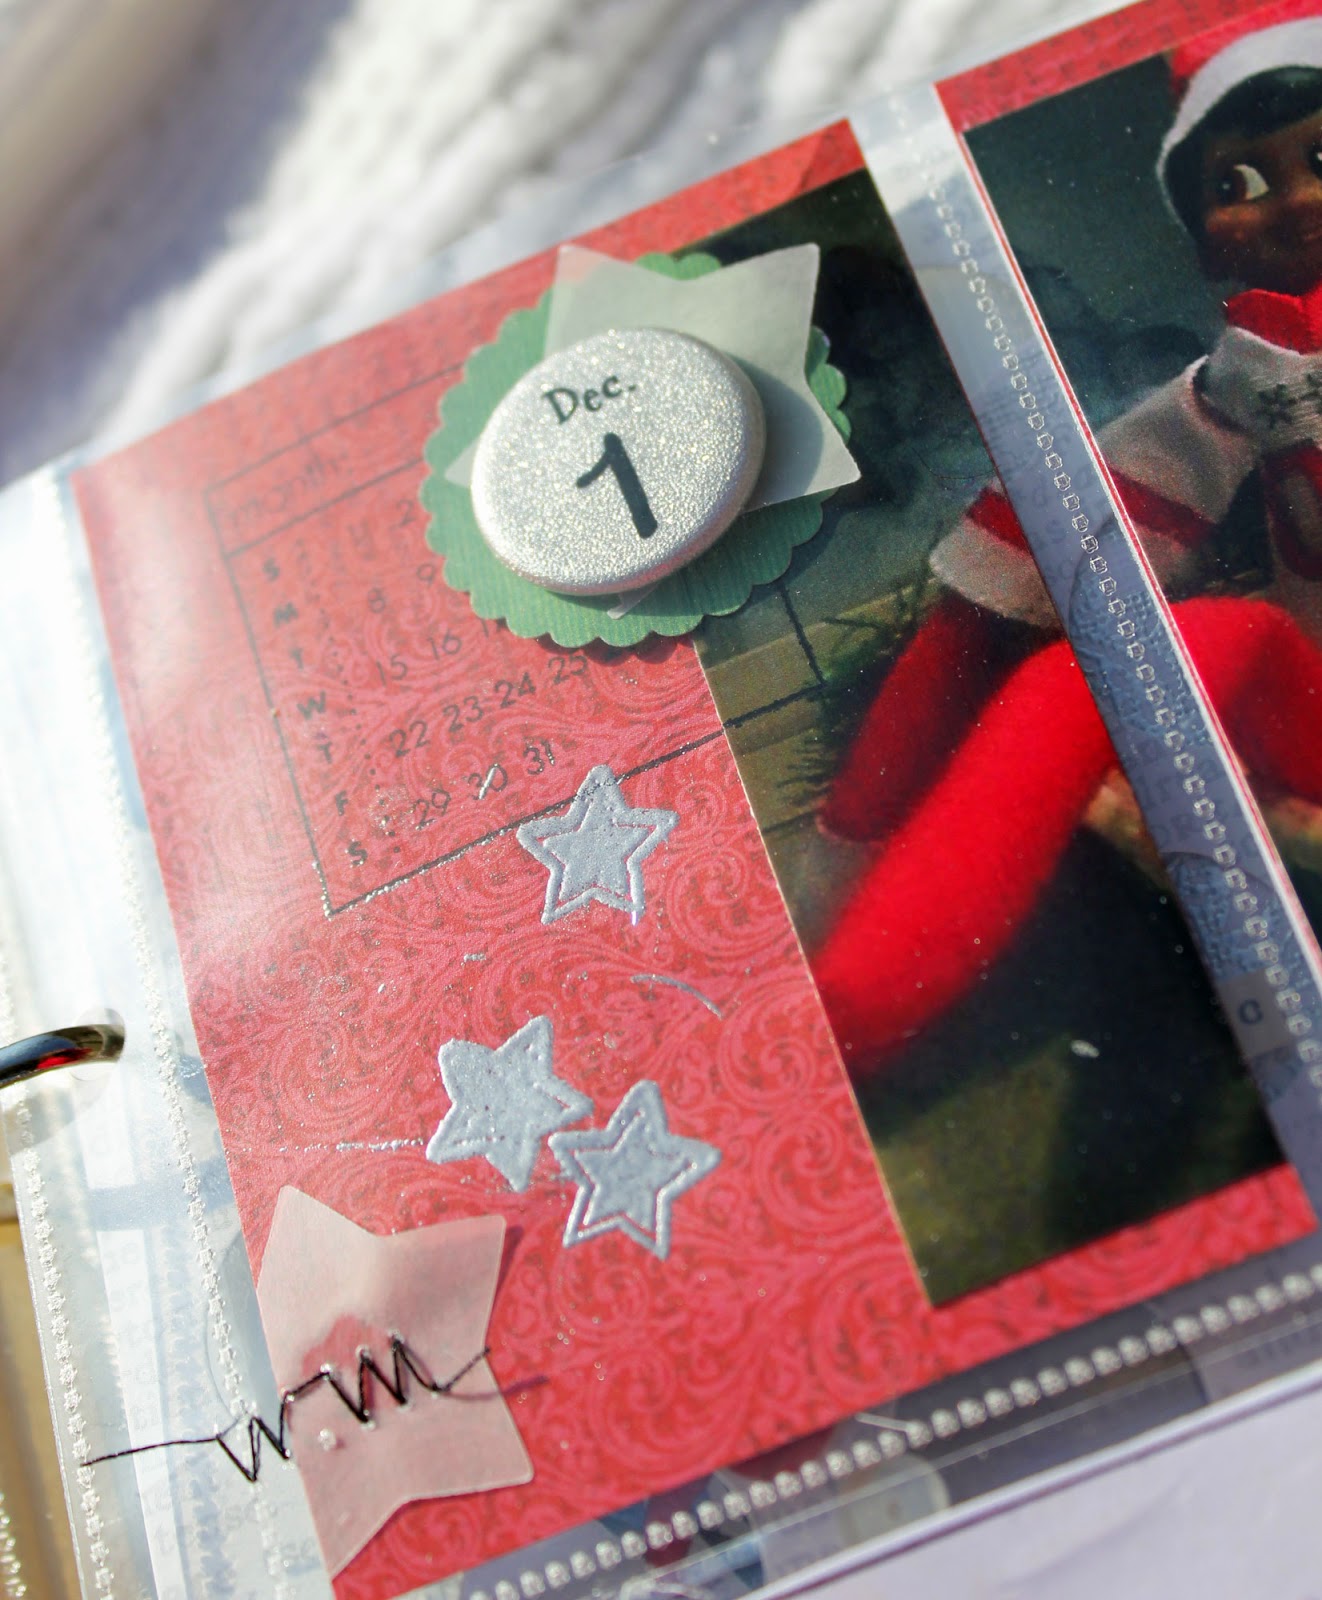
Day one:


For the card on the bottom left, I stamped in white ink and then I went over the stamped areas with a white chalk pencil to give it a better chalkboard effect.

Day Two:


For the middle layer I used a 6×8 page protector and sewed the bottom portion shut with sequins, glitter, and heat embossed wood veneer stars (Studio Calico Printshop stars) Then I slipped the two photos back to back on the top.

This year I decided to incorporate our advent Calender within our December Daily album. You will see these pockets throughout my album. The little circles are special chalkboard paper. I stamped the number in white prima Chalk ink. (the Advent Kit that I used can be found HERE)

I printed our advent activities on a piece of shimmer cardstock and then sewed them to the tag that I had cut down to fit the bag. I also did some heat embossing on the tags as well.
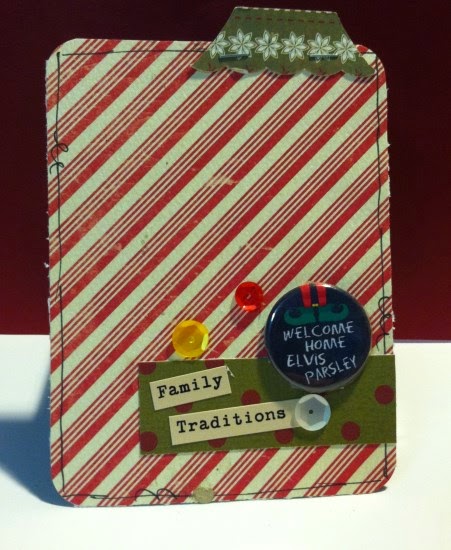
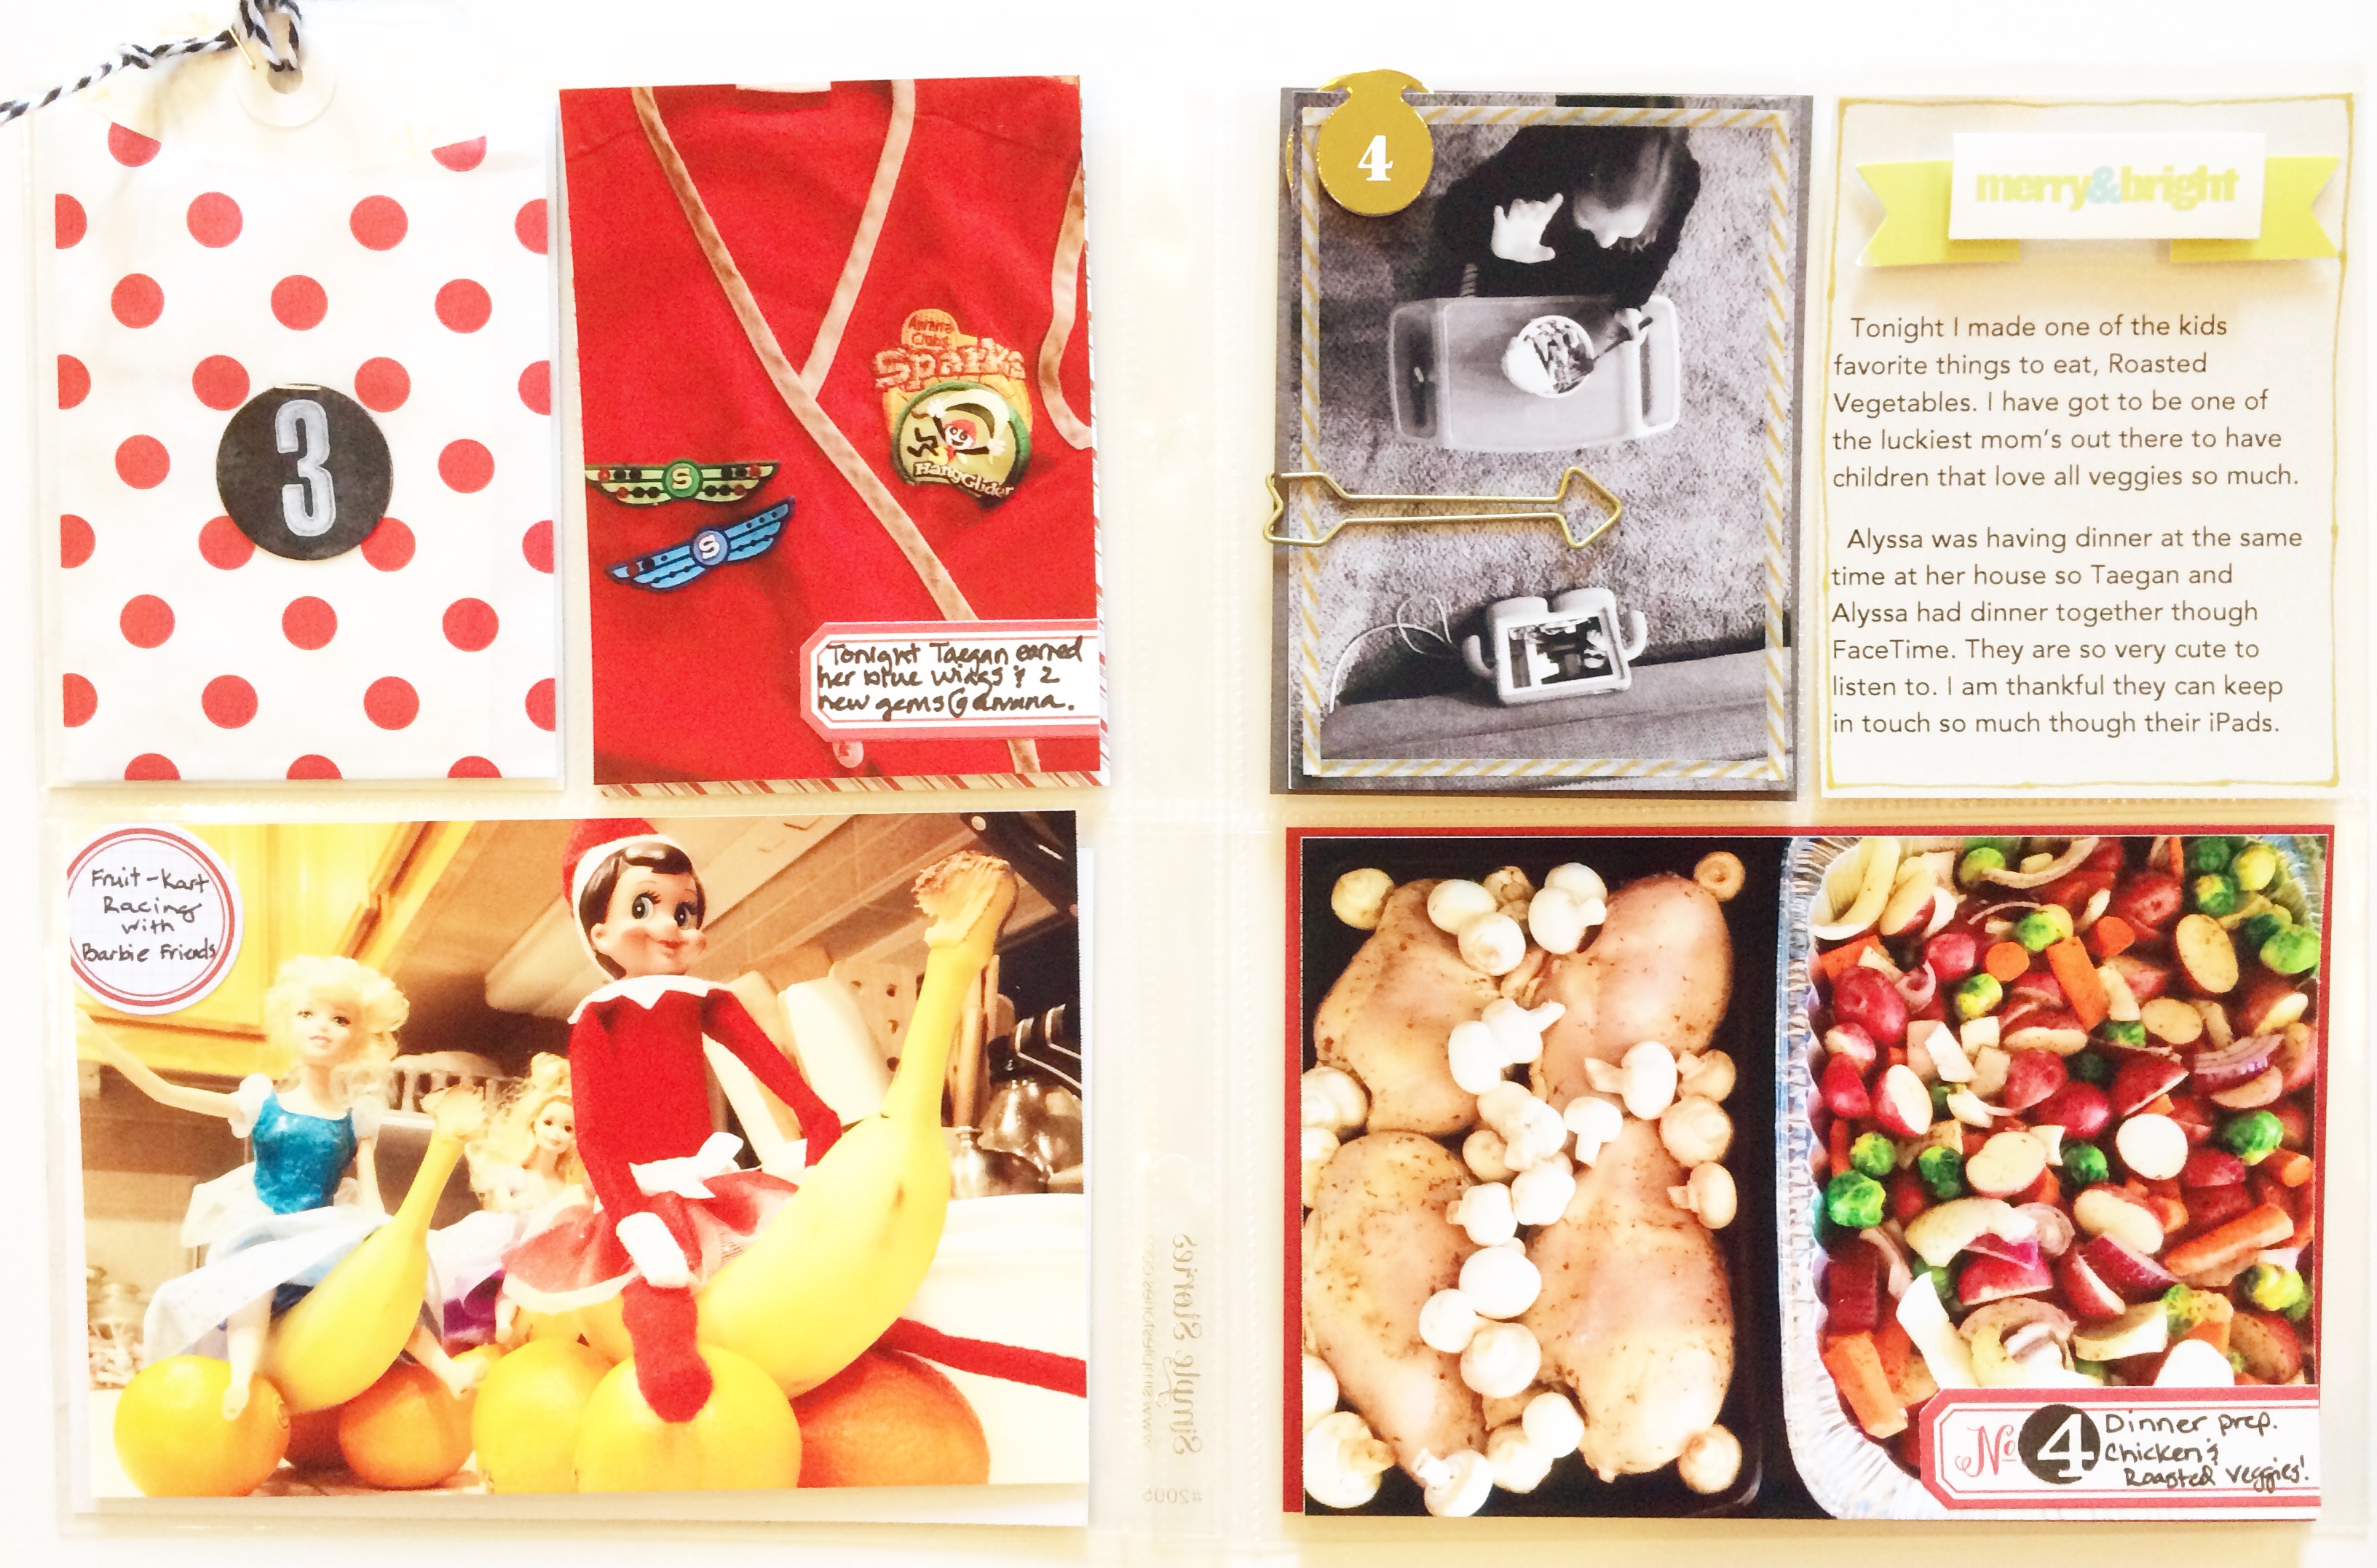
Day Three & Four:

Day Three:

Day Four:

Day Five:

I had a lot of fun working on Day 5. Lots of digital stamping on the photos using files from Ali Edwards @ Designer Digitals, Ali Edwards/Technique Tuesday Stamps, and the Pine Wreath Die from Die-Namites Dies.

For the Tree embellishment I used the Pine Wreath die from Die-Namites dies which you can find HERE. I made 12 cuts of the die and one tree base out of the same card stock. I cut off all of the pine branches from the die cut shapes and made a pile. Then I took some clear liquid adhesive and squeezed a bit out on a scrap piece of card stock. I dipped the bottom part of the pine branch in the glue and started layering from the outside of the tree base inward. After everything was completely dry I added some clear and white gems (Michael’s brand and Studio Calico) To see more photos of this embellishment visit the Die-Namites blog HERE.


Day Six:
For day 6 I kept things super simple. I took cards that were included in the Merry & Bright Kit and embellished the tree card with some sequins and glitter pen accents. Sticker letters are also from the kit. There are a handful of kits still available and you can find them HERE on sale for $35!


That wraps up this round of December Daily Pages. I should be back next week to share another handful of pages.
Happy Holiday Crafting!