Project life storage discovery!!!

* edited update: If you would like to see a video of how I am currently organizing my Project life cards and monthly Subscriptions please click HERE to be directed to my most current card organizing post.*

Ok, I am really excited to share, this might be old news to some people but for me it was brilliant!!! Close to my heart, a stamping/scrapbooking company, has this medium storage box meant for their acrylic stamps (the stamps are equally as awesome btw) but, it just so happens that is is the perfect storage for ALL my project life cards! Check it out!

ctmh1-1_edited-1

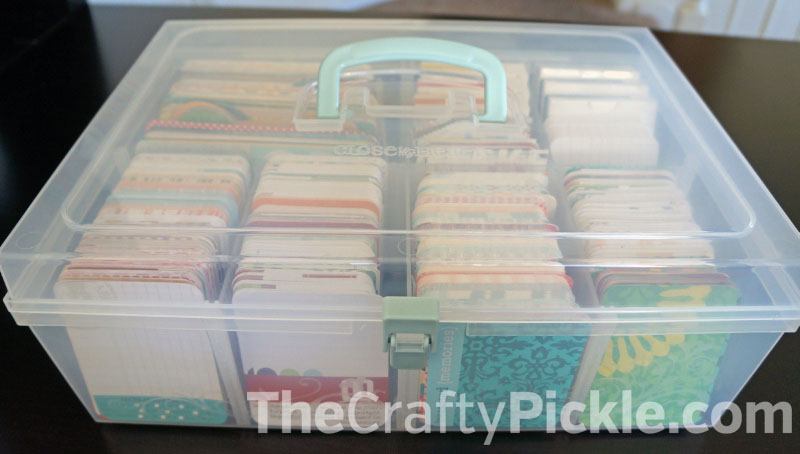
My friends, what you see is my becky higgins card sets (seafoam, cobalt, clementine, turquoise  cherry, and amber collections (aprox. 3/4 to 1/2 of each kit) both the complete Bridgeport and the Mayfield mini kits. I also have the Jan. studio calico project life kit, homemade cards, and blank, and grid cards ALL IN ONE BOX!!! I still have room for more cards in this box as well.

ctmh4-1

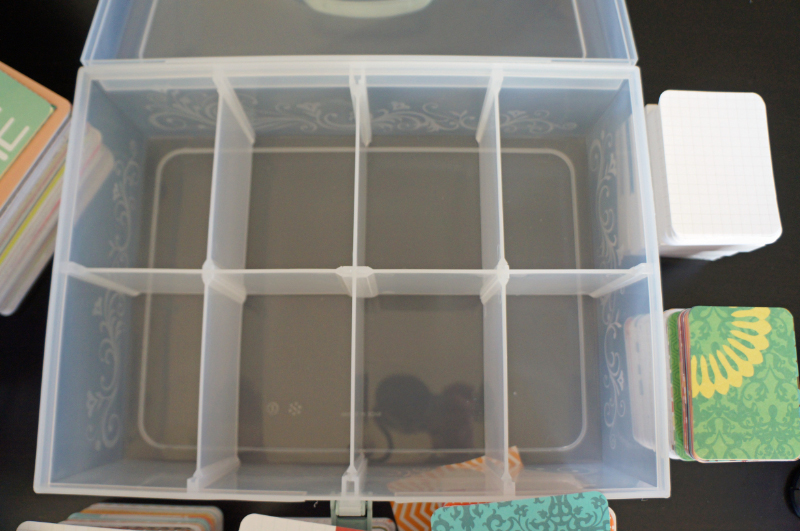
This is what it looks like empty. the middle divider is something that needs to stay put unless your taking out ALL the dividers… but the little ones can be removed to accommodate the larger 4×6 cards. See below.

ctmh3-1

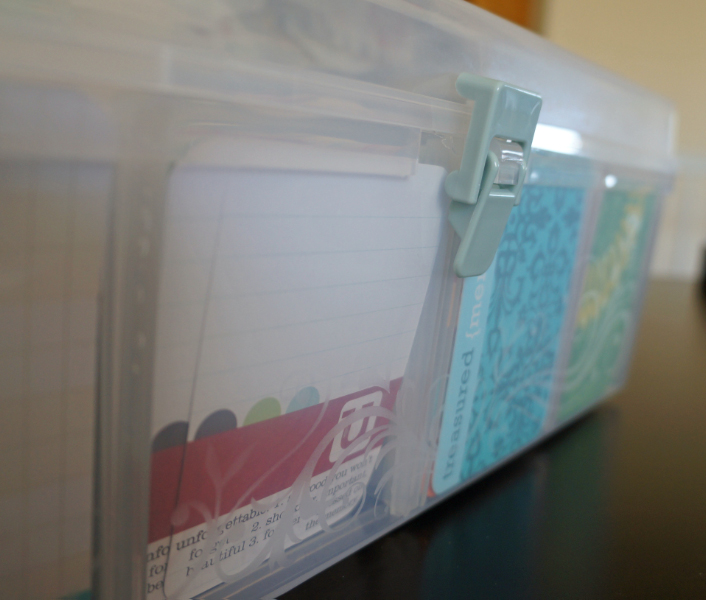
Pretty neat huh?!?! I am sure that I will need an additional box once the new spring kits come out and I accumulate more Studio Calico cards. I do plan on putting divider cards for the card sections to mark what edition is what. Its also a pretty box. I like the light green handle and closure. and it has pretty etched scroll work around which you can see a bit below.

ctmh5-1

So…… I got so excited about these boxes, and then the adorable stamps that I can use in project life (love acrylic stamps!) that I became a consultant! If you would like to purchase one you can buy direct from my CTMH website which is: http://thecraftypickle.ctmh.com/

To find the box the path is Shop>Accessories>Organization and then you will find the Medium organizer at the bottom of that page. *edited 2/28 they are IN STOCK!*

If you have any questions at all please let me know! I am so excited to share this with all of you!

Happy Organizing!

TheCraftyPickle.com

How I Organized some of my Paper crafting supplies. (And a little giveaway!)

 Happy Wednesday everyone! Today I am going to show you how I have tackled a problem I had been having for a while. For 14 years I have accumulated A LOT of crafting supplies. I have a pretty good memory of what I have, but when it comes to a few things If i don’t see it I wont use it, you know that whole out of sight out of mind thing. Also, I can’t tell you how many times I have purchased duplicates of washi, ink mist, stamps, etc… So I took a binder I had purchased from staples a while back for another use (it’s about 8×10) a great size for on my desk but also to throw in my bag if I happen to go out shopping.

Binder 1-1

 I made my own dividers (the ones that were sized for the binder were too small compared to the page protectors) I just stapled on a color tab to make it easy to flip to what I needed. The first section is washi tape. Washi tape is a pattered roll of tape that is easily torn and also doesn’t stick to your paper if you try to peel it off. It does become quite an addiction. If i happen to have a tape that has multiple colors that stand out I might put a sample in each color section. Below are a few pictures of some of the washi samples. I use front and back of each page. Whenever I get a new roll I will not put it away until I put a sample in my book.

binder 2-1

binder 3-1

binder 4-1

Binder 5-1

 Next up, Embossing powder. I haven’t used embossing powder much in the past but find myself using it more lately. It has been really hard remembering what colors I have. I split it into three sections, Opaque, Metallic, and Glitter. I stamped all samples with the same stamp and versamark ink to show differences in how it shows up compared to another. Most of my powders are by American Crafts (Zing) which are my favorite but there are a few other brands as well so I listed them in case I run out and need more.

Binder embossing 1-1

binder embossing 2-1

embossing #3-1

 Last in the little binder is my ink mists. Oh how I love misting, but I have purchased a few duplicates and it is always nice to have a dried sample so you know what color you are getting. Most of my mists are from Studio Calico (Mister Huey’s) but I noted down which is which along with the color name to make things easy to find.

mists 1-1

mists 2-1mists 3-1

 I’m really pleased with how it all came together and in the short time I have had it completed it has helped me quite a bit. I am still working on my stamp binder (a different binder that is 8 1/2 x 11) I have a LOT of stamps so this will probably take me a while. I finished all my wood mounted stamps and I am working on the clear stamps next. I snapped a few pictures of what I am doing though, so you get an idea.

stamps 3-1

stamps 2-1

stamps 1-1

 I think stamping my clear sets will go by a lot faster. I used versafine black ink and white cardstock to do all my stamp samples.

 I hope this has inspired you to do a little supply organization, in whatever way works for you. If you have any other creative suggestions I would love to hear about them!

 And now for a little giveaway! As I said, I accumulated some duplicates before putting this binder together and I would like to share a few things with someone (see photo below). Please enter a comment below with your location, and if you have any organizational tips I would love to hear that as well! and a winner will be chosen Friday Feb.8th around 12pm PST. This is open to anyone (even international!)

giveaway-1

Handmade Project life cards

Happy Wednesday! Here I am again with this week’s hand made project life cards. This batch is for my February swap partner (she loves aqua and peacocks). I ended up liking the viewmaster weekly card so much that I made one for my week 4 (which is the one pictured) I included a bunch of cut out numbers for her card so she could use it for any week she would like. I think I might try slipping some index size prints in the viewmaster die cut, something I will try at the end of the week.

For both these sets of cards I used my Silhouette for the die cuts and  used my Sakura glitter pen, some chalk ink, a few stamps, and my tiny attacher

I enjoy being able to be creative with the PL cards but also just grabbing ready made ones and get the week done, I guess it will just depend on how busy I am in any given week.

1-DSC014641-DSC01463-0021-DSC014661-DSC01467


Project Life: Week 3

Hi Fellow Project lifer’s! you get a few post’s all at once from me today! Here is my week three. I really tried to stick to using the studio calico block party kits for the most part for this week… I did add in a little bit of my seafoam kit and some pebbles cards from their seen and noted collection (which I LOVE) I took a few close ups of this week as well. I used the little bag that came in the SC Kit as inspiration of a grocery bag and included our receipt for groceries that week.

Project Life week 31-DSC01457week 3 right sideweek 3 right side1-DSC01459

Project Life: Week 2

OK so I admit this is definitely not my best work, However I had the flu all this week, and come to find out, I actually have mono on top of it all (don’t drink after your teenagers!)  I didn’t have a lot of content but I managed to fill the two page spread anyway 🙂

1-DSC01450

Project Life right sideProject Life right side

I included the box (a piece of it anyway) from the medicine I was taking along with a wrapper of the throat drops I was using. I Thought that was a fun idea I scraplifted from one of the DT Members over at Studio Calico. I also peeled off the lable of the OJ  container we were drinking. The letters for the “WEEK” title cards are old making memories from my scrap-stash. I have been trying to use up some of my old supplies in addition to playing with the new goodies.

One of the hardest things to do with my scrapbooking is to actually journal in my own handwriting. I *HATE* my handwriting. but I told myself this year while starting project life is, “GET OVER IT” I am sure that my children would appreciate it much more to see my own crummy handwriting in their later years than a fancy font (Not to say I wont be doing some computer journaling too) So if you are like me and avoid journaling by hand, all I have to say to you is, GET OVER    IT! 😉

I *Love* my silhouette!

20130119-175942.jpg

20130119-180004.jpg

Today I gave my little silhouette machine quite a workout. I am making some custom project life cards this weekend for the Feb. Studio Calico swap. I have the older version of the silhouette (the SD) which is now revised into the silhouette portrait. Although I would love the 12 inch cameo I can’t see spending all that money when my sweet little machine is going strong. It truly is amazing how far die cutting has came. I still remember coveting my pebbles in my pocket templates and hand cutting all my letters for titles to my pages. I will be transforming these piles of cut beauties (isn’t that peacock feather adorable?) into cards and posting them here on my blog very soon! Have a great weekend everyone!

Project Life January: week one

Project Life week 1
Project Life week 1
week one left side
week one left side


Week one right side
Week one right side


Hi everyone! I hope your off to a good start with your project life albums! I am actually current and hope to stay no more than a week or two behind. I plan on sharing my pages on a weekly basis so that you can all see my progress. A few things that have already made this project doable for me are:

1. The Canon Selphy cp900 photo printer.

2. My iPhone. I love that I can snap a pic whenever and wherever. I can also edit and print wirelessly to the selphy.

3. Of course my Becky Higgins page protectors, the amazing seafoam core kit, and my studio calico kit.

I still have not completed my title page but I am leaving that for now until the inspiration hits me.

I will be taking pictures of week two and three soon an posting them next week.

Handmade project life cards

DSC01435_edited-1PLCards1
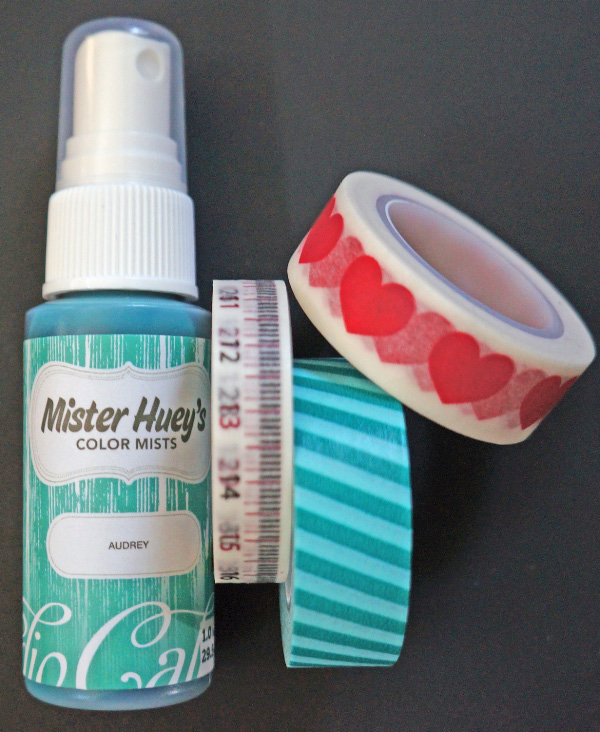
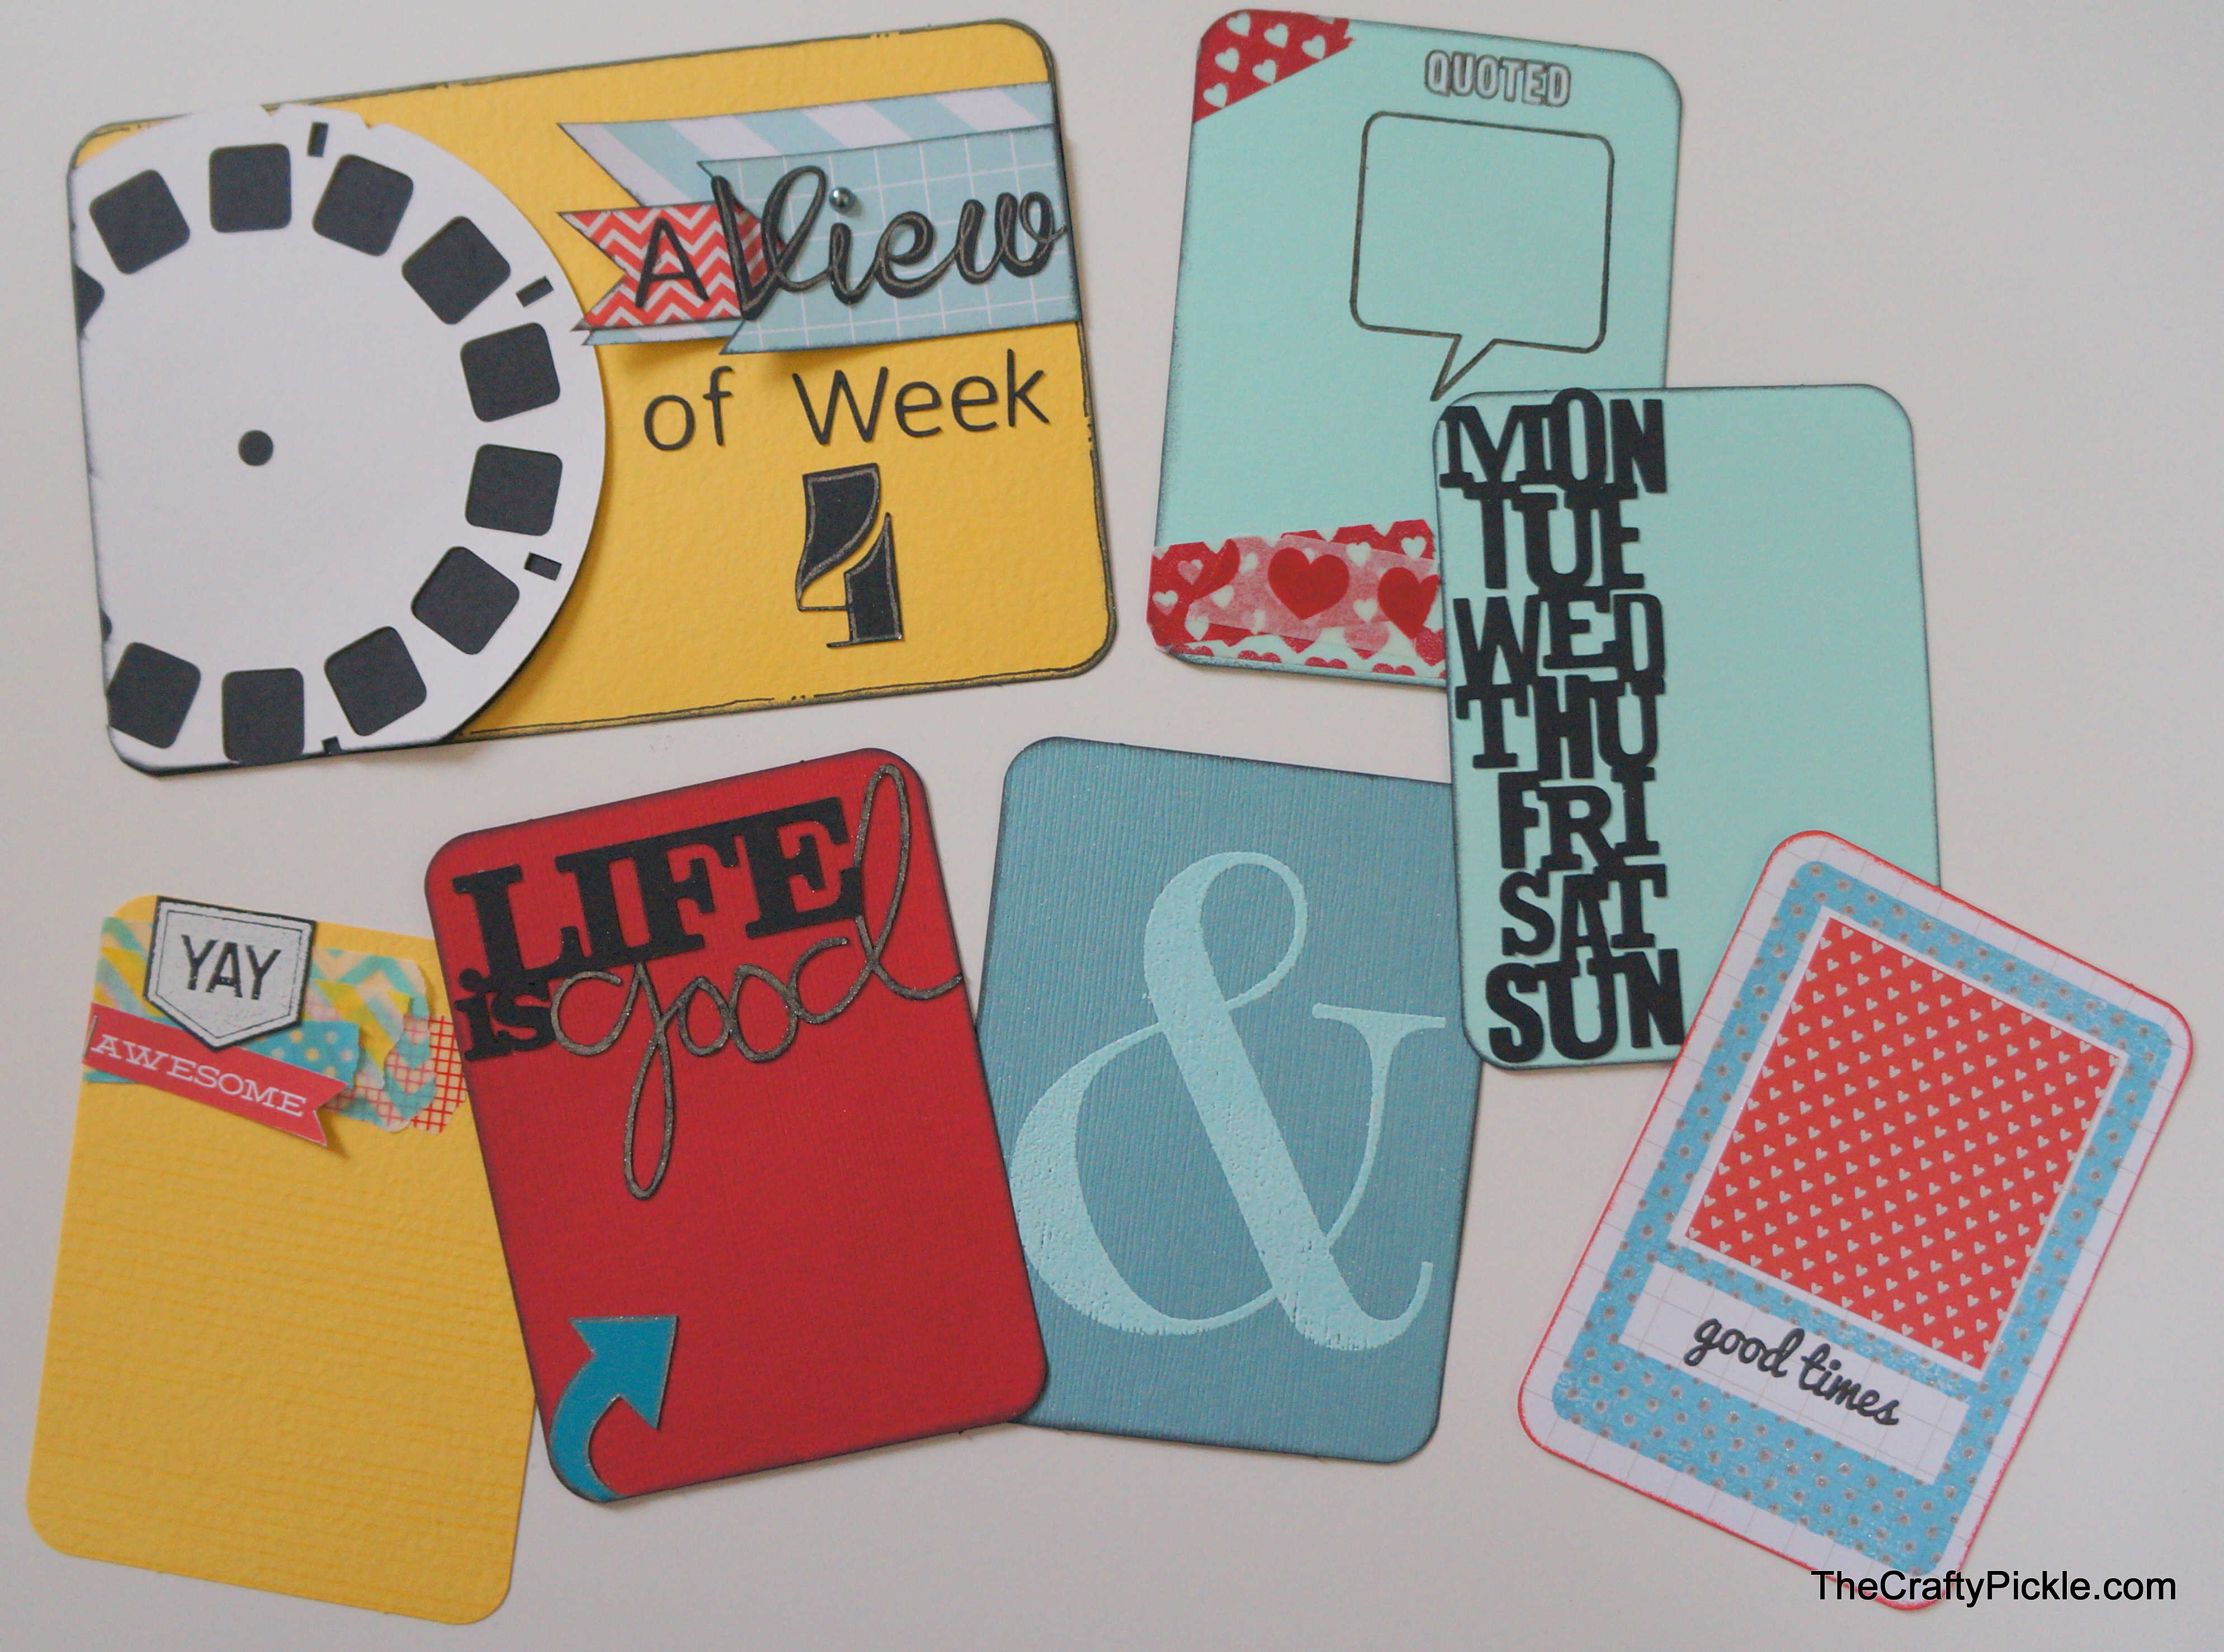
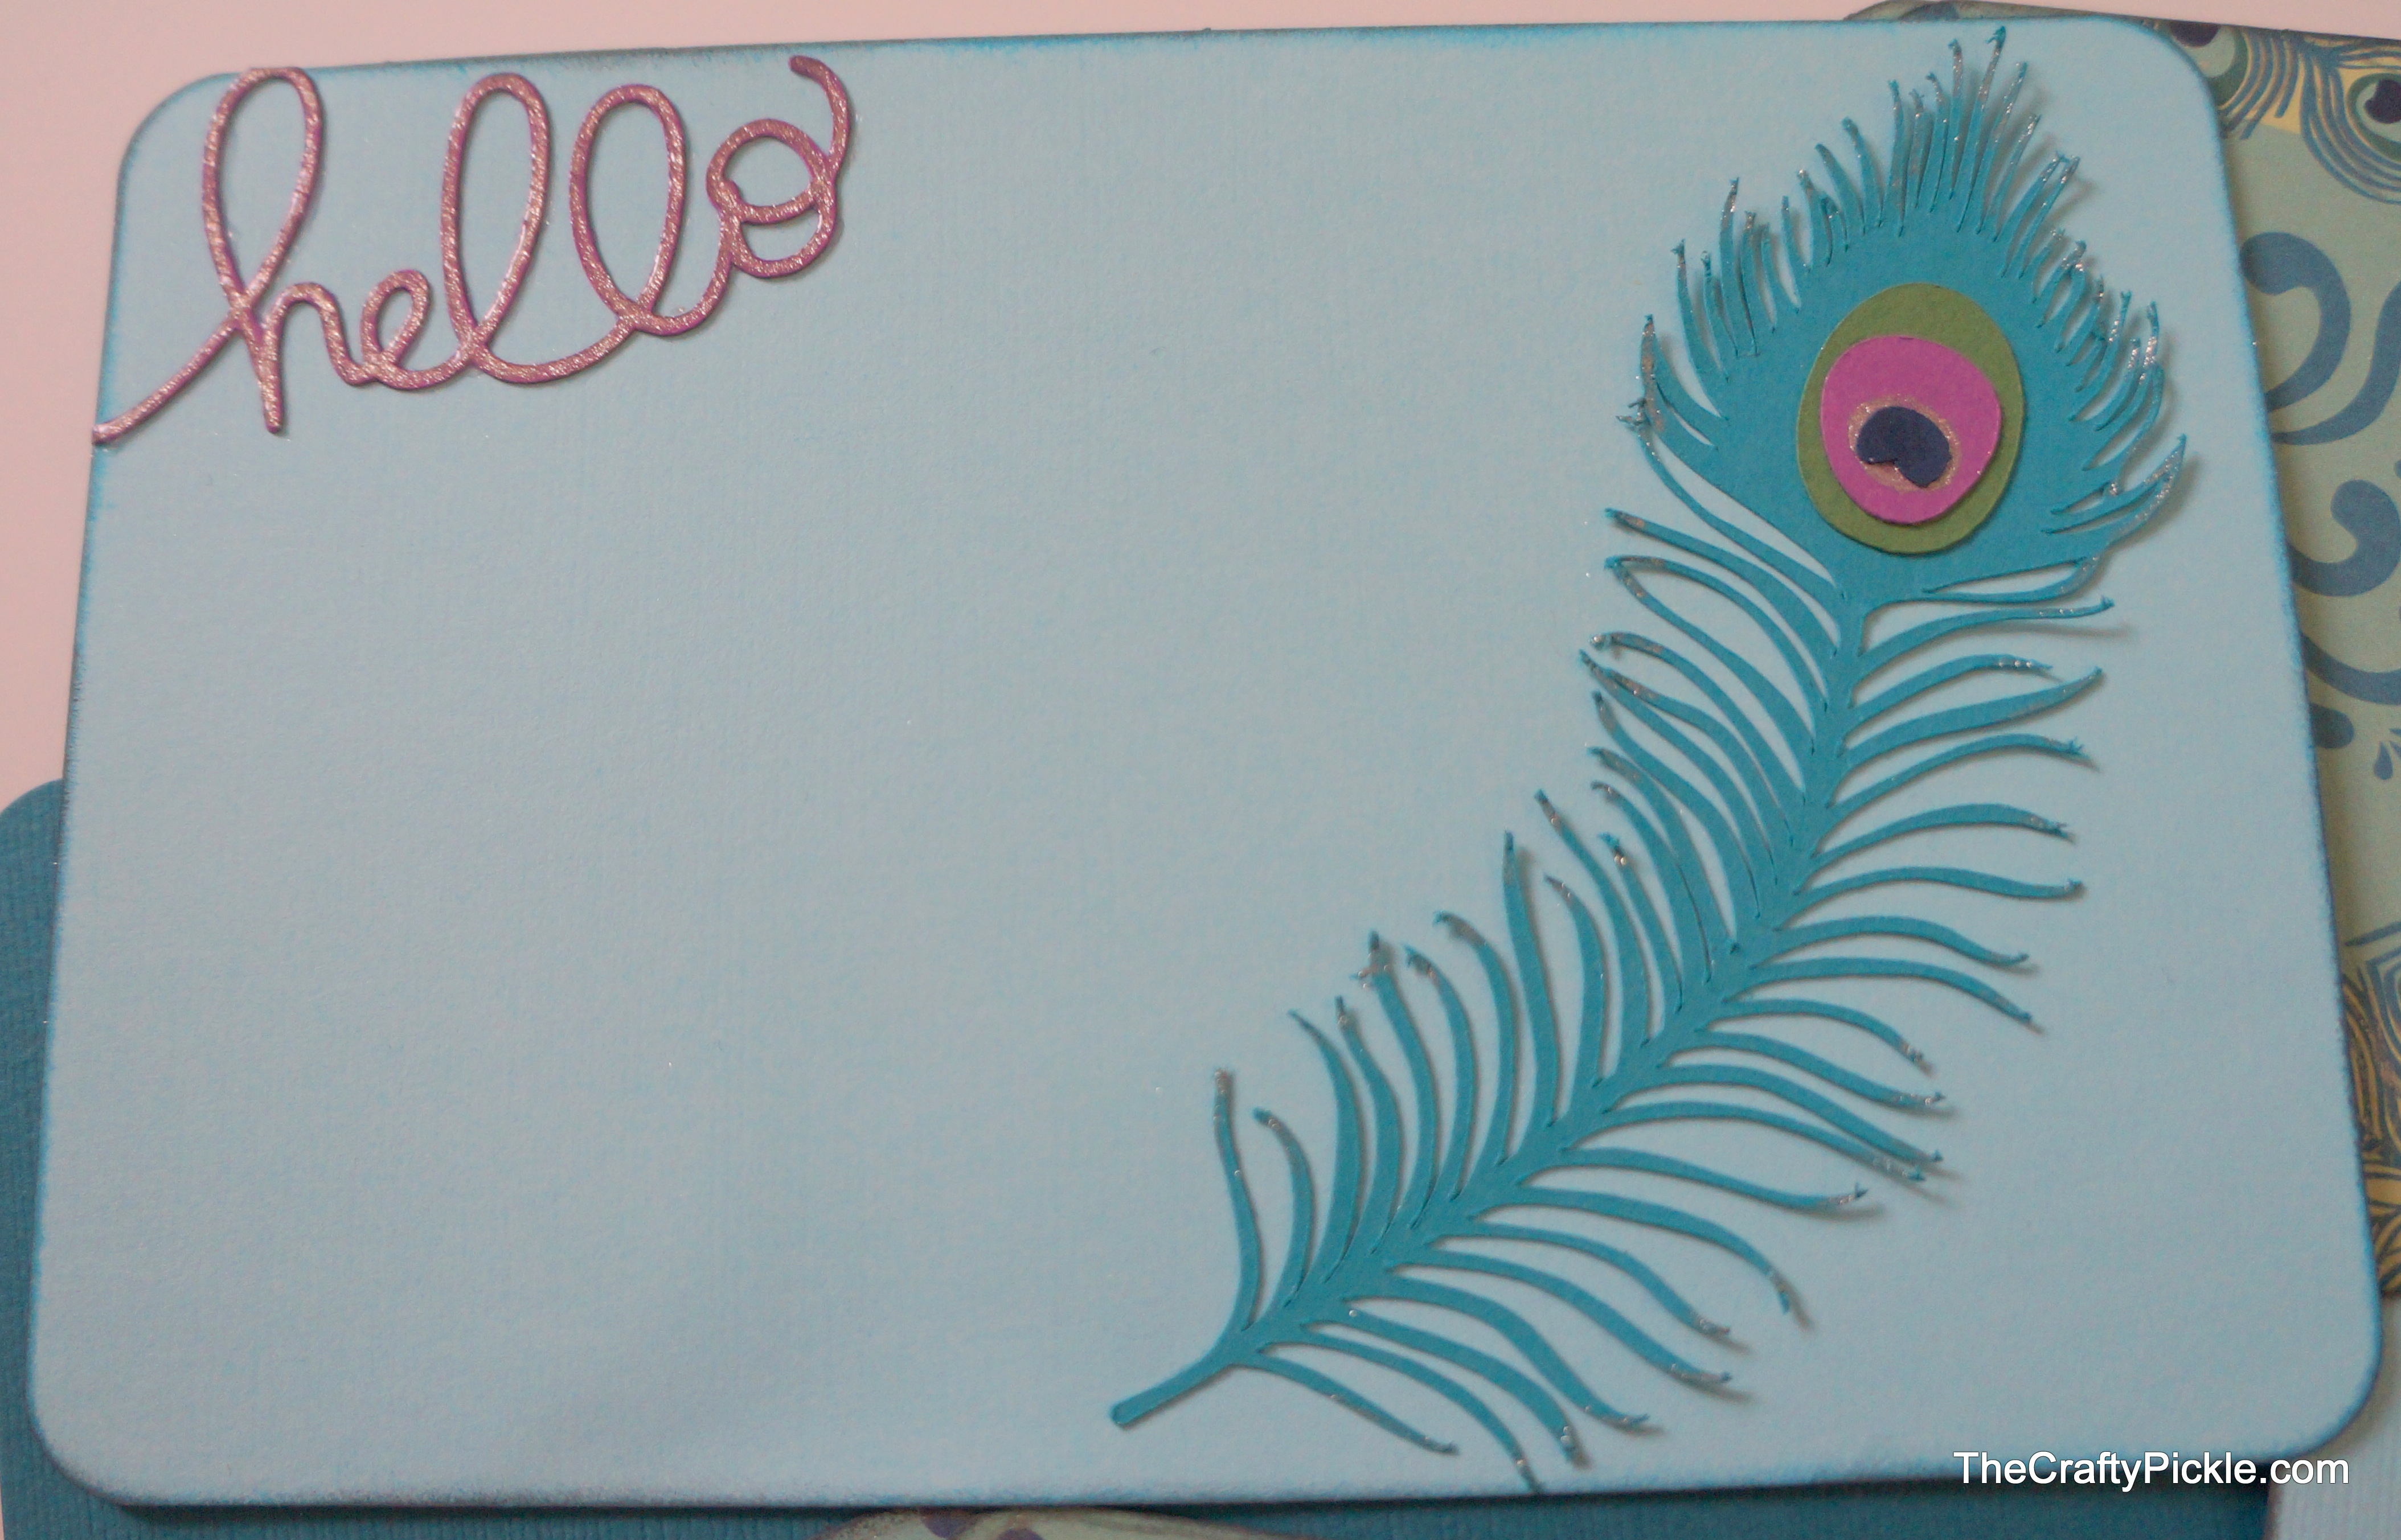
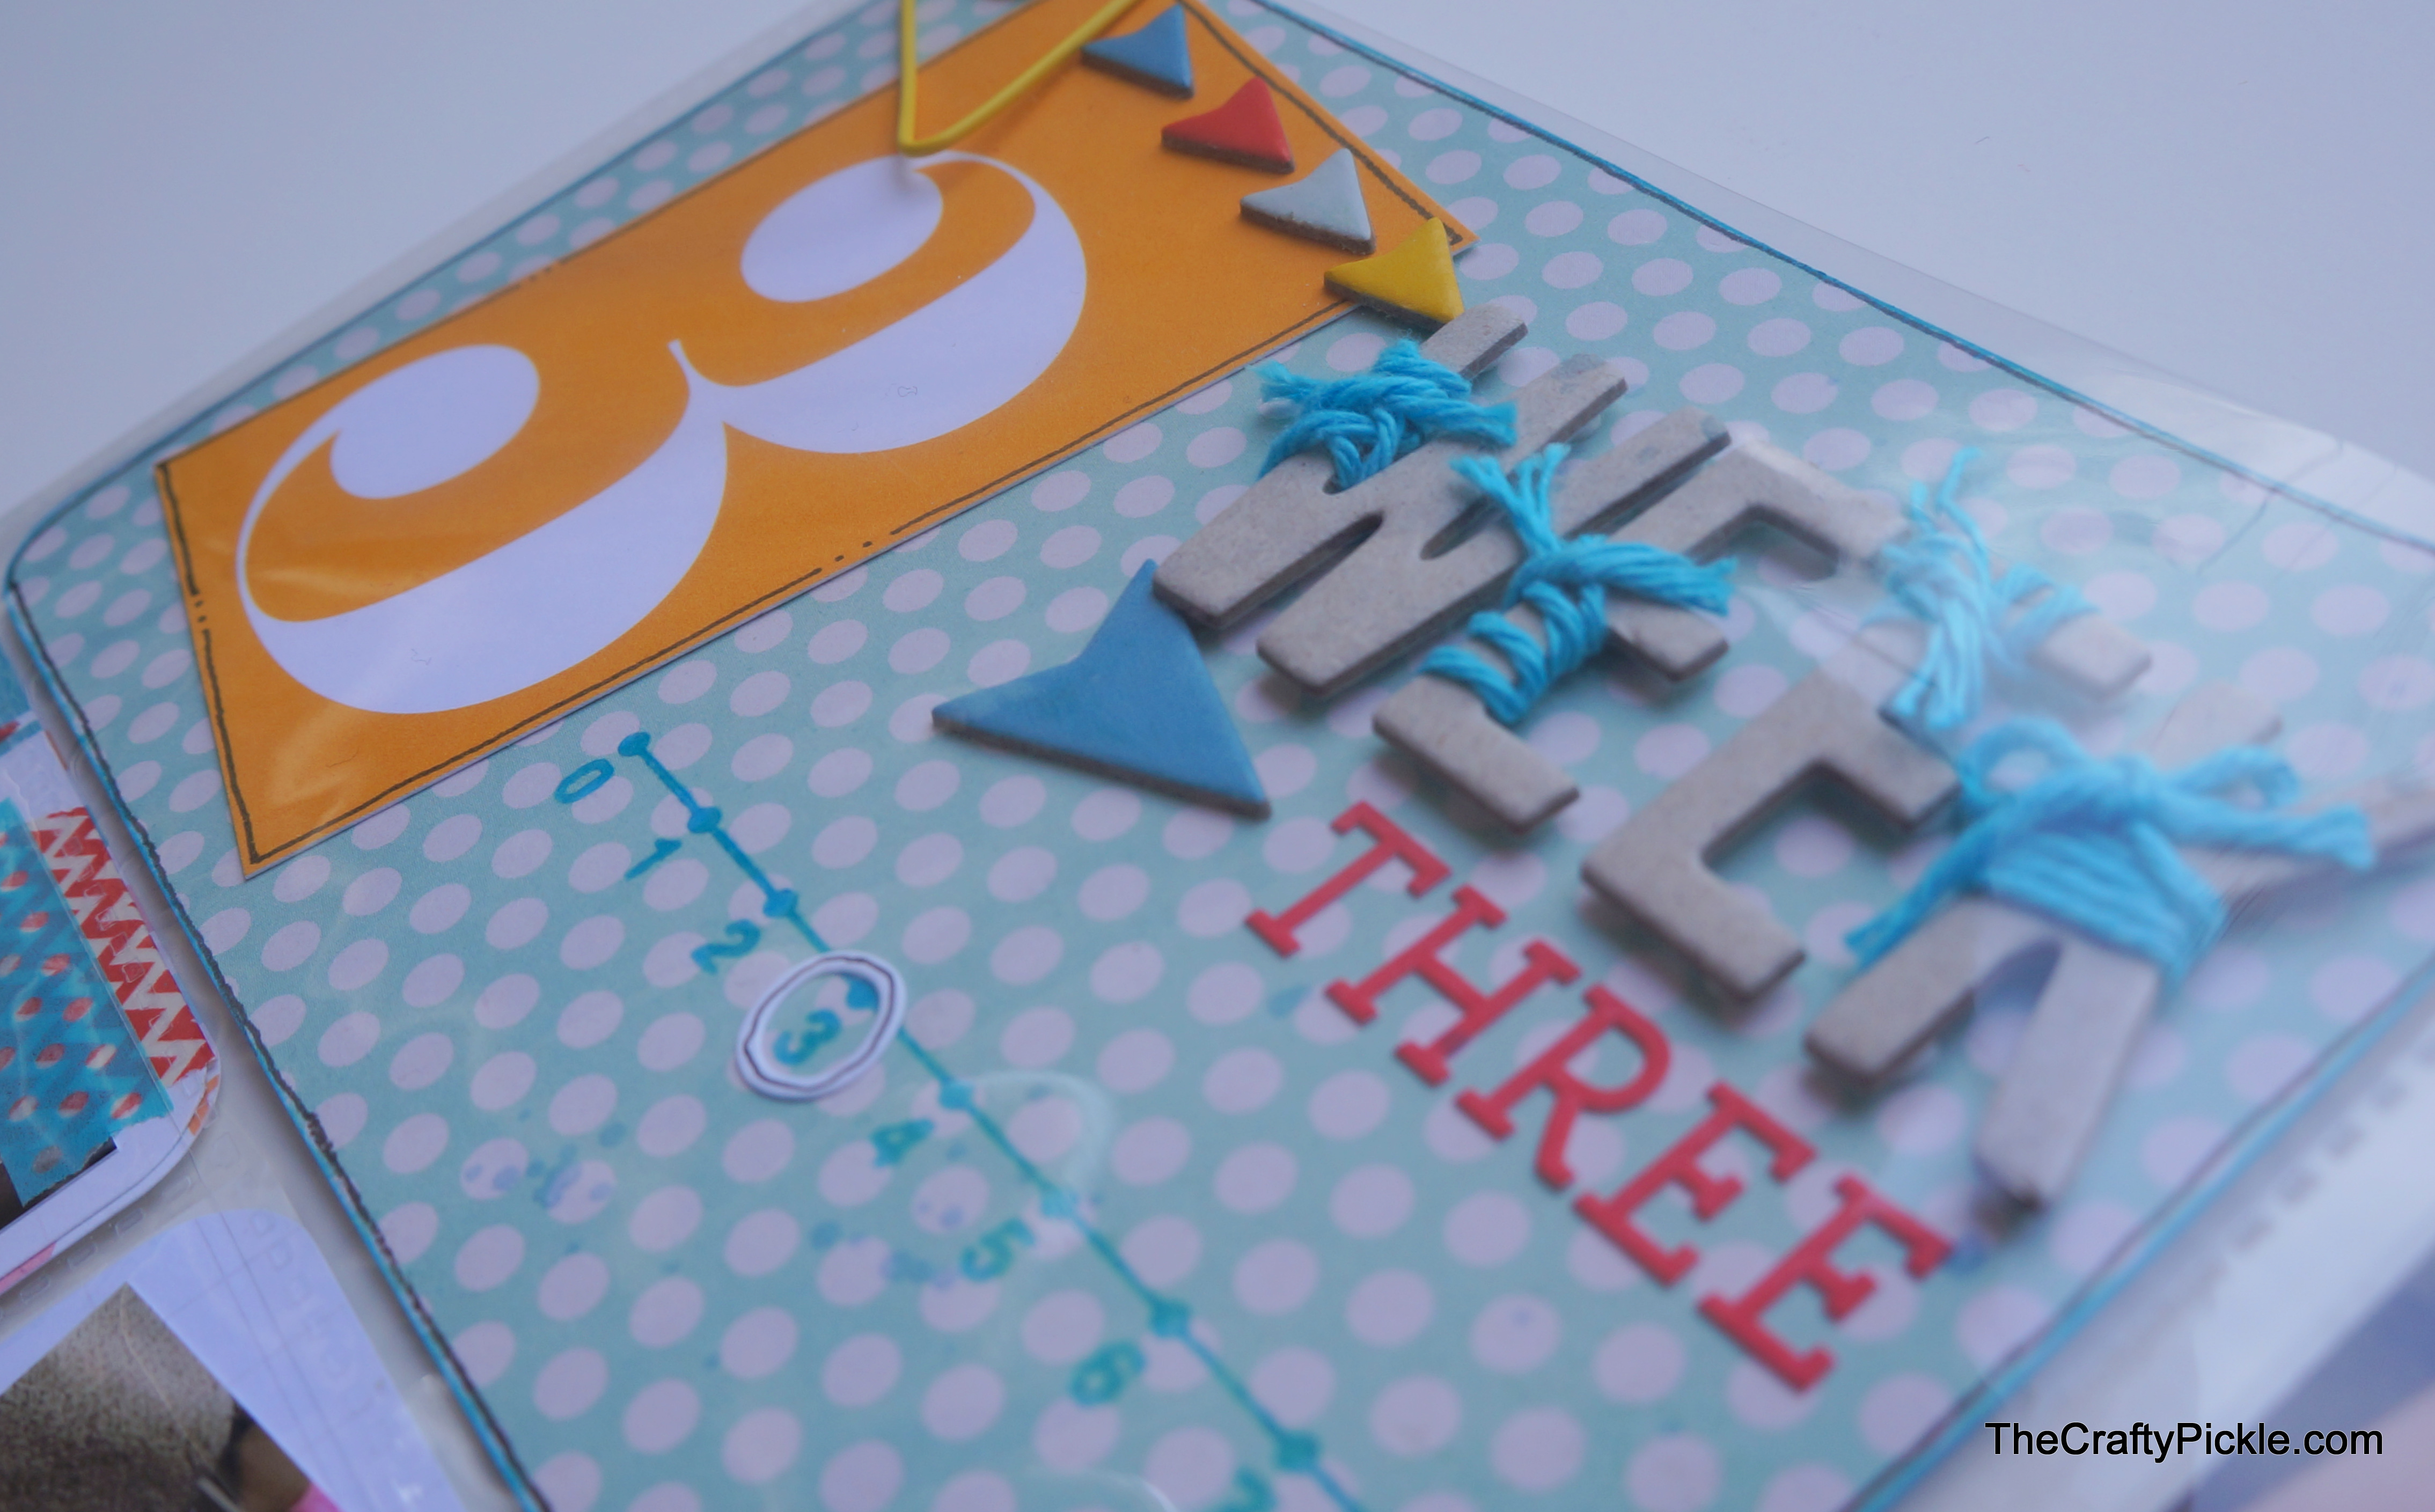
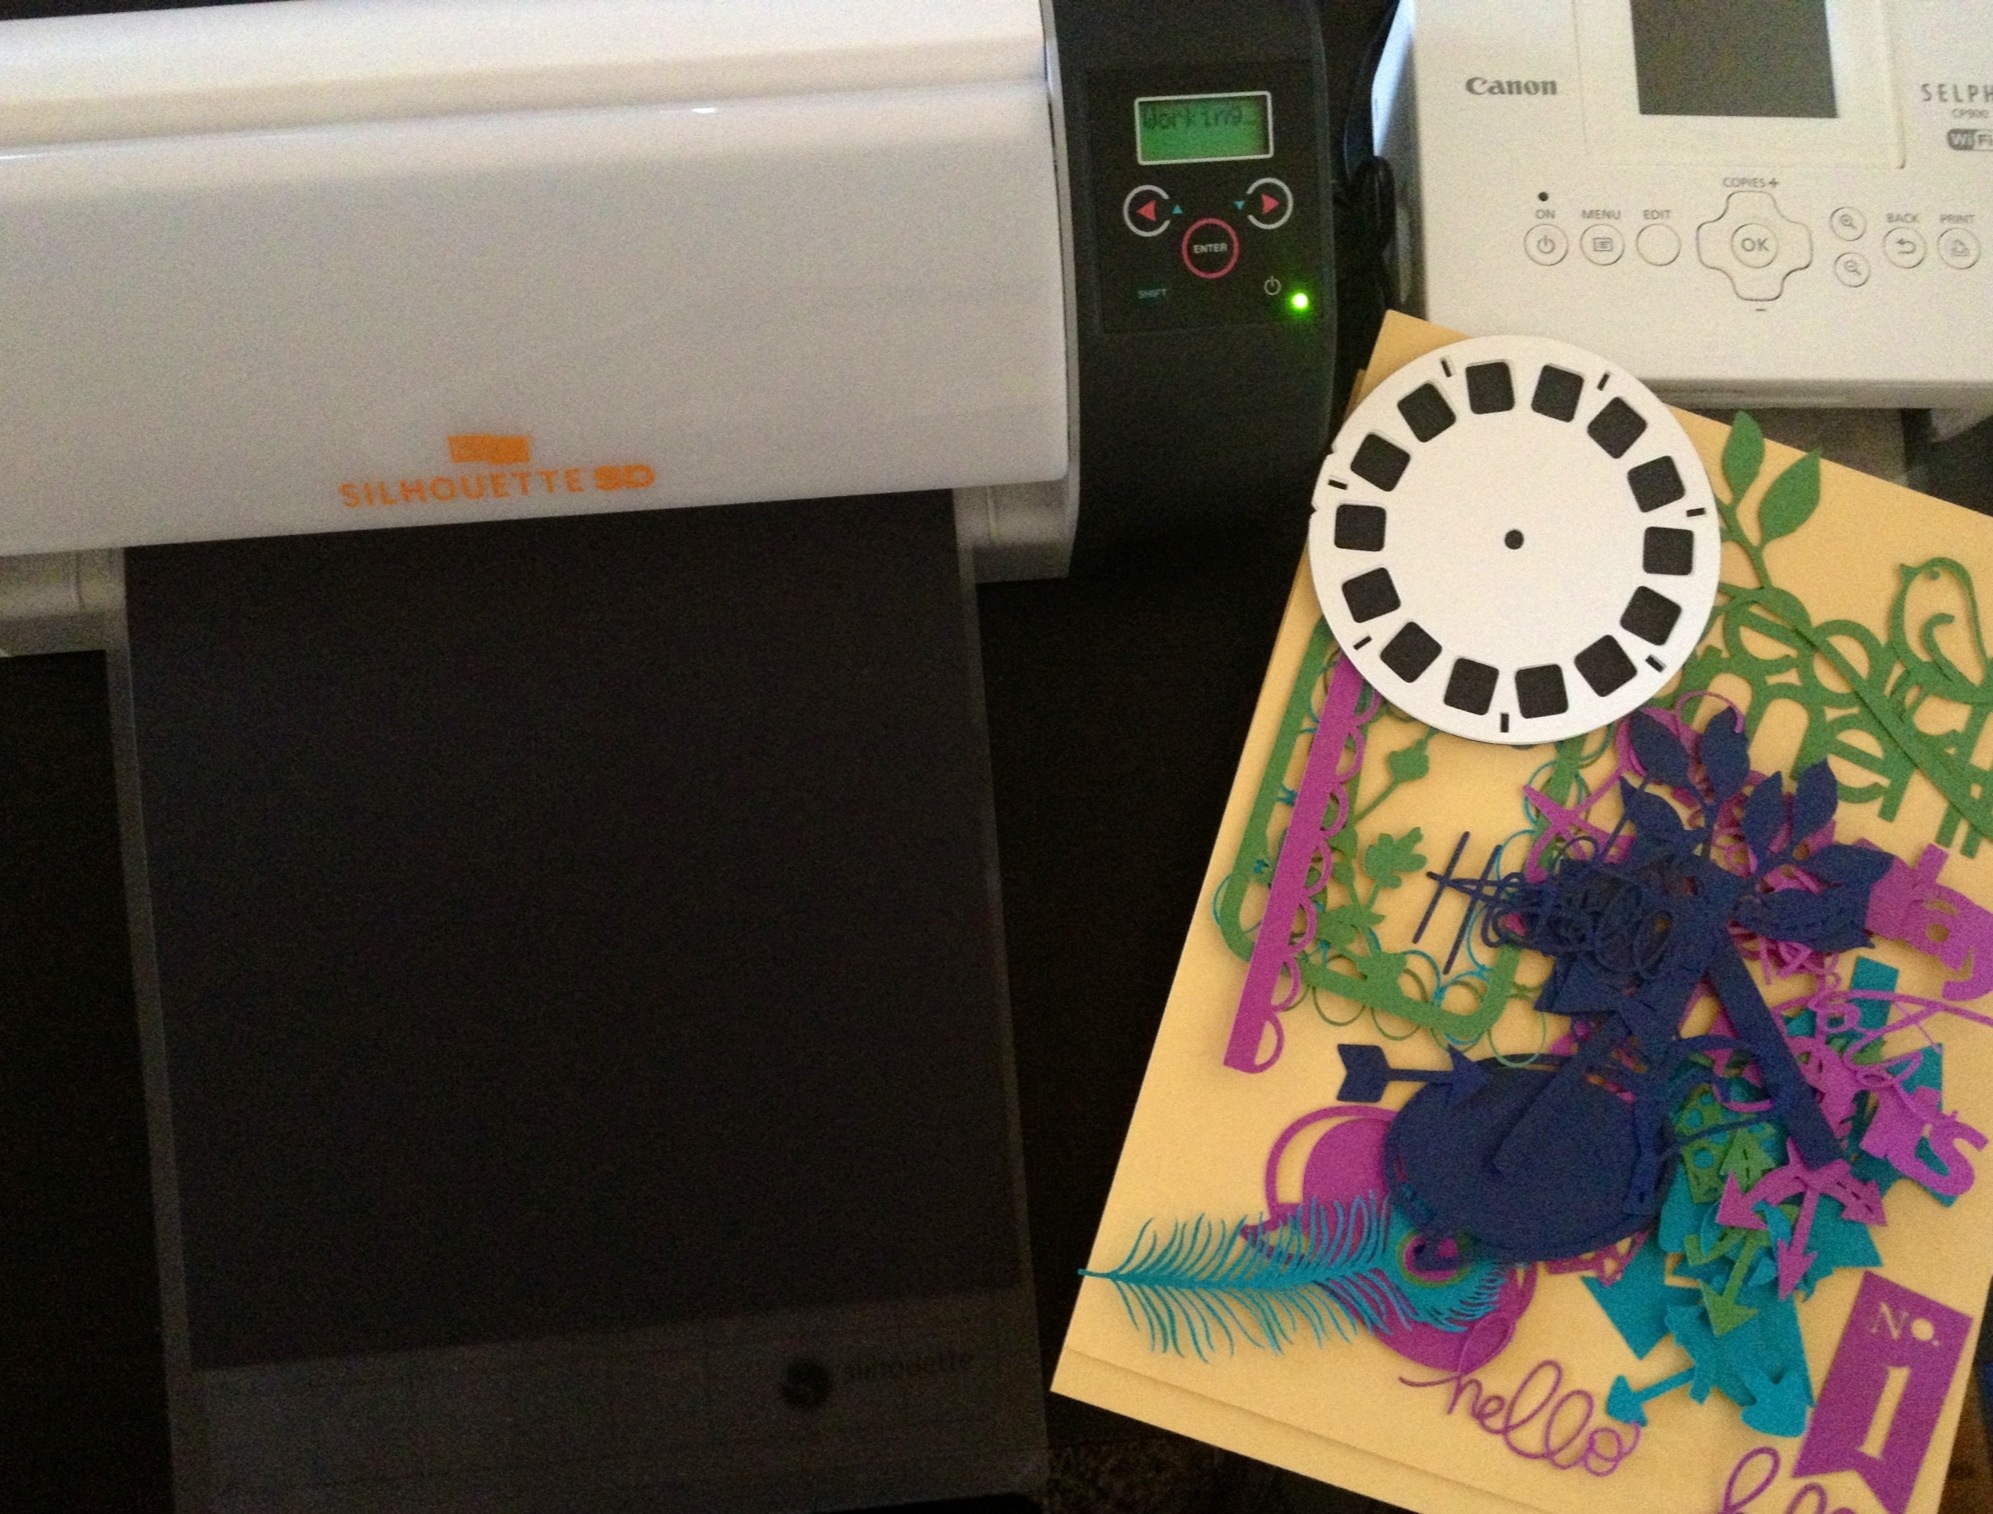
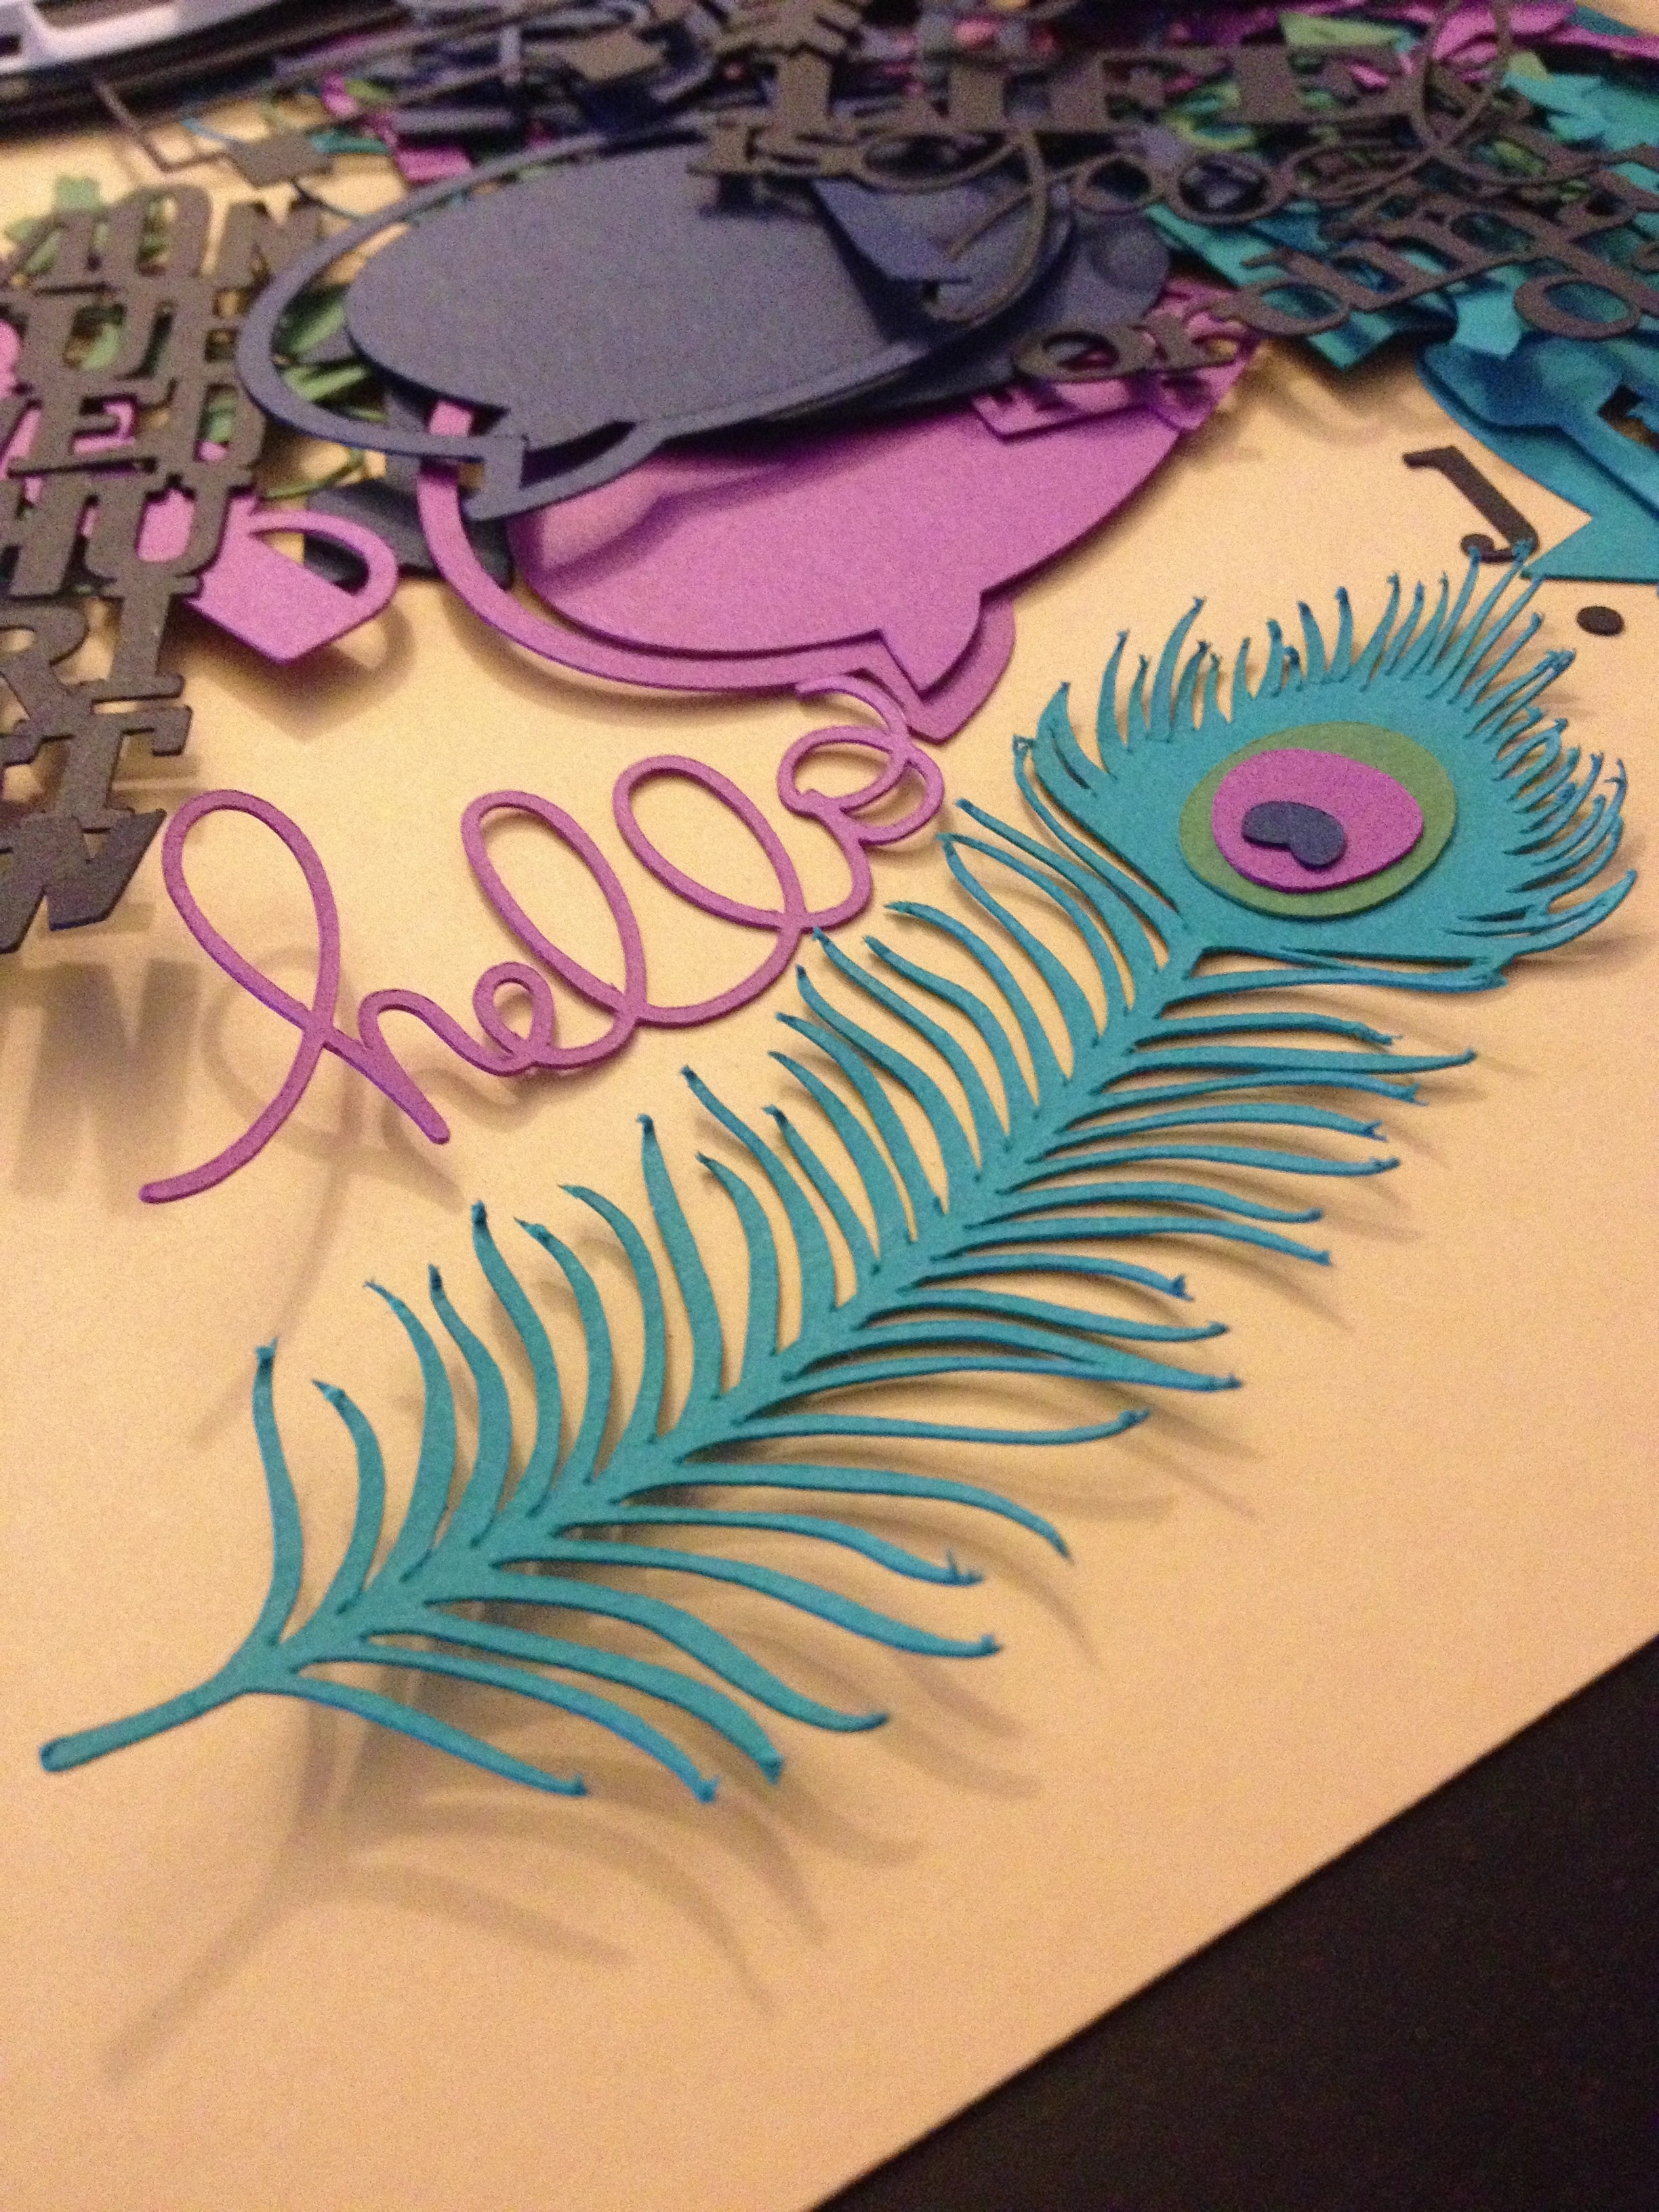
I had so much fun creating these little project life cards for a swap over at Studio Calico. I gave my silhouette a work out, misted the background with a shade of blue and added some glitter pen accents. Are you doing project life this year? I have the seafoam core kit but I will also be mixing in some of my own cards as well as the monthly project life kit at Studio Calico.