Organizing Tip: Cling Stamps & 6×6 Paper Pads!

Good Morning!  Today I’d like to share with you one of my favorite organizational products ever!  And it just happens to be the My Acrylix Organizers from Close to My Heart!

ctmh container6
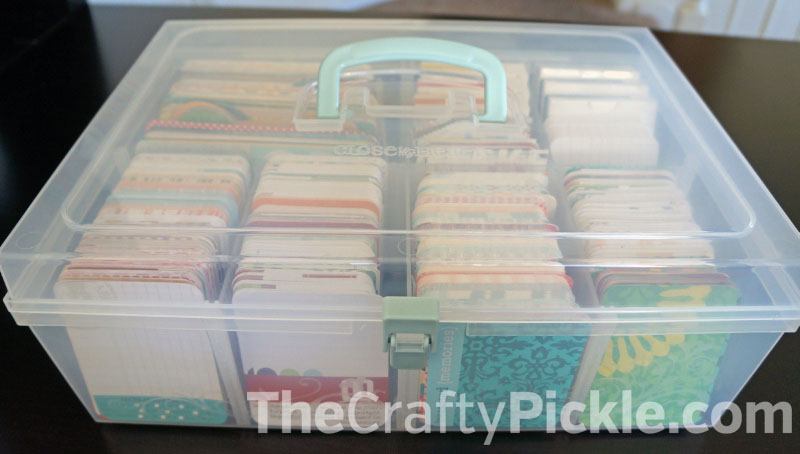
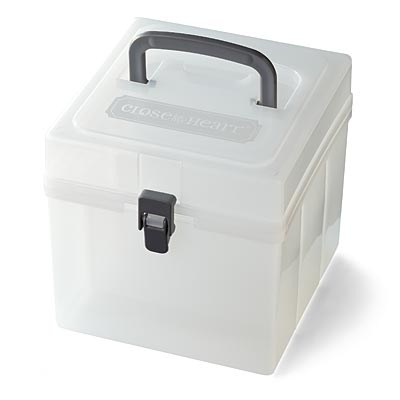
As a former consultant for 5 years (and my best customer), and having been a loyal customer ever since, I have amassed quite the My Acrylix stamp collection!  I absolutely LOVE the quality and versatility of the clear cling stamps–and with the CTMH My Acrylix organizers the stamps are so easy to store and access quickly when I want to sit down and craft.  The containers are stackable, have a hinge-top lid with a handle (so you can pack up your favorite sets easily for crops!), and they retail for only $14.95 each. ctmh container1I have added to my container storage as I have added to my stamp collection and it has been well worth the investment to have a cohesive place to keep all my stamps neatly (especially since my craft room is also our family dining room). ctmh container2

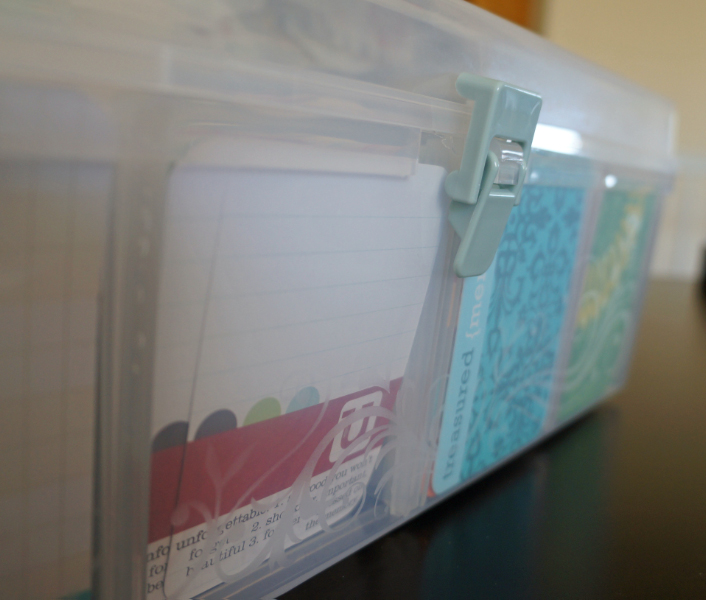
Each container stores 15 CTMH stamp sets right in their envelopes!  ctmh container3

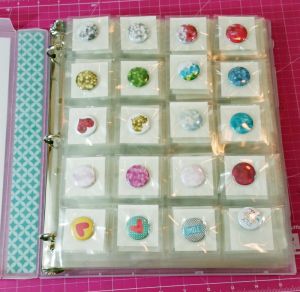
And if you have collected other brands of cling stamps, you can make them fit to flip through them and store them in the containers as well.  I ordered Avery Elle clear stamp envelopes to store my sets where the plastic packaging had ripped and they fit right in! ctmh container4

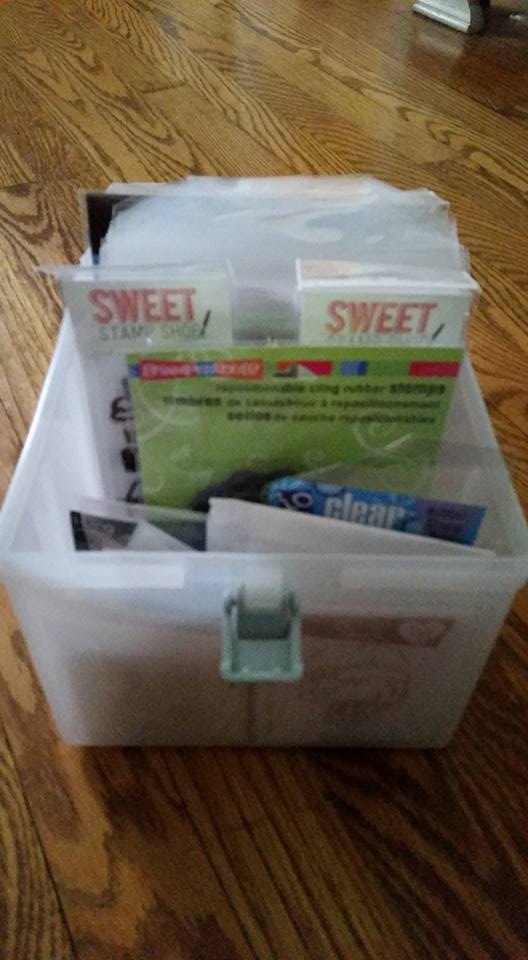
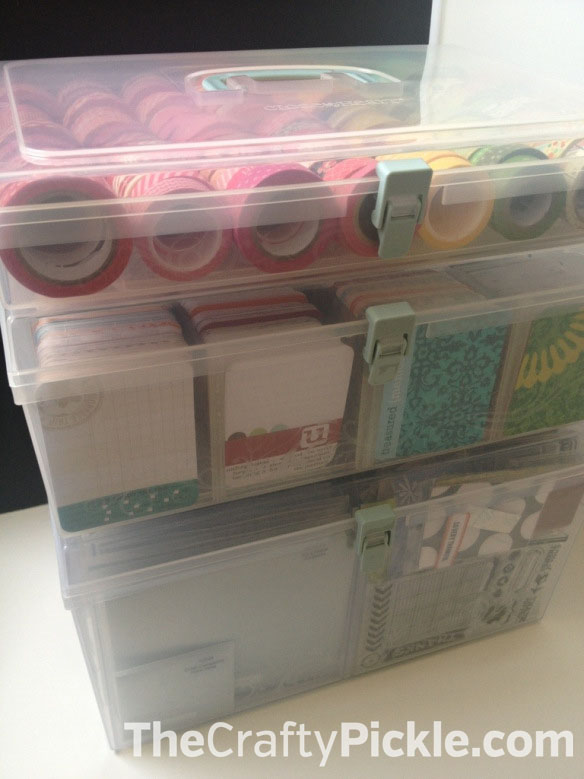
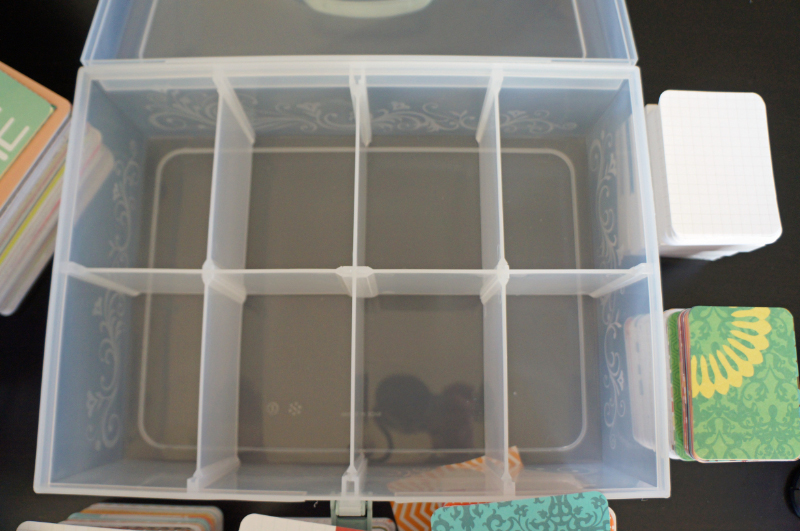
I have also recently discovered that my hoard of 6×6 paper pads will also fit inside of these handy storage boxes–which opens a whole new world of organizational possibilities!  Think about putting together little “kits” with these boxes to make pulling one down and crafting quick and easy without having to dig through your whole stash!  For example, you can put your Fall 6×6 pads, stamp sets, and a few embellishments all in one organizer!  (Each organizer comes with 2 removable dividers that create 3 sections inside.)  ctmh container5

I hope that you learned of a useful product on the market today that will help you get organized and therefore make it easier to access and use more of your stash!  I really couldn’t live without these and it’s a system that really works for me!

Happy Crafting!

~Tabitha

Tabitha sig

Organizing FlairTastic Friday!!!

Happy Friday Y’all!!!

This is the last in our series in FlairTastic Friday!!  It is all about organization organization organization!!! Let us see what you got in the order of organization…

This is what Taniesa has for you:

I saw ideas of putting them flat in CD cases. Putting them in packaging inside a basket and flipping though them, even putting them in coin page protectors and placing in a binder. All very clever ideas but none of which I thought would work for me.

I knew that they needed to be organized by color. If you have seen my previous posts you know that I organize nearly everything by color. I also knew that I needed something that would have room to add more than my current collection. I didn’t want to have to have multiple cases for one type of embellishment (except washi tape and PL cards, those don’t count ).

While I was at Michaels in the beading section I came across a fantastic sectioned organizer (for bead organization) and it was really reasonable ($5.99) It had more space than a embroidery floss organizer box ($2.99) and I figured it just might work. Here is my little button collection.

Organize your Flair buttons! More @TheCraftyPickle.com

Organize your Flair buttons! More @TheCraftyPickle.com

Organize your Flair buttons! More @TheCraftyPickle.com

In addition to organizing by color I have 4 sections dedicated to seasonal buttons. Spring, summer, fall, and winter. There is also multi-colored button sections and spaces for specific themed flair.

This is from Joann:

She sent me this idea that she found on the internet- Clipboard at a glance -love this idea..check out the link!!!

11751855_842149952507343_7309660276640616122_n

Here is a link to her post:

http://studiombymarian.blogspot.com/2015/01/flair-button-embellishment-organization.html

This is some great ideas that I found out on Pinterest:

ae294eb4a7cf4796871367c58b637118

Use an old letterpress drawer or curio shelf to organize embellishments….

Here is a link to her blog to see how she used this letter press to organize here project life embellishments

And then one last one I had to share…. Here   

3a47865cb145b59cbddfe3176e190774

Thus looks so awesome and you can for sure see all your fair in one place!!!

Stop by The Crafty Pickle Etsy Shop if you haven’t been by recently. We will be releasing a few little things between now and our next big release. We will also be having a big TCP Birthday celebration in August with giveaways and a brand new exclusive foil flair!

Dont forget to use the hashtag #FlairTasticFriday to play along with us!

thecraftypickle.com

The BEST Crafting Tote EVER!

Hi Friends!

I wanted to announce that I have found the perfect tote for your crafting supplies! Now it is easier than ever to stay organized and transport your things to classes and crops!

rolling tote CTMH @ thecraftypickle.com

Check out this video!

Some of you already organize with the wonderful stackable organizers from CTMH, now you just pop them in your CTMH Rolling tote and go! To see how I have used my organizers click HERE, HERE, and HERE.

They also have a matching shoulder Tote that is perfect for holding paper and other items.

CTMH Tote @ TheCraftyPickle.com

I couldn’t announce these beauties without running a little promo so ……

CTMH Tote promo @ Thecraftypickle.com

Make sure when you place your order you choose to order under “Taniesa’s Online Gathering Party” (chosen at checkout). Every order placed for a rolling tote is entered into the raffle. Additionally if you purchase the shoulder tote as well you will get another entry into the raffle for the medium organizer. Winner will be announced by January 9th 2015

By ordering a tote, you will also be eligible to purchase the Stamp of the month for only $5 AND the “Deal of the Decade” promotion where you can buy as many C or D size stamps for only $10 each (reg $13.95 – $17.95)

You will also receive a free catalog and free seasonal expressions catalog with your order. Whew, that’s a lot of great promotions in one order!

If you have any questions please email me at TaniesaCTMH@gmail.com.

Happy Shopping!
The Crafty Pickle

Finally found a Washi storage system that works!

So I have been on the hunt for a storage system for all the Washi tape I have accumulated. I started out in one drawer and that worked for a while but I quickly outgrew that. Washi was everywhere! You might remember my post a few weeks ago about my project life card storage using the Close To My Heart Medium organizer cases. Well those worked out so well that I got a couple of large organizers for my stamps. Those cases stacked up perfectly which made me think of the small organizer and my washi dilemma. I wasn’t too sure if my washi would fit or the rolls would be a little too big so I took a chance and ordered just one of the cases. I was so excited everything fit perfectly with a little room to spare height wise.

For more info visit www.thecraftypickle.com or www.thecraftypickle.ctmh.com


20130319-084553.jpg Did I mention that these cases stack perfectly together? The only difference in the dimentions is the height of the cases.

For more info visit www.thecraftypickle.com or www.thecraftypickle.ctmh.com

20130319-084800.jpg


So now that I found that these cases work I am going to order a couple more to fit the rest of my collection (yes that was only half of my washi) in the case that I pictured I have a total of 116 rolls, some are wide washi rolls so it could fit more or less depending on the size of your washi tape. I also plan on getting one more along with the insert and small boxes so that I can organize my smaller embellishments like wood veneer.

If you would like to see these cases with the washi a little closer check out THIS youtube video.

To check out the organizers I have described and see more, check out my CTMH website at http://www.thecraftypickle.ctmh.com or click the blinkie on the right hand side of my page (under my photo)

Happy Crafting!

Project life storage discovery!!!

* edited update: If you would like to see a video of how I am currently organizing my Project life cards and monthly Subscriptions please click HERE to be directed to my most current card organizing post.*

Ok, I am really excited to share, this might be old news to some people but for me it was brilliant!!! Close to my heart, a stamping/scrapbooking company, has this medium storage box meant for their acrylic stamps (the stamps are equally as awesome btw) but, it just so happens that is is the perfect storage for ALL my project life cards! Check it out!

ctmh1-1_edited-1

My friends, what you see is my becky higgins card sets (seafoam, cobalt, clementine, turquoise  cherry, and amber collections (aprox. 3/4 to 1/2 of each kit) both the complete Bridgeport and the Mayfield mini kits. I also have the Jan. studio calico project life kit, homemade cards, and blank, and grid cards ALL IN ONE BOX!!! I still have room for more cards in this box as well.

ctmh4-1

This is what it looks like empty. the middle divider is something that needs to stay put unless your taking out ALL the dividers… but the little ones can be removed to accommodate the larger 4×6 cards. See below.

ctmh3-1

Pretty neat huh?!?! I am sure that I will need an additional box once the new spring kits come out and I accumulate more Studio Calico cards. I do plan on putting divider cards for the card sections to mark what edition is what. Its also a pretty box. I like the light green handle and closure. and it has pretty etched scroll work around which you can see a bit below.

ctmh5-1

So…… I got so excited about these boxes, and then the adorable stamps that I can use in project life (love acrylic stamps!) that I became a consultant! If you would like to purchase one you can buy direct from my CTMH website which is: http://thecraftypickle.ctmh.com/

To find the box the path is Shop>Accessories>Organization and then you will find the Medium organizer at the bottom of that page. *edited 2/28 they are IN STOCK!*

If you have any questions at all please let me know! I am so excited to share this with all of you!

Happy Organizing!

TheCraftyPickle.com

How I Organized some of my Paper crafting supplies. (And a little giveaway!)

 Happy Wednesday everyone! Today I am going to show you how I have tackled a problem I had been having for a while. For 14 years I have accumulated A LOT of crafting supplies. I have a pretty good memory of what I have, but when it comes to a few things If i don’t see it I wont use it, you know that whole out of sight out of mind thing. Also, I can’t tell you how many times I have purchased duplicates of washi, ink mist, stamps, etc… So I took a binder I had purchased from staples a while back for another use (it’s about 8×10) a great size for on my desk but also to throw in my bag if I happen to go out shopping.

Binder 1-1

 I made my own dividers (the ones that were sized for the binder were too small compared to the page protectors) I just stapled on a color tab to make it easy to flip to what I needed. The first section is washi tape. Washi tape is a pattered roll of tape that is easily torn and also doesn’t stick to your paper if you try to peel it off. It does become quite an addiction. If i happen to have a tape that has multiple colors that stand out I might put a sample in each color section. Below are a few pictures of some of the washi samples. I use front and back of each page. Whenever I get a new roll I will not put it away until I put a sample in my book.

binder 2-1

binder 3-1

binder 4-1

Binder 5-1

 Next up, Embossing powder. I haven’t used embossing powder much in the past but find myself using it more lately. It has been really hard remembering what colors I have. I split it into three sections, Opaque, Metallic, and Glitter. I stamped all samples with the same stamp and versamark ink to show differences in how it shows up compared to another. Most of my powders are by American Crafts (Zing) which are my favorite but there are a few other brands as well so I listed them in case I run out and need more.

Binder embossing 1-1

binder embossing 2-1

embossing #3-1

 Last in the little binder is my ink mists. Oh how I love misting, but I have purchased a few duplicates and it is always nice to have a dried sample so you know what color you are getting. Most of my mists are from Studio Calico (Mister Huey’s) but I noted down which is which along with the color name to make things easy to find.

mists 1-1

mists 2-1mists 3-1

 I’m really pleased with how it all came together and in the short time I have had it completed it has helped me quite a bit. I am still working on my stamp binder (a different binder that is 8 1/2 x 11) I have a LOT of stamps so this will probably take me a while. I finished all my wood mounted stamps and I am working on the clear stamps next. I snapped a few pictures of what I am doing though, so you get an idea.

stamps 3-1

stamps 2-1

stamps 1-1

 I think stamping my clear sets will go by a lot faster. I used versafine black ink and white cardstock to do all my stamp samples.

 I hope this has inspired you to do a little supply organization, in whatever way works for you. If you have any other creative suggestions I would love to hear about them!

 And now for a little giveaway! As I said, I accumulated some duplicates before putting this binder together and I would like to share a few things with someone (see photo below). Please enter a comment below with your location, and if you have any organizational tips I would love to hear that as well! and a winner will be chosen Friday Feb.8th around 12pm PST. This is open to anyone (even international!)

giveaway-1