Have a cup of coffee…

Happy Monday everyone!
 Today designer Julie is showing us how to make some ADORABLE coffee themed cards. Check them out!
Hi!
Today I want to share with you my coffee cards with Cute flairs from The Crafty Picke shop!
To create These cards I USED The Coffee themed button Flair set
And there will be a little tutorial at the end of the post.
The first one:
 Close-ups:


The second one:
 Close-ups:
These cards are not so simple, they are aromatized.
The first one smells coffee, and the second one smells Nutella!)
mmm … so delicious!
Here are the photo how to make the aromatized card:


I hope it will be usefull!)
Unfortunately the Intertet can not express the magic smell of these cards, 
but belive me, it’s wonderfull!)
Thank for stopping by and have a nice day!
What a beautiful and clever idea! Thanks so much for sharing Julie!
Happy Crafting
The Crafty Pickle

Elf on the Shelf

Hi Crafty Friends!
 Do you take part in the Elf on the Shelf tradition each year? Designer, Kristin, has a great idea for a Elf on the Shelf Album that is totally adorable. Check it out!
***************************************************************************************************
I am doing some prep work for my “Elf on a Shelf” album for my little one this year!!!
We just bought him so this is going to be fun this year with this cute little elf …who knows what he is going to get into!!
I used an album that had red in it for the cute Elf and I used on this wooden piece Ranger silver super fine embossing powder ,next I added cork to the circle and with Black Stazon I used the star in the Artiste stamp set in the background. Next, I made a snowflake with the Pathfinder paper from Close to my Heart, backed the “Elf on the Shelf” flair with red cardstock that you can get in the store.
I started to make some fun cards to put in the “Elf” book and made this cute tree with the camera, red and elf on the shelf flair from the store. I also used Cricut Artbooking Collection stamps,some more of the Pathfinder Collection, the Christmas sequins, and then clear sequins that comes in the packaging!!! Here is a link to her CTMH Store


All these fun products were so fun to play with!!!

Thanks, Kristin. I LOVE your album. This is a great idea to do in conjunction with or instead of December Daily. I can’t wait to see the finished album!

Happy Crafting!

The Crafty Pickle

Christmas Mixed Media Layout

Hi Crafty Friends!

Today we have an amazing layout by designer, Elodie! Take a look!!

Hello Friends! Today I want to show you a layout. December arrived and Christmas approach I thus made a page in mind of Christmas, which this year, will be even more special with the birth of my little boy.

DSCN1160

I began by sticking two bands of stickers at the top of my page with a small touch of gesso. Then I used a stencil with some modeling paste to give a little interest to my page. I splashed some ink and used some stamps from ” Close to my heart “. I arranged my photo, my papers, some TCP flair as well as sequins.

season

Supplies used:

CTMH All the details

The Crafty Pickle is in the process of opening a new shop so please stay tuned for more info or follow on facebook The Crafty Pickle.

Thanks for stopping by

Elodie


I just love how use used her clusters for such an eye-catching page! Thanks Elodie!

Happy Crafting!
The Crafty Pickle

Gift a candy bar!

Hi Crafty Friends!

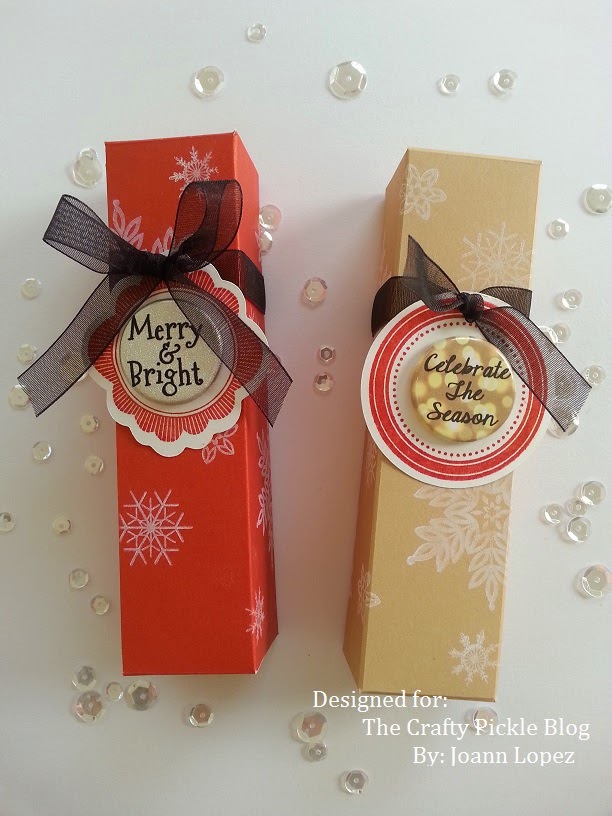
Is your gift list a mile long? It’s always hard for me to come up with a clever gift that doesn’t cost a lot of money. Designer, Joann, has came up with a beautiful way to gift a simple candy bar! Check it out!!

Hi! Today I have fun little project to share with you today and my first ever step by step tutorial (so this is a warning that it is a LONG post, lol)!

I wanted to create some fun treat holders to give to a few friends and family some in which I could fit a snicker bar. I searched for a few ideas and came across many (pinterest of course, lol) and most of them used the envelope punch board, but I wanted to be able to make one without the punch board.

Here is what I came up with…


I started off with cutting some 12 x 12 Cranberry card stock from CTMH at 9 1/4 x 5 (you can get 2 treat holders out of a 12 x 12). I then placed my card stock long ways on my scoreboard (9 1/4) and scored it at 1 1/8, 2 1/8, 7, 8. I then took my card stock and rotated it (5) and scored at 3/4, 1 7/8, 3 1/8, 4 1/8.  It will look like this…
Taking my scissors I started to cut (black lines indicate where you need to cut and the “x” indicates the areas that will be removed).

You will then be left with this (I marked the 4 areas with stars for the next step below)…


The 4 squares with the stars (shown above) will need a small diagonal cut off of 2 sides (picture on the left). After all four squares have been cut, your treat holder should look like the picture on the right. This will help with the closure of the box.

I used my grid mat to place small dots on the top and bottom squares of my treat box (picture on the right). I took my scissors and meet the side dots to the top. You should end up with the picture on the left.
I took 
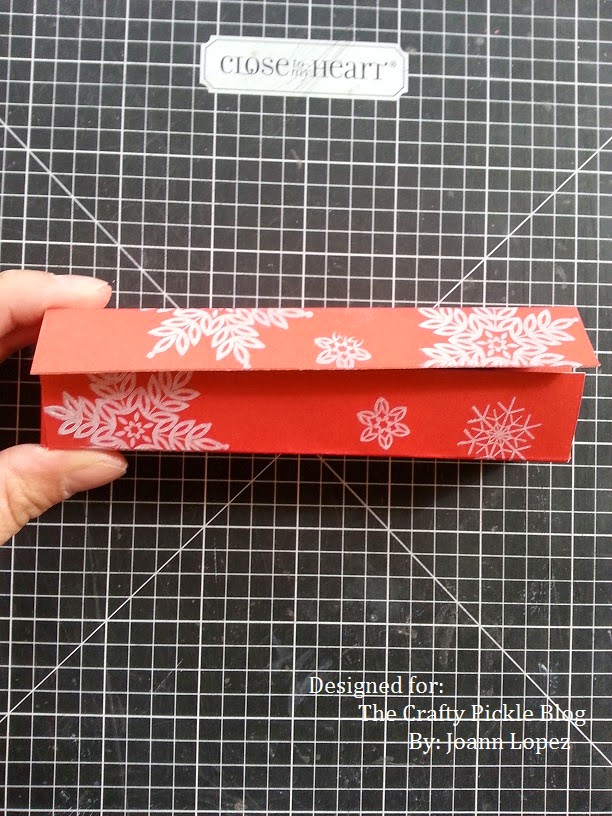
CTMH stamp set Snowflakes to stamp a few images for my box and turned the box on its back and placed some strong adhesive on the 3/4 side (one of the sides is slightly smaller than the other, I did it this way so when the box is closed, the closing on the back is down the middle and not to one side).
I found the easiest way to line everything up was to fold the box and carefully push down so both sides stick to the adhesive and then I opened it to run my finger inside, making sure it was secured.
I cut an image from the CTMH Artiste that coordinates with the 
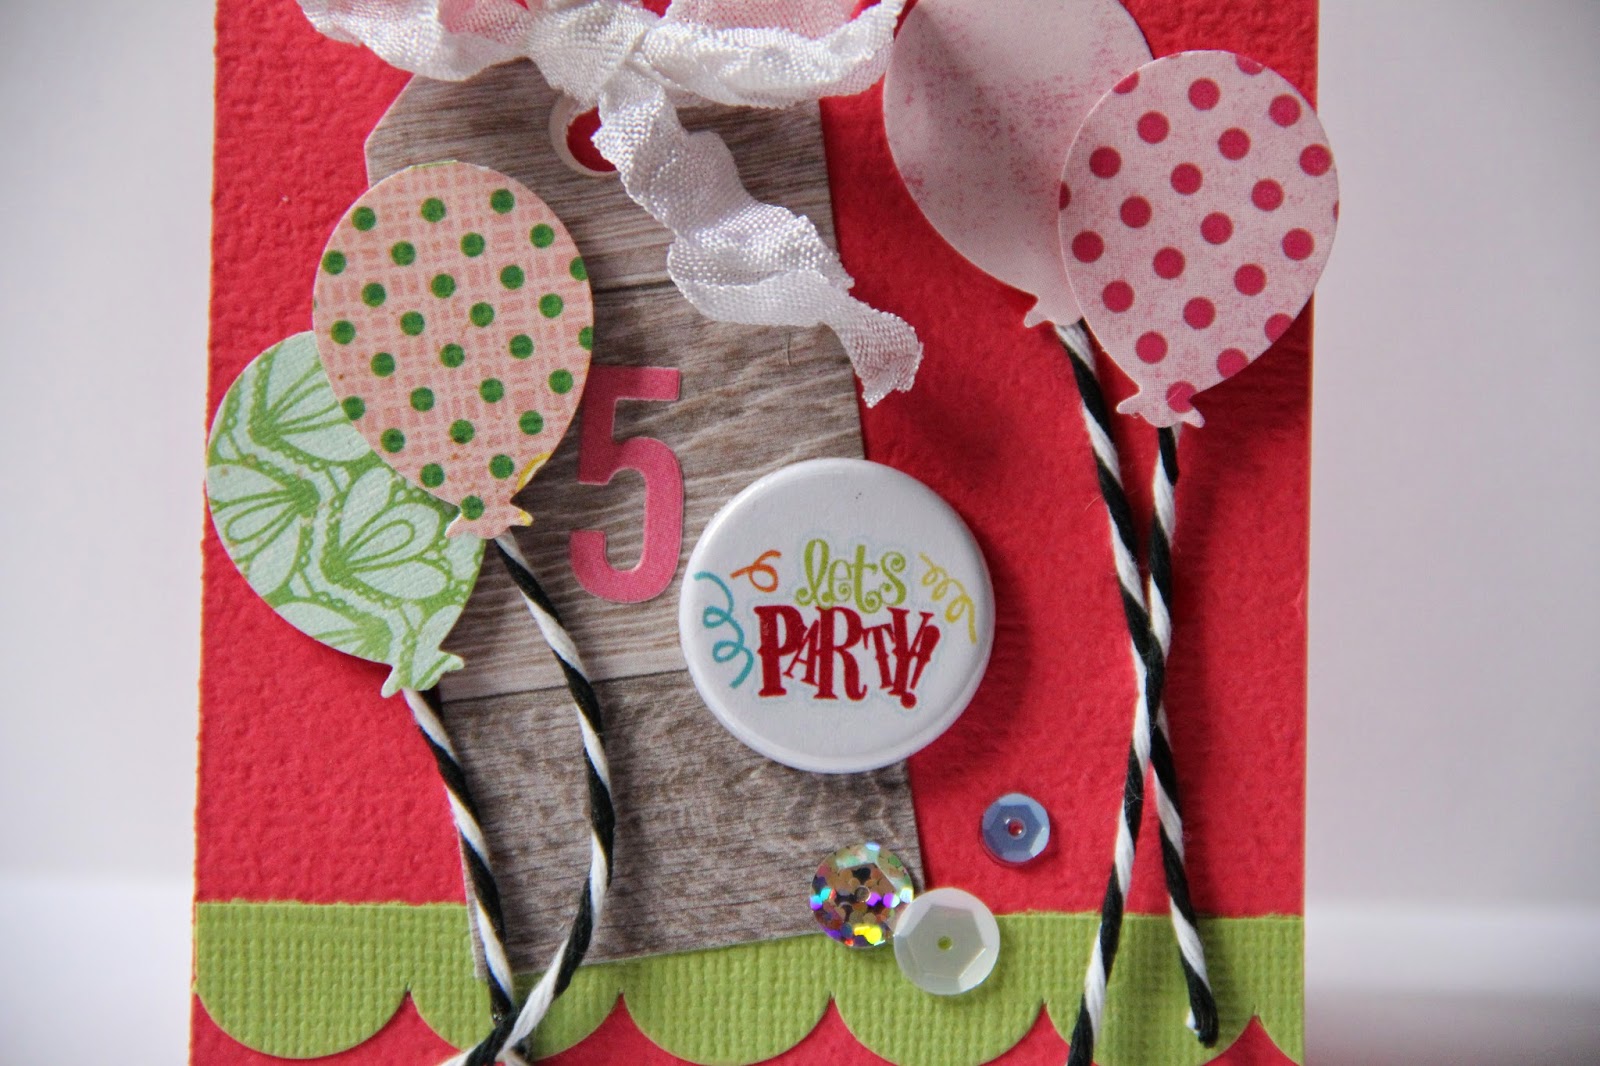
Holiday Tags CTMH stamp set and stamped it with some Cranberry Ink and placed a TCP Flair in the center (the glitter on this flair is stunning). Punched a hole on top and ran both ends through it so I could tie a nice bow on top of the tag.
I know this was a lengthy post but once you get one done, I promise the others will be super fast. I appreciate you making it to the end and I hope you enjoyed my first tutorial.
Just a heads up…
The Crafty Pickle is in the process of opening a new shop so please stay tuned for more info or follow on facebook The Crafty Pickle.
Thanks for stopping by.
Supplies used:
Thanks, Joann! I can’t wait to make some of these for school office staff!
*Special Note* My Etsy store is currently down. If you need any flair for the holidays please send a email with your order to tcraftypickle@gmail.com and I can send you an invoice. A new store interface is coming SOON and will make shopping even easier!
Happy Christmas Crafting!
The Crafty Pickle

Happy December!

Hi Crafty Friends!
  We’re kicking off December with a few cute ideas from designer, Carrie Bryant! Take a look!!! 
 
Happy December first….. can you believe it?  I would like to kick the
day off right by sharing my first Christmas project of the season.  I
started making a few Christmas tags.  I will add these to some Special
gifts this year.
I decided to use some of my leftover scrap goodies from last years December Daily project. I used some scrap paper to cut big tags with my Sizzix Big Shot. I Gathered some scrap ribbon and used
my extra CraftyPickle flairs from last year, these are the perfect embellishment on my tags. 


I also added some beautiful Holiday Sequins that are new in TheCraftyPickle shop  now


This was a quick and fun project to get me in the Holiday crafting mood.


Thanks for stopping by and I hope this encourages you to start your Holiday crafting. 


Till next time. 

Happy Scrappin’

Carrie

Simply adorable, Carrie! Thanks for kicking off December with fun holiday inspiration!!!

Happy Crafting!
The Crafty Pickle


Fun and festive door hanger with designer, Alicia!

Hi Crafty Friends

Today, designer Alicia is sharing a cute little door hanger using some patterned pop flair! Check it out!!

Hi Alicia here with a holiday card using  Blue Patterned Color Pop Flair  from
http://thecraftypickle.com

the  tree in the  card is from  http://thecraftypickle.ctmh.com
C1559 Always grateful Seasons & Nature
The sequins are from  the are the Winter Sequins mix
to see all the great products they have, you will love it!
Thanks Alicia, totally cute idea to have a cheerful festive door-hanger!
Have a great week friends!
The Crafty Pickle

Crisp and Cool layout by designer, Cathy!

Hi Everyone!

 I hope you are all recovering nicely from turkey overload and shopping madness. Today we have a beautiful layout to share by design team member, Cathy! Take a look!

Hi everyone, Cathy here with a layout I created using awesome products from The Crafty Pickle!  My layout was inspired by one I saw created by Lilith Eeckels.  I loved the way she cut the large woods paper into 3rds to create interest and divide up the image.  From there I used a variety of embellishments, including flair badges and sequins from the The Crafty Pickle and stamps from Close to my Heart.  I just love how it turned out and I am so happy with my products from The Crafty Pickle.  The flair badges are just fantastic and who doesn’t love sequins right?


Beautiful work, Cathy. Love it!
Happy Crafting!
The Crafty Pickle

Project Life with Monika

Hi Crafty Friends
Today, Designer Monika has a project life layout to share with you! Take a look!!
Today I have Pl spread for you. I used fantastic badges, sequins and stamps from The Crafty Pickle and CTMH, which you can buy here and here.

and details:

used flairs:

OCTOBER 
COZY FALL
days of the week

sequins:
christmas holiday
autumn mix

stamps:
feathers
LOL 

Thanks Monika, Love your layout!!!
Happy Crafting
The Crafty Pickle

5 & 12: Birthday card ideas from Stephanie!

Hi Crafty Friends!
Check out the absolutely adorable birthday cards that TCP designer, Stephanie has for you today!
Hey y’all! Hope this Tuesday finds you well & (if you’re in the US), getting ready for the Thanksgiving holiday! It’s such a great time for being with family & giving thanks for all that we are fortunate enough to  have. And then, it’s time to gear up for Christmas! While I love the season & am really excited, we have some birthdays to celebrate first! My nephew has a birthday in November & my youngest nephew’s birthday
is on December 12. Leah’s birthday is December 10 & she will be 12 this year! Holy-time is flying!!!
So before I dive head first into the Christmas season, I made some birthday cards. Both feature flair & sequins from The Crafty Pickle.

I used the Birthday button flair set & the Winter Sequins mix for both of my cards.
For my second card, I started with sketch #111 fromCardabilities and made Leah’s birthday card
I love the shimmer of this “Happy Birthday” flair! It’s great for a 12 year-old girl!!
be sure to visit The Crafty Pickle shop to see these products, and more!
Now that these birthday cards are behind me, I can make more Christmas projects!!
Have a good one!
~Stephanie
Supplies:
cardstock-Bazzil
patterned paper-7Dots Studios
flower badge-Crate Paper
feathers-miscellaneous
chippie numbers-AC Thickers
ribbon-Lovebug Creations
balloon punch-Martha Stewart
Soooo adorable, Stephanie! Thanks so much for sharing!
Happy Crafting!
The Crafty Pickle

Life Is Beautiful!

Hi Everyone! 

Up on the blog today we have a terrific Project Life layout from Stephanie! Take a look!

Hey y’all! Hope you are having a Wonderful Wednesday.
I have a PL spread to share today featuring flair and sequins from The Crafty Pickle!

I have used the Autumn flair and the Autumn Sequins mix. The flatter back of these flair buttons make them easy to add to my PL pages & they fit in my album without a ton of bulk! Check out the awesome selection in the store.

The two larger journal cards are from WRMK & the smaller “Gratitude” card is from MAMBI. Fall is one of my favorite seasons & I adore these photos from a trip to an apple orchard that our family likes to visit. The flair & sequins helped give the feel of Autumn to my page.
Thanks for visiting today. Keep crafty!!
~Stephanie
Thanks Stephanie! I love how the sequins and flair added the special touch to an already awesome layout!
Dont forget our blog hop is still going on now until Friday! Check out the post HERE to hop along and win some prizes!
 
Happy Crafting
The Crafty Pickle