Hi Crafty Friends! It’s Lisa here today from Happy Paper & Ink to share a new Project Life card that I created. I am doing some preparation for my December Daily album, so that is what inspired me to create this card.
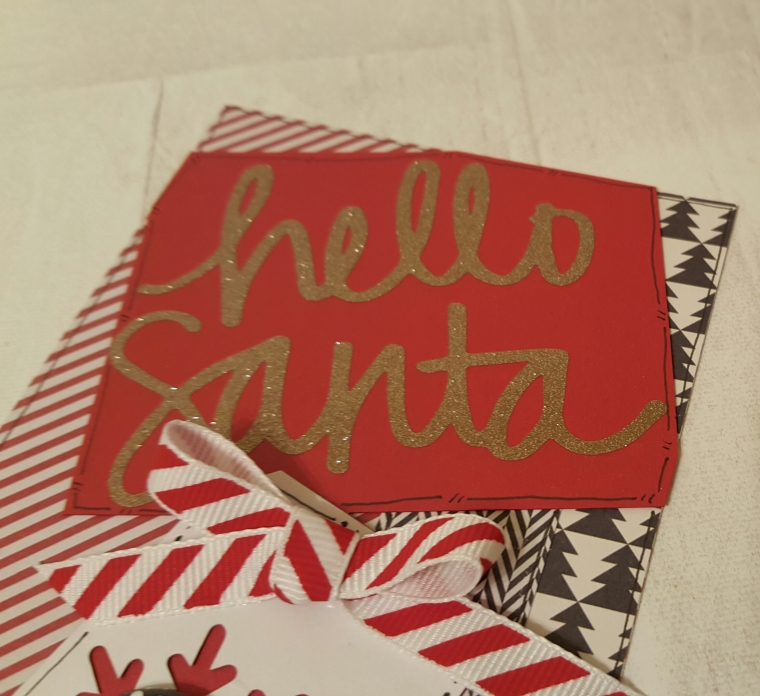
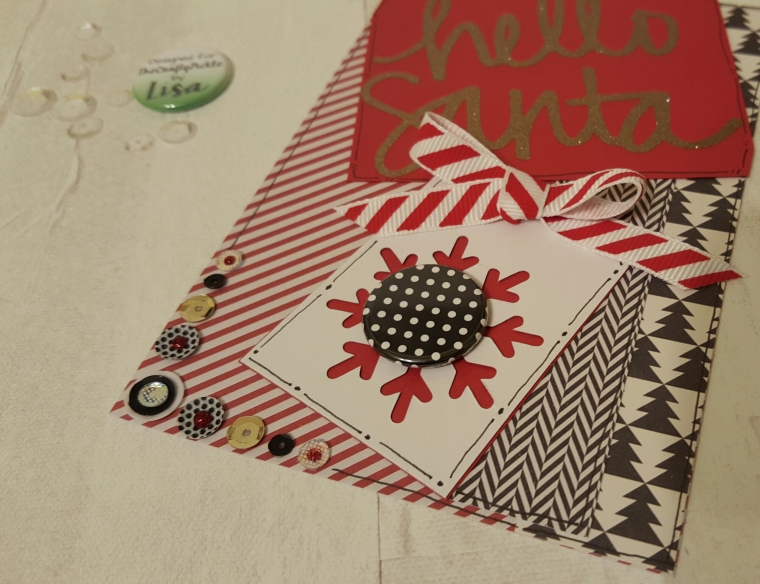
For this card, I started with Pink Paislee Merry & Bright 6×6 paper pad. I cut a tag and a 4×6 project life card from the paper pad. I then cut strips of paper for the side border to add some interest. I cut a snowflake tag on white and red paper using my Silhouette Cameo. I also cut the title using gold glitter vinyl and my Silhouette Cameo for the title “Hello Santa”. I doodled around all the edges with a black 0.8 American Crafts Black Pen and inked with black Memento Ink.
To finish off the card, I used The Crafty Pickle’s Black & White Color Pop Flair and applied it to the top of the snowflake tag. I added some sequins to the corner of the card from The Crafty Pickle. Adding any of the Relish Mixes to your layout or cards gives a fun, sparkly and thin embellishment. These come in all colors, I used the Magical Mouse mix for this card. I layered the sequins and put red glitter stickle dots on top of some of the sequins to change the look a little. And finally, I tied a bow at the top of the snowflake tag to tie it all together!
I hope you enjoyed my Project Life card & are inspired. Look for some more blog posts showing my December Daily in the future!
Hi Carrie here to share with you today a fun Mixed Media project life card that I created. These are for a card swap that I am in for September over at ProjectLifeCardSwaps.com You can come check out all the Close to my Heart Products right HERE
I love the look of Mixed media Art projects. I do not create a lot of MM on a regular basis due to the mess and time involved in creating such cards. I am really happy with the results of this project and I hope my fellow swappers like them just as much.
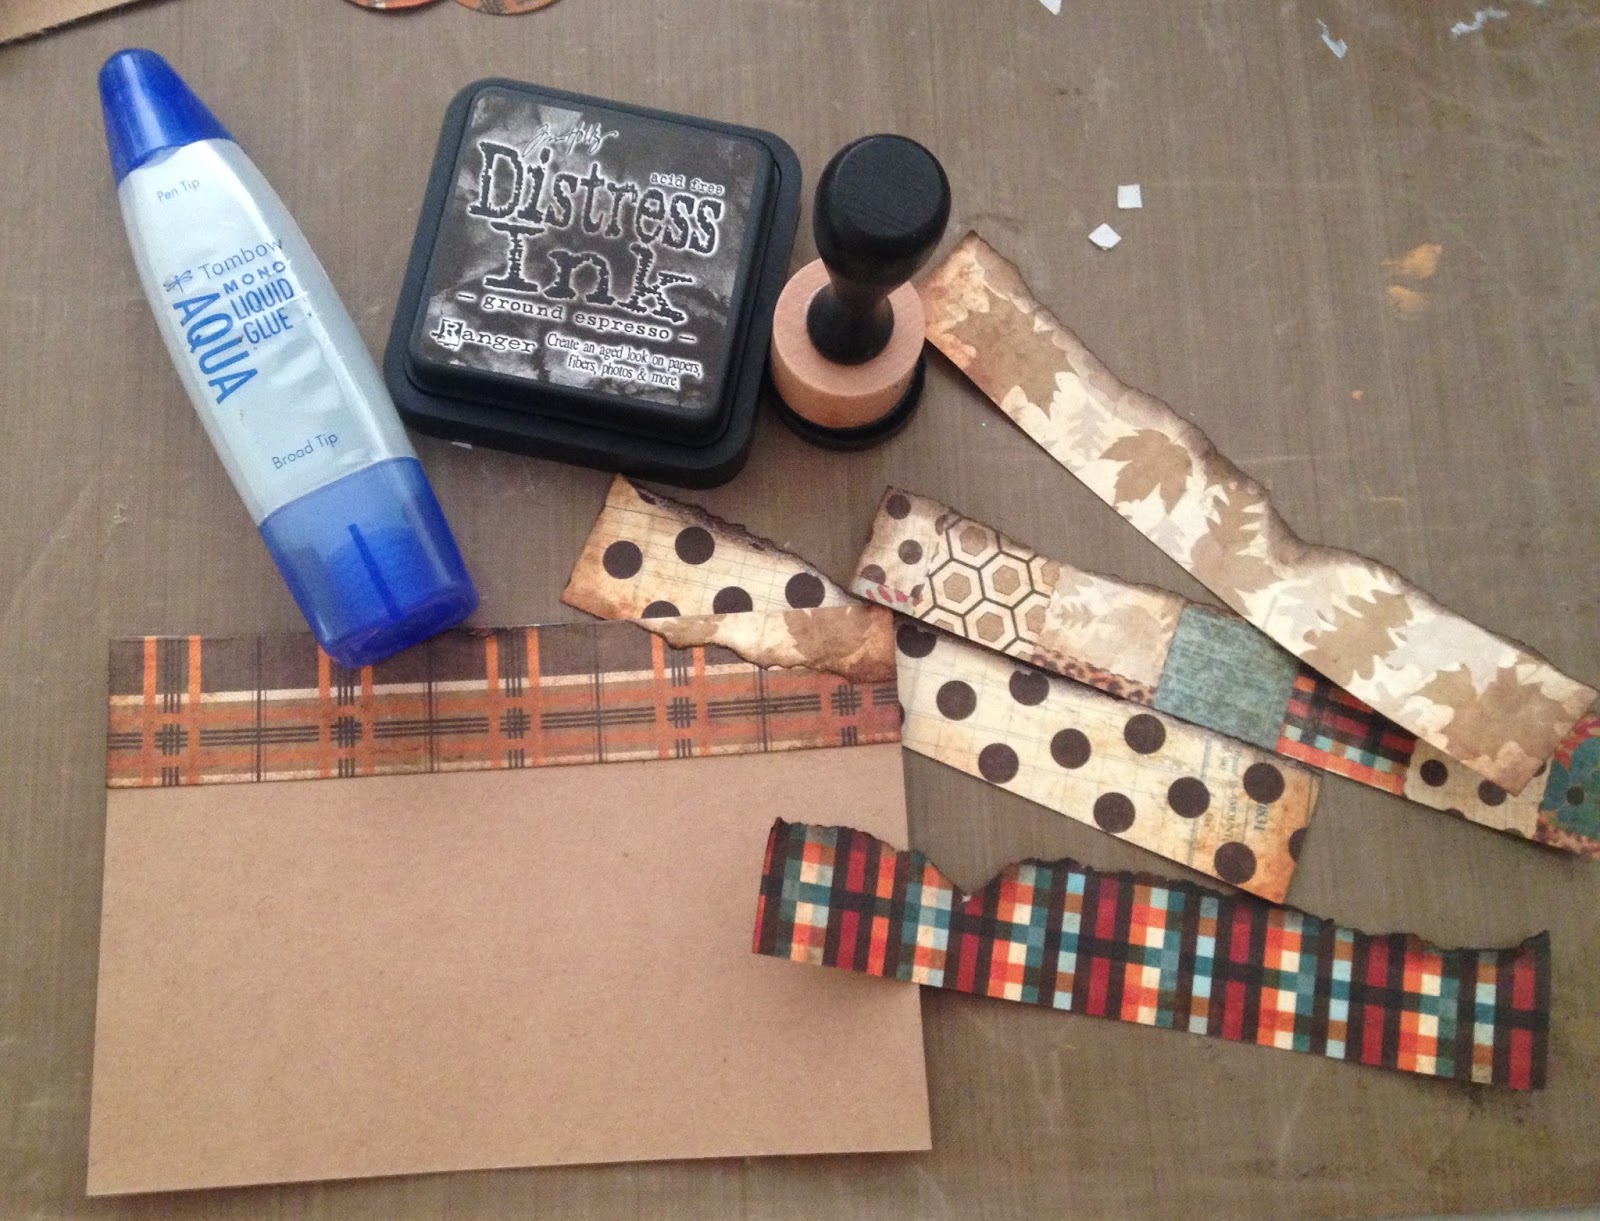
I used this beautiful fall paper by Bazzill Basics for this project. I really like this pad of 6×6 paper because it is double sided so you get lots of options.
To create the background on my cards I tore strip of paper from several different patterns, I inked all the edges in Ground Espresso Distress ink and using my Tombow liquid adhesive I glued the pieces, layered on top of each other onto a 4×6″ sheet of Kraft cardstock.
Once all my edges were sealed to the cardstock I cut the 4×6 in half leaving me with 2 – 3×4 layered cards. I then edged the cards with Liquid Leaf paint in Renaissance Gold. I just wanted to add a touch of something special to my cards and this Liquid Leaf was just the ticket.
To created the bird for my card I used a CTMH “Close to My Heart” Hostess exclusive stamp and stamped it onto Kraft cardstock then fussy cut around the image. I fussy cut the wing from a different patterned paper and attached it using a 3D foam square. This added some dimension to my bird.
I added a brass paperclip with hanging date tag to complete my card.
If you ever thought about being a hostess for a CTMH online party you should give it a try. Online parties are the best because you do not have to clean your house or make tasty treats. All you need to do is invite all your crafty friends to shop online via your own hostess link and then sit back and rack in the hostess rewards. My last online party resulted in my earning $80 in FREE stamps, ink or paper and two half price items. Its a fantastic way to build up your CTMH stamp collection with very little effort. If your interested follow this link http://thecraftypickle.ctmh.com/ctmh/what-we-do/be-a-hostess.aspx you will see this at the bottom of the page. “Contact me to schedule your own Gathering today. ” Click it to contact Taniesa to set up your party.
Thanks for stopping by today. I hope this post inspires you to get a little messy and try something new and to host your own online CTMH gathering.
Today we have the talented, Elodie, back up on the blog with another beautiful mixed media layout. I LOVE her style! Take a look.
Hello friends!
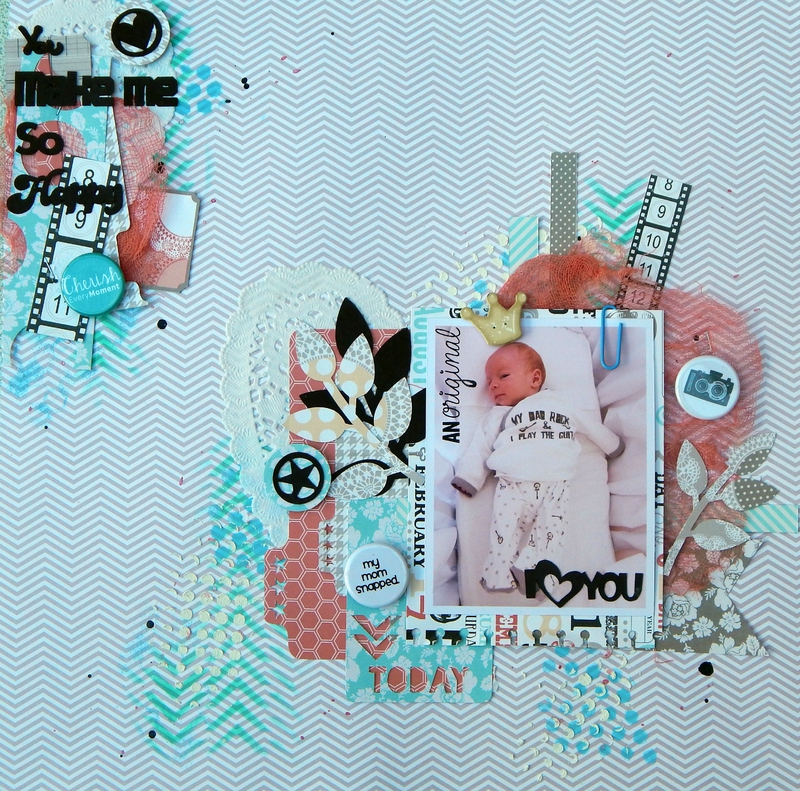
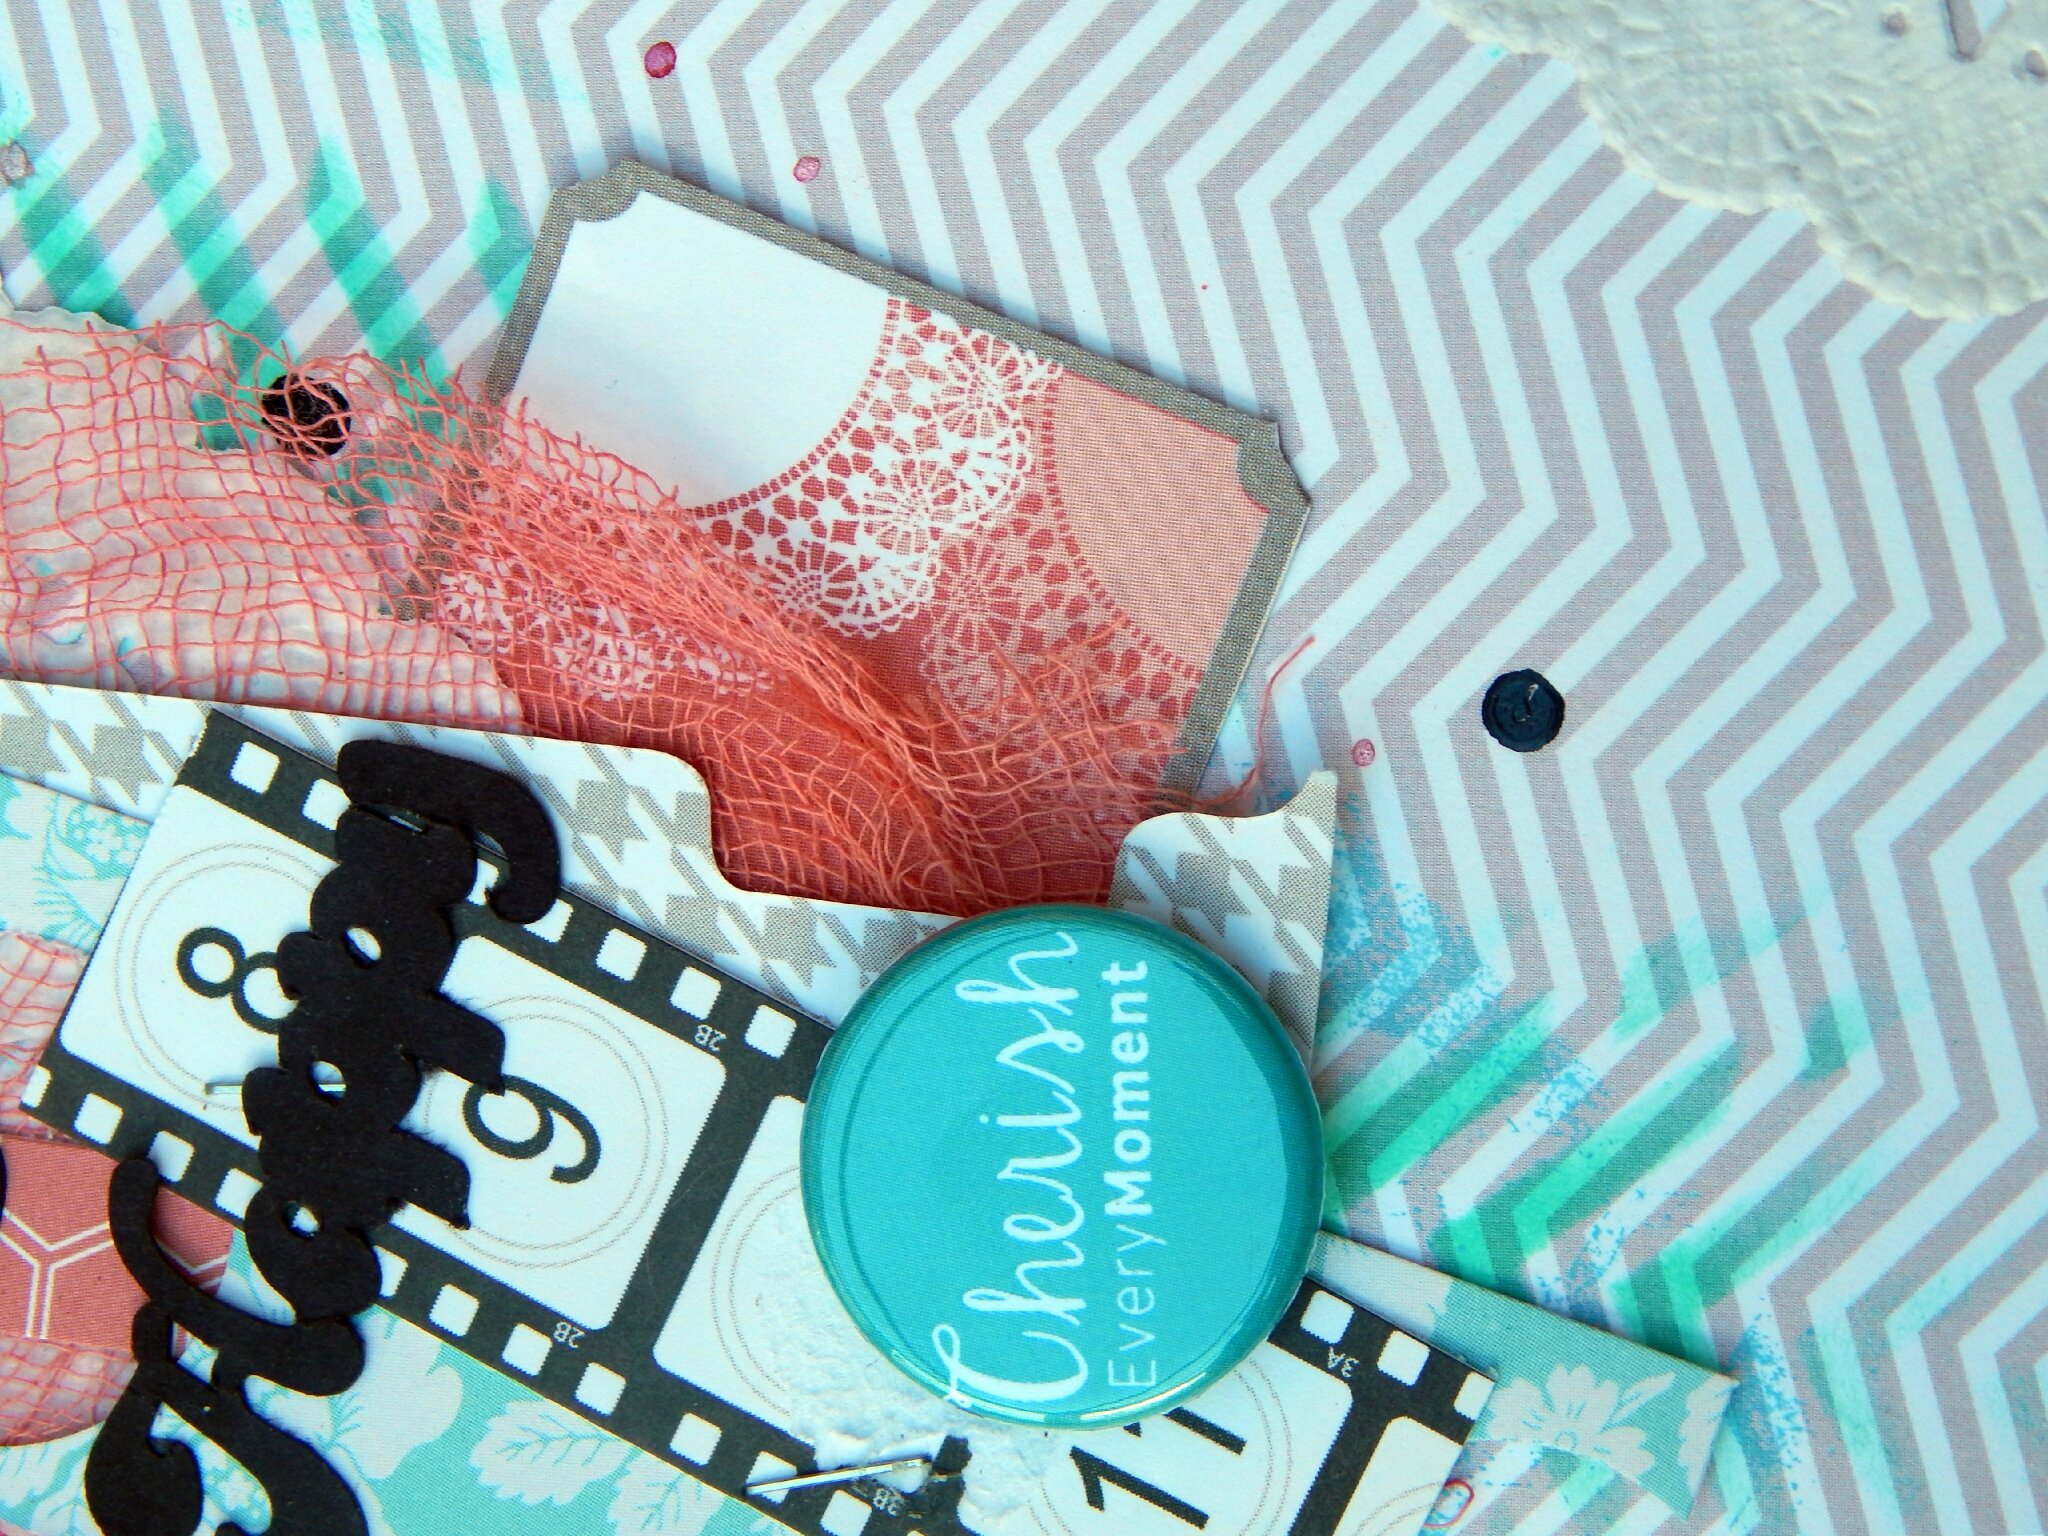
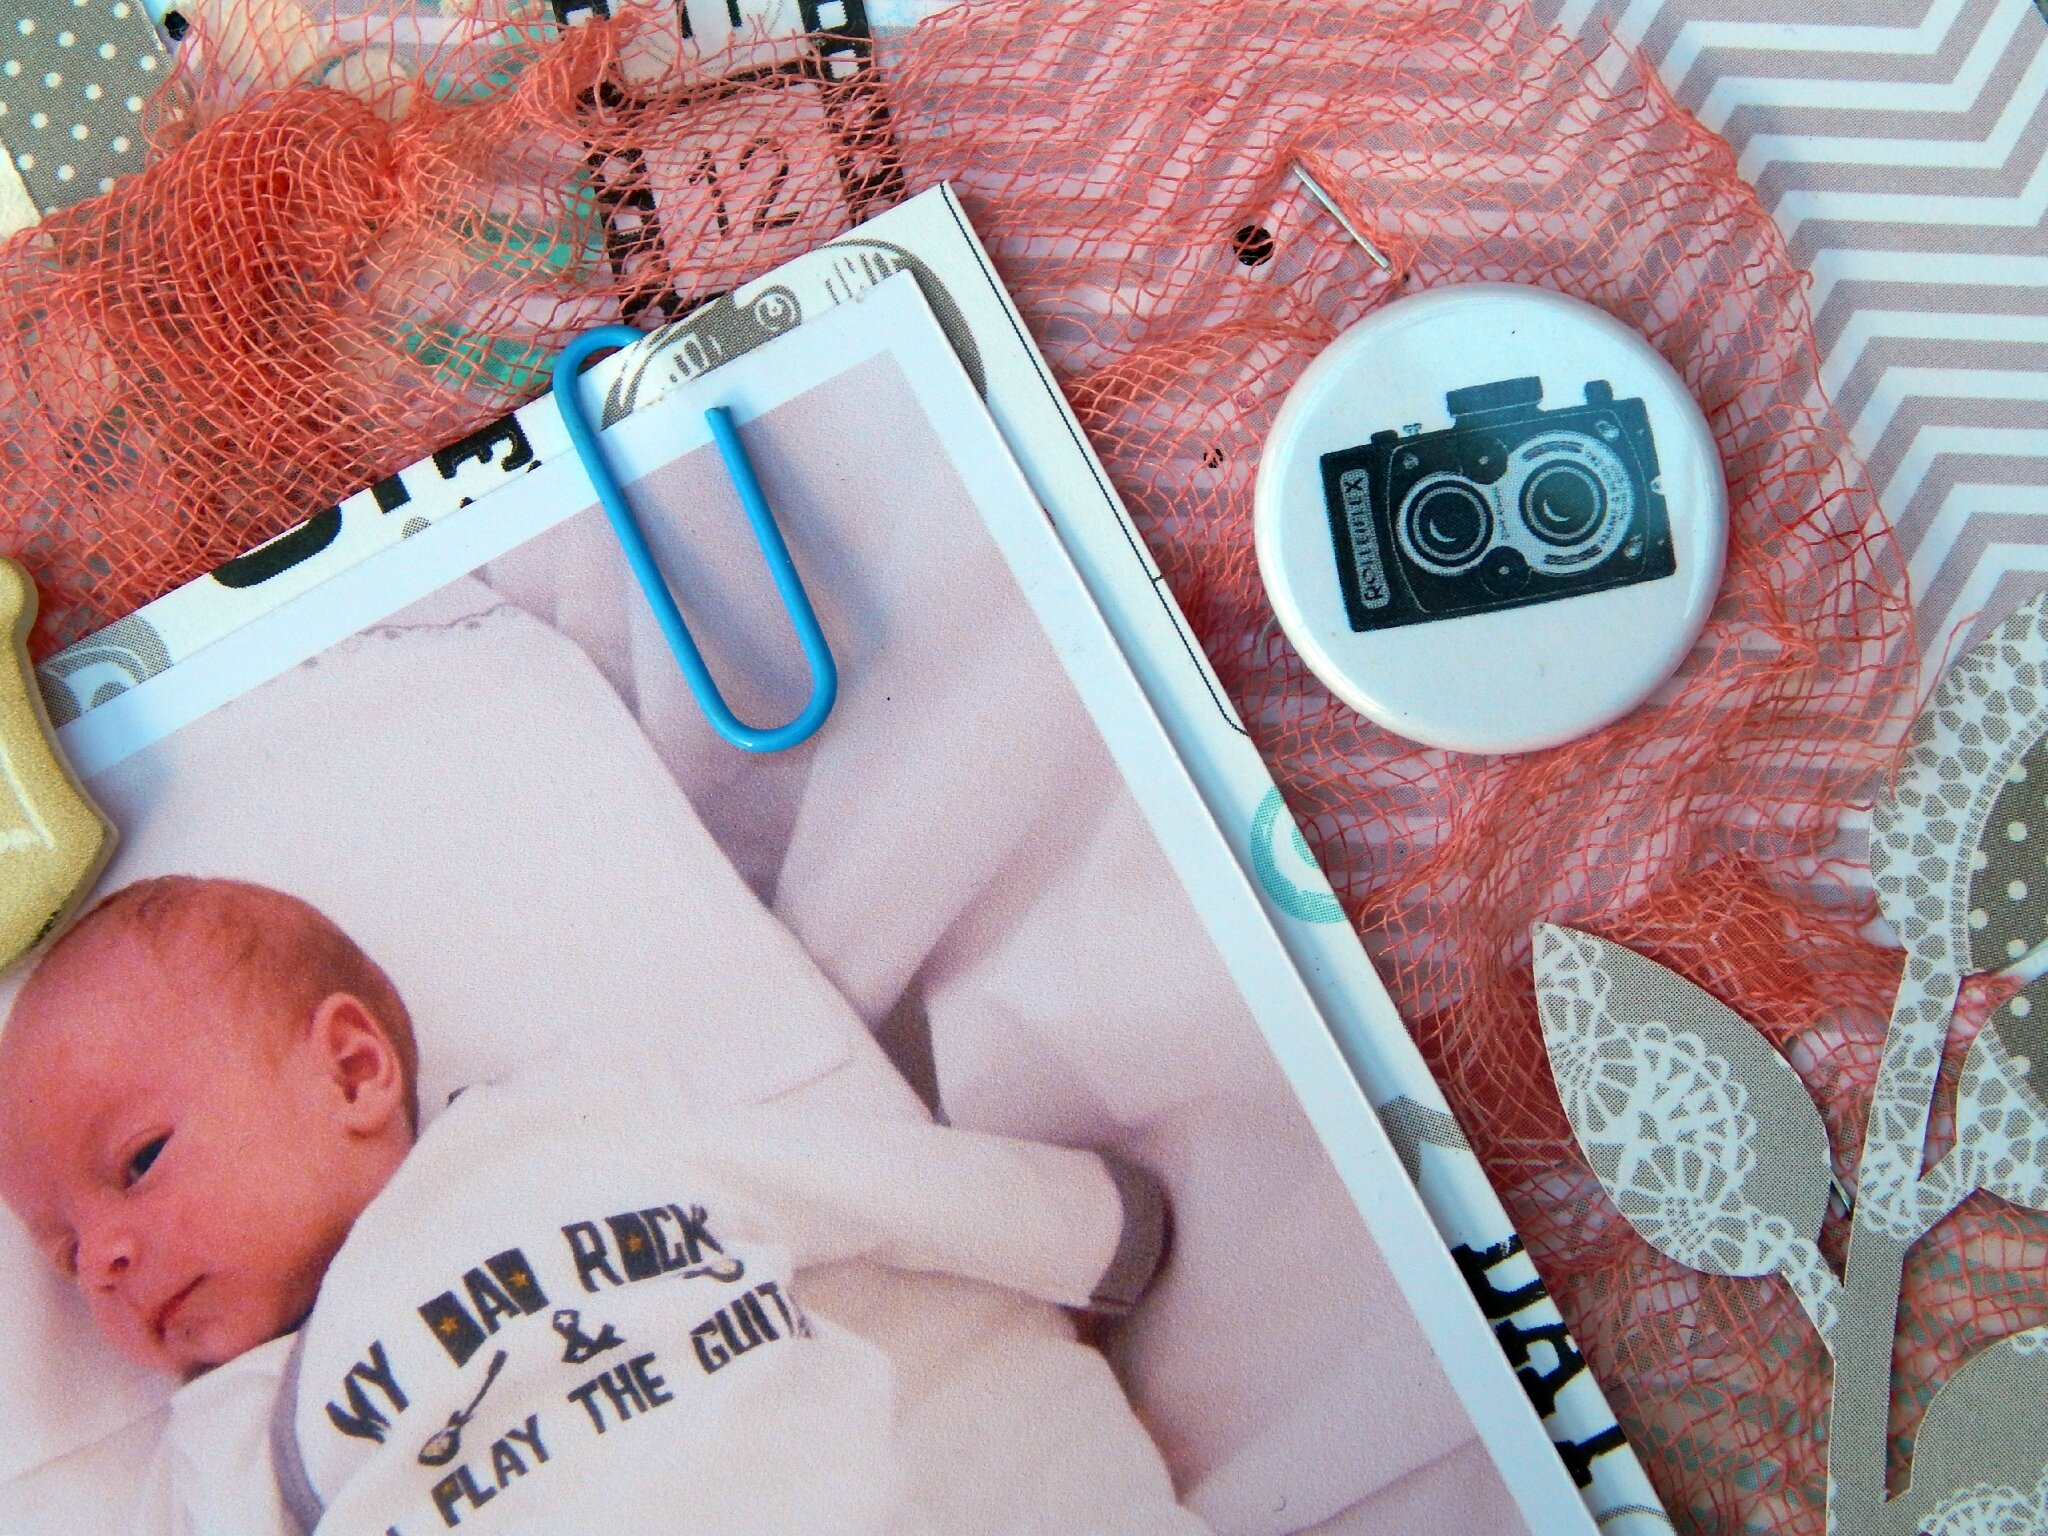
Today I want to show you another layout made with TCP button flair. For this page I used soft colors. I used some die cuts that I made with my die cutting machine, and as always I used stencils with modeling paste and inks.
Today we have an amazing layout by designer, Elodie! Take a look!!
Hello Friends! Today I want to show you a layout. December arrived and Christmas approach I thus made a page in mind of Christmas, which this year, will be even more special with the birth of my little boy.
I began by sticking two bands of stickers at the top of my page with a small touch of gesso. Then I used a stencil with some modeling paste to give a little interest to my page. I splashed some ink and used some stamps from ” Close to my heart “. I arranged my photo, my papers, some TCP flair as well as sequins.
When Shanna asked me to share my journaling bible with you all I was honored (and a little nervous because I just started). I grew up thinking that you weren’t supposed to write in your bible. Not that anyone told me that, I just assumed because I never saw anyone do it before. To be completely honest I have very rarely picked up my bible in a long time. Now, I find myself wanting to dive into my bible several times throughout the day and the word really stays with me more than it did before. Using my creativity and my love for Jesus has really made this something very special to me.
Today I am sharing pages on being Thankful. Being thankful when everything is going just right is easy (for me) but it was the being thankful with times were really very hard that I had to learn. My husband was out of a job for almost a year; our marriage was rocky not to mention the 5 kids that we were raising were hard at times. We started going to church and I started thanking the lord for EVERYTHING even the hardship we were finding ourselves in, because though that I knew that he had a plan (and he definitely did). By having a thankful heart though the rough times we stop focusing on ourselves and focusing on the only one who is really in control and TRUSTING in him. My prayer for all of you today is that you have a heart full of thanksgiving not just this month but 365 days a year.
In addition to a few pictures that I will post here, I thought I would share a little video talking about a couple of my pages and what I used.
Colossians 3:17
For this page I used some die cuts out of watercolor paper, colored with distress ink and water accented with some gold paint. The sequins are some from the autumn mix in my etsy shop and just glued on with a little bit of glossy accents. I added a transparency page for the final touch. I printed the verse on the portion covering the text and the “Be Thankful” over the journaling column. In the video I show how to attach the transparency in the bible. There is also a thin strip of gold washi tape covering the glue in the center; you could easily skip this step because the glue really isn’t noticeable.
I just finished with a HUGE Etsy shop update this week. Lots of new flair sets and a couple of fun things like Ponytail holders and bookmarks perfect for project life, scrapbooking, or your organizers/filofaxes!
Here is a peek:
All Button flair is flat so it adds less bulk to your page protectors.
Flair paper clips!
Ponytail holders made with ANY of the buttons in the shop!
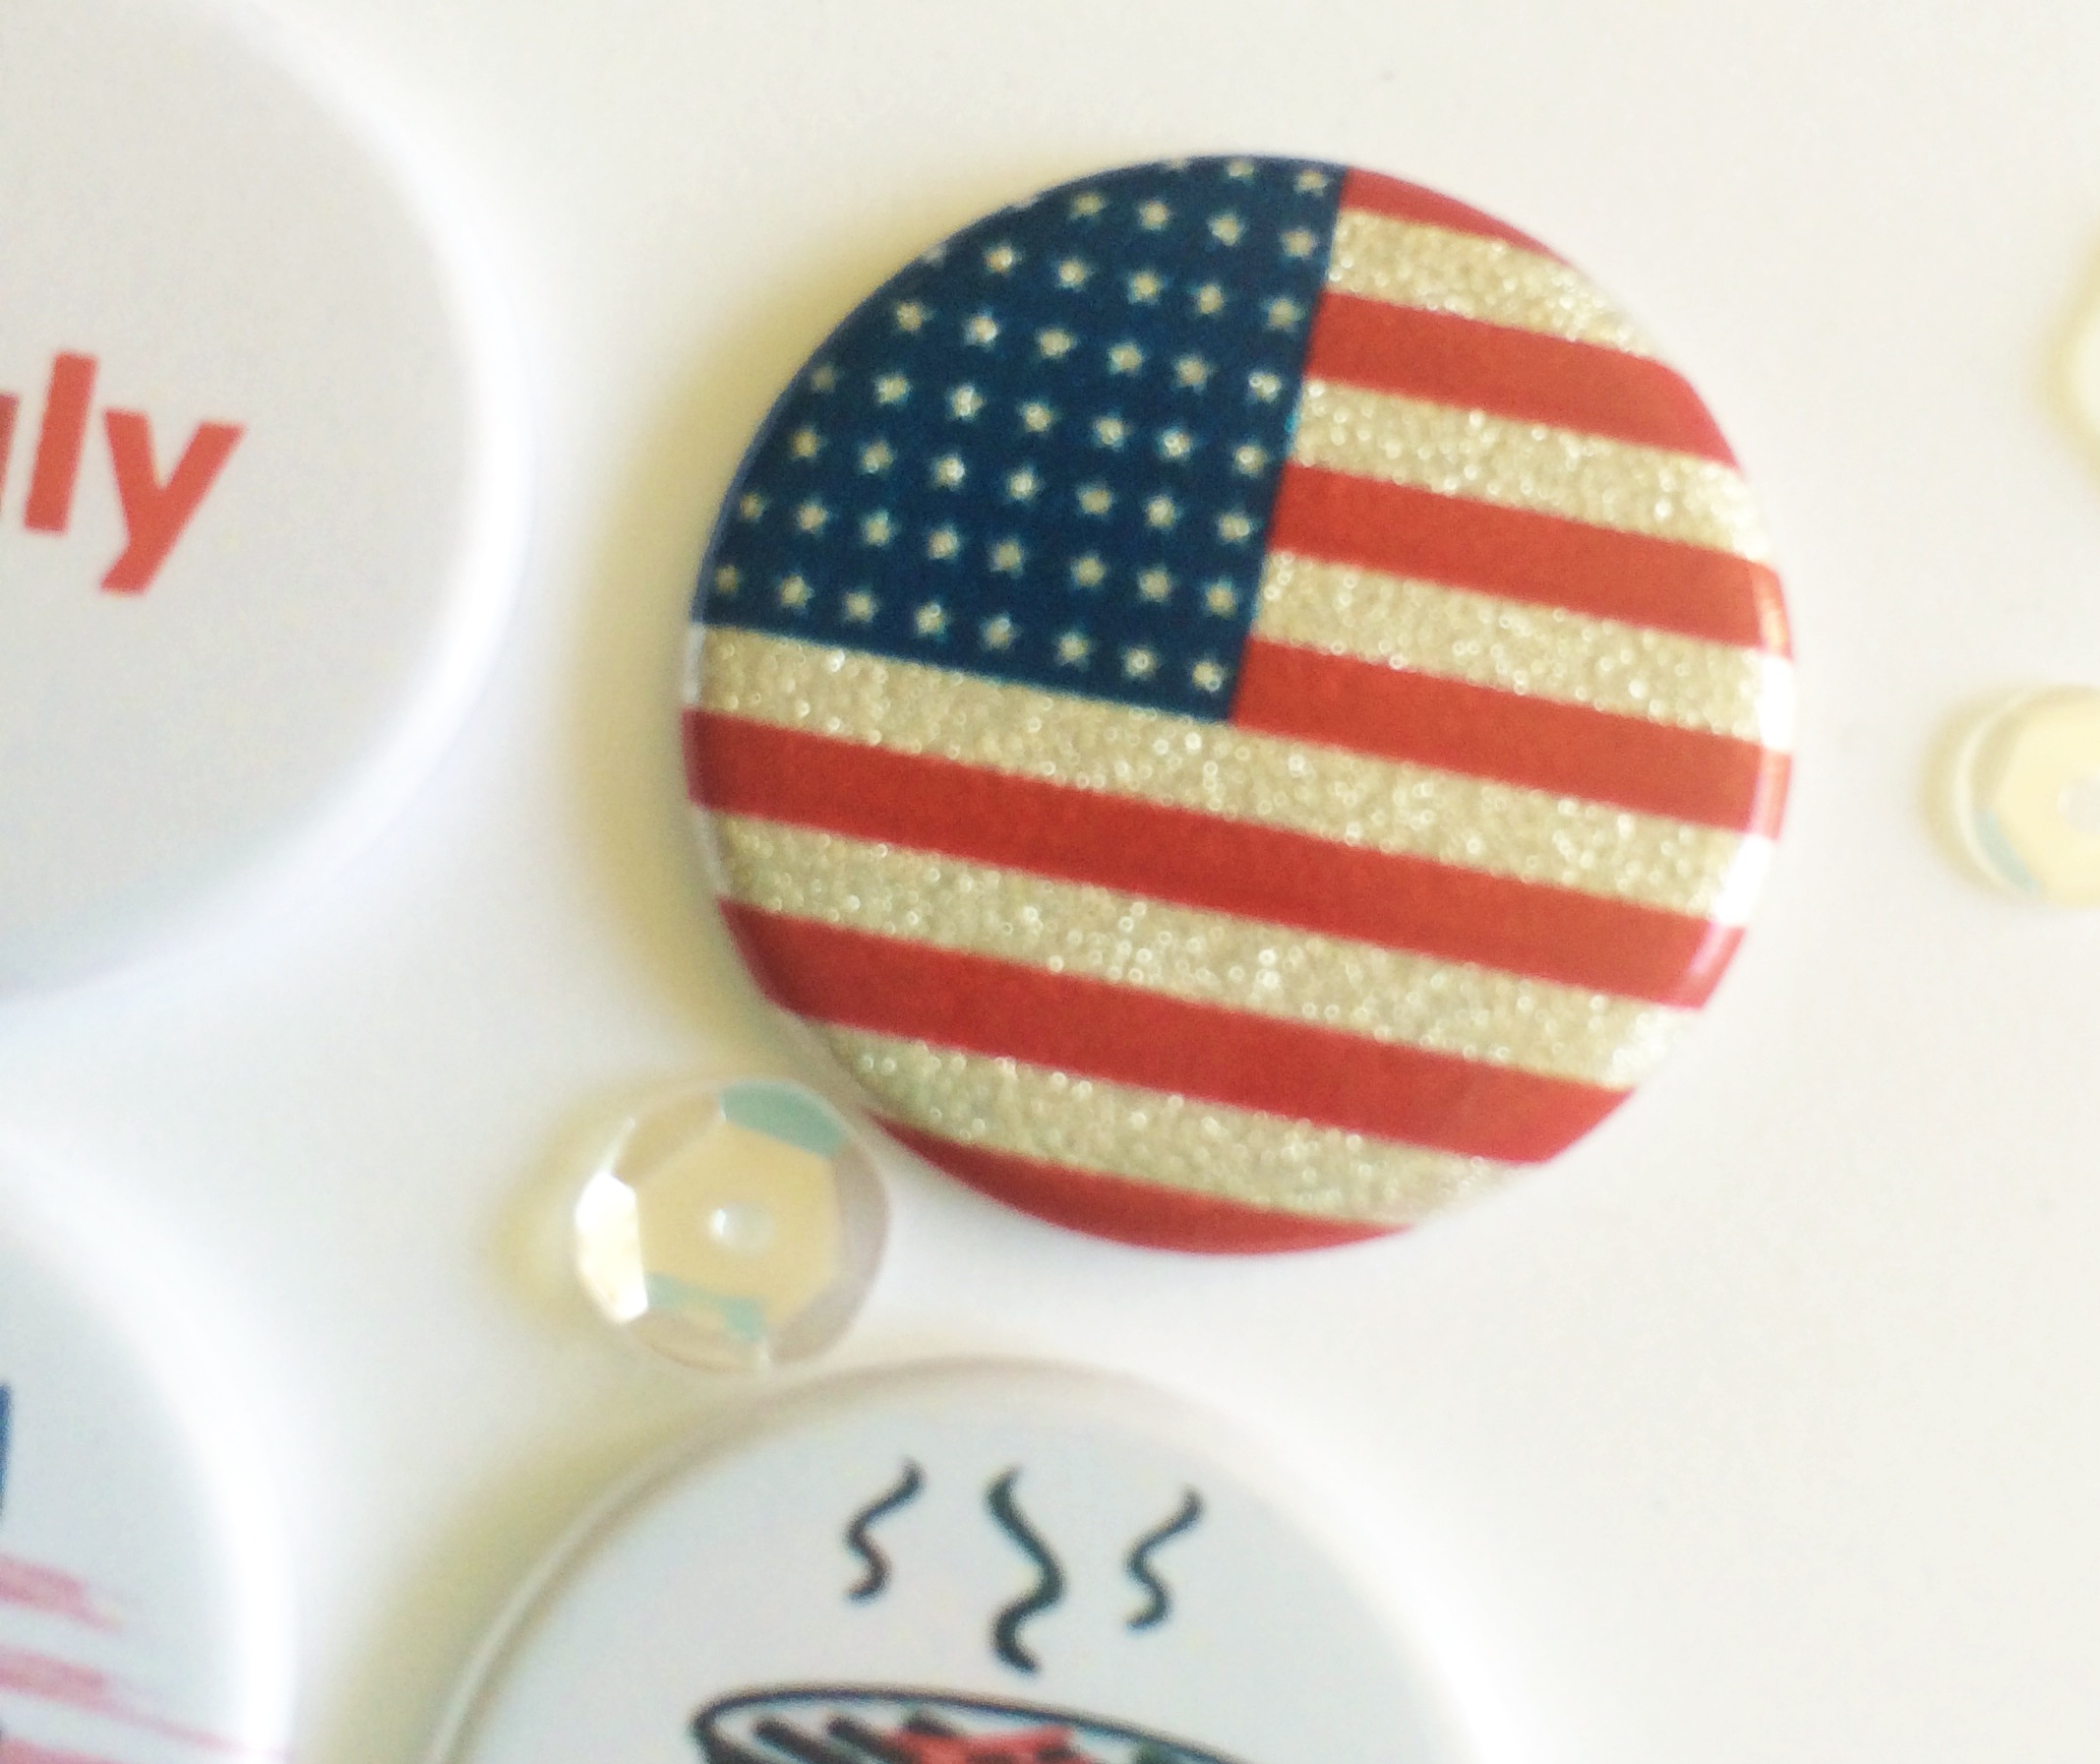
Monthly flair sets including this one for July. The flag flair is made with real glitter!
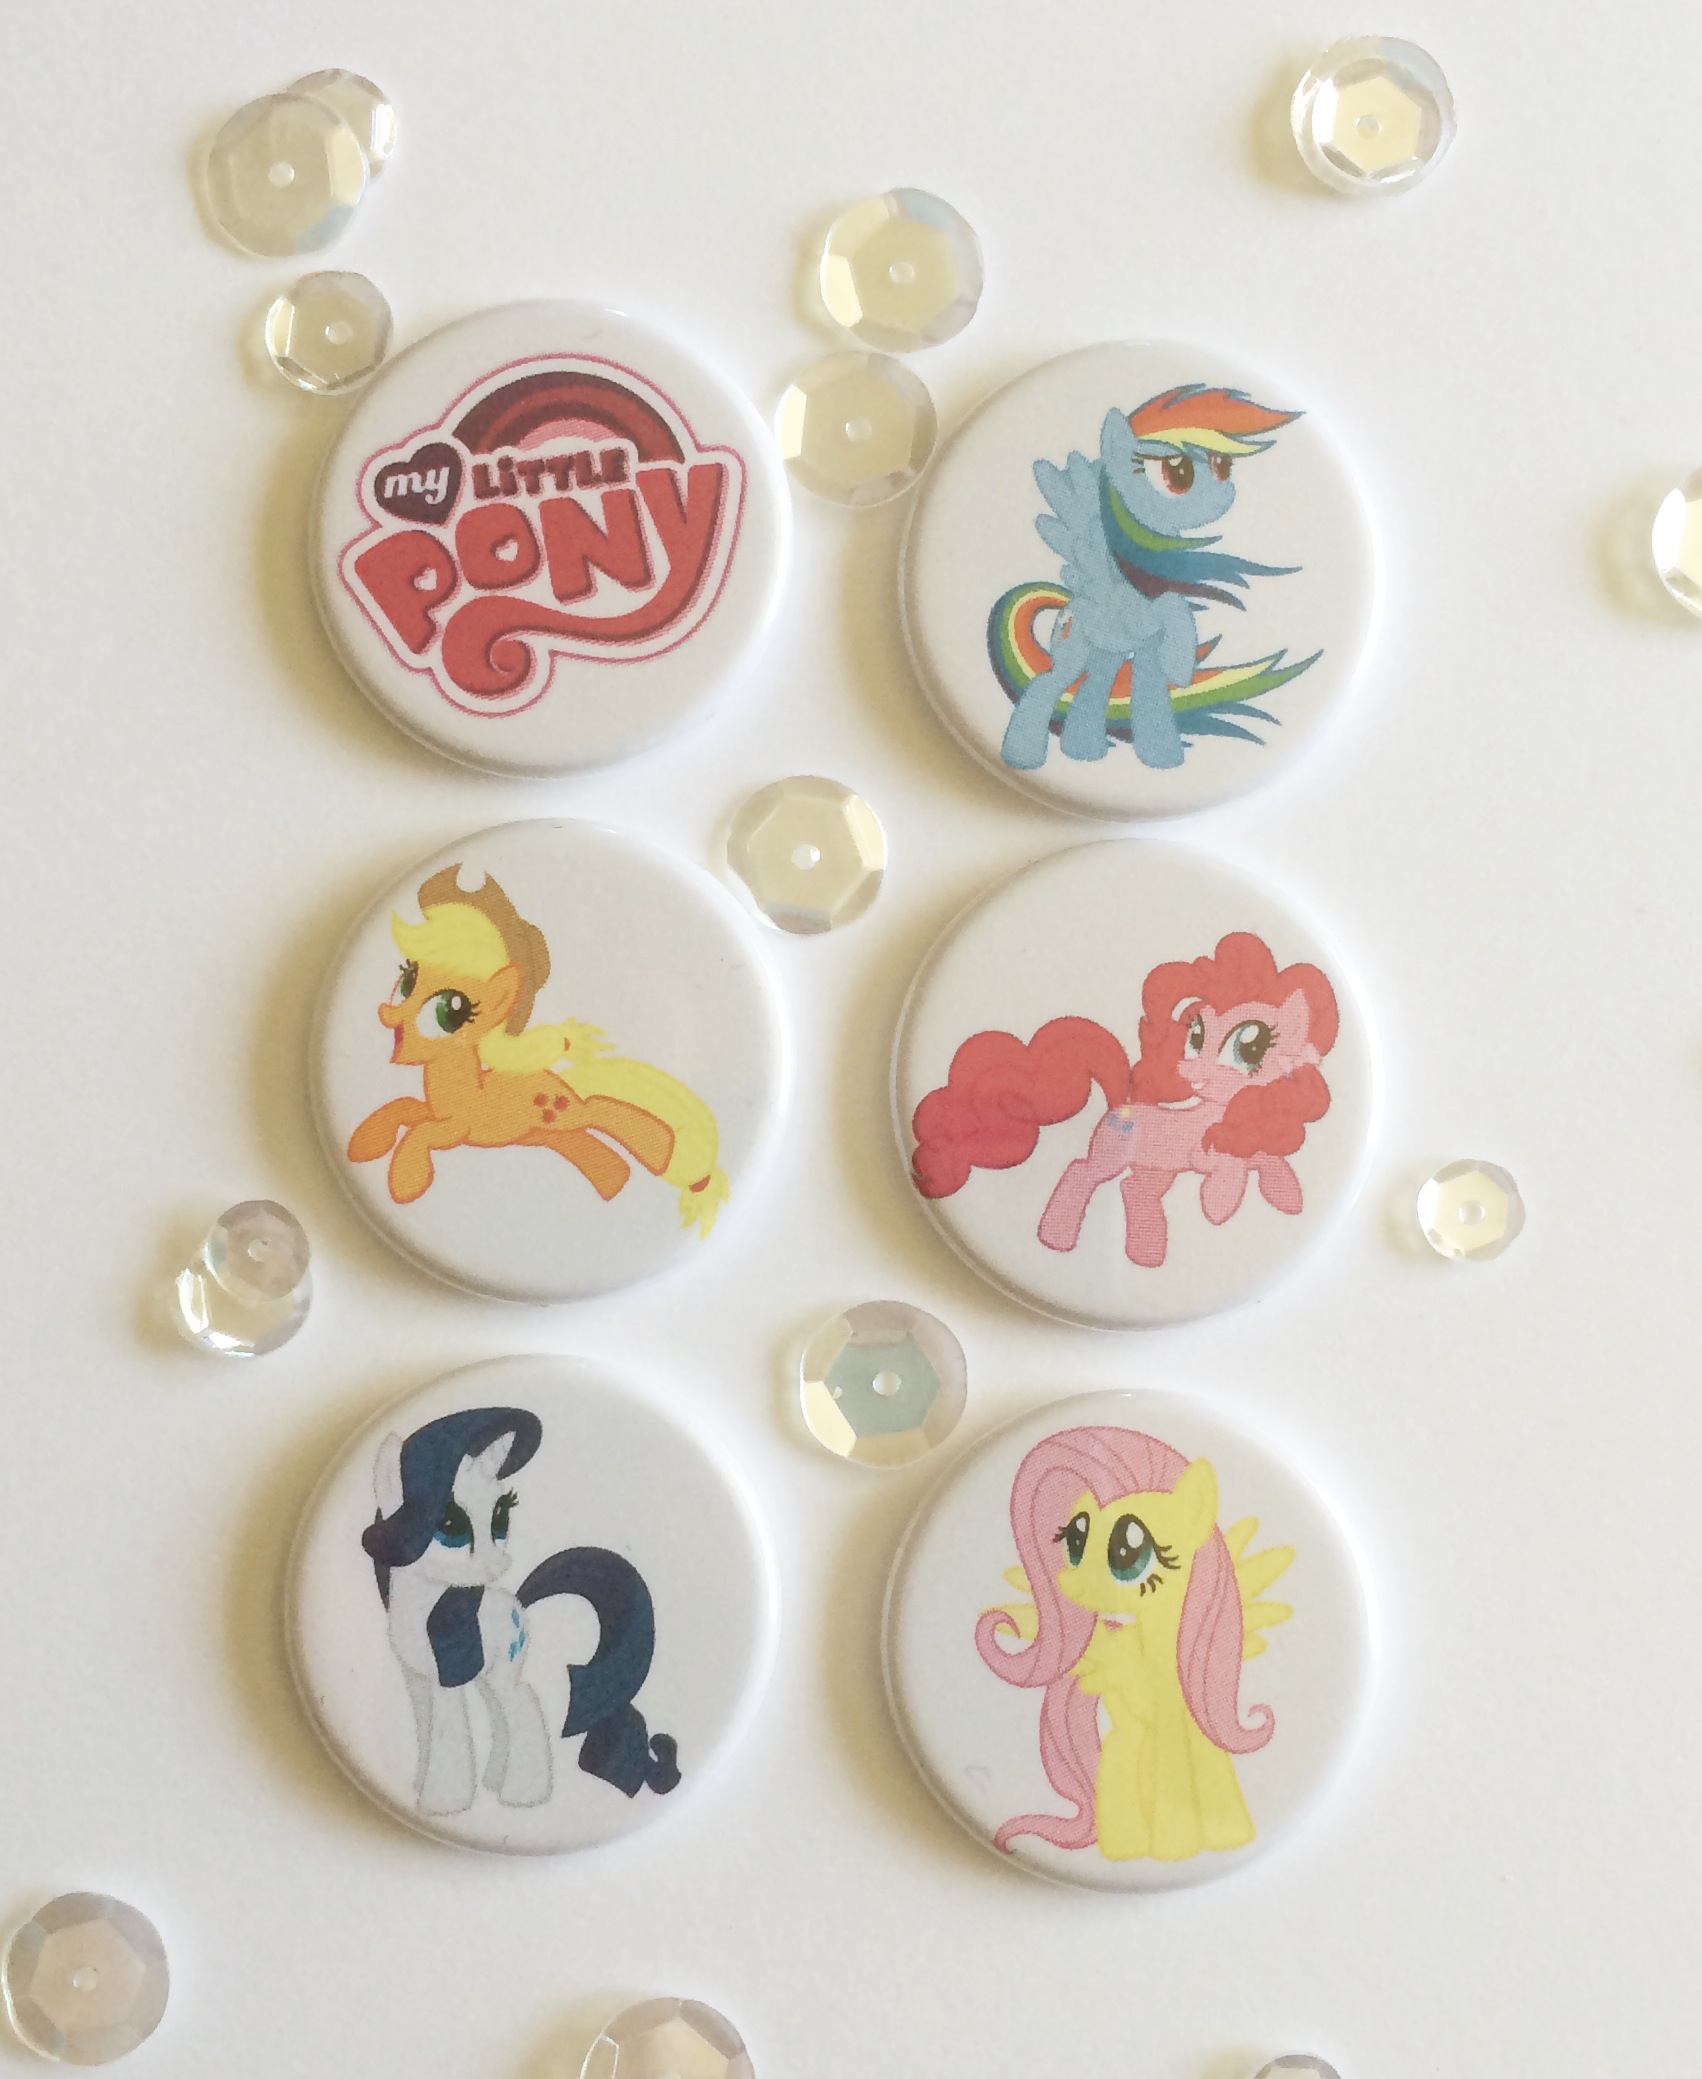
My little girl is obsessed with My Little Pony right now and this is a set I created for her… maybe some of you have little fans out there too.
My addiction 😉
To see all of the 22 NEW listings check out my Etsy shop HERE.
Also, Die-Namites is sponsoring Creative Scrappers Sketch challenges for the month of October! you could win some awesome Die-namites dies of your own! Make sure to check out their site HERE!
Lots of fun for the month of October (and there is more to come too!)
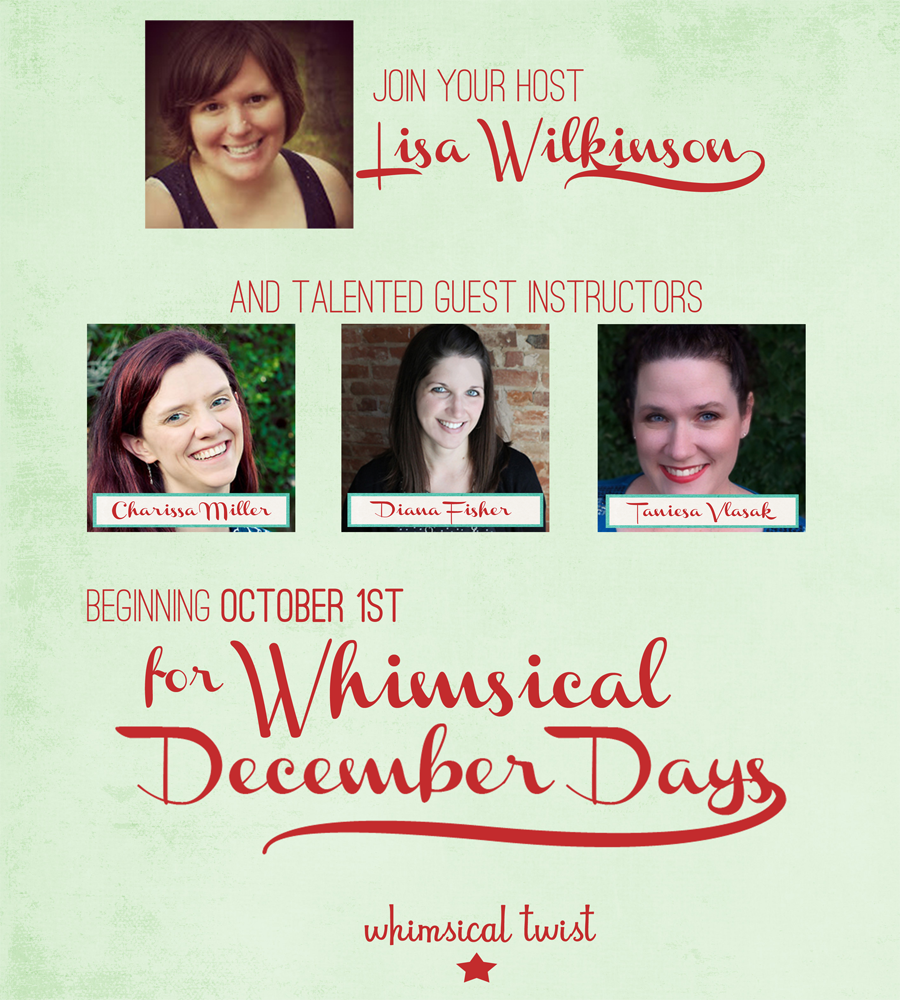
Dont forget that the Whimsical Twist December Days class starts TODAY! 3 months of festive fun that you will definitely not want to miss! If you purchase one of the 4 december days kits offered in the shop you can get your class fee reduced to only $10! I am super excited to share the kit I have designed (Merry & Bright) very soon! Stay tuned to my blog, Instagram, and facebook for some sneak peeks! I have some really fab ideas for all you christmas crafters out there!!
Happy October everyone! I am so excited for this Fall season! I hope you are too
Up on the Die-Namites blog today Lynne is introducing a new monthly feature!
Our Sketch Challenge and Die~Namites Dare!!!Every month a new sketch will be introduced.The sketch can be interpreted as a card, layout or altered piece!
You need to use at least one Die~Namites Die in your creation.
You have until the last day of the month to post your creation on your blog, with mention of the Die~Namites Die used and a link back to the Die~Namites Dies blog. Link your blog post, using Inlinkz, to the Die~Namites Die blog.
A random winner will be chosen from eligible participants
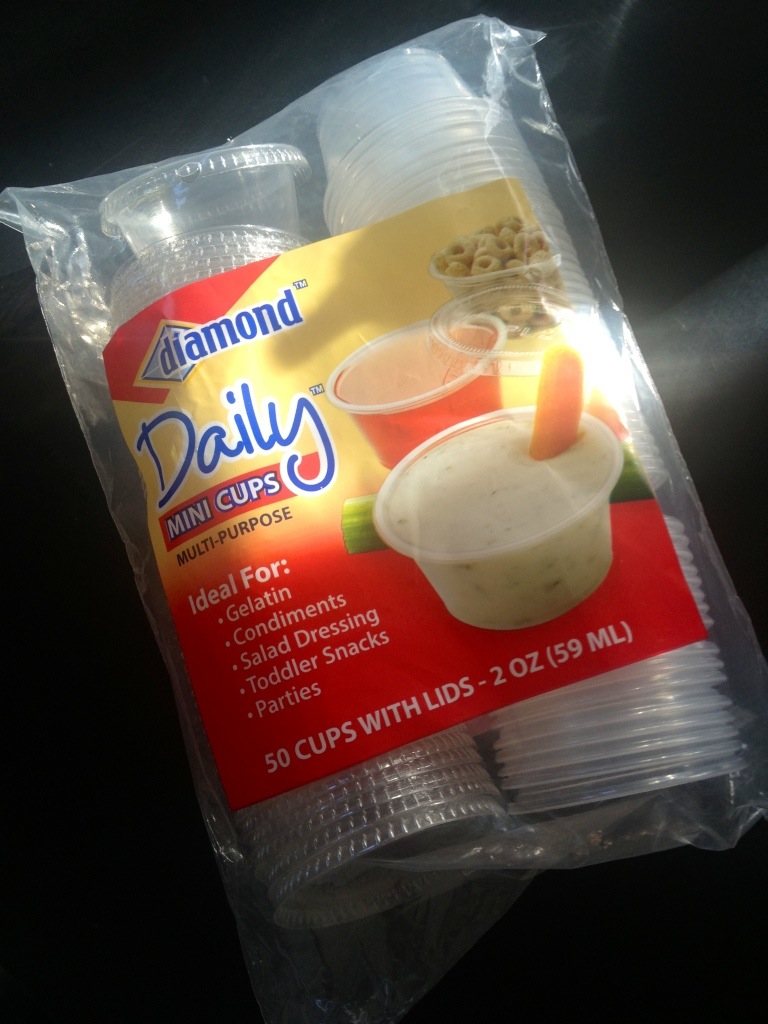
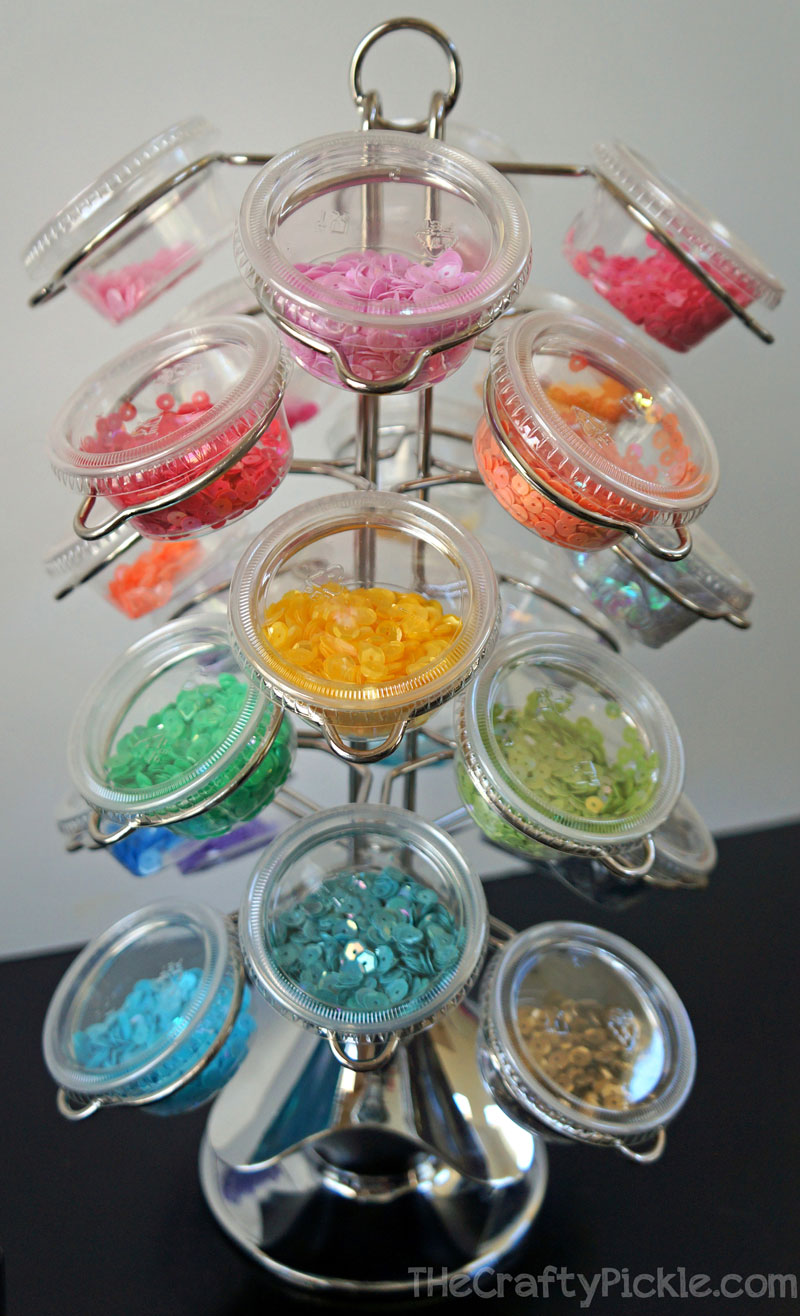
Today I am revisiting a previously posted idea a few months ago that I used for small embellishment storage. Ever since I purchased the sequins in the whimsical Twist shop I have been HOOKED on sequins and use them on a lot of my projects. Getting in and out of the little baggies was getting to be a little bit of a pain so I thought back to that organization blog post I had done, You can see that original post HERE. I thought that it would be nice to have one set up just for sequins so that’s just what I did.
Here is what I used. First a K-Cup storage spinner (I got mine at walmart for about $24 but I have also found the same size on Amazon HERE) and a package of Diamond brand mini condiment cups and lids (I got mine at a grocery store in my area, safeway, for about $3)
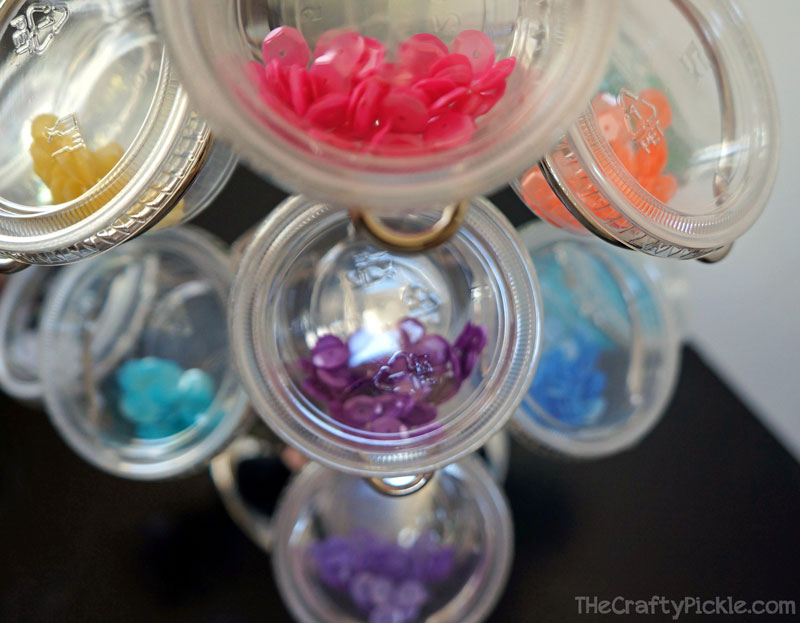
I emptied all of my sequins in each cup keeping the colors separated, depending on your collection you might want to combine certain colors or shades of the same color.
Super simple and inexpensive. It takes up very little space and makes using them and clean up a breeze because you’re not dumping the sequins out on your table. The added bonus it looks really pretty out and makes me happy when I look at all the fun color!
Suggestion for those that are going out shopping for your kcup holder, I took one of the mini cups with me to make sure it fit well. There are holders out there that are just a bit too small to hold the cup so to be sure, test it out before you buy it.
Don’t forget to stock up on all the great color sequins that is currently in the Whimsical Twist shop and check back for more fun sequins that will be in the shop soon! While your there don’t forget we have an awesome sale on all your Basic Gray favorites too!!