Project life Re-Organization.

Hi Friends!

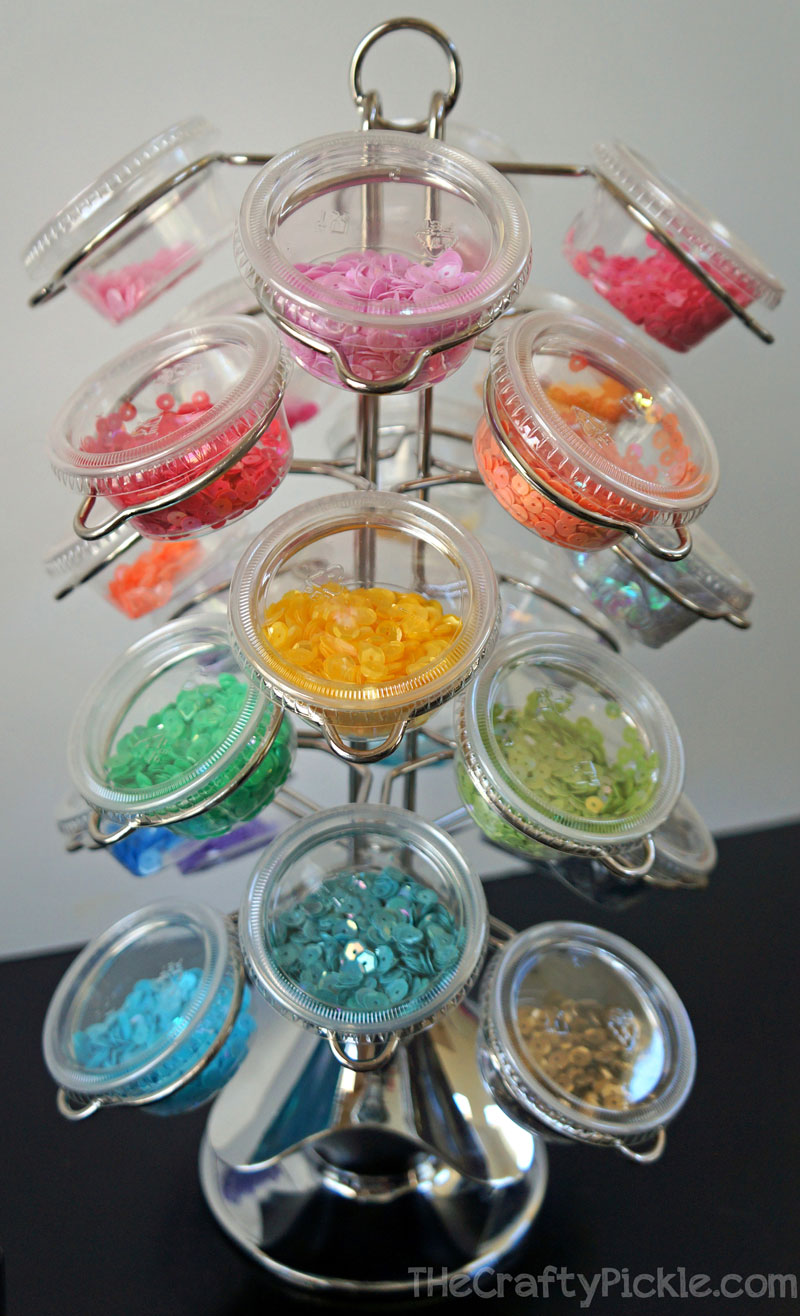
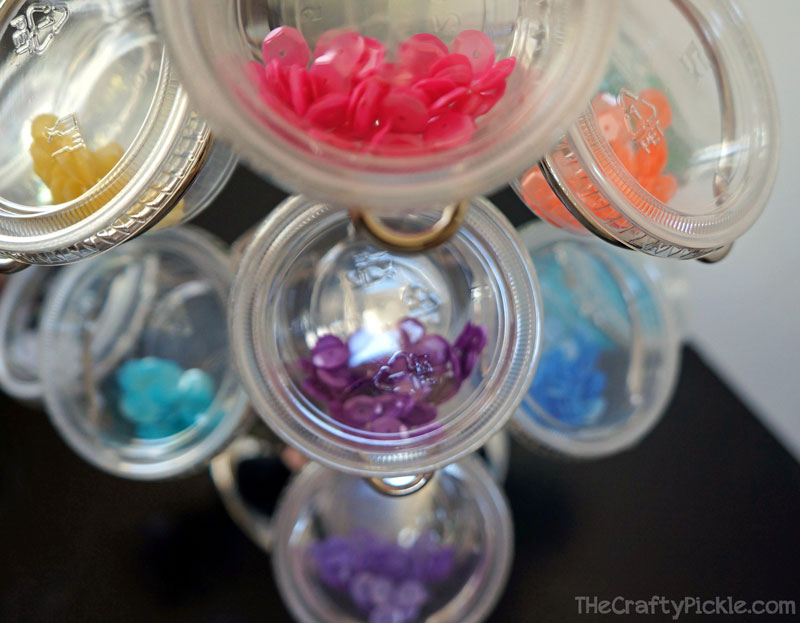
I know a number of you have had a lot of questions regarding how I am storing my project life cards. Instead of writing out a long post I made a little video that hopefully will answer some questions and let you see what’s working for me right now.

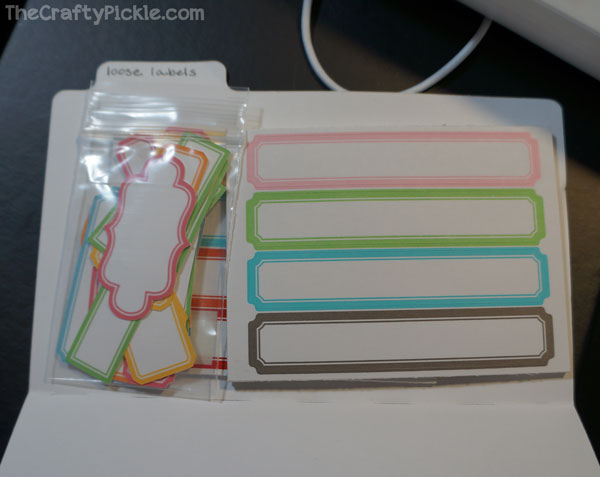
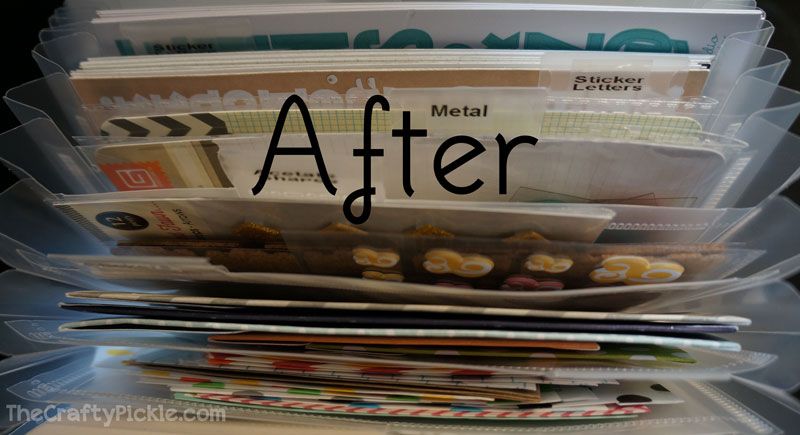
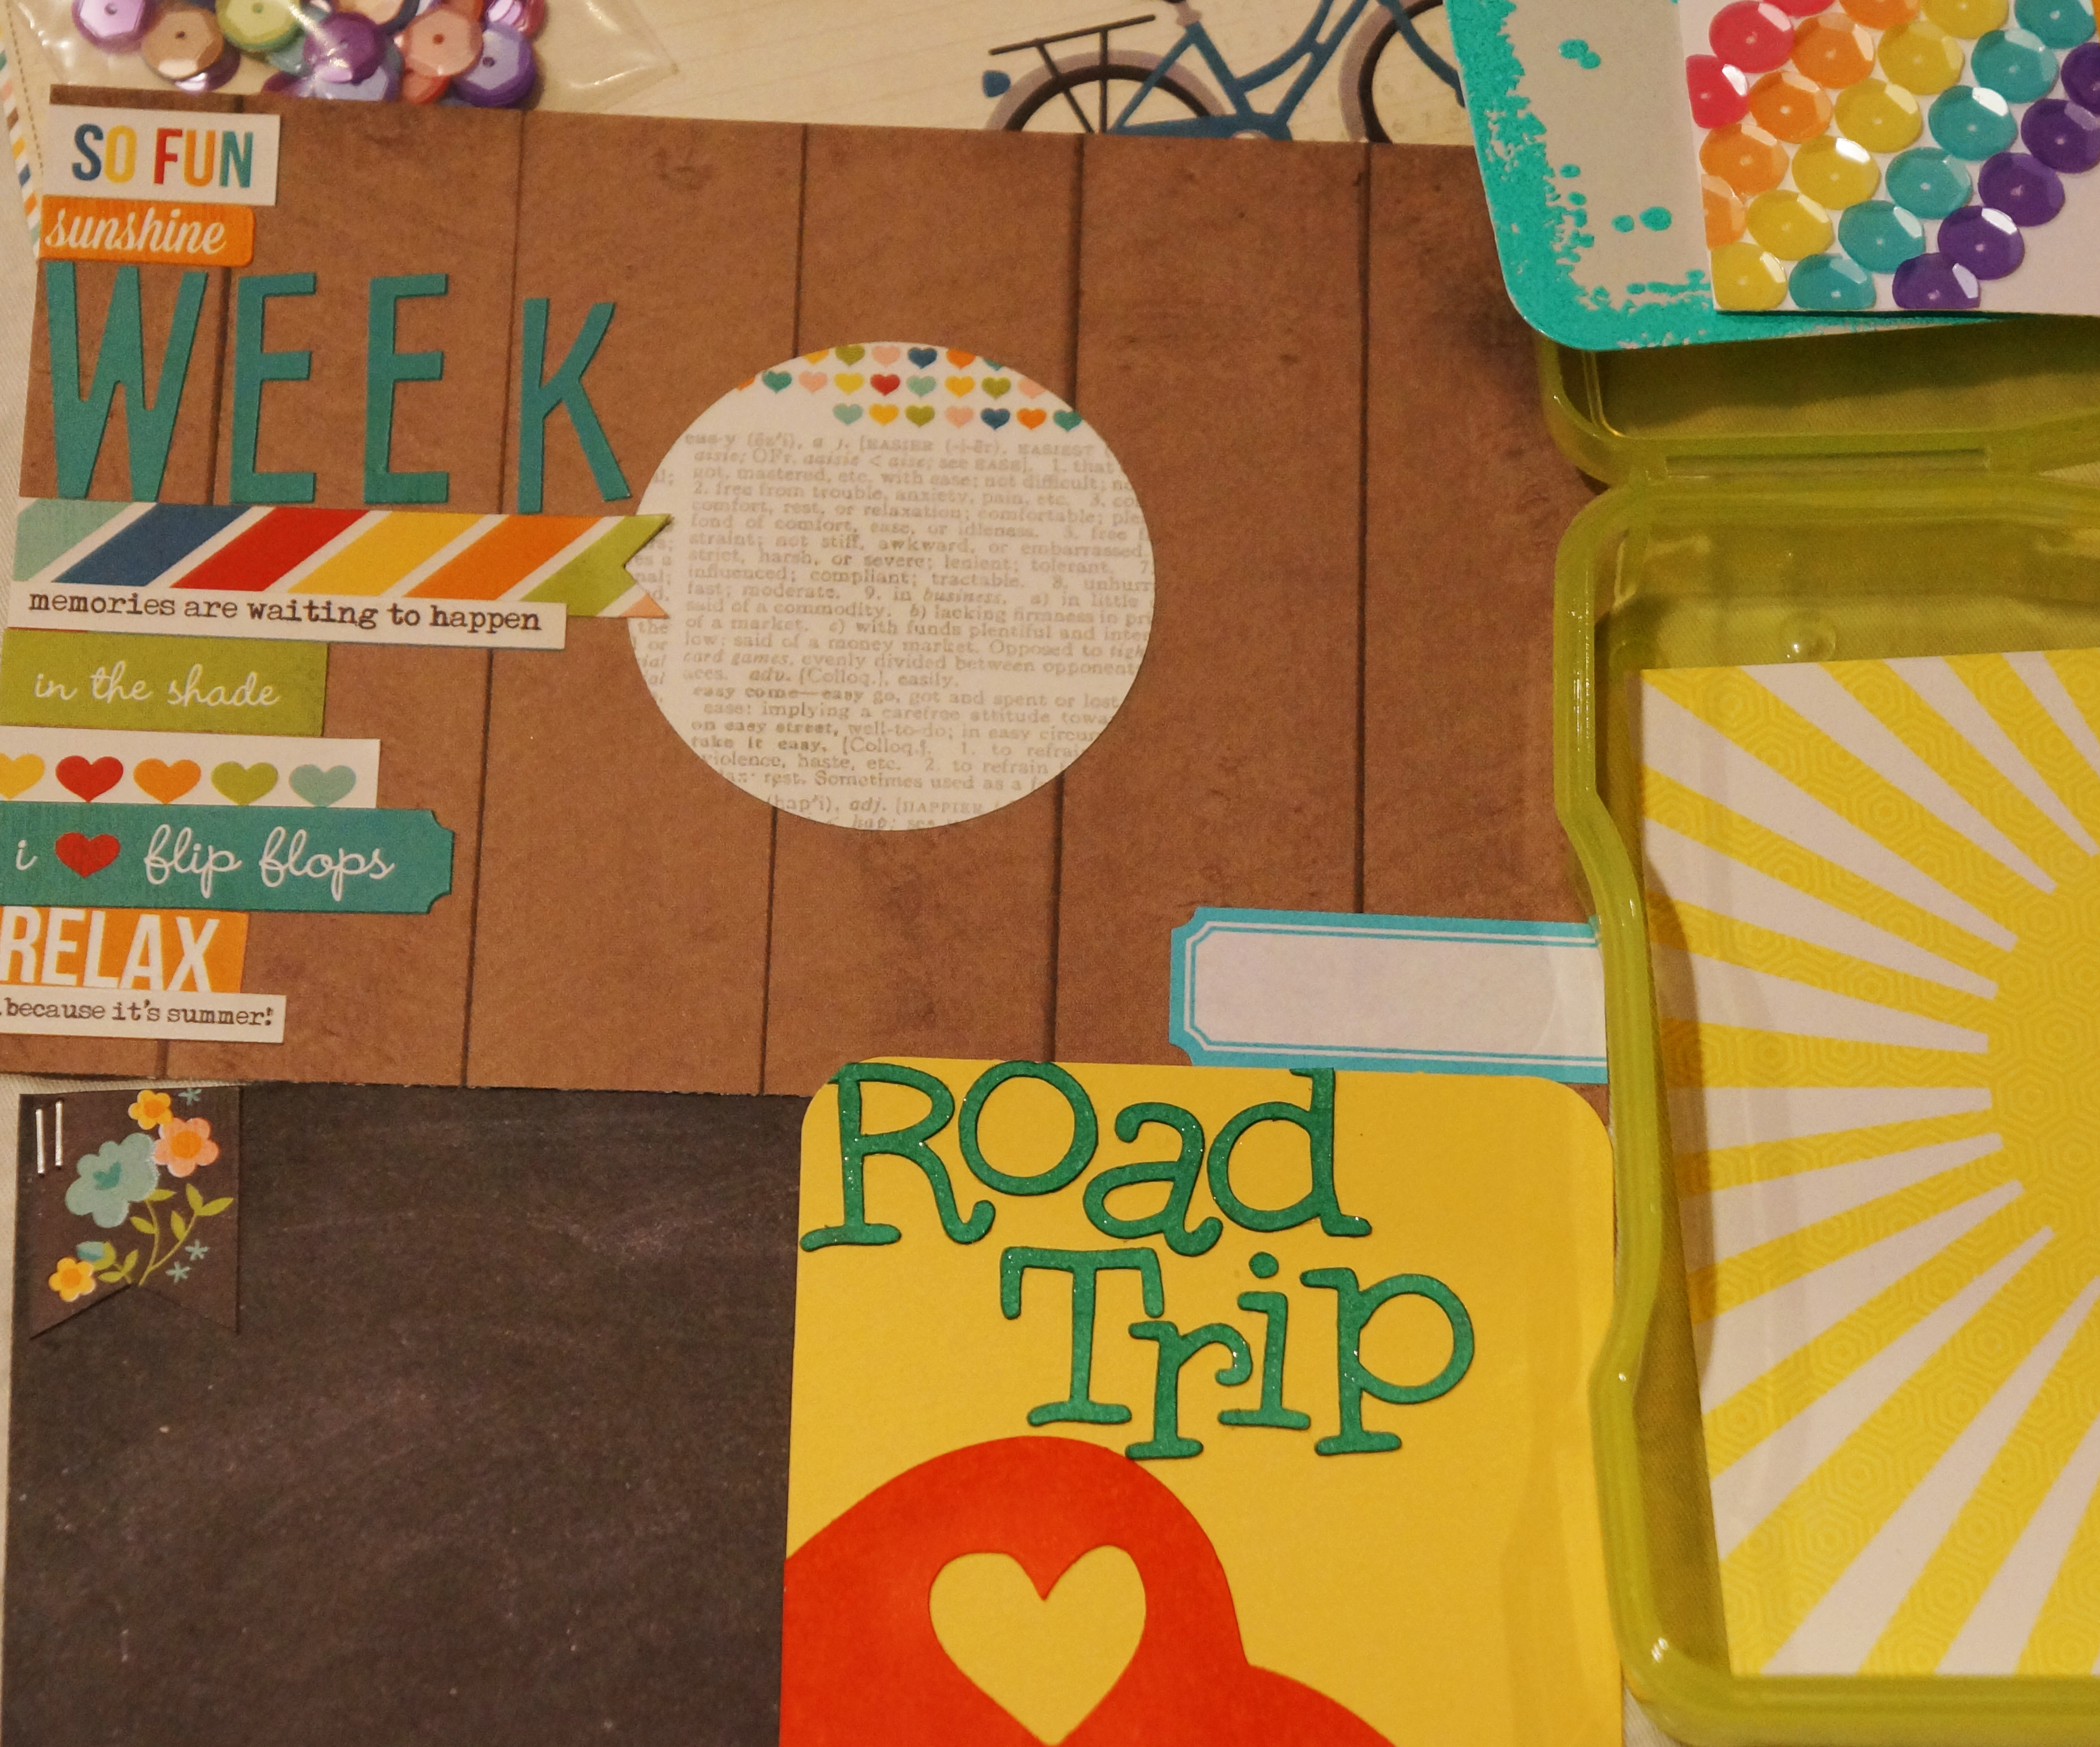
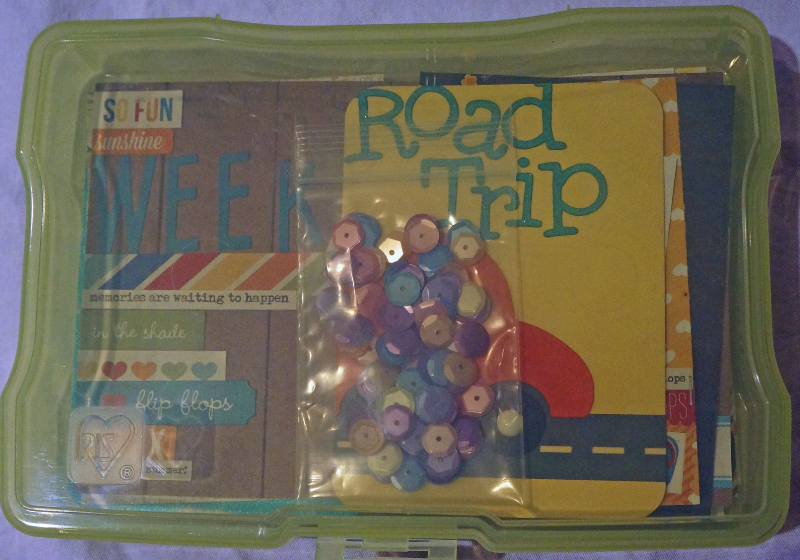
Here is a little video on how I am organizing my project life and pocket style journaling and filler cards. I am using the medium Close To My Heart organizers which you can see by going to my website HERE <—- that will take you right to the organizers.

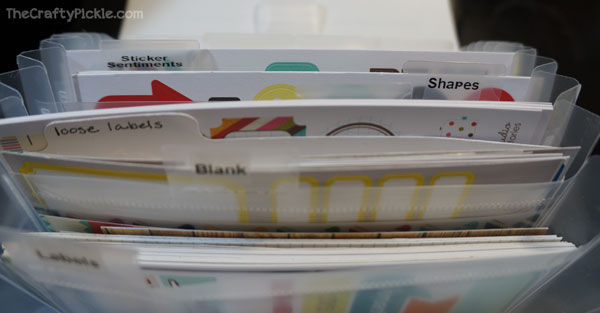
The dividers that I had made for my organization were
Pink
Red
Orange
Yellow
Green/Teal
Blue / Aqua
Purple
Gray
Black and white
Brown and Kraft
Multi Color brights
Multi Color muted

Month/Day
Ledger
Numbers
Journaling prompt
Quote filler
Symbols and shapes
Seasons: winter spring summer fall (holidays are in with the season)
Birthday/celebration
Travel
School & Kids life
wedding
Love/hearts

If you have any questions please post a comment, I am happy to answer anything that I can.

Thanks for watching and I hope this has helped you with a few organization ideas of your own!

If you are wanting to puchase the CTMH cases you can visit my CTMH website at www.thecraftypickle.ctmh.com
******Edited to include a link to the divider cut file I made and used in this organizing video and posted on my blog awhile back: Click here for the dividers. The folders that I used were directly from the silhouette store (Design ID #43761)******

The Crafty Pickle


It’s beginning to look a lot like CHRISTMAS!!!

Welcome to our
NEW RELEASE BLOG HOP Die~Namites Dies has just released 32 new Fall and Christmas themed dies!

Dienamites Bloghop september
We are sooo HAPPY that you have chosen to join us for the event, September 20-22, 2013
Our theme is…
“It’s beginning to look A LOT LIKE CHRISTMAS!”
As you are hopping along be sure to
leave a little love on each of the Design Team blogs.
Make sure to leave a comment on the Die~Namites Blog for an entry to win the Grand Prize of a
$50 Gift Certificate to Die~Namites Dies along with
5 ~ $10 Gift Certificates.
You will receive additional entries for Liking us on Facebook,
Signing up for Email Notifications.
So Let the HOP Begin!

I have been working on my christmas cards since July, but I am nowhere near finished which was good because I absolutely fell in love with the new holiday release from Die-namites! For today’s card I am using the Pine Wreath die. I love the intricate details of the pine, something I definitely could not achieve with a digital cut or punch.

Pine Wreath Die

I began by cutting 6 shapes out of two different colors

Dienamites-Christmas-1

I started with the full cut on the bottom and layered pieces of the die that I had cut apart on top filling in the empty spaces to add more fullness to the die. I used a Zig ball point tip glue pen. I chose this adhesive because its not too messy but easy to get into fine lines and not dry too fast.

Dienamites-Christmas-2

Dienamites-Christmas-3

After layering all the greenery I made another cut out of red cardstock and cut the birds from the shape.

Dienamites-Christmas-4

I attached them using the same glue on top of the green cut that I started with.

Dienamites-Christmas-5

I glued the wreath to a white card (A2) and rounded the corners of the card. I attached some red gem dots (Recollections from Michaels)  to make the berries around the wreath.

Dienamites-Christmas-6

Then I added some silver polka-dot washi tape around a stamped sentiment on the bottom. It was super simple but I love the results!

Dienamites-Christmas-7

Dienamites-Christmas-8

What new release dies are your favorites? Be sure to keep an eye out on the die-namites blog for lots more holiday inspiration!

Now for more Holiday Crafting fun! Hop on over to Dunja Dücker’s blog! If you got lost along the hop the order is:

Lisa Tottle

Taniesa Vlasak  *you are here*

Dunja Dücker

Susie Moore

Peggy Lee Baker

Lynne Forsythe

Die~Namites Dies

Don’t forget to comment along your way to win one of 6 awesome prizes!!!

Happy Crafting!

The Crafty Pickle

Happy Friday! Let’s get ORGANIZED!

Hi Everyone!
I am on to my next organizing endeavor! this time tackling labels, tags, stickers and other project life supply goodness as well as my Die-namite dies!

Here are some before photos. First is my labels, tags, stickers, etc… that I use primarily for Project Life.

Get organized with help from TheCraftyPickle.com

And here is the drawer I had all of my Dies shoved into.

Get organized with help from TheCraftyPickle.com

What a mess! So I headed to Target (I love Target!) and in the office supply section I found these little gems!

Get organized with help from TheCraftyPickle.com

Now I am focusing on these small ones but there are lots of different size accordion files… you could use different sizes to organize different supplies. These coupon size files came with a little notepad. I took that out to lessen the bulk.

Get organized with help from TheCraftyPickle.com

I created some mini file folders. The first i created using my silhouette…. but I needed to make quite a few, and maybe I was a little lazy, so I just cut the cardstock to size, scored it, folded it, and put a tab on it.

Get organized with help from TheCraftyPickle.com

Then I separated everything into like item piles. A couple of tips to mention. You want to remove any unnecessary excess packaging, this adds extra bulk and sometimes will prevent the item from fitting.

Get organized with help from TheCraftyPickle.com

You also might want to cut down strips of labels to just the label and not the product name or bar code. If you want to retain the info just write on the back with a slick writer.

Get organized with help from TheCraftyPickle.com

For the folders in the sticker, tag, and label files I created one in each to put the items that were loose in, I didn’t want them falling in between the divided sections

Get organized with help from TheCraftyPickle.com

Get organized with help from TheCraftyPickle.com

For the die cut file, I made an individual file folder for each die, also when I use the die I cut a couple of extra shapes and put it in with the die, that way if I just want to grab a cut and not pull out my machine i have it right on hand.

Get organized with help from TheCraftyPickle.com

Get organized with help from TheCraftyPickle.com

And here is some end result photos. I really am enjoying this system, I love that everything is right at my fingertips. For now I am storing the files in the black box I picked up at target seen in the photo, but as I reorganize my IKEA Raskog, I might transfer them over.

Get organized with help from TheCraftyPickle.com

Get organized with help from TheCraftyPickle.com

Get organized with help from TheCraftyPickle.com

Get organized with help from TheCraftyPickle.com

Get organized with help from TheCraftyPickle.com

I hope this provided you with some organization inspiration. I have a pretty big project I am working on next and I can’t wait to share with you all SOON!

Have a fabulous weekend!

The Crafty Pickle

Die-Namites September Sketch and Dare using the Love Heart die & the Wild and Free collection by Glitz Designs.

Welcome to this months Sketch Challenge and Die~Namites Dare!
Every month a new sketch will be introduced….
the sketch can be interpreted as a card, layout or altered piece!
 
You need to use at least one
Die~Namites Die in your creation.
 You have until the last day of the month to post your creation on your blog,
with mention of the
Die~Namites Die used and a link back to the Die~Namites Dies blog.
Link your blog post, using Inlinkz, to the Die~Namites Die blog.
                                    
A random winner will be chosen from eligible participant
for a $25 Gift Certificate to 
 
Here is this month’s sketch…..


   Today I’m showing my take on this month’s sketch challenge and dare! Mine is just a little bit different from the sketch but I am sure you will see how it worked for me. I thought out of the box with this one and decided to incorporate the sketch into a project life title card.
 
  The die I decided to use was an obvious choice given the sketch. I went with the Love Heart die.
 

For this particular project I didn’t want the word to show in the project so I overlapped it with the week title by tucking the strip of Glitz patterned paper in the loop of the L. I replaced the flower embellishment with a Glitz designs rhinestone and some enamel dots by My Minds Eye. For the ribbon dare portion I took some black ribbon and silver embroidery floss. I stitched a little arrow onto the ribbon and stapled it to my card using the Tim Holtz Mini Attacher. All of the printed paper used is from the Glitz Designs Wild and Free 6×6 paper pad. 

And here it is incorporated into my project life layout.

Here is the right side.

The bottom right card in the photo above was from the digital glitz collection. I used a Ali Edwards 4×6 outline brush on top and the journaling. It’s hard to see from the photo but the upper right card says Movie Date on top of the Glitz designs heart washi tape.

I think everything came together quite nicely. I was a little stuck with this particular week for a while so using the sketch really helped inspire me to get this layout completed!

I am LOVING the new Glitz Designs Wild and Free collection! It’s so bright and colorful with some fun basic patterns that go with everything. Right now you can get this collection and all sorts of fun papercrafting candy at Whimsical Twist for 25% off through September 30th! Use Code AUTUMN25.

Happy Crafting (and Shopping)!

TheCraftyPickle.com

Creating a Sequin Station for your craft space.

Happy Friday everyone!

Today I am revisiting a previously posted idea a few months ago that I used for small embellishment storage. Ever since I purchased the sequins in the whimsical Twist shop I have been HOOKED on sequins and use them on a lot of my projects. Getting in and out of the little baggies was getting to be a little bit of a pain so I thought back to that organization blog post I had done, You can see that original post HERE. I thought that it would be nice to have one set up just for sequins so that’s just what I did.

Here is what I used. First a K-Cup storage spinner (I got mine at walmart for about $24 but I have also found the same size on Amazon HERE) and a package of Diamond brand mini condiment cups and lids (I got mine at a grocery store in my area, safeway, for about $3)

Little Bits and Sequin Storage @TheCraftyPickle.com

Cups for storage @ thecraftypickle.com

I emptied all of my sequins in each cup keeping the colors separated, depending on your collection you might want to combine certain colors or shades of the same color.

Sequins-Station @ thecraftypickle.com

sequins-station-close-up @ thecraftypickle.com

Super simple and inexpensive. It takes up very little space and makes using them and clean up a breeze because you’re not dumping the sequins out on your table. The added bonus it looks really pretty out and makes me happy when I look at all the fun color!

Suggestion for those that are going out shopping for your kcup holder, I took one of the mini cups with me to make sure it fit well. There are holders out there that are just a bit too small to hold the cup so to be sure, test it out before you buy it.

Don’t forget to stock up on all the great color sequins that is currently in the Whimsical Twist shop and check back for more fun sequins that will be in the shop soon! While your there don’t forget we have an awesome sale on all your Basic Gray favorites too!!

BasicGray sale @ Whimsical Twist!

I hope you enjoyed this organization inspiration!

Have a Whimsical Weekend!

The Crafty Pickle

Back to school: Lunchbox notes with a bit of Die-namite Die cut flair!

Have your children returned to school yet? My little one did yesterday, started the second grade. One of the things she looks forward to the most at lunchtime is seeing what note or treat I have packed in her lunchbox. Today this cute little tag was Tied around some celery sticks and I hope it makes her smile!

Here is a look at the little tag:

The Die-namites die I used was the Die-namites wide vase.

I cut the wide vase die out of white cardstock (120lb) and colored in with bright copics. I then stuck strips of washi tape on white cardstock and glued the washi covered cardstock to the back of different sections in the flower and vase. I attached foam dots to the back to pop the flower up from the washi covered tag.

Then to finish off the tag I added some doodlebug adhesive rhinestones inside the flowers. I stamped a “happy” phrase and added some black lines around the tag and a little message.

Its a really simple use of such a fun die, Try dressing up little notes with a fun Die-namite die cut for whoever you might pack a lunch for!

Happy Crafting!

TheCraftyPickle.com

Let’s GO! Playing with October Afternoon.

Hi Fellow Scrapbookers!
Today I am bringing you a layout featuring some of October afternoon’s Travel girl collection. I Have been going through some old photos as of late and I had always been frozen by the idea of needing to scrapbook chronologically. Because of this I didn’t get much scrapbooking done, especially for my two boys who in this layout were 4 and 5 but now are 13 and 14. I finally gave myself permission to scrapbook photos that spoke to me in that moment. I can always arrange the pages in albums in whatever order they need to be later. If you have that holding you back too, let yourself scrapbook something from yesterday or 5 years ago, whatever story you want to tell today, tell it.

Enough of my pep-talk… I absolutely LOVE the Travel Girl Collection that October Afternoon created. Even with the softer colors I still thought that it would make a great first flight layout for my boys. Here is the finished layout;Lets Go! Layout @thecraftypickle.comthe retro feel of the collection is so fun! I used some American Crafts foam thickers for the “Let’s Go” title and the rest of the embellishments are from the OA Travel Girl collection.

Lets Go @TheCraftyPickle.comLets Go- @TheCraftyPickle.com

There are all sorts of fun Travel girl items in the Whimsical Twist shop right now. Click HERE to see all sorts of adorable pieces from the collection! Make sure you also check out all of the wonderful pre-orders that just went up in the shop!

I hope you all enjoyed our first Blog hop and challenge last week. I am excited to announce the winner of the $15 Whimsical Twist Gift Certificate! Congratulations Angi Barr! Please e-mail Whimsical Twist for more details. You can visit Angi’s blog HERE!

We also have several winners from our blog hop that were offered by our design team members. Be sure to check back though the blog hop to see if you are a winner! The winner from TheCraftyPickle.com writes “What a gorgeous layout, I love how you have done the sun! Thank goodness for this blog hop other wise I would have missed great crafty ideas!” Thank you so much Veronicalee1981 for your sweet comment and for joining in on the Whimsical Twist Blog Hop! Please email me your mailing address so I can get your goodies out to you!

That’s all for today! Hope you all have a FABULOUS week!

TheCraftyPickle.com

Whimsical Twist Blog Hop! Water Park FUN!

Welcome to the Whimsical Twist Blog Hop!Welcome to Whimsical Twist’s first challenge! We thought it would be a lot of fun to also have a Blog Hop to celebrate our first challenge! How does that sound?

During the Hop you will be visiting blogs from several of our fabulous design team members. You will find so much inspiration on the way, that your head might explode!

The hop will start at the Whimsical Twist blog and end at Lisa Wilkinson’s blog. If you are just joining in, be sure to go to the Whimsical Twist blog to start. If you get lost along the way, just look at the list below to get you hopping in the right direction.

And you can’t have a Blog Hop without giveaways and this one is no different! In order to be entered into the giveaways, you will need to be sure you leave a comment on each blog on the hop. Whimsical Twist will also be giving away a $15 gift certificate to the shop to one random hopper! We will be announcing the winners of our giveaways on August 12th, so be sure to watch for the announcements.

Without further ado, let’s get this celebration started!

Our first challenge is inspired by summer! The photo below is our inspiration / mood board

Our inspiration board WhimsicalTwist.com

I knew the perfect photos I wanted to work with for this challenge. These are some water park photos I came across a few days ago with my boys, 4 years ago. It’s hard to believe these boys are going to be in 8th grade and a freshman in high school in just a couple of weeks!

Water Park Layout @thecraftypickle.com

I used papers from Elle’s Studio and Simple Stories for this layout. I added in some different washi tapes for the border on the side of the photos to tuck into.

Water Park Layout @TheCraftyPickle.com

Water Park Layout @TheCraftyPickle.com

All of the sticker letters and accent stickers are from Simple Stories as well. I added some Liquid Glass from CTMH for the letters spelling WATER to give it that wet look.

Water Park Layout @TheCraftyPickle.com

Water Park Layout @TheCraftyPickle.com

I misted the top left corner with Mister Huey’s in the color Desert over a mask and then I accented with some of the beautiful sequins you can find in the Whimsical Twist Shop. I also used a mask and some ink to create a bubble confetti background on the bottom using CTMH Lagoon ink and then layered with some of the same beautiful sequins from the shop. The two colors I used are Pineapple and Caribbean. I adore these beautiful sequins so much, I think I may even use them more than my enamel dots! To adhere the Sequins I used the same Liquid Glass that I used on the title letters.

Now for something a little fun! As I said before, you will see giveaways along your hop today. I am giving away a set of project life cards that I made especially for our giveaway! Below is a little peek at some of the cards included. I am also including a little bag of sequins, a sample of all the colors offered in the Whimsical Twist shop! All contained in this little 4×6 case perfect to use as a project life on the go or journaling kit for your purse! Make sure you comment on each of the blogs today in order for a chance to win!

Handmade Project Life Giveaway @TheCraftyPickle.comHandmade Project Life Giveaway @TheCraftyPickle.comHandmade Project Life Giveaway @TheCraftyPickle.com

Thank you so much for visiting my blog! You should have arrived from Ashley Hamm‘s blog and now you are heading to Charissa Miller‘s blog, but if you get lost along the way, here is the hopping order.

Lisa Lahiff 

Alexandra Polyzou  

Sandi Pressley 

Amanda Johnson

Ashley Hamm 

Taniesa Vlasak  (you are here)

Charissa Miller  

Kimmie Rishebarger 

Sharm Nidyanandan 

Laurie Danielle 

Lisa Wilkinson 

Happy Hopping!

TheCraftyPickle.com