Happy Birthday Honey Bee Stamps!!!

Hi and welcome to Honey Bee Stamps 1st birthday blog hop!!!

12994413_10100195422994386_9040328030175265407_n

Thanks for joining us on our week-long birthday celebration! Today the designers are featuring the brand new stamp set “Happy Everything” with a sweet little kit put together by designer Lisa Cisneros. We have lots planned for you this week and of course lots of prizes! Just leave a comment on our designer’s blogs along your hop for your chance to win!
You should have arrived here from Holly’s Blog, but if not click HERE to start at the beginning!

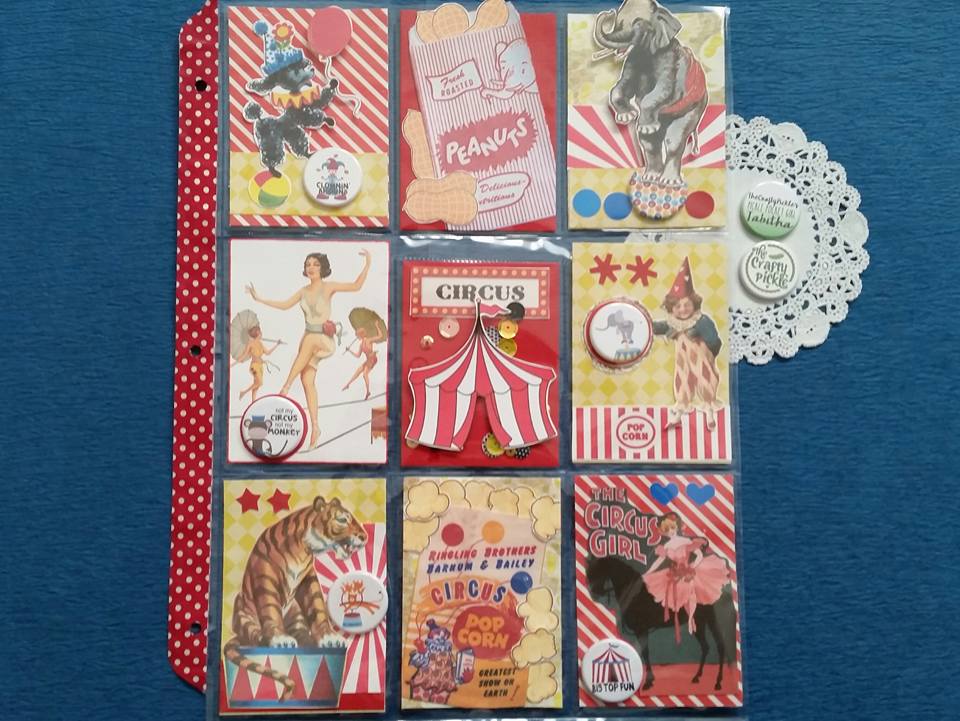
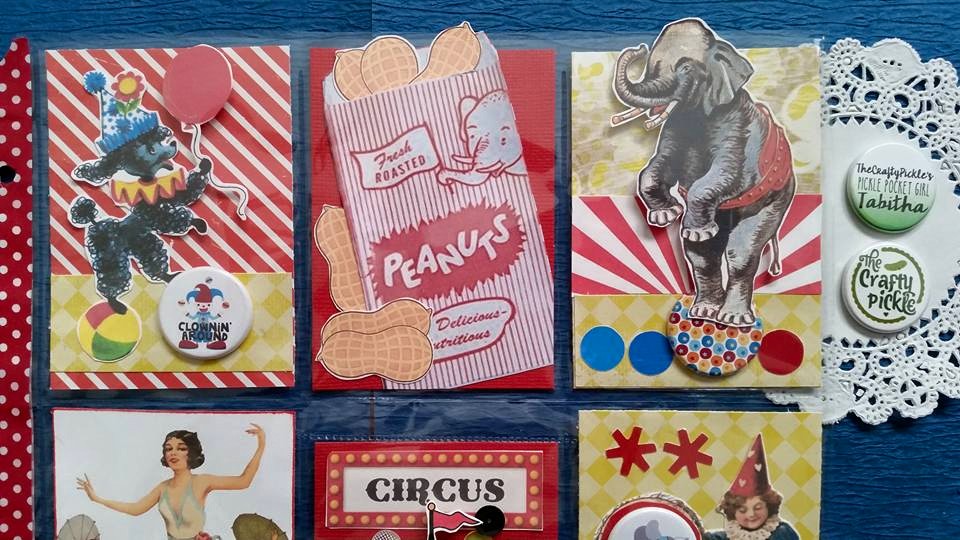
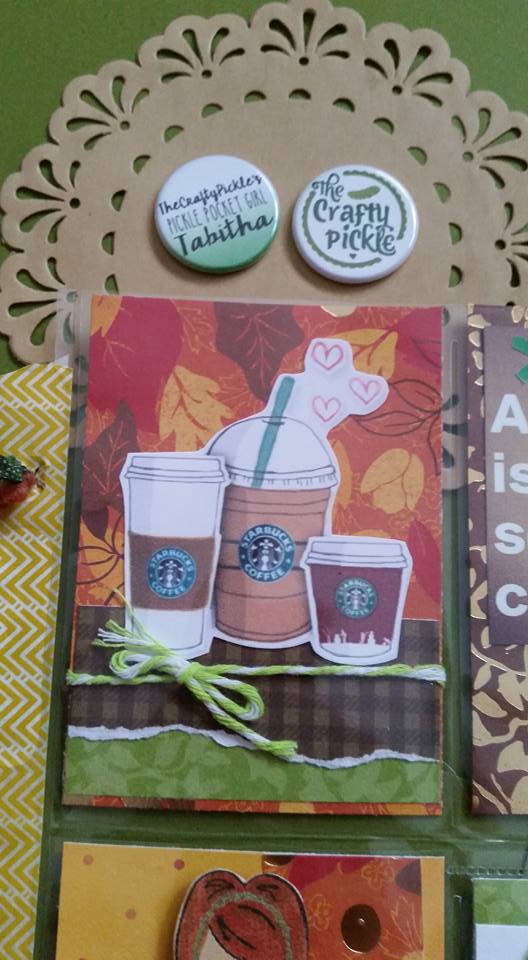
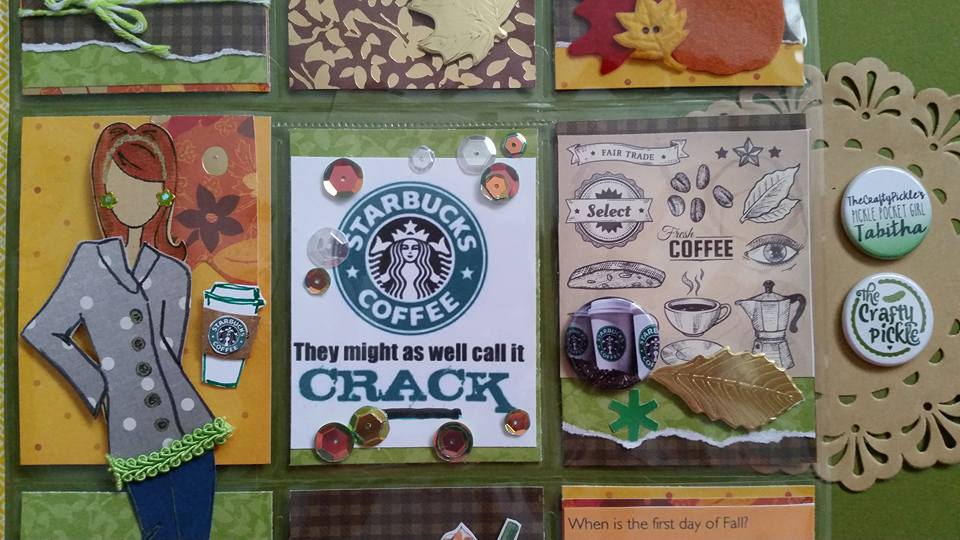
Here is a photo of the kit we got to work with along with the Happy Everything stamp set:

13035410_10100195286947026_1188573436_o

For my project I wanted to do a little something different with the stamping. Did you know that if you own a foiling machine or laminator, you can actually foil your stamping work?

All you need to do is do your stamping with a very good black ink. Using a stamp positioner like the MISTI tool can really help. If you miss any spots in your stamping be sure to go over it with a marker or a fine tip pen.

Then take your stamped paper and photocopy onto cardstock using a toner based printer or photocopier. Your image is ready for foiling! Note: This should ONLY be for personal use due to copyright, do not share your photocopy images with others.

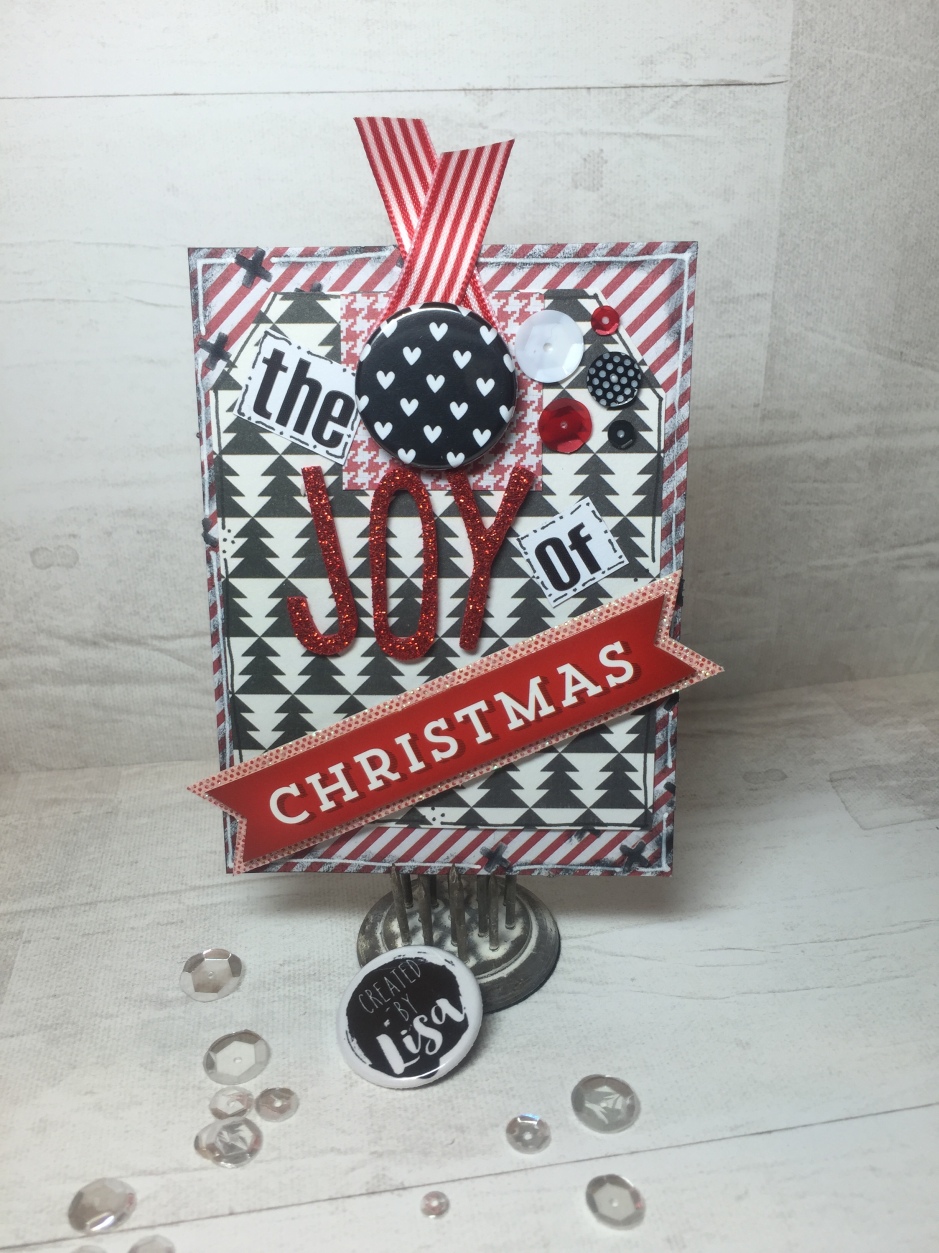
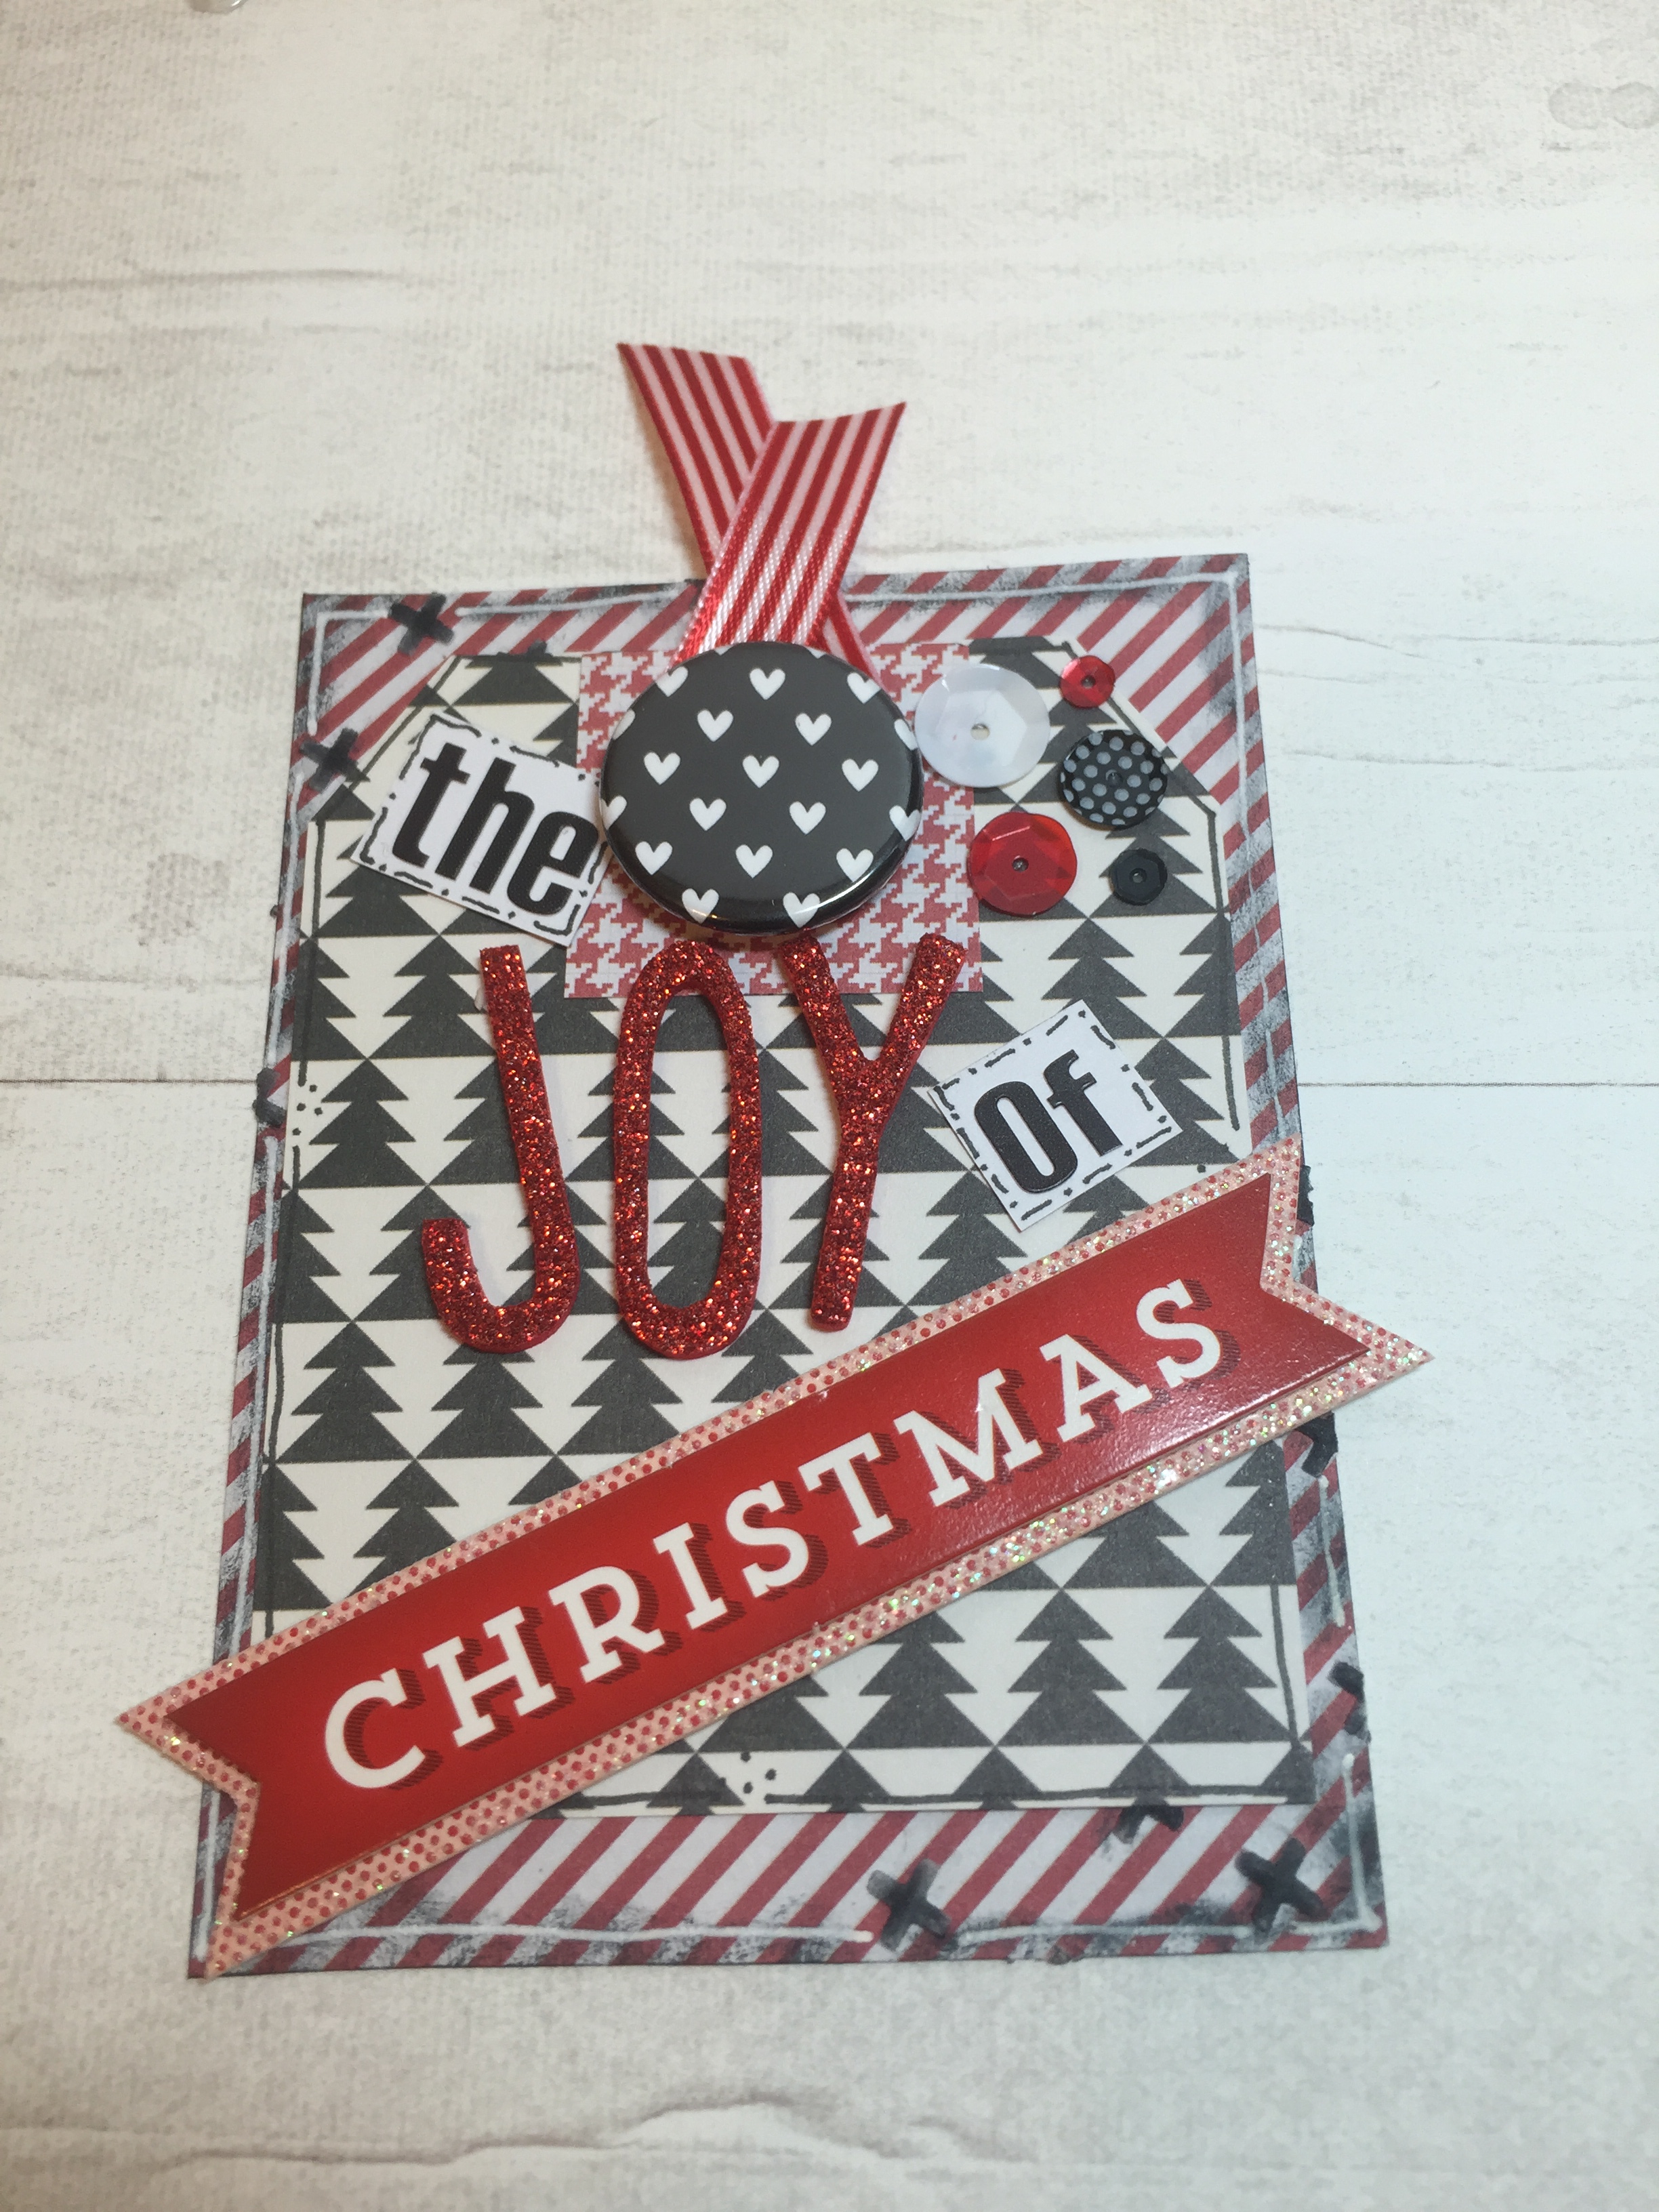
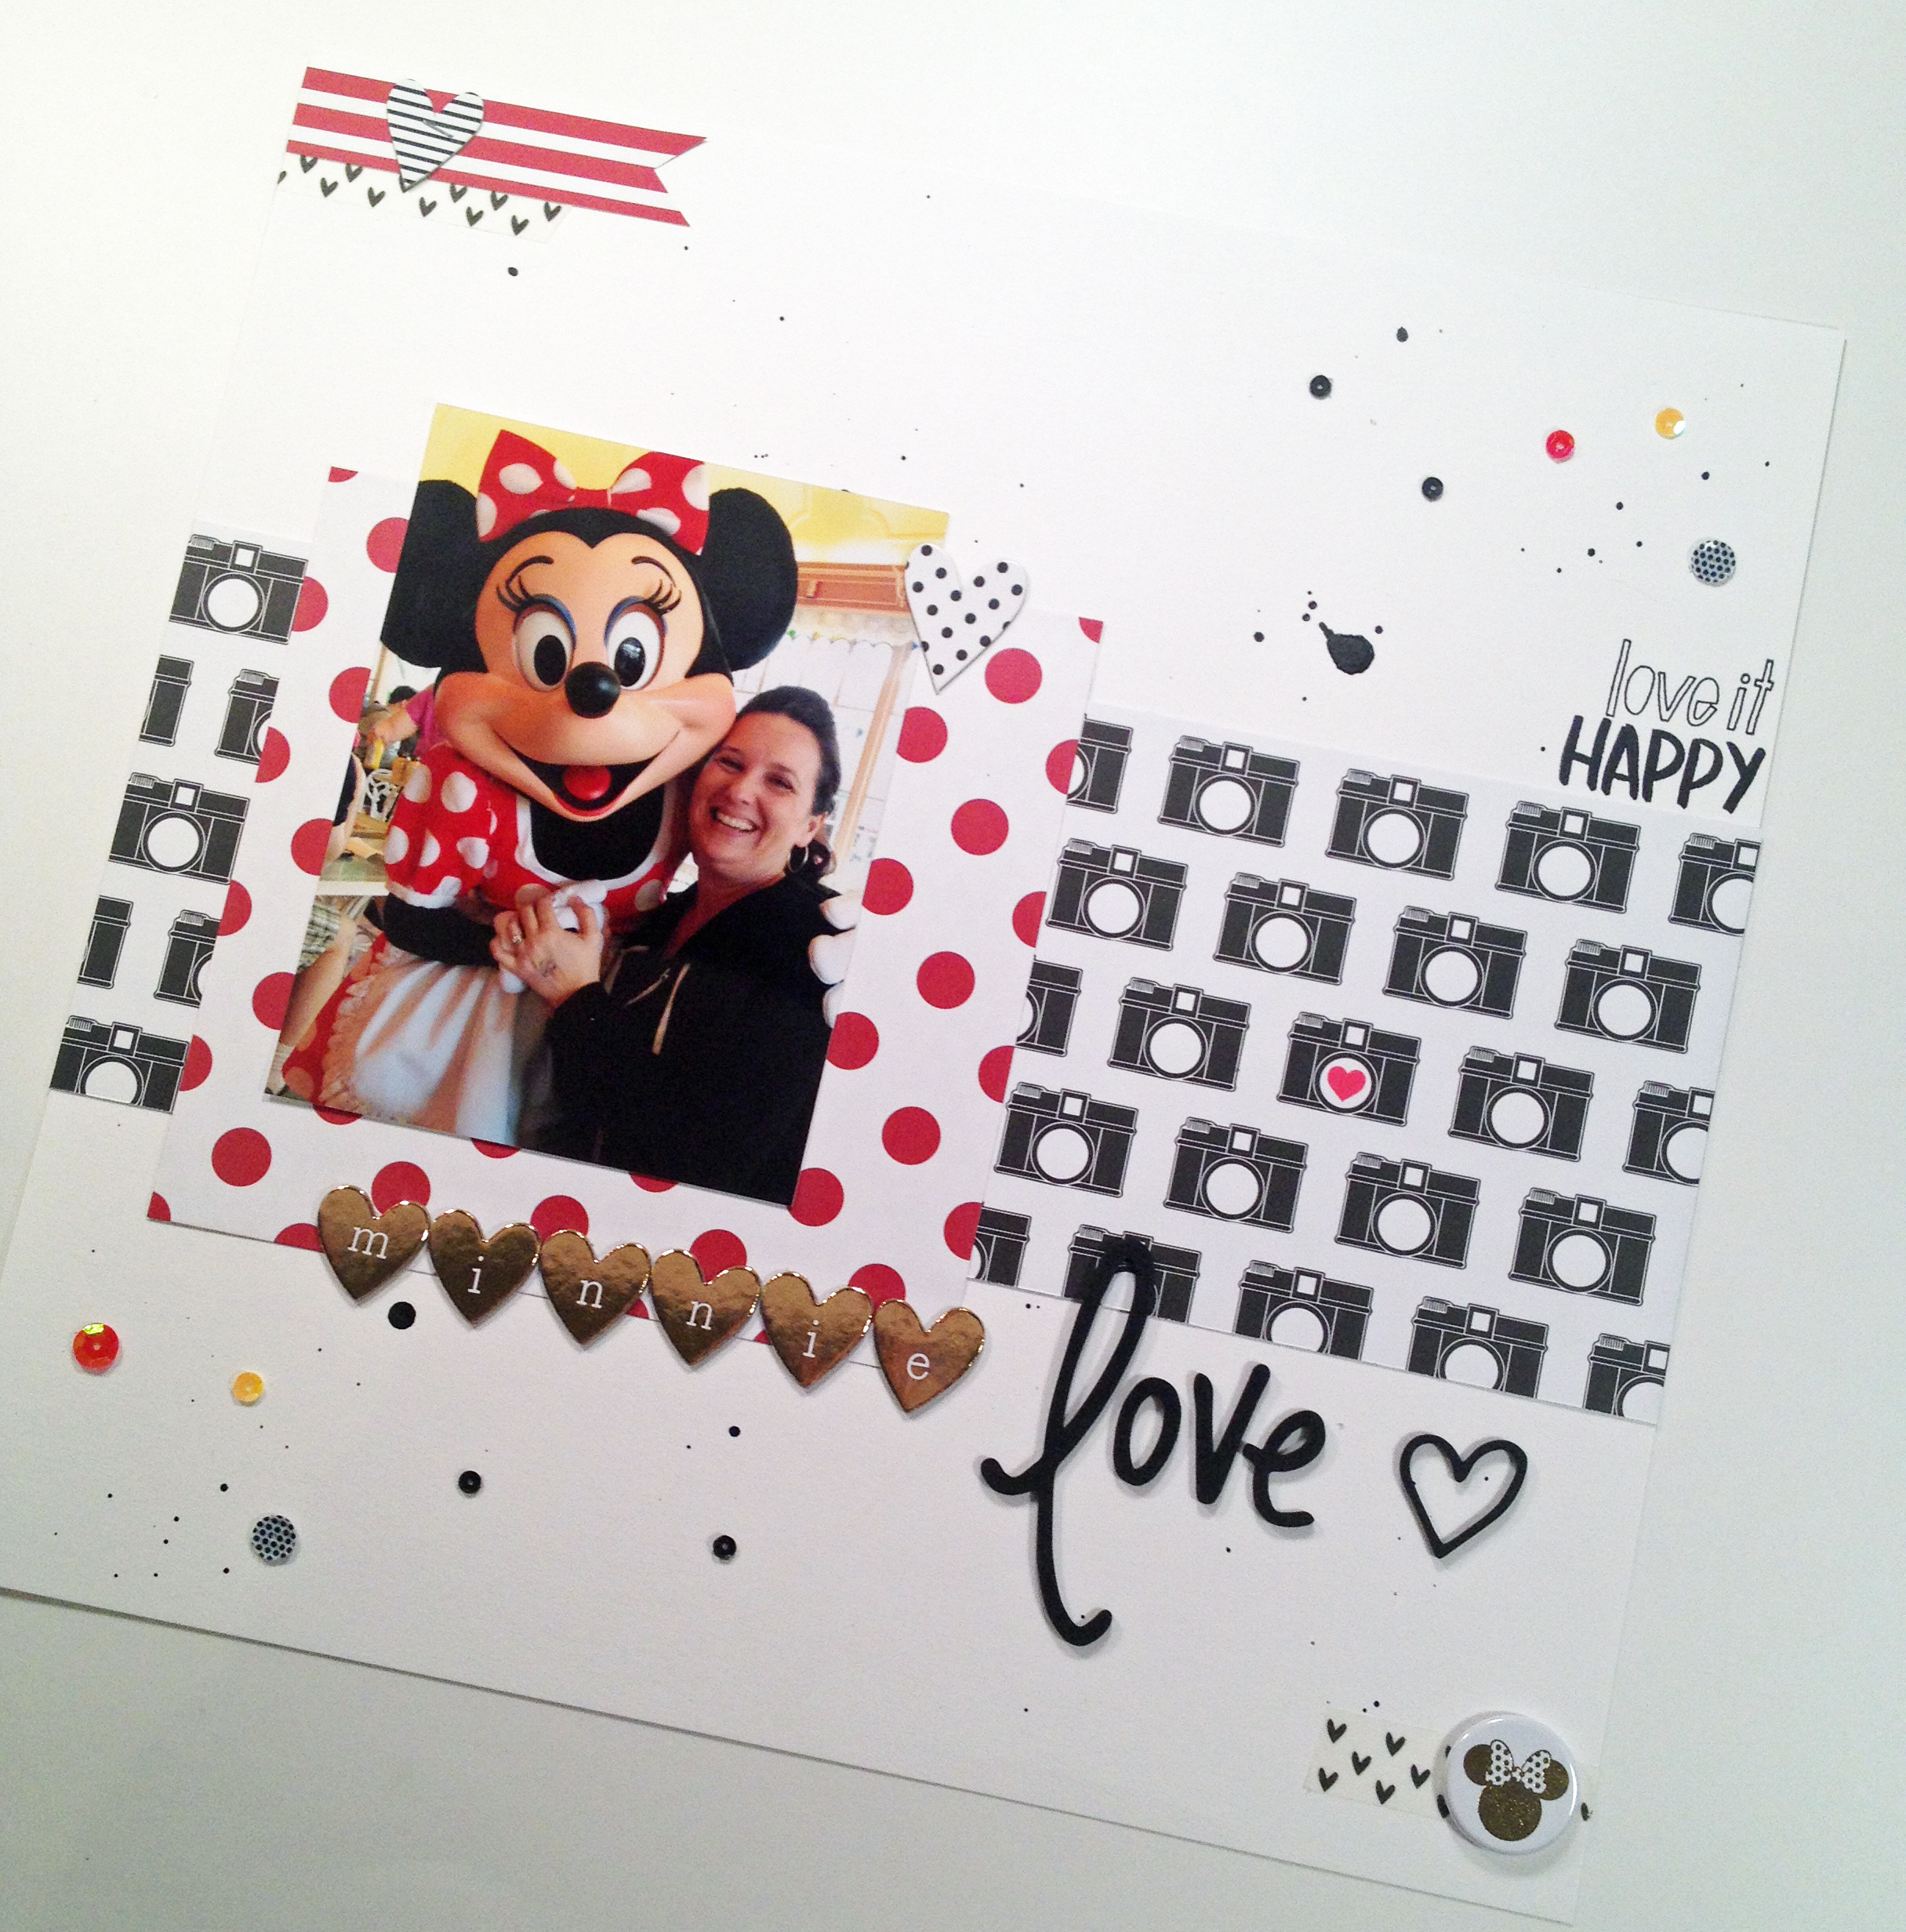
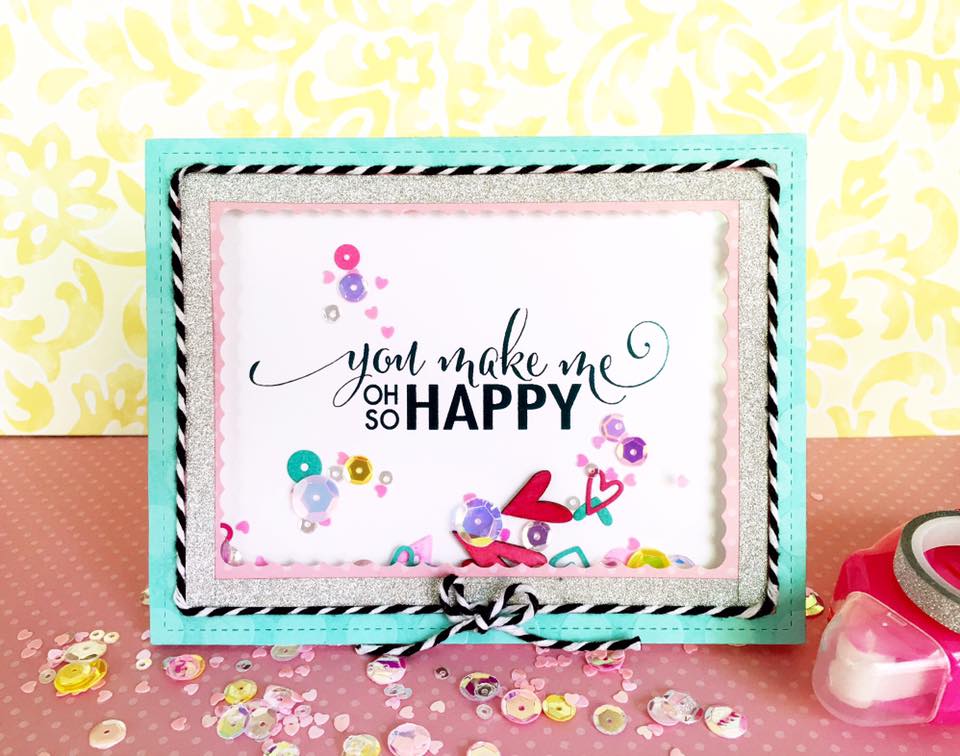
That is exactly what I did in my project below. You can see the aqua colored foil in the close up photo. I love how it shimmers right along with all the sequins in the shaker card.

TheCraftyPickle.com for Honey Bee Stamps

TheCraftyPickle.com for Honey Bee Stamps

I hope my little tip got your creative wheels-a-turnin’! I know that I want to foil ALL THE THINGS now! LOL.

I sure hope you had fun hopping along with us today for Honey Bee Stamps very first birthday blog hop. Make sure you have left a comment below as well as one on every designer’s page and of course the honey bee blog as well. Keep checking back  on the Honey Bee Blog all week long for more inspiration and new products…. better yet join the Facebook party HERE for your chance to win lots of awesome prizes.

Happy Hopping!

Taniesa for ThecraftyPickle.com

Getting Ready….

December is right around the corner ….and I am so getting ready for December Daily and I am pulling out all my fun flair and pickle relish that I can add to my album this year….

product

Here are some pictures from my album last year …I did an “Elf on a Shelf” last year with all of Steven’s fun adventures around the house …my son loves the album …this year I will be mixing in Steven and daily prompts from The idea Room with a daily calendar …this should be fun!!!

We will see how this goes …in the mean time …here are a few pages from last years album that are my favorites…thanks for looking!!!

Thanks for looking at my work!!!

Hope everyone has a wonderful time during this holiday season and gives many thanks to the loved ones you get to see!!!

kristin  for ThecraftyPickle.com

December Daily – The Joy of Christmas!

Hi Crafty Friends! It’s Lisa here today from Happy Paper & Ink to share a new Project Life card that I created. I am in the beginning stages of working on my December Daily album, so that is what inspired me to create this card.

IMG_6989

For those of you not familiar with December Daily, Ali Edwards created it to document the days of your December. Basically, you do a page for each day spotlighting the activities of the day to include your family traditions, etc. This will be my first year to do this, and I am super excited!

For this card, I started with Pink Paislee Merry & Bright 6×6 paper pad. I cut a tag and a 3×4 project life card from the paper pad. I then used The Crafter’s Workshop Positive Stencil and texture paste to create the black cross or plus signs on the paper to add some dimension and interest in the corners. I doodled around all the edges with a black 0.8 American Crafts Black Pen and inked with black Memento Ink.IMG_6987

To finish off the top of the card, I used The Crafty Pickle’s Black & White Color Pop Flair and wrapped a ribbon around it. I added some sequins from The Crafty Pickle. Adding any of the Relish Mixes to your layout or cards gives a fun, sparkly and thin embellishment. These come in all colors, I used the Magical Mouse mix for this card.

IMG_6988

The title on the card is made by using American Crafts cardstock stickers and American Crafts Be Merry Red Thickers Alphabet.

I hope you enjoyed my Project Life card & are inspired to start a December Daily! Look for some more blog posts showing my December Daily in the future!

Thanks for looking & Happy Crafting!

lisa sig

It’s a Circus! Pocket Letter

circus1

Happy Saturday Crafty Pickle Pals!

 I am here to share my latest Pocket Letter created with goodies from TCP!

 I fell in love with the Circus flair set when I saw it in the shop so I let it inspire this letter.  When I don’t have paper or stamps to fit the themes I want to create with, I utilize Pinterest and Google image searches to find unique pictures and clip art to use in my letters.  I create my own collage sheet of sorts by copying and pasting the images into Microsoft Word documents and resizing them to fit my needs.  For this letter, and many that I do, I enjoy juxtaposing vintage imagery with more current clip art for a unique look.  I created this letter using the clip art I found and fussy cut, as well as the Circus flair, sticky pickle spots, and the Disney Relish Sequin Mix from the shop (I picked out the Mickey head sequins so I was left with the fun black spotted ones and the red and yellow to match my color scheme in my shaker pocket).  Check out some detail shots below and don’t forget to click on the photos to see them larger!

circus2

circus3

circus4

I can’t wait till the shop reopens so I can add some more fun goodies to my stash!  I haven’t been to a circus since I was small–but this theme was so fun to work with and I never know what will inspire me next from The Crafty Pickle.  I hope I inspired you too!

Happy crafting!

Tabitha sig

Some of Kristin’s Favorites!!!

Happy Tuesday y’all!!!
Kristin is here with some of her favorite pickle products ….I love everything that she makes but some of my fav’s I am going to post today in hoping that the store will be up and running soon!!!!

Flair Flair Flair is always at the top of my list ….it is the Bread & Butter pickles for me …my most favorite!!! You can add a piece of flair to almost any project you are working on!!! She makes them so flat that is hardly added any bulk to your page …and I love that about her flair!!!

IMG_20151103_084159colorMy all time favorite flair is the pop color flair …she has those in jest about every color!!! Love Love Love!!!

99f59-page3 75652-product

Then the December Daily Flair do not even get me started on how wonderful it was to use in my Elf Book last year!!!

And then the relish on top you can always sprinkle on some sequin to make your project extra special!!!!
tag 2Exclusive sequin/confetti mix @ TheCraftyPickle.com

These are two of my favorite things at The Crafty Pickle Store!!!!

kristin  for ThecraftyPickle.com

Minnie and Me!!!

minnie
Hi Friends!
It’s Paula here with a layout share.


 minnie close

For the base I used white cardstock and some Queen & Co. patterned paper. I made some ink splats with my black india ink and scattered some Disney pickle relish from the shop around the layout. The stamp set I used is from Close to My Heart. I attached some washi tape and a Disney flair from the shop and used Thickers to create my title.
Thanks for stopping by and I hope you enjoyed my layout share!
Supplies Used:
Close to My Heart stamp set – Happy Hooray
Disney Flair
Disney Relish Mix
Heart Washi Tape
Patterned Paper
Thickers
Paula Sig

Pumpkin Spice Latte Addict’s Coffee Flair Pocket Letter

Happy Friday Pickle Pals!

I am super psyched to share one of my most recent Pocket Letters with you today!

I will be the first to admit that Pumpkin Spice lattes are actually NOT my cup of tea (or coffee), if you will.  However, I DO adore me some caramel frappoccino’s whenever I get close enough to our local Target with a Starbucks inside.  It’s good for my hips and my wallet that it’s not convenient to go to on a daily basis!Ha!! Ha!!!

coffee3

The basis for my pocket letter was centered around some clipart that I found through Pinterest and Google–the memes, e-greetings, and pretty doodled coffees paired so well with a DCWV Fall paper stack, some old Target dollar spot felt leaves and pumpkins, some new Target dollar spot gold leaf stickers, and last but not least–my awesome coffee flair pieces, twine, and sequin relish mix from The Crafty Pickle shop!  Check out some of my detail shots below–click them to see them larger.

coffee2coffee4 coffee1

I hope you get to enjoy your own cup of coffee today and the beauty of fall before winter sneaks in!  We have flurries on the forecast here in the northeast this weekend.  It’s too early for me to even think about saying that FOUR letter word–haha.  Keep checking back because our shop should be reopening soon!

Tabitha sig

~Tabitha

“Oh Happy Day” CTMH Cricut Artiste Collection

Hi friends! Joann here today on The Crafty Pickle blog, thank you so much for stopping by!

As you may know, I own 4 out of 5 of the Cricut Collections that Close to My Heart offers. I absolutely love them. So with that being said I took one of the stamp sets from the Cricut Artiste Collection to create my card!

I started out with stamping and masking some balloons onto my front panel using CTMH Inks in colors Lagoon, Cotton Candy, and Honey and stamped the balloon strings using the same stamp set with some CTMH Black Ink.

Using the same stamp set from the Cricut Artiste Collection, I took one of the sentiments and stamped it with some Honey Ink and used my scissors to cut it out, there is an image on this cartridge that will cut this banner.

Before gluing my top panel to the base of my card, I took an older CTMH stamp set One Way Border and stamped one of the images multiple times with Black Ink to create a background. I finished it off by gluing my top panel down and gluing some TCP Relish Mix to my card.

Hope you enjoyed and thank you so much for stopping by! Have a fabulous day!

Supplies used

Cricut Artiste Collection

CTMH Inks LagoonCotton CandyHoneyBlack

CTMH stamp set One Way Border

TCP Relish Mix

Tuesday Planner Love!

Hi Friends & Happy Tuesday!

It’s Lisa here today to share this week’s planner layout. Planners are on trend in the Paper crafting community. The Crafty Pickle’s shop will be opening back up soon. Be sure to check out all of the planner goodies in The Crafty Pickle’s new inventory. It’s a planner’s dream!!

TCP1

For this layout, I was inspired by the new goodies in The Craft Pickle Shop. I covered all of the lines on the page using The Crafty Pickle’s thin glitter Washi Tape. This defines the boxes and makes it fun!! The Crafty Pickle just introduced the Sticky Pickle Spot Stickers. These are so awesome to accent important appointments or to just decorate with. They come in asterisks, stars, hearts and circles.
TCP2

Adding any of the Relish Mixes to your planner gives a fun, sparkly and thin embellishment. These come in all colors, I used the Rock Candy Mix and are super easy to attach. I used a dot of Glossy Accents to attach them. Who doesn’t love sequins???!!!
TCP3

 I used the Project Life Everyday Line paper pad & cardstock stickers to accent my layout. I cut triangles & rectangles to accent the planner boxes which adds some color and texture to the pages.

tcp4tcp5

I also attached a “This Month” planner clip! The Crafty Pickle has come out with personalized clips that are adorable!! I used the planner clip to “bookmark” my week. That makes it super easy to grab my week!

Product List:

Rock Candy Relish Mix

Planner Clip

TCP Washi Rolls 

Project Life – Everyday Edition 6 x6 Paper Pad

 Project Life – Everyday Cardstock Stickers

Miscellaneous Print & Cut Sticker files from Etsy

Glossy Accents

Thanks for stopping by and be sure to check out all the new items as soon as the store opens back up. There are so many things that are perfect for your planner!

Happy Planning!

lisa sig


Paula’s Card Share

Hi Friends! It’s Paula here with a card share.
For the card base I used white cardstock and the patterned paper is from The Stamps of Life. The stamp set I used is from Close to My Heart. I created a shaker window using a 3×4 rectangle die I have in my stash. Then I added some acetate for the shaker window and relish mix from the shop for the shakers. I fussy cut out a stamped image of the ice cream cone from the set and paper pieced it together then popped it up on some foam tape.
card2 card
On the inside I just added some more patterned paper.
Thanks for stopping by and I hope you enjoyed my card share!
Supplies Used:
Close to My Heart stamp set – Ice Cream Dream
Relish Mix
Patterned Paper
Acetate
Paula Sig