It’s PSL season!

Hi there, its Treasa here today to share a Project Life card that I made using some of the new Autumn sequin mix in The Crafty Pickle shop and a new flair badge that Taniesa created for wonderful fall season. I must confess that I absolutely love the fall, mostly because of the beautiful trees and the cooler weather but also because its “Pumpkin Season” and I love anything pumpkin and one of my most favorites are Pumpkin Spice Lattes from Starbucks. These things are fabulous and its like getting a mouthful of fall.
As soon as I received the Autumnsequin mix and thePSl flair I knew I had to create a Project Life card to document my love of PSL.

Here is a close up of that wonderful PSL flair and some of the sequins from the Autumn mix.

I also used some of the paper from the Close to my Heart Pathfinding line. This collection is so perfect for fall and coordinates so well with the Cozy Fall button flairs in the shop. You can also find the Pathfinding collection in Taniesa’s CTMH shop here.

Here’s one last look at the gorgeous Autumn sequin mix in the shop.

Thank you for stopping by and go check out The Crafty Pickle shop and blog.

post signature

Thanks, Treasa! I loved how you used all the fun fall products to make such a beautiful card for your Project Life album!!
Happy Crafting!
The Crafty Pickle

A Thank You card and a Project Life card using Flair

Hi Crafty Friends!

Today I have teamed up with Scrap your Scraps to share some ideas using Flair buttons! I wanted to share two different ideas using some brand new Flair that I just added to The Crafty Pickle Etsy Store.

First up is a thank you gift card holder that I made using my silhouette and a flair from the Cozy Fall Set. I adore Autumn and pumpkin spice latte’s are my favorite!

Coffee Gift Card @TheCraftyPickle.com

I used some cardstock I had on hand and cut out the card design on my Silhouette using design # 29511

Coffee Gift Card @TheCraftyPickle.com


I die cut a tag from some cardstock scraps I had, added a little bit of decorative trim and attached it with a little clothes pin. I attached the PSL (pumpkin spice latte) button with some tombo xtreme adhesive. You could also use a button from the Starbucks flair set too, I just wanted to go for an autumn feel with this card.

Coffee Gift Card @TheCraftyPickle.com


The inside has room for the coffee gift card as well as a little room to write a personal message.

Coffee Gift Card @TheCraftyPickle.com


Once it was all finished I slipped the card into a clear envelope and tossed in some of the exclusive autumn mix sequins from The Crafty Pickle Etsy shop for a little added fun touch.

Next up I have a project life card that I am sure anyone can find use for in their album, Mine is usually inspired by one of my teenage boys dodging the camera. For this card I am using the Photo Not Available flair from the Everyday Photo #2 set

No Photo Available Project life card @TheCraftyPickle.com


To make this card I took a white piece of heavy cardstock that was in my scrap pile and cut out the camera design on my silhouette (Design #41015)  The design called for several shades of gray but I only had two shades on hand so I just cut everything out of the white cardstock and colored the pieces with my copic markers (N8, N6, N4, N2, Y15, and Y19) I also used my wink of stella glitter pen and my Stardust gelly roll pen by Sakura

No Photo Available Project life card @TheCraftyPickle.com


I attached a few sequins (that are always included in my flair packages) and attached the Photo Not Available flair with some Tombo Xtreme adhesive. The base card is a Becky Higgins Project Life grid card.

No Photo Available Project life card @TheCraftyPickle.com

As you can see above my flair has a very low profile making it ideal for page protectors of all types, especially pocket pages. It’s about the same dimension as chipboard or thickers.

If you haven’t visited The Crafty Pickle Etsy shop recently you might be surprised to find over 30 new flair sets including our new color patterned pop collection and some special limited edition sequins mixes.

Make sure you Stop by the Scrap your Scraps blog for even more flair inspiration, Not to mention a fun giveaway from The Crafty Pickle Etsy Store too!!!

Happy Crafting!

The Crafty Pickle

Rainbows make me HAPPY!

Using a nail polish display to organize your ink mist, glitter, and embossing powder. More at www.thecraftypickle.com

I think Rainbows make most people happy, but they have to make papercrafters ESPECIALLY happy! Which is why I couldn’t wait to show you my organization for my ink mists, Glitter, and embossing powder!

I have played around with organization on these items a few times… nothing really seemed to quite work… and as I was trying out different methods I was accumulating more colors of everything. There is something about a new bottle of Mister Huey that makes me warm and fuzzy inside.

I saw a few ideas around pinterest and organization groups like this one, and i thought spice racks would be just the thing… but I don’t have much wall space in my craft studio so it left me with little options.

Then one day I was browsing Amazon and I found THESE!!!

Using a Nail polish display as storage for ink,glitter, and embossing powder. More at www.TheCraftyPickle.com

Nail polish displays!!! You can find them on amazon HERE, but shop around to find the best deal. Just make sure that if you get more then one and you want them to line up even with each other, you purchase from the same company as the measurements on these guys can vary.

I was so excited when I got them in the mail that I started organizing my things right away…. even when I didn’t have my shelves up yet (still waiting on those). My original plan was just to organize my ink mists *if* the rack happened to work….

Using a nail polish display to organize your ink mist, glitter, and embossing powder. More at www.thecraftypickle.com Using a nail polish display to organize your ink mist, glitter, and embossing powder. More at www.thecraftypickle.com

well, It worked for me! I was so excited, and admittedly, I just stood there for a little while starring at my pretty inky rainbow, ignoring the rest of my disorganized room that I had been working on. Then a couple of days later i was trying to figure out where to stick some of my other supplies like glitter and embossing powder…. they had been in a drawer and a little cabinet but it wasn’t working very well for me. I thought for sure the embossing jars wouldn’t fit on the nail polish display as they were wider…. but they did!

Using a nail polish display to organize your ink mist, glitter, and embossing powder. More at www.thecraftypickle.com

The embossing spinner is the same style I used for my sequins station in a previous post. I keep my most used embossing powders here… White, Clear, Black, Silver, Gold… This I had for a while I just moved the location. If you missed the Sequins Station I posted a while back HERE is the link to that post with all the information on what I used.

Using a nail polish display to organize your ink mist, glitter, and embossing powder. More at www.thecraftypickle.com

I hope you enjoyed my little happy rainbow. If you are looking for even MORE inspiration check out this blog: Life, Scrapbook, Repeat Toni has some awesome ideas she gathered along with her own pretty little rainbow 🙂

I hope you all have a wonderful weekend!
xoxox,

The Crafty Pickle

December Daily: Days 1 to 6

Happy Holidays!

I hope all of you are enjoying the season so far and have been keeping up with your December Daily albums or Journals. I wanted to share a little bit of my album today. I have up to day# 5 complete. (warning this post is kind of photo-heavy). For my 2013 December Daily I am using the Merry and Bright Kit from Whimsical Twist. I am also using items I have collected from this year and previous years as well as die cuts from my Silhouette. If you have any questions on products used please let me know.

December Daily 2013 Title page TheCraftyPickle.com

For my title page I did it in three separate page protector layers.  For the First layer I printed a title using Ali Edwards digital brushes on a transparency and placed that in the page protector

DD Title page 1st Layer | TheCraftyPickle.com

For the second layer I took a transparency and two silhouette die cuts (out of the silhouette printable gold foil) and adhered them on the transparency back to back. After sliding that into the page protector I sprinkled sequins on either side and sewed the protector closed.

Title page layer #2  | TheCraftyPickle.com

Title page layer 2  | TheCraftyPickle.com

For the Third and final layer of the Title page(s) I cut a piece of American Crafts POW glitter paper and slid that in the protector, On top of that was another transparency that I printed on the bottom.

December Daily title page layer 3  | TheCraftyPickle.com

The next page I kept really simple.

December Daily calender page.  | TheCraftyPickle.com

Day one:

December Daily Day one  | TheCraftyPickle.com

December Daily Day One  | TheCraftyPickle.com

For the card on the bottom left, I stamped in white ink and then I went over the stamped areas with a white chalk pencil to give it a better chalkboard effect.

December Daily Day one  | TheCraftyPickle.com

Day Two:

December Daily Day 2  | TheCraftyPickle.com

December Daily Day Two  | TheCraftyPickle.com

For the middle layer  I used a 6×8 page protector  and sewed the bottom portion shut with sequins, glitter, and heat embossed wood veneer stars (Studio Calico Printshop stars) Then I slipped the two photos back to back on the top.

Advent Pocket in December Daily Album  | TheCraftyPickle.com

This year I decided to incorporate our advent Calender within our December Daily album. You will see these pockets throughout my album. The little circles are special chalkboard paper. I stamped the number in white prima Chalk ink. (the Advent Kit that I used can be found HERE)

December Daily Advent pocket + Tag  | TheCraftyPickle.com

I printed our advent activities on a piece of shimmer cardstock and then sewed them to the tag that I had cut down to fit the bag. I also did some heat embossing on the tags as well.

Day Three & Four:

December Daily Day 3 and 4  | TheCraftyPickle.com

Day Three:

December Daily day 3  | TheCraftyPickle.com

Day Four:

December Daily day 4  | TheCraftyPickle.com

Day Five:

December Daily Day 5  | TheCraftyPickle.com

I had a lot of fun working on Day 5. Lots of digital stamping on the photos using files from Ali Edwards @ Designer Digitals, Ali Edwards/Technique Tuesday Stamps, and the Pine Wreath Die from Die-Namites Dies.

December Daily Day 5  | TheCraftyPickle.com

For the Tree embellishment I used the Pine Wreath die from Die-Namites dies which you can find HERE. I made 12 cuts of the die and one tree base out of the same card stock. I cut off all of the pine branches from the die cut shapes and made a pile. Then I took some clear liquid adhesive and squeezed a bit out on a scrap piece of card stock. I dipped the bottom part of the pine branch in the glue and started layering from the outside of the tree base inward. After everything was completely dry I added some clear and white gems (Michael’s brand and Studio Calico) To see more photos of this embellishment visit the Die-Namites blog HERE.

December Daily day 5  | TheCraftyPickle.com

December Daily day 5  | TheCraftyPickle.com

Day Six:

For day 6 I kept things super simple. I took cards that were included in the Merry & Bright Kit and embellished the tree card with some sequins and glitter pen accents. Sticker letters are also from the kit. There are a handful of kits still available and you can find them HERE on sale for $35!

December Daily Day 6  | TheCraftyPickle.com

December Daily Day 6  | TheCraftyPickle.com

That wraps up this round of December Daily Pages. I should be back next week to share another handful of pages.

Happy Holiday Crafting!
The Crafty Pickle

Fall Bucket list and Gratitude.Documented.

Happy Autumn Friends!

Taniesa's Bucket List @ WhimsicalTwist.com

I am so excited to share with you today the beginning of my Autumn album! I was first going to do a 6×6 mini bucket list album but I have “Fall”en in love with so many gratitude albums I have seen and the Gratitude.documented concept that Shanna Noel has started that I decided to expand to a 6×8 album. This is my first year doing a mini album for Fall and so far I love it! I am thinking about adding to the same album next year but it will depend on how full this one gets. I decided to use the Simple Stories Faux leather 6×8 album which matches my 12×12 black We R Memory Keepers albums for my project life this year. I wanted to dress it up a bit though so I decided to add a few charms that reminded me of Autumn and family.

Here is a look at the album cover/spine.

Taniesa's Gratitude album @ WhimsicalTwist.com


Taniesa's Gratitude album @ WhimsicalTwist.com


Taniesa's Gratitude album @ WhimsicalTwist.com


Taniesa's Gratitude album @ WhimsicalTwist.com

It was really simple. I just wrapped around some bakers twine and hemp twine where the front cover met the spine of the album and tied on some pretty charms I found while collecting some autumn supplies.  The label for the album is a ticket in Kraft that I cut down to fit. I took white sticker letters and colored them with a copic marker to get the watercolor like effect.

For the first page I took brown woodgrain cardstock and cut out the framed “gratitude” from a cut file I created with my Silhouette software. The second page is shimmery cream cardstock with the adorable Logo from Shanna Noel’s Gratitude.Documented.

Taniesa's Gratitude album @ WhimsicalTwist.com


Taniesa's Gratitude album @ WhimsicalTwist.com

Next page shows off my family’s Bucket list for this Fall. I cut the apple basket , apples and title from my Silhouette all out of cream colored cardstock and then colored them all in using my Copic markers. I wrote out the list using a typewriter font and cut them in strips. I sewed those along the left lower side and to finish off the page added a little Whimsical Sequins for a bit of shimmer. (Silhouette Design ID #47269 used for the apple basket and the font for the title is Jenna Sue)

Taniesa's Gratitude album @ WhimsicalTwist.com

Taniesa's Gratitude album @ WhimsicalTwist.com

Taniesa's Gratitude album @ WhimsicalTwist.com

Taniesa's Gratitude album @ WhimsicalTwist.com

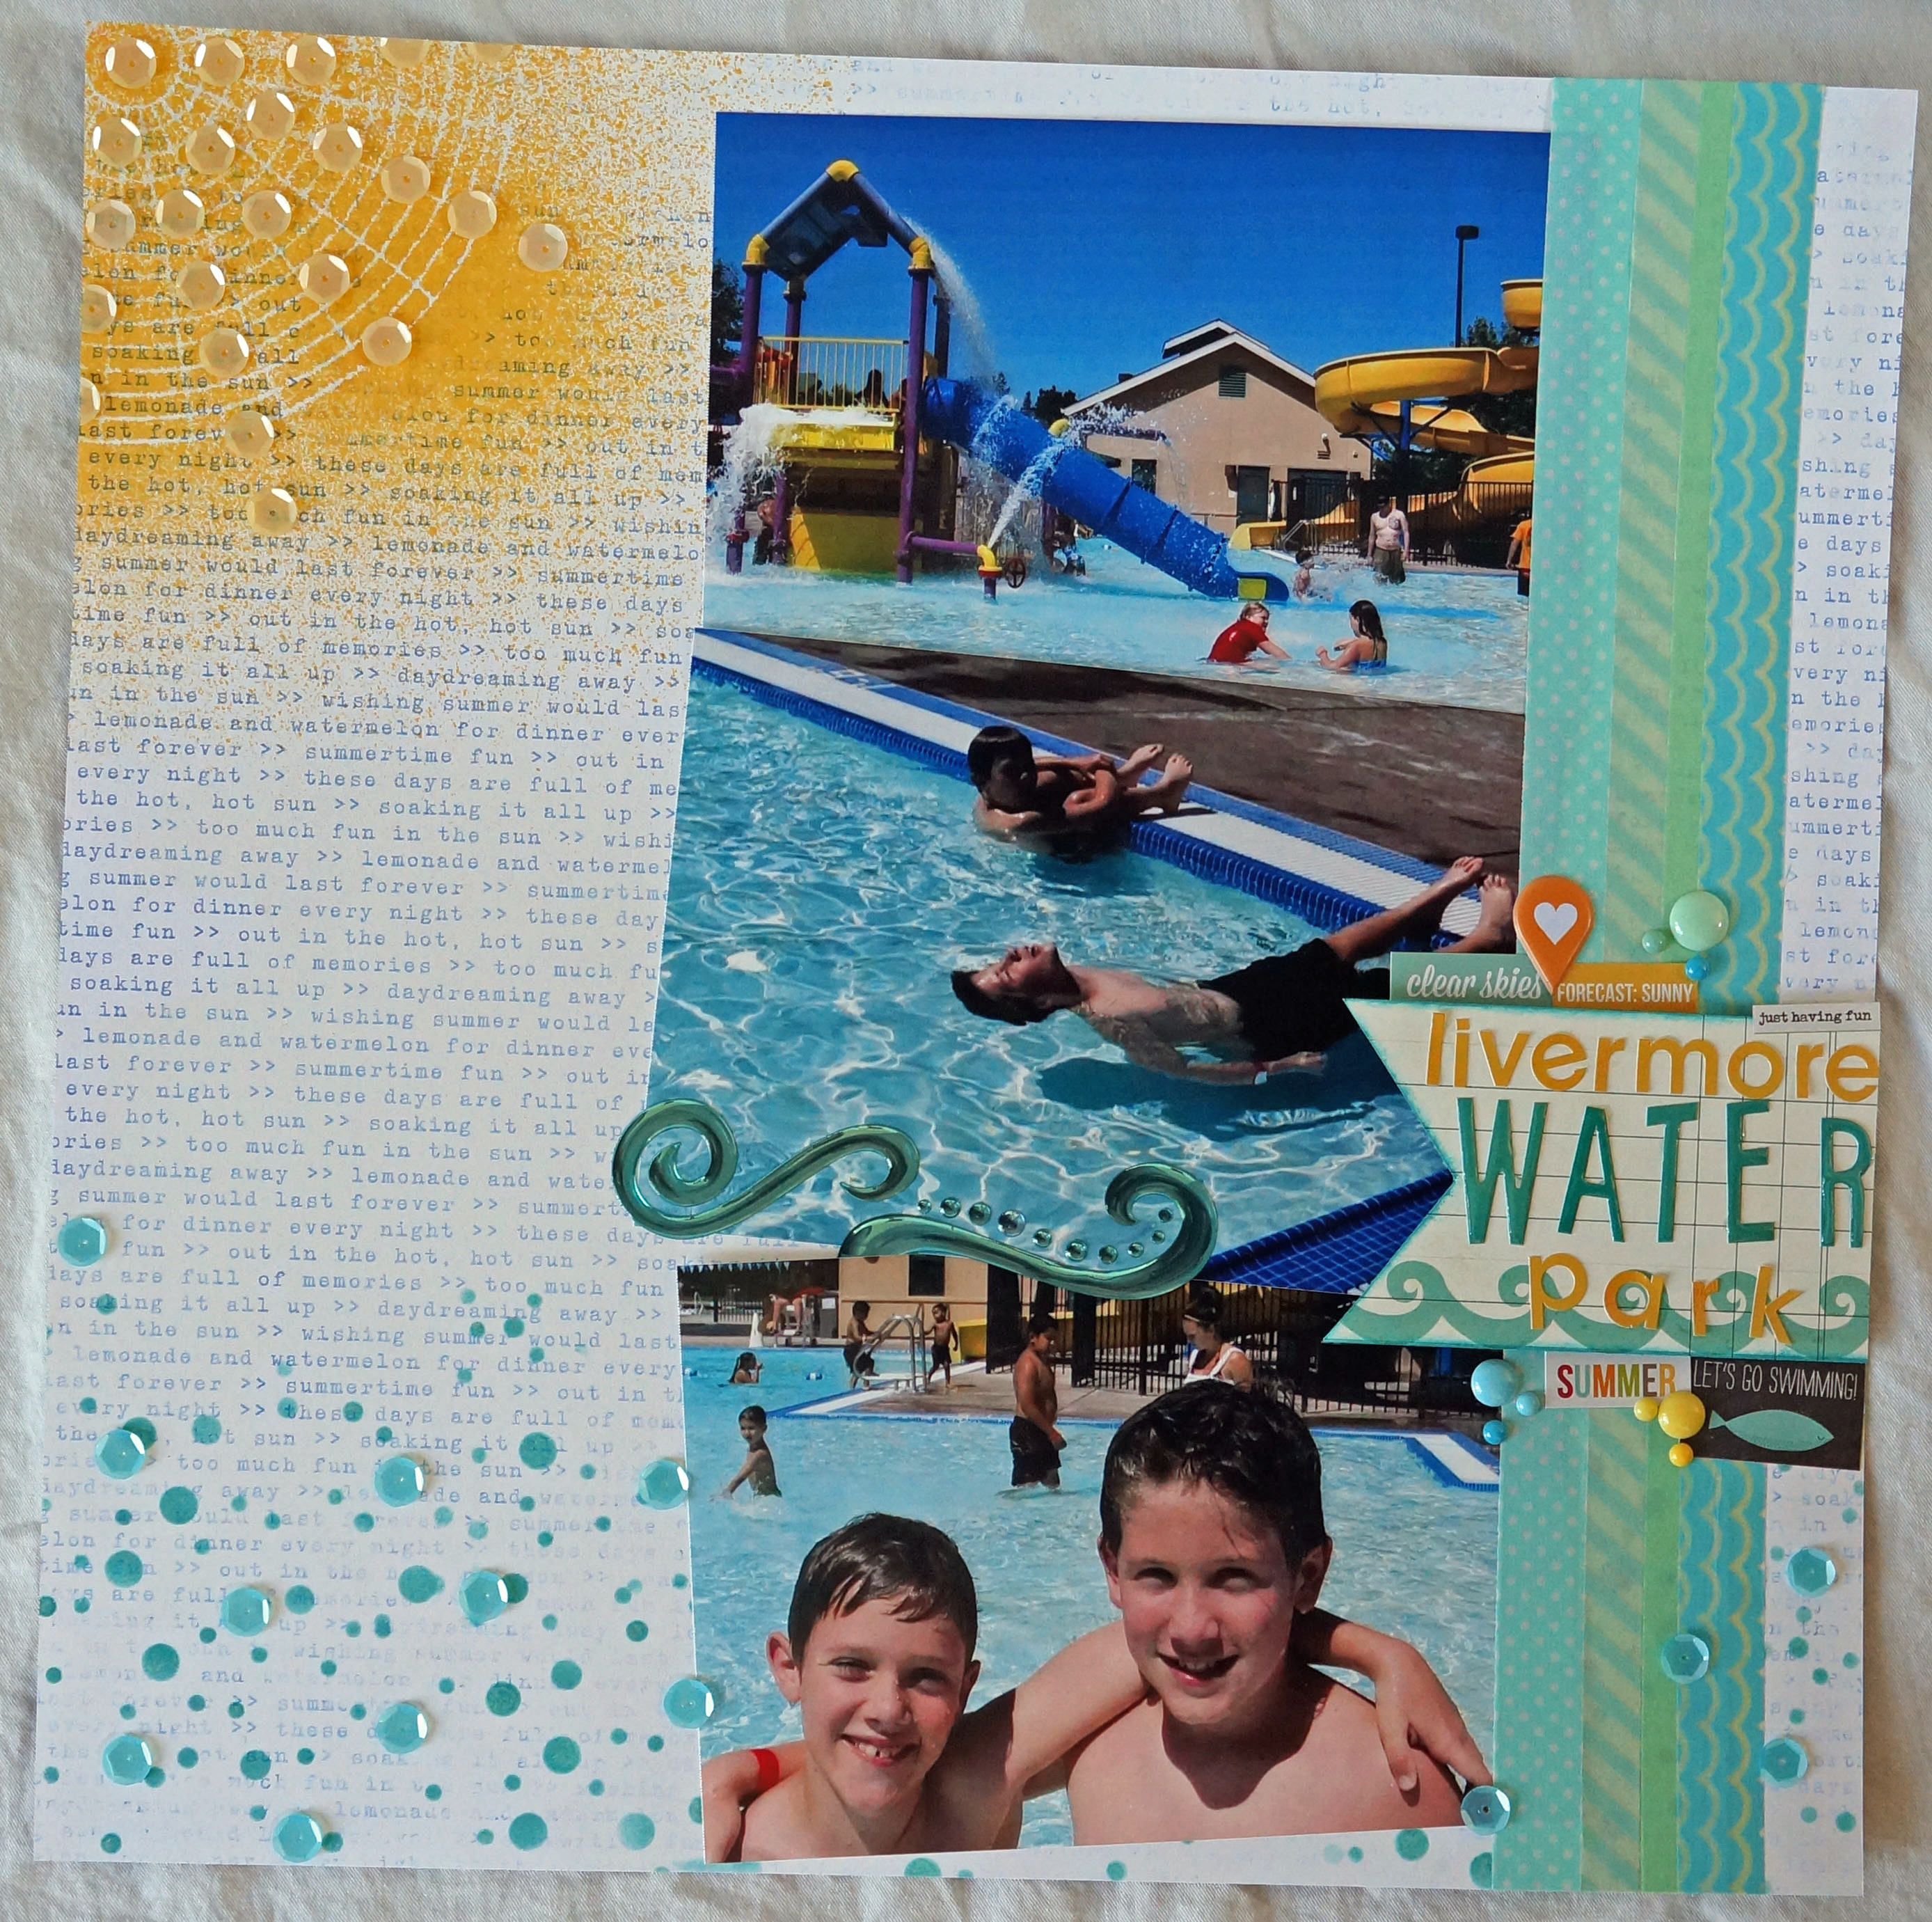
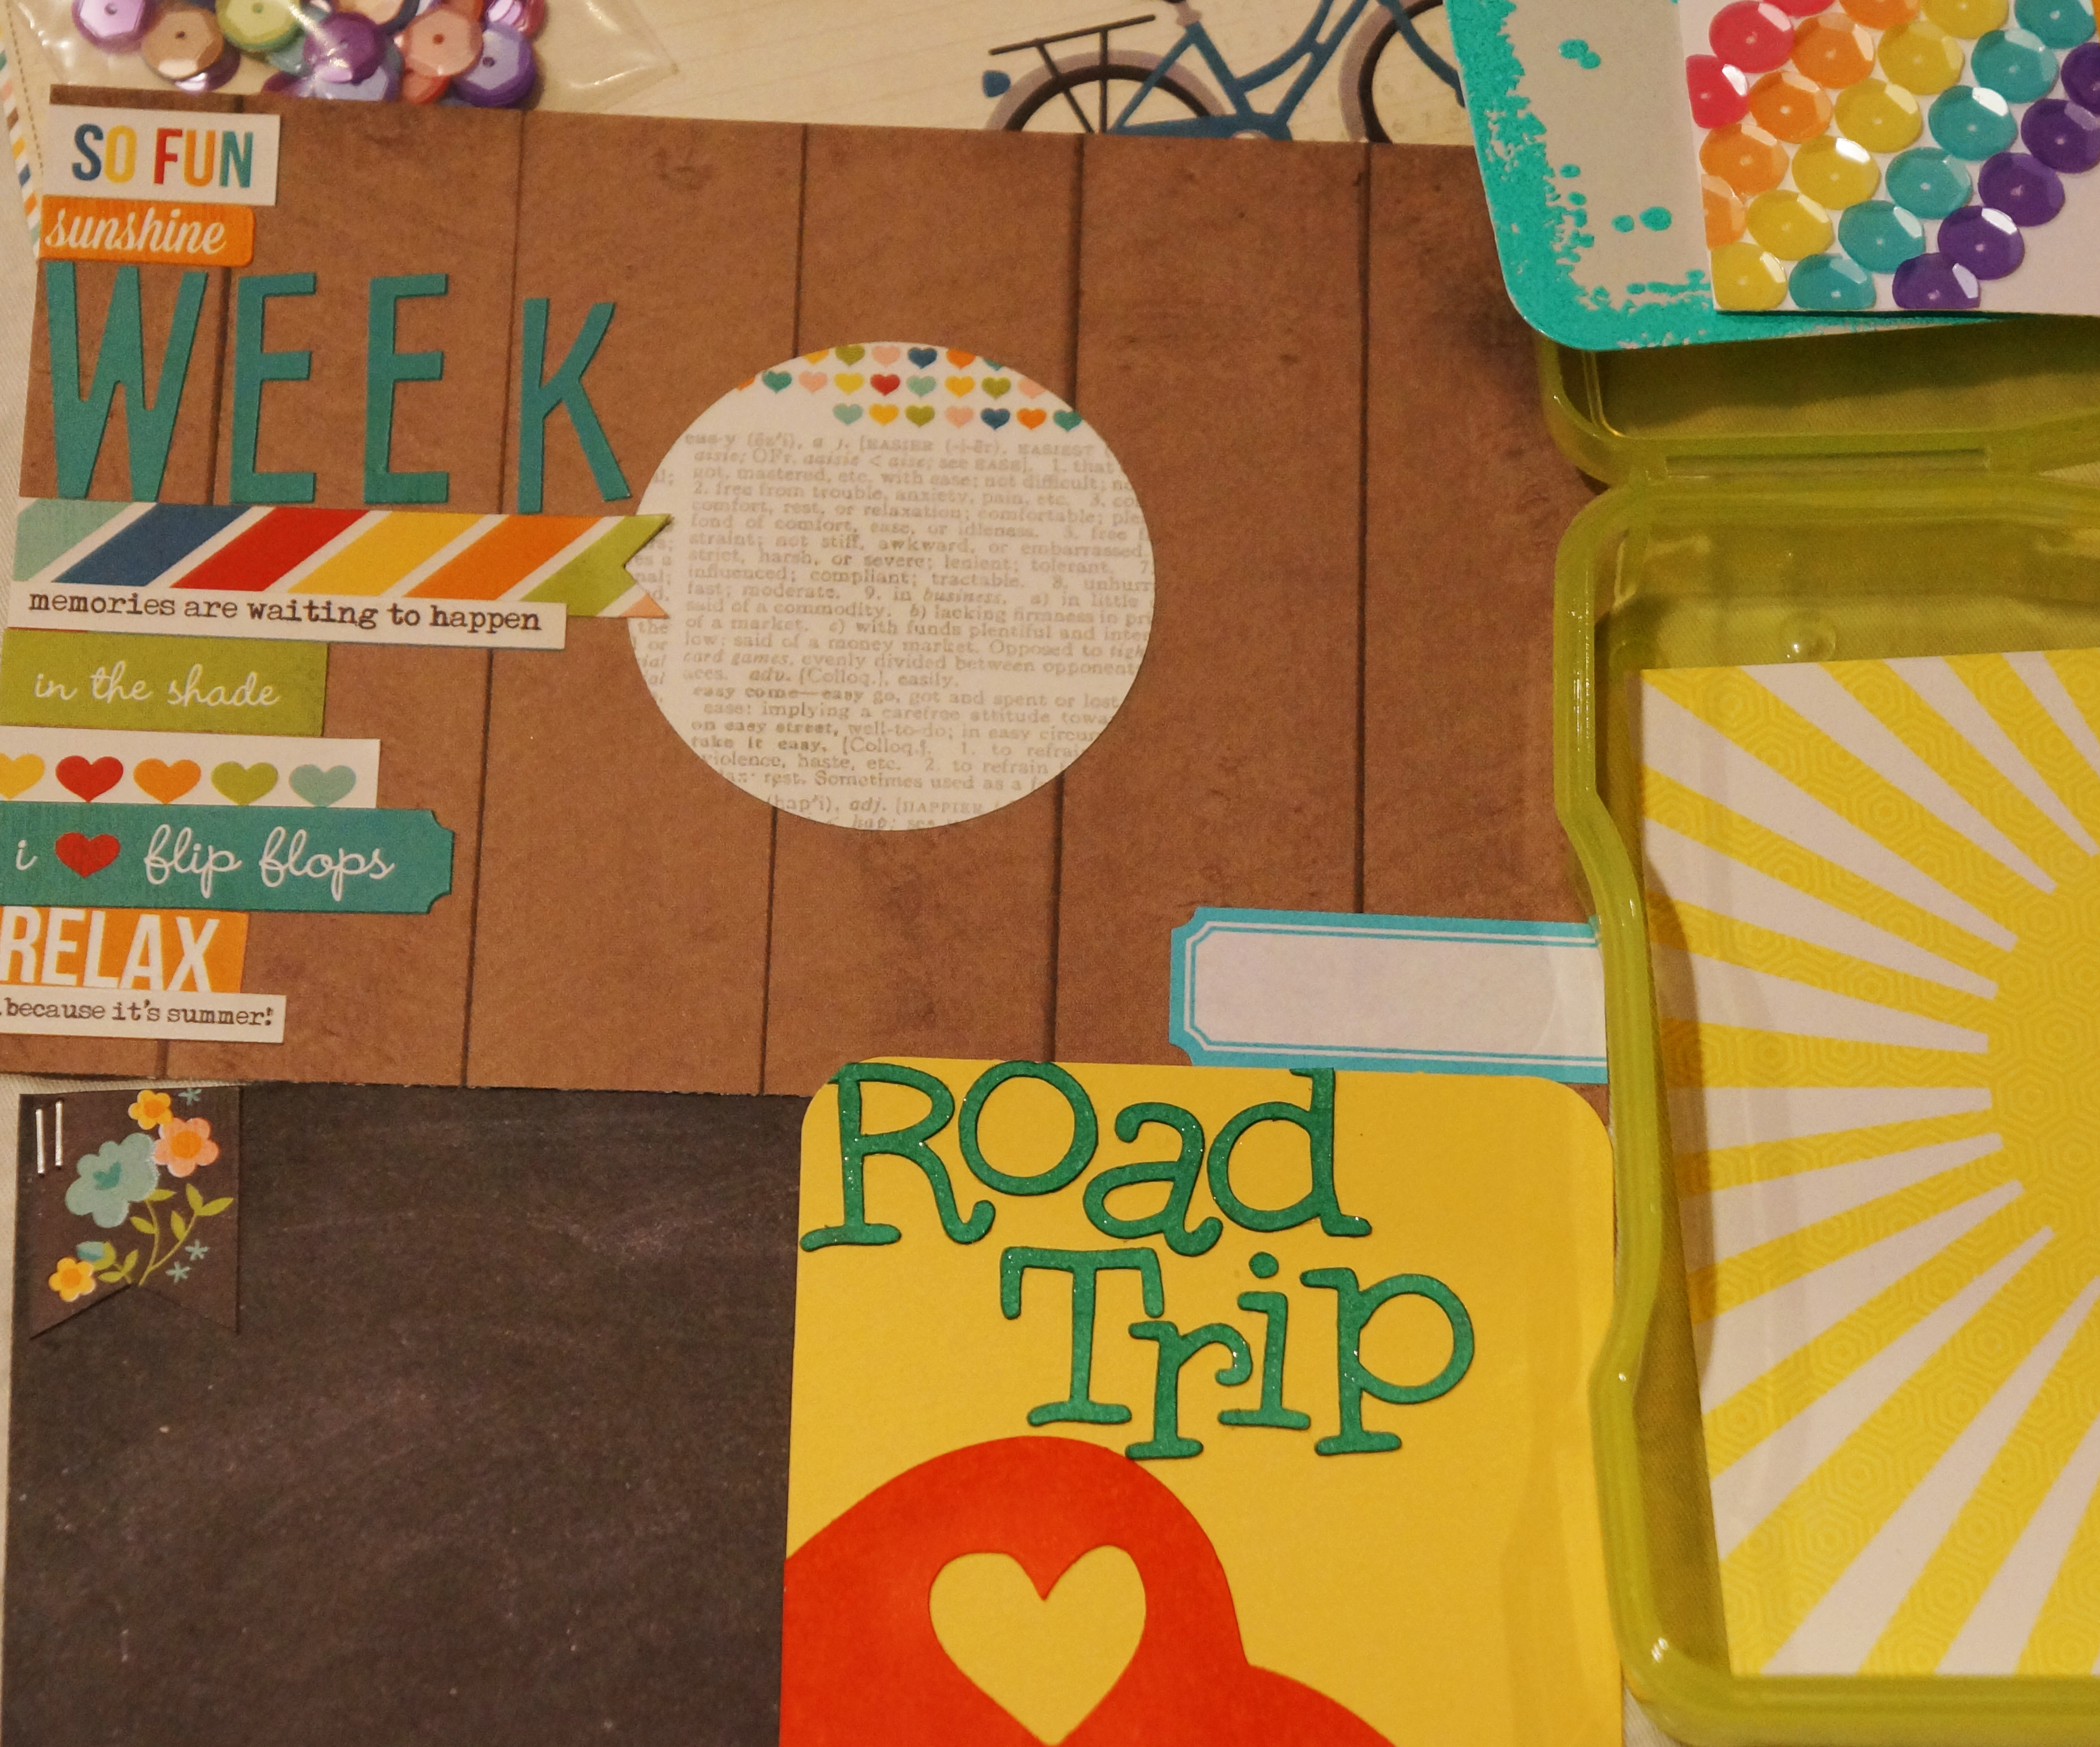
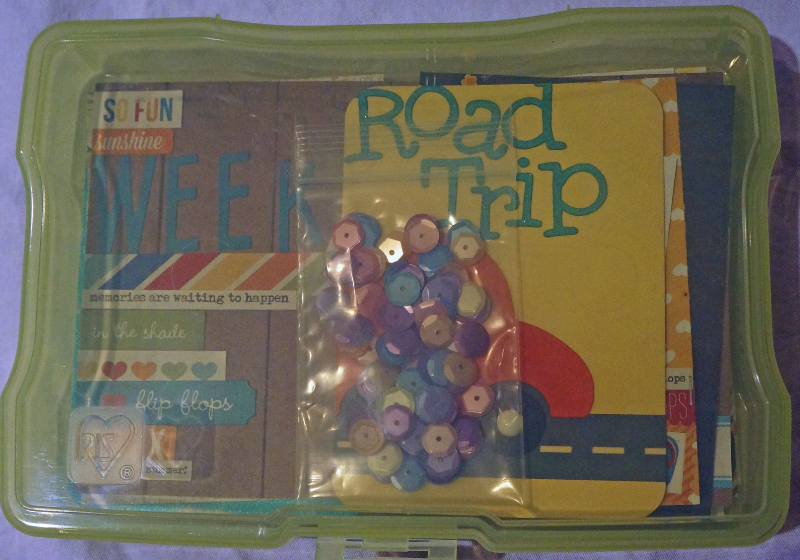
I did want to prep a few pages for the busy days I won’t have a lot of time to scrapbook. I am sure I will move things around as I develop my photos. The papers and embellishments I am using throughout my album is the Basic Gray Persimmon collectionthe Family Traditions line from Websters pages, and some embellishments from My Minds Eye. I really love the combination of the oranges and browns mixed in with the navy and baby blues. I am also adding in some Project Life cards, Pre-cut cardstock, Prima wood accentsHey Kid sticker labels from Pink PaisleyWhimsical Twist sequins, and some other items from my stash to add texture and color.

Here are a few of the “put together ahead of time” pages I have done so far.

Taniesa's Gratitude album @ WhimsicalTwist.com

Taniesa's Gratitude album @ WhimsicalTwist.com

Taniesa's Gratitude album @ WhimsicalTwist.com

For this next page I decided to make a partial transparent divider type of page using some sequins and Prima wood disks. I just sewed the two pockets closed. I will add a filler card or photo in the other two spots.

Taniesa's Gratitude album @ WhimsicalTwist.com

Taniesa's Gratitude album @ WhimsicalTwist.com

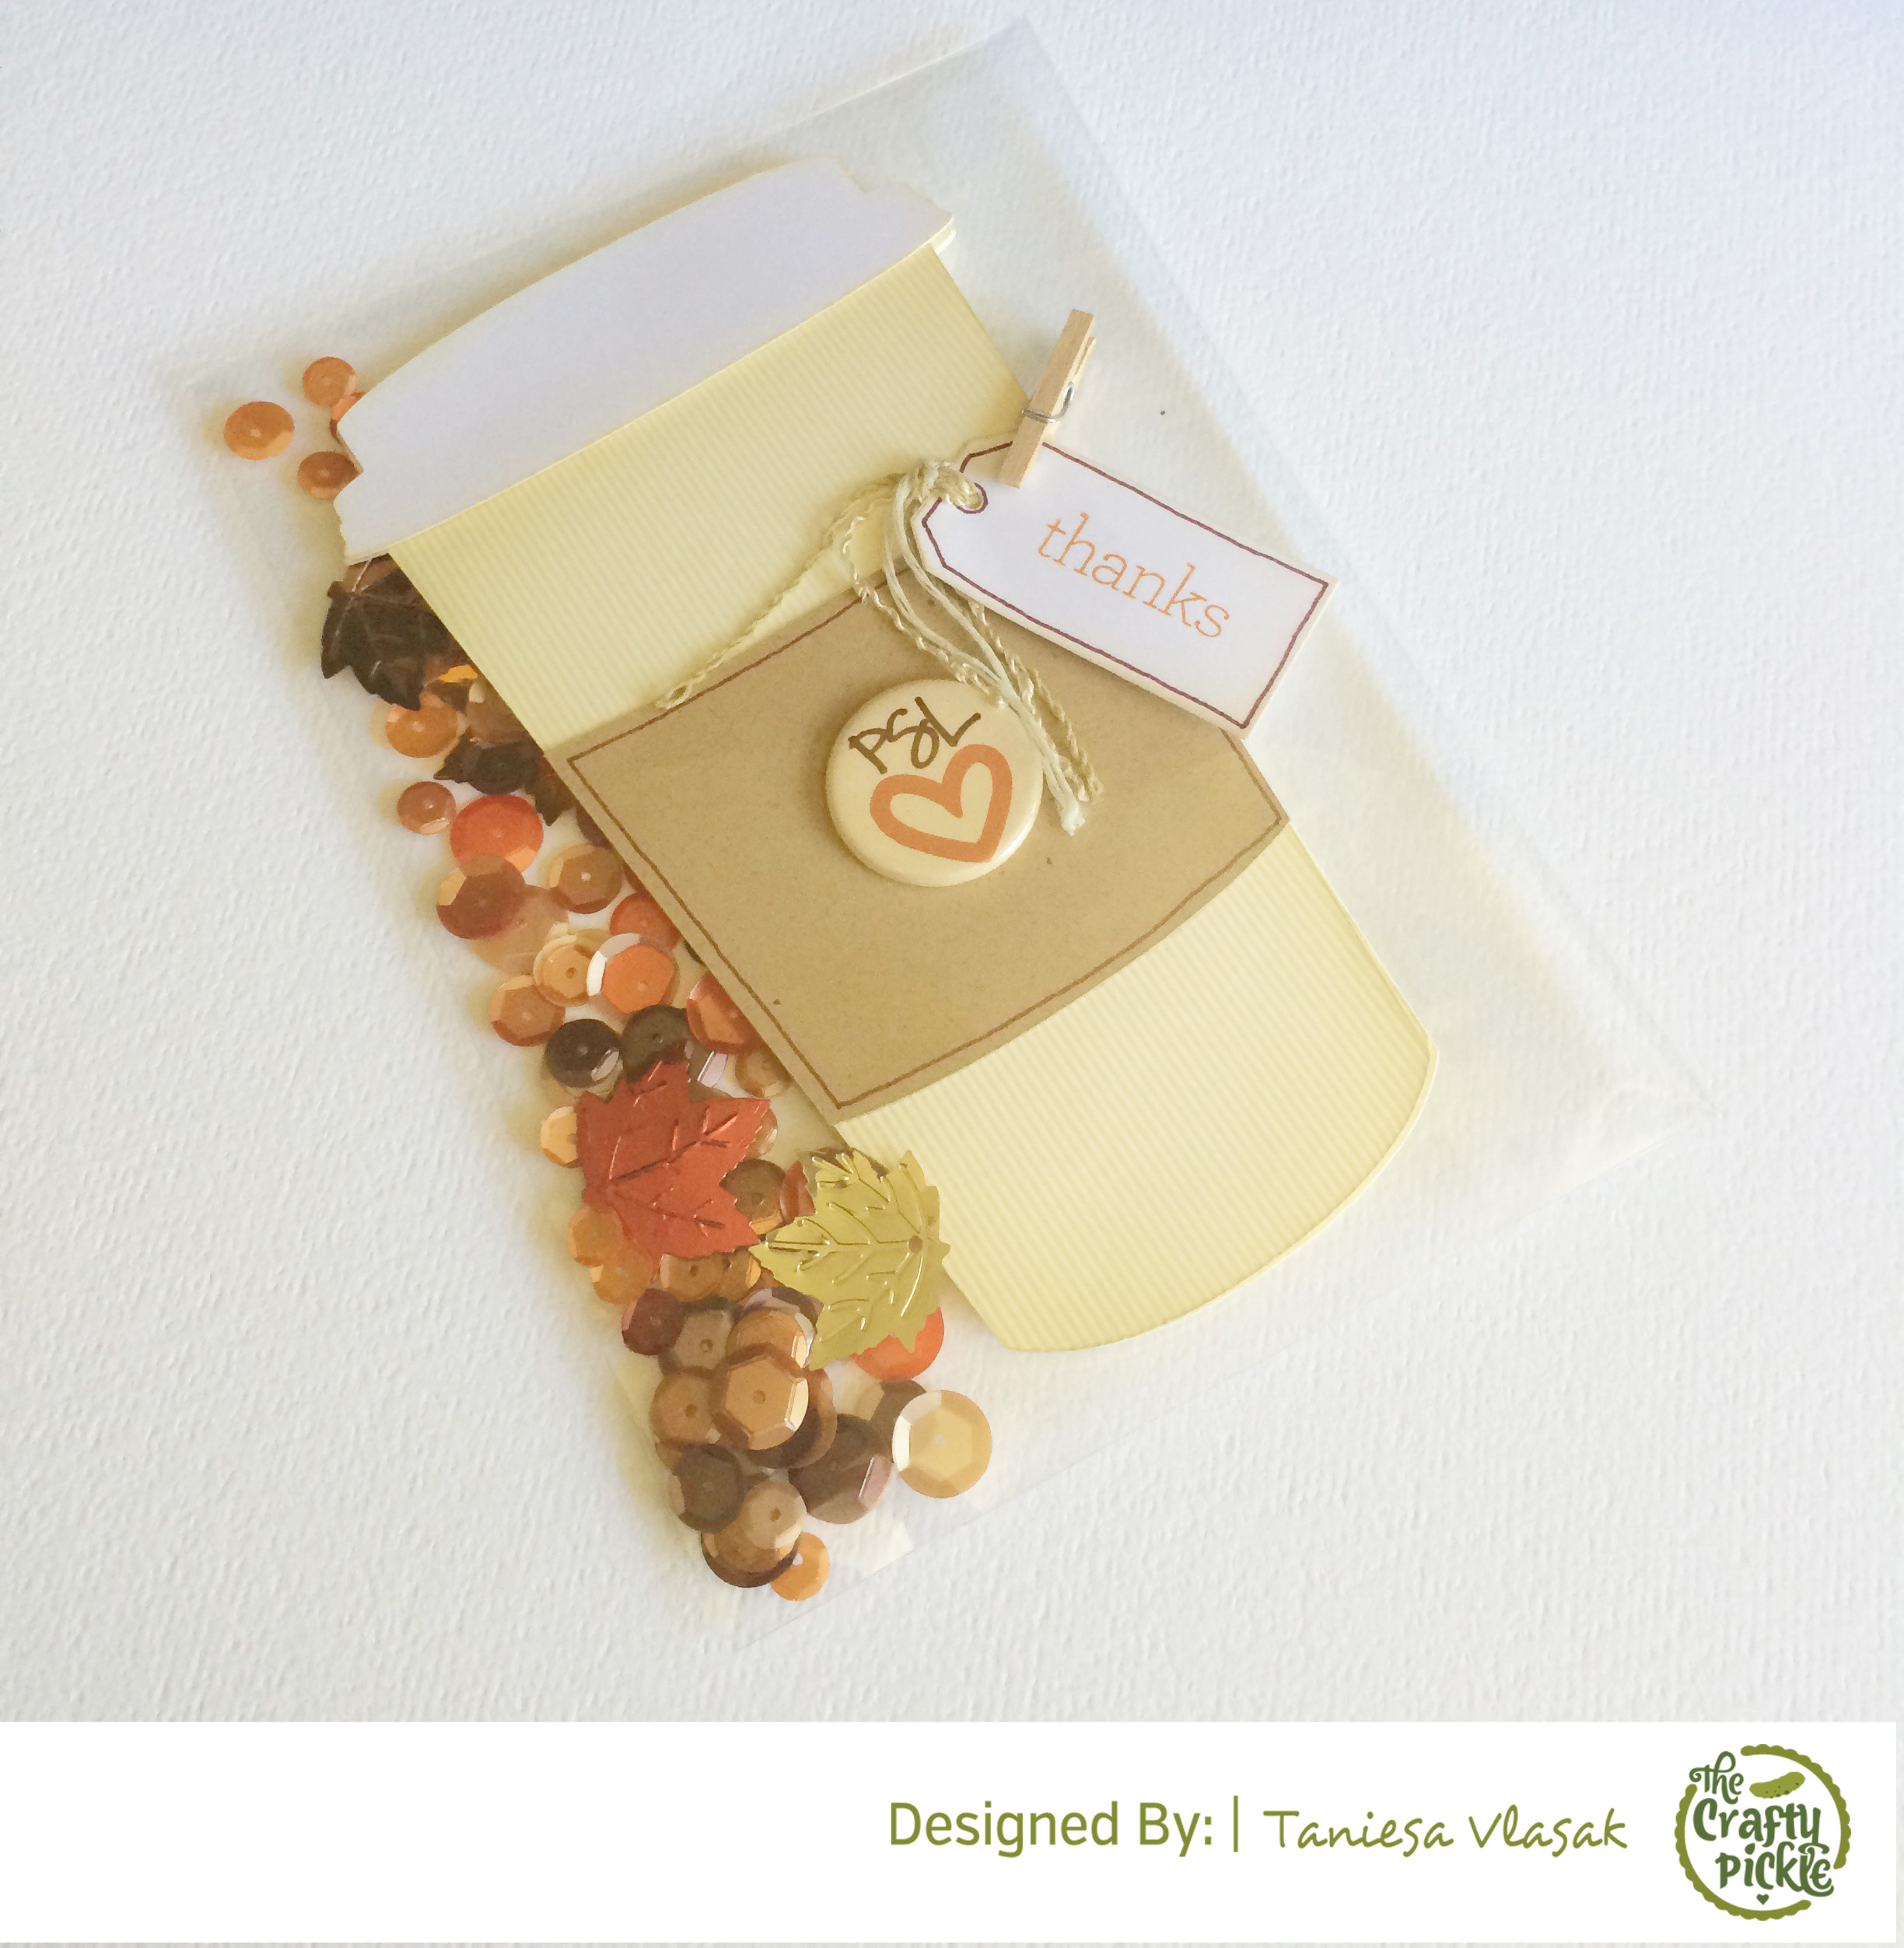
One of our bucket items is to make our own Halloween costumes this year. My little girl decided to be a traditional witch this year so I set these two pages aside to show off her costume and a photo of her trick-or-treating. I love the little whimsical sacks to hold tags for journaling!

Taniesa's Gratitude album @ WhimsicalTwist.com

Taniesa's Gratitude album @ WhimsicalTwist.com


Taniesa's Gratitude album @ WhimsicalTwist.com

Taniesa's Gratitude album @ WhimsicalTwist.com

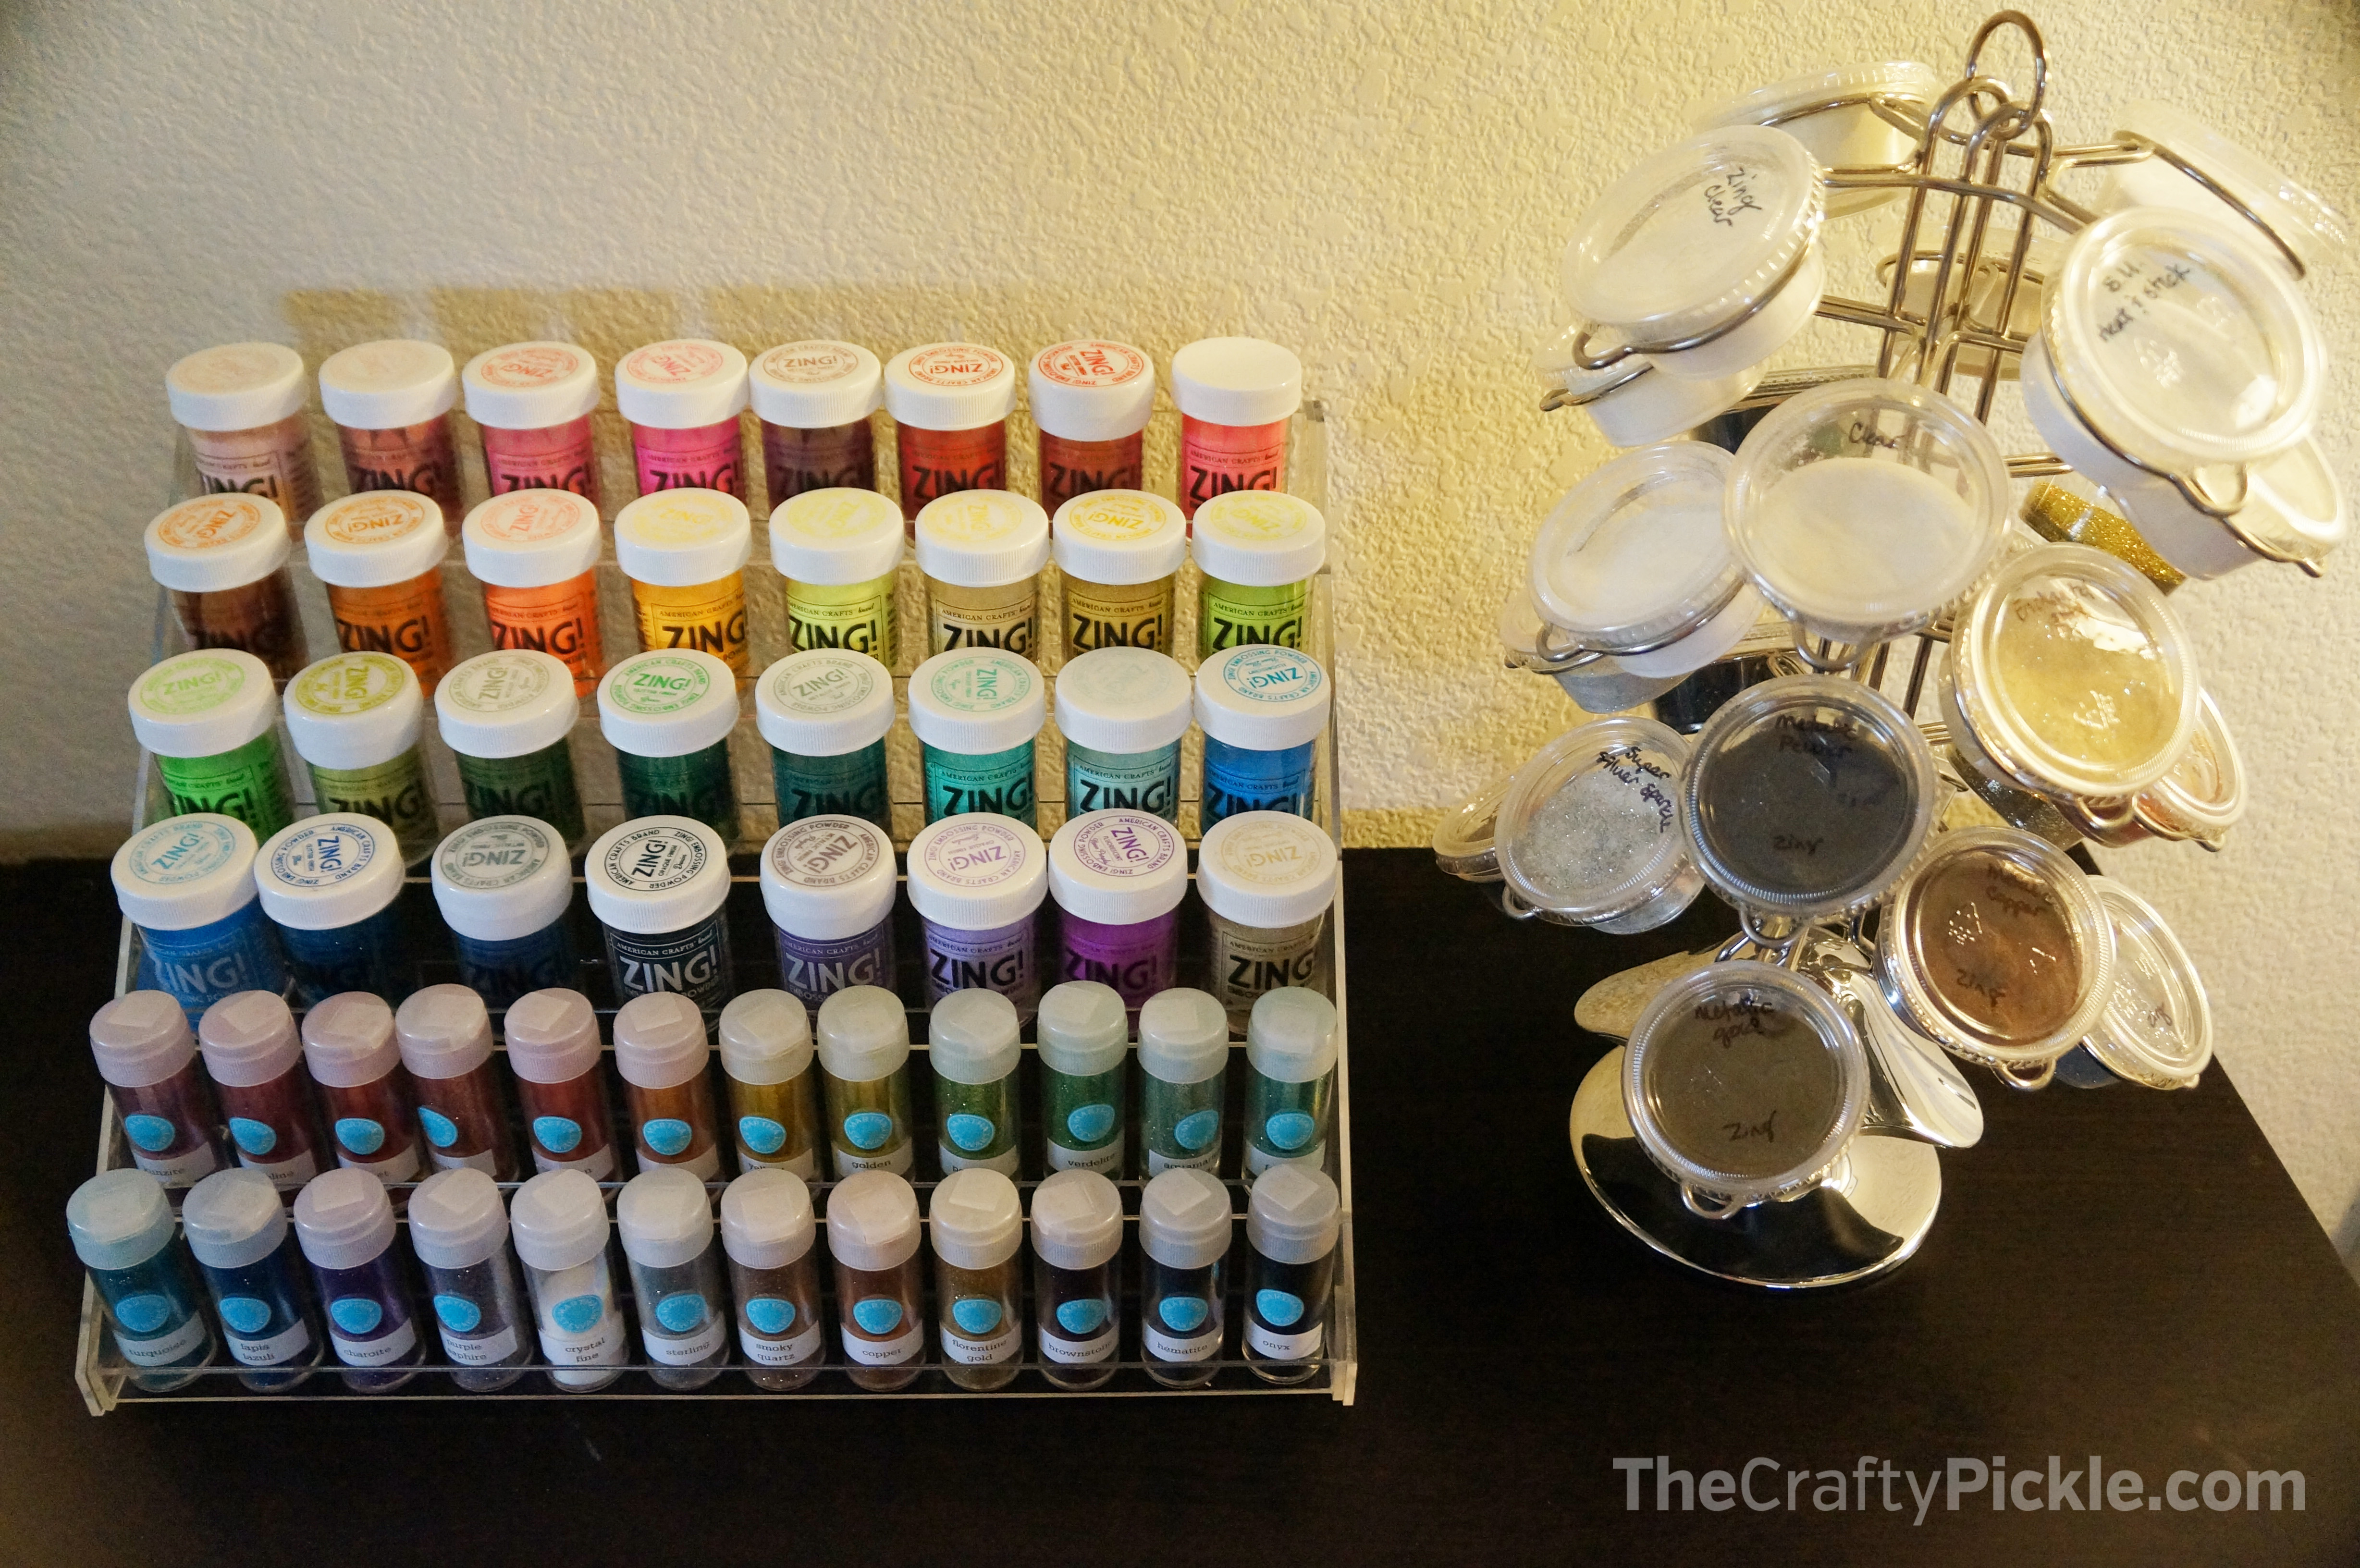
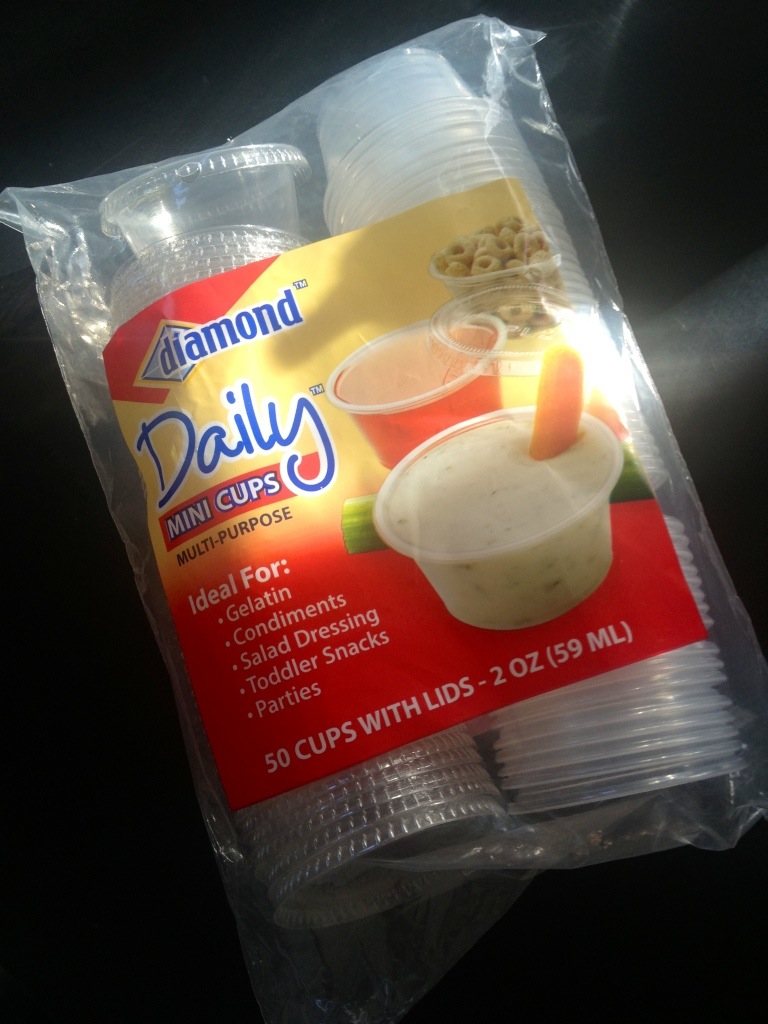
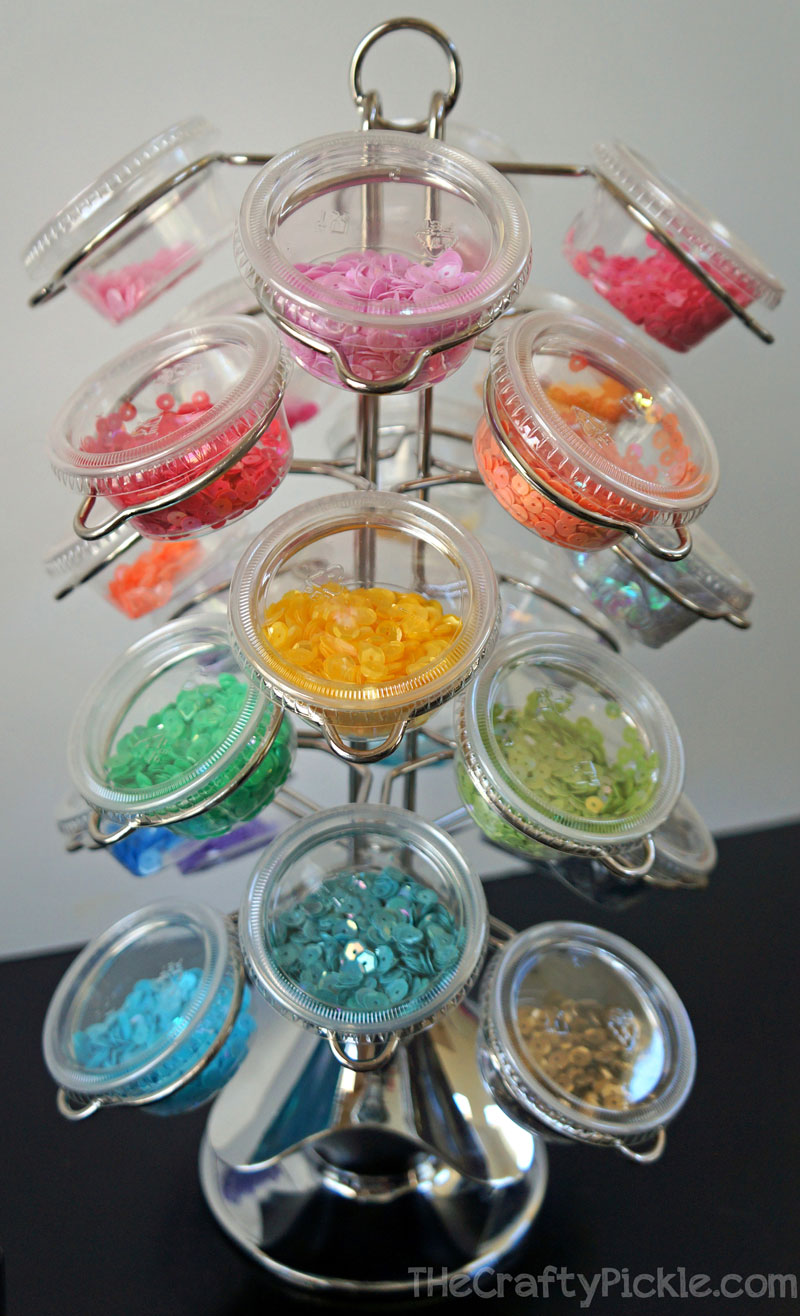
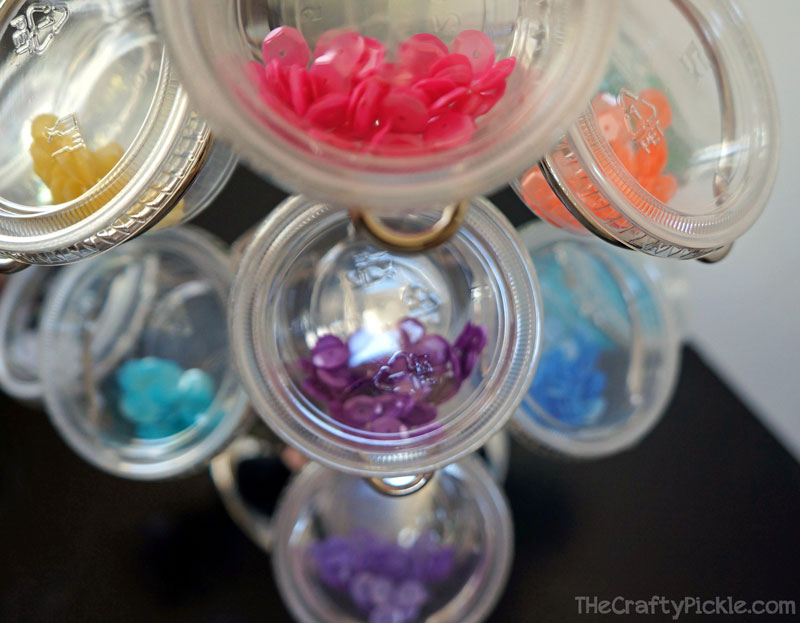
One of the key things with this project as well as any seasonal Mini album project is to simplify and organize. Some items in my craft space I keep where I always keep them but sometimes it helps me if I pull together the collection of items I might want to use for the project. Looking at all the Autumn product together is very inspiring for me. Some things that I have done to help myself along is pre-cut my cardstock in 4×6 and 3×4 pieces, take my 6×6 papers and put them in a 6×6 clear iris plastic box to flip through quickly, Take a binder clip and clip together like items (sticker letters, enamel dots and gems, labels, sticker embellishments, stamps, etc), and put little items like sequins in the color combo that I will be using and wood veneer in small containers for easy access (bead containers from your local craft store work great for this).

I hope you enjoyed my little preview into my Autumn album. I will be back for this series next month to show you my near completed album!

One little bit of exciting news today is that all Basic Gray and My Minds Eye product is now on sale at 20% off in the Whimsical Twist shop!!! The sale lasts from now until November 3rd . So, if you were wanting to get your hands on some great supplies for your autumn and holiday scrapbooking now is a fantastic time! Enter Code MME20BG at checkout!

All Basic Gray and My Minds Eye now on sale at Whimsical Twist!!!!!


Happy Autumn!

The Crafty Pickle


The BIG December Days Kit “Merry and Bright” Video!

Hi Pickle Pals!!!

I have been so excited to post about my Merry and Bright kit that I created for the Whimsical Twist shop and today is finally the day I get to share it all in detail with you! I really thought that photos would not do the kit justice so I made you all a little (ok, it’s a little over 15 minutes but its worth it) video!

Before we get to the video I wanted to talk a little bit about what I tried to achieve when I put the contents together. Last year was my first year doing December Daily and I loved the project so much that it lead into my commitment to do Project life for the entire year. well this year I am doing both and I wanted a kit that could not only fill my December Daily album but one that I could pull from for my PL album for the month of December. There is a lot packed in this little kit and for the price you really can’t go wrong. The Price of the kit is $50 but for TODAY ONLY they are in the shop for 15% off (the sale ends 10/18 at midnight so make sure you run over to Whimsical Twist and nab yours as there is very limited quantity!) You can also get a discount on the December Days class when you purchase a kit (50% off) for only $10! It’s a super fun class that offers free digital files, inspiration, challenges, and lots more. Going on now, and lasts all the way into January! Even if you are using your own homemade kit you will get so much out of the class.

Now on to the video!

So to recap, the Merry & Bright December Days Kit includes the following contents:

  • Tis the Season 6 x 6 paper pad (Echo Park)
  • Christmas 3 x 4 Sn@p Cards (Simple Stories)
  • Christmas 4 x 6 Sn@p Cards (Simple Stories)
  • 12 x 12 Chalkstalk (Canvas Corp)
  • Hello Santa Banners stamp set (Ali Edwards for Technique Tuesday)
  • White Chalk Ink Edger (Prima Marketing)
  • December Documented Expressions Cardstock Stickers (Simple Stories)
  • December Documented Fundamental Cardstock Stickers (Simple Stories)
  • Magical Banners (Studio Calico)
  • Micro Mono alphabet stickers – white (Basic Grey)
  • Christmas Sprinkles (Doodlebug)
  • Star washi tape (Freckled Fawn)
  • 2 Bow clips (Webster’s Pages)
  • Assortment of sequins (Whimsical Twist)
  • *Bonus Package from Taniesa* while supplies last.

I really hope you love the kit as much as I do. I am excited to share with you what I do with the kit as well as see what YOU do with the kit.

To purchase the kit alone click HERE.

To purchase the kit with the discounted class admission click HERE

What would a reveal this big be without a fun GIVEAWAY to go with it?  Instead of giving away the kit (because its such a deal I know you are all going to rush over to get yours) we thought it would be more fitting to give away the perfect add-on kit to go with your Merry and Bright kit!!! Here is what you will receive if you are the lucky winner;

  • A red faux leather 6×8 album from Simple Stories.
  • A 6×6 December Documented paper pad from Simple Stories.
  • A Technique Tuesday/Ali Edwards 25 moments stamp set.
  • A Whimsical Twist exclusive matching Pickle Flair set (set of 6 that match the Merry and Bright kit)
  • A set of 31 numbered chalkboard Pickle Flair. Perfect for numbering each day in your album. *not shown*
  • a bag of mixed embellishments (Sequins, Wood Veneer, Confetti stars, ribbon, twine, and more) *not shown*
  • A set of three personalized Just-for-you flair. *not shown*
  • And if that wasn’t enough we are giving you free admission to our December Days Class that is going on now until mid January. We will stick by you from start to finish!

Win ME! www.thecraftypickle.com

To enter all you have to do is leave me a comment with your name and location. Want MORE chances to win? When you purchase a Whimsical Twist Merry and Bright Kit come back and leave a separate comment letting me know and you will have an additional entry! Follow Whimsical Twist on Facebook, Instagram, Twitter, and Pinterest? Leave a separate comment with I follow WT on ____ for each one and you can have more chances to win! Share the reveal video on your Facebook or other social media? Leave another comment with the link and get another chance! Follow @Taniesa on Instagram, Yep, another chance to win!!! You can get a total of 10 chances if you complete all of the above, how easy is that!

The giveaway entries will close Friday 10/25/13 at midnight PST and a winner will be announced Monday 10/28/13!

Best of Luck to you all and Happy (Holiday) Crafting!!!

TheCraftyPickle.com

Creating a Sequin Station for your craft space.

Happy Friday everyone!

Today I am revisiting a previously posted idea a few months ago that I used for small embellishment storage. Ever since I purchased the sequins in the whimsical Twist shop I have been HOOKED on sequins and use them on a lot of my projects. Getting in and out of the little baggies was getting to be a little bit of a pain so I thought back to that organization blog post I had done, You can see that original post HERE. I thought that it would be nice to have one set up just for sequins so that’s just what I did.

Here is what I used. First a K-Cup storage spinner (I got mine at walmart for about $24 but I have also found the same size on Amazon HERE) and a package of Diamond brand mini condiment cups and lids (I got mine at a grocery store in my area, safeway, for about $3)

Little Bits and Sequin Storage @TheCraftyPickle.com

Cups for storage @ thecraftypickle.com

I emptied all of my sequins in each cup keeping the colors separated, depending on your collection you might want to combine certain colors or shades of the same color.

Sequins-Station @ thecraftypickle.com

sequins-station-close-up @ thecraftypickle.com

Super simple and inexpensive. It takes up very little space and makes using them and clean up a breeze because you’re not dumping the sequins out on your table. The added bonus it looks really pretty out and makes me happy when I look at all the fun color!

Suggestion for those that are going out shopping for your kcup holder, I took one of the mini cups with me to make sure it fit well. There are holders out there that are just a bit too small to hold the cup so to be sure, test it out before you buy it.

Don’t forget to stock up on all the great color sequins that is currently in the Whimsical Twist shop and check back for more fun sequins that will be in the shop soon! While your there don’t forget we have an awesome sale on all your Basic Gray favorites too!!

BasicGray sale @ Whimsical Twist!

I hope you enjoyed this organization inspiration!

Have a Whimsical Weekend!

The Crafty Pickle

Whimsical Twist Blog Hop! Water Park FUN!

Welcome to the Whimsical Twist Blog Hop!Welcome to Whimsical Twist’s first challenge! We thought it would be a lot of fun to also have a Blog Hop to celebrate our first challenge! How does that sound?

During the Hop you will be visiting blogs from several of our fabulous design team members. You will find so much inspiration on the way, that your head might explode!

The hop will start at the Whimsical Twist blog and end at Lisa Wilkinson’s blog. If you are just joining in, be sure to go to the Whimsical Twist blog to start. If you get lost along the way, just look at the list below to get you hopping in the right direction.

And you can’t have a Blog Hop without giveaways and this one is no different! In order to be entered into the giveaways, you will need to be sure you leave a comment on each blog on the hop. Whimsical Twist will also be giving away a $15 gift certificate to the shop to one random hopper! We will be announcing the winners of our giveaways on August 12th, so be sure to watch for the announcements.

Without further ado, let’s get this celebration started!

Our first challenge is inspired by summer! The photo below is our inspiration / mood board

Our inspiration board WhimsicalTwist.com

I knew the perfect photos I wanted to work with for this challenge. These are some water park photos I came across a few days ago with my boys, 4 years ago. It’s hard to believe these boys are going to be in 8th grade and a freshman in high school in just a couple of weeks!

Water Park Layout @thecraftypickle.com

I used papers from Elle’s Studio and Simple Stories for this layout. I added in some different washi tapes for the border on the side of the photos to tuck into.

Water Park Layout @TheCraftyPickle.com

Water Park Layout @TheCraftyPickle.com

All of the sticker letters and accent stickers are from Simple Stories as well. I added some Liquid Glass from CTMH for the letters spelling WATER to give it that wet look.

Water Park Layout @TheCraftyPickle.com

Water Park Layout @TheCraftyPickle.com

I misted the top left corner with Mister Huey’s in the color Desert over a mask and then I accented with some of the beautiful sequins you can find in the Whimsical Twist Shop. I also used a mask and some ink to create a bubble confetti background on the bottom using CTMH Lagoon ink and then layered with some of the same beautiful sequins from the shop. The two colors I used are Pineapple and Caribbean. I adore these beautiful sequins so much, I think I may even use them more than my enamel dots! To adhere the Sequins I used the same Liquid Glass that I used on the title letters.

Now for something a little fun! As I said before, you will see giveaways along your hop today. I am giving away a set of project life cards that I made especially for our giveaway! Below is a little peek at some of the cards included. I am also including a little bag of sequins, a sample of all the colors offered in the Whimsical Twist shop! All contained in this little 4×6 case perfect to use as a project life on the go or journaling kit for your purse! Make sure you comment on each of the blogs today in order for a chance to win!

Handmade Project Life Giveaway @TheCraftyPickle.comHandmade Project Life Giveaway @TheCraftyPickle.comHandmade Project Life Giveaway @TheCraftyPickle.com

Thank you so much for visiting my blog! You should have arrived from Ashley Hamm‘s blog and now you are heading to Charissa Miller‘s blog, but if you get lost along the way, here is the hopping order.

Lisa Lahiff 

Alexandra Polyzou  

Sandi Pressley 

Amanda Johnson

Ashley Hamm 

Taniesa Vlasak  (you are here)

Charissa Miller  

Kimmie Rishebarger 

Sharm Nidyanandan 

Laurie Danielle 

Lisa Wilkinson 

Happy Hopping!

TheCraftyPickle.com