The 30 day coloring challenge (5th edition!)

Hi Friends!

As a lot of you probably know this past 30 days has been The Daily Marker’s 30 day coloring challenge. It was the 5th 30 day coloring challenge that has been hosted by its creator, Kathy, artist and owner of TheDailyMarker.com. The point of this challenge is to get everyone coloring, even if it’s just 5 minutes a day. Coloring can help reduce stress and just exercise your creativity.

Now I have attempted this almost every time and sadly haven’t been able to follow through on the entire 30 days, which is completely okay… Some coloring is better than none right? This time though I was able to manage something nearly every single day of the 30 days and I wanted to pull some of my coloring together in one big post to share. Some projects spanned over a couple of days and some I did in one sitting. I had a lot of fun and even my 10-year-old daughter did some coloring with me too!

Taniesa Vlasak | TheCraftyPickle.com

Taniesa Vlasak | TheCraftyPickle.com

I challenged myself to use several different coloring mediums. I really enjoy them all so it is hard to pick a favorite. Here is a peek at my some of my coloring and projects.

Taniesa Vlasak | TheCraftyPickle.com Taniesa Vlasak | TheCraftyPickle.com Taniesa Vlasak | TheCraftyPickle.com Taniesa Vlasak | TheCraftyPickle.com Taniesa Vlasak | TheCraftyPickle.com Taniesa Vlasak | TheCraftyPickle.com Taniesa Vlasak | TheCraftyPickle.comTaniesa Vlasak | TheCraftyPickle.com Taniesa Vlasak | TheCraftyPickle.com Taniesa Vlasak | TheCraftyPickle.com Taniesa Vlasak | TheCraftyPickle.com Taniesa Vlasak | TheCraftyPickle.com Taniesa Vlasak | TheCraftyPickle.com Taniesa Vlasak | TheCraftyPickle.com Taniesa Vlasak | TheCraftyPickle.comCreate your own postcards | TheCraftyPickle.com Create your own postcards | TheCraftyPickle.com Create your own postcards | TheCraftyPickle.com

I hope you enjoyed my 30 day coloring collection. I can’t wait for the next challenge. Be sure to check out Kathy’s Instagram HERE, for news on the next coloring challenge!

Have a COLORFUL day!

Taniesa Vlasak | TheCraftyPickle.com


Turn your art into your own custom flair embellishments!

Hi Crafty Friends!

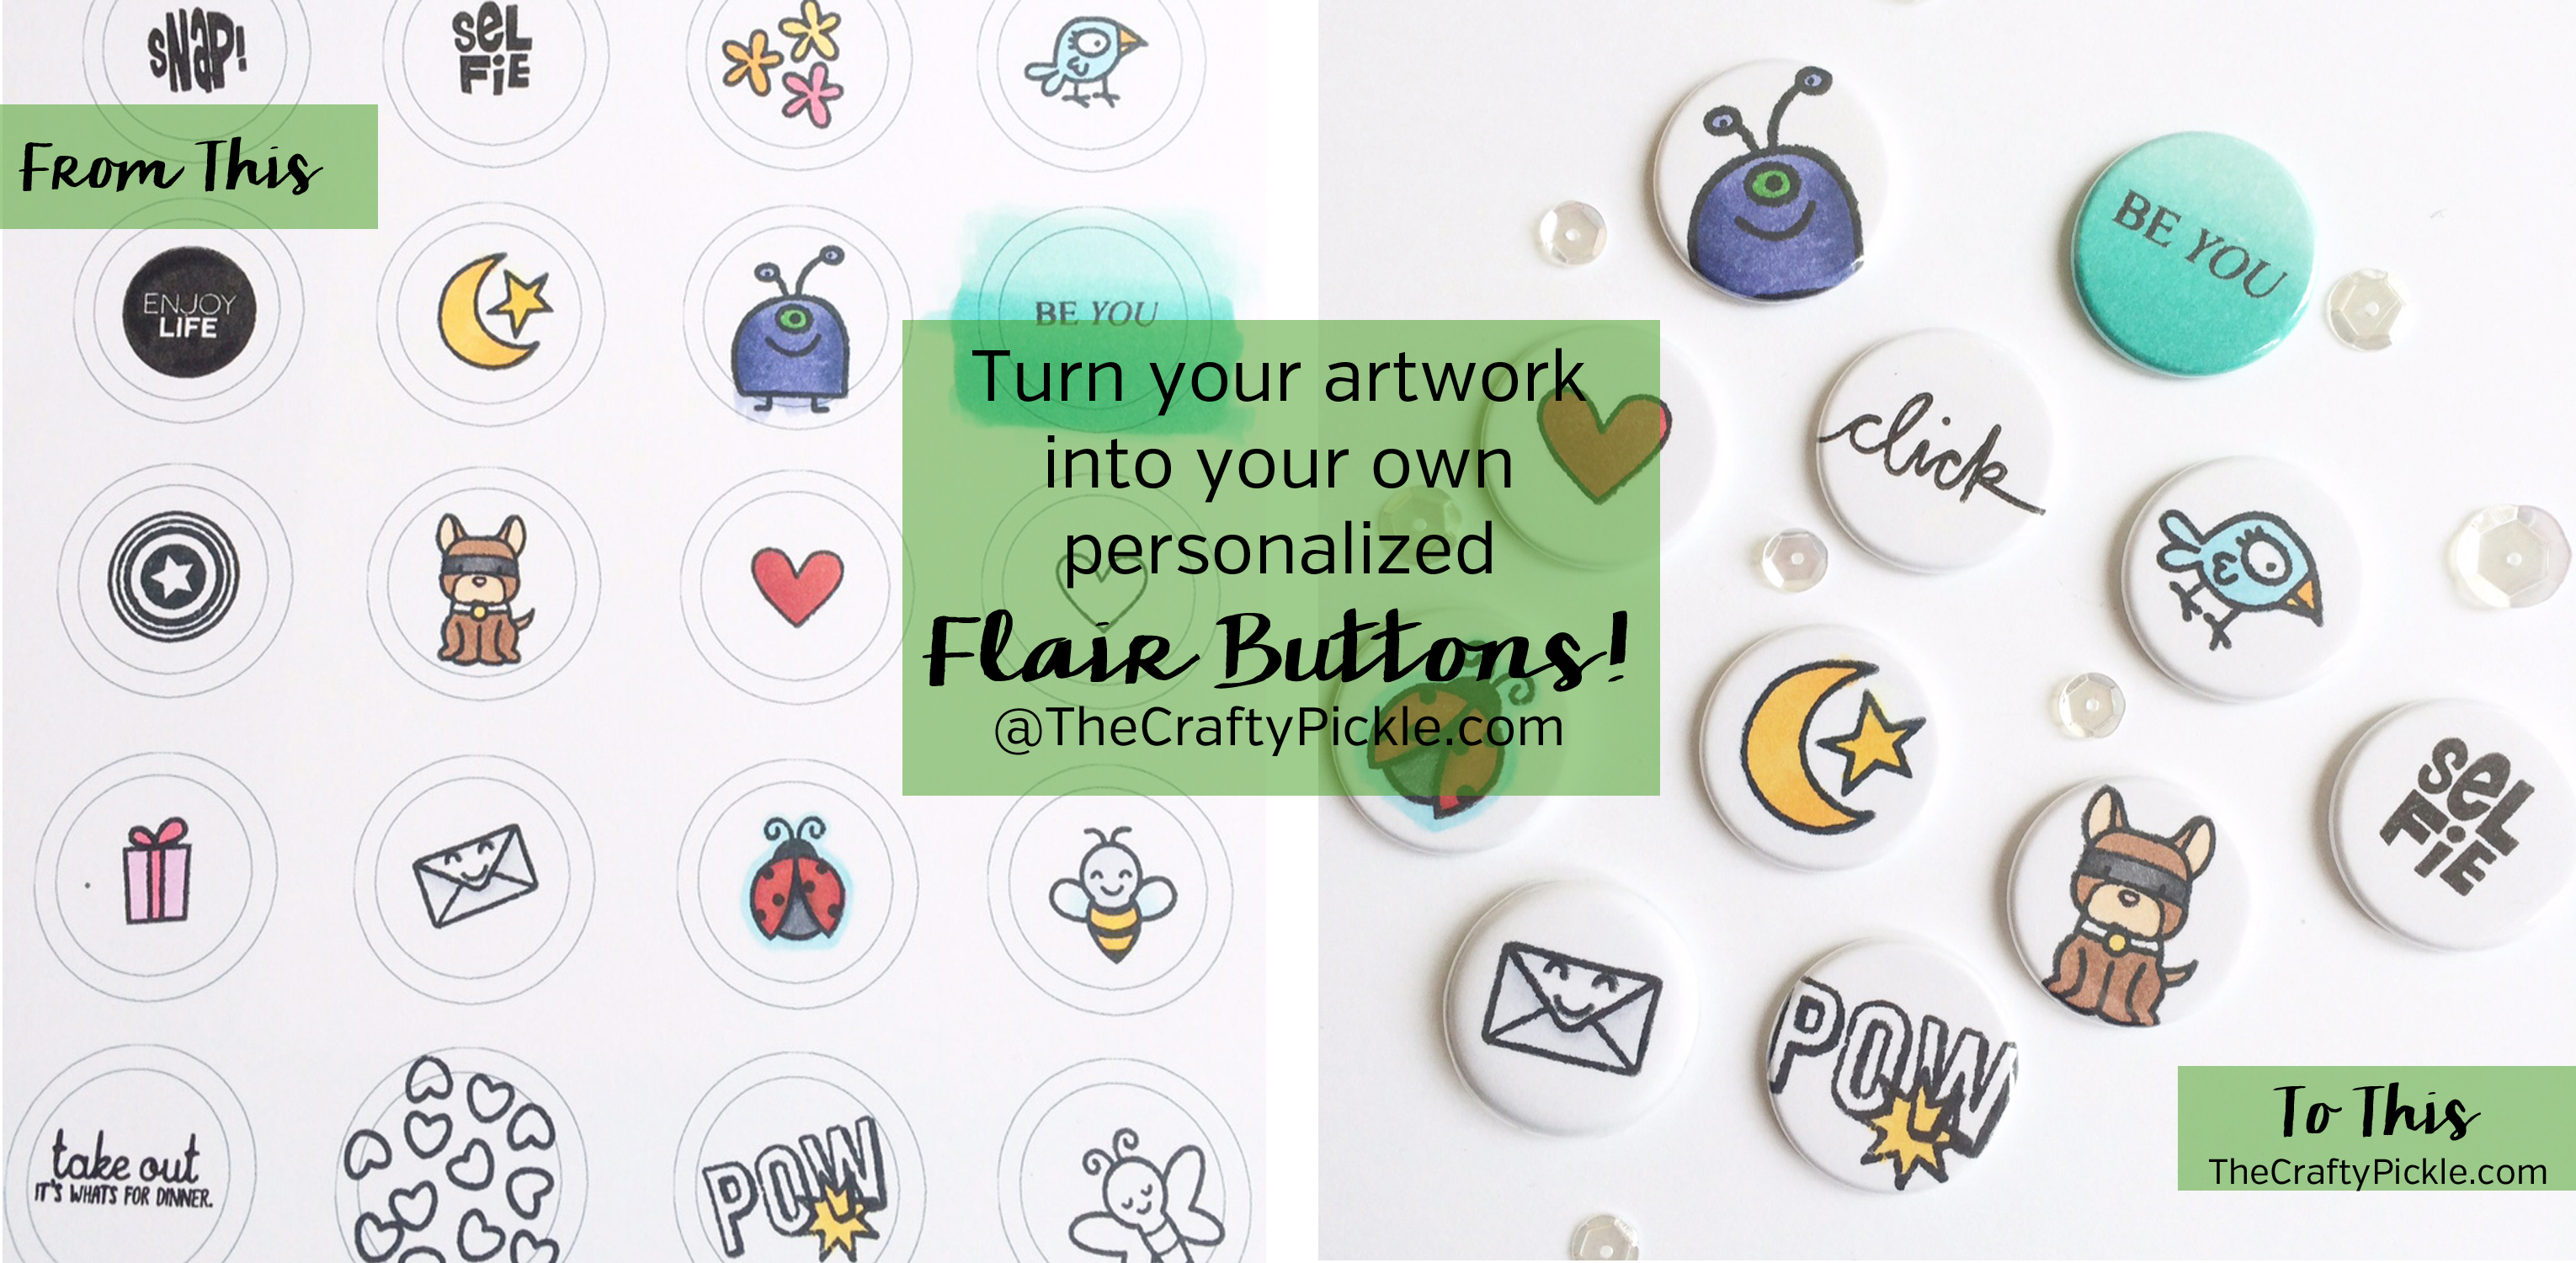
Today I wanted to share with you something new and exciting in our Etsy shop! Starting today, you now have the option to create your very own flair buttons in two different ways!

Make your own custom flair buttons with your artwork, stamps, washi, photos, and more @ TheCraftyPickle.com

First, you will need to download our TCP Flair template (found HERE) then print the template on your favorite paper. I used Neenah solar white 80 lb cardstock but anything 80 lb or lighter will work.

Make your own custom flair buttons with your artwork, stamps, washi, photos, and more @ TheCraftyPickle.com

Then gather together all the supplies you would like to use to create your flair. You can use different types of coloring mediums, stamps, washi tape, anything smooth and flat will work.

Make your own custom flair buttons with your artwork, stamps, washi, photos, and more @ TheCraftyPickle.com

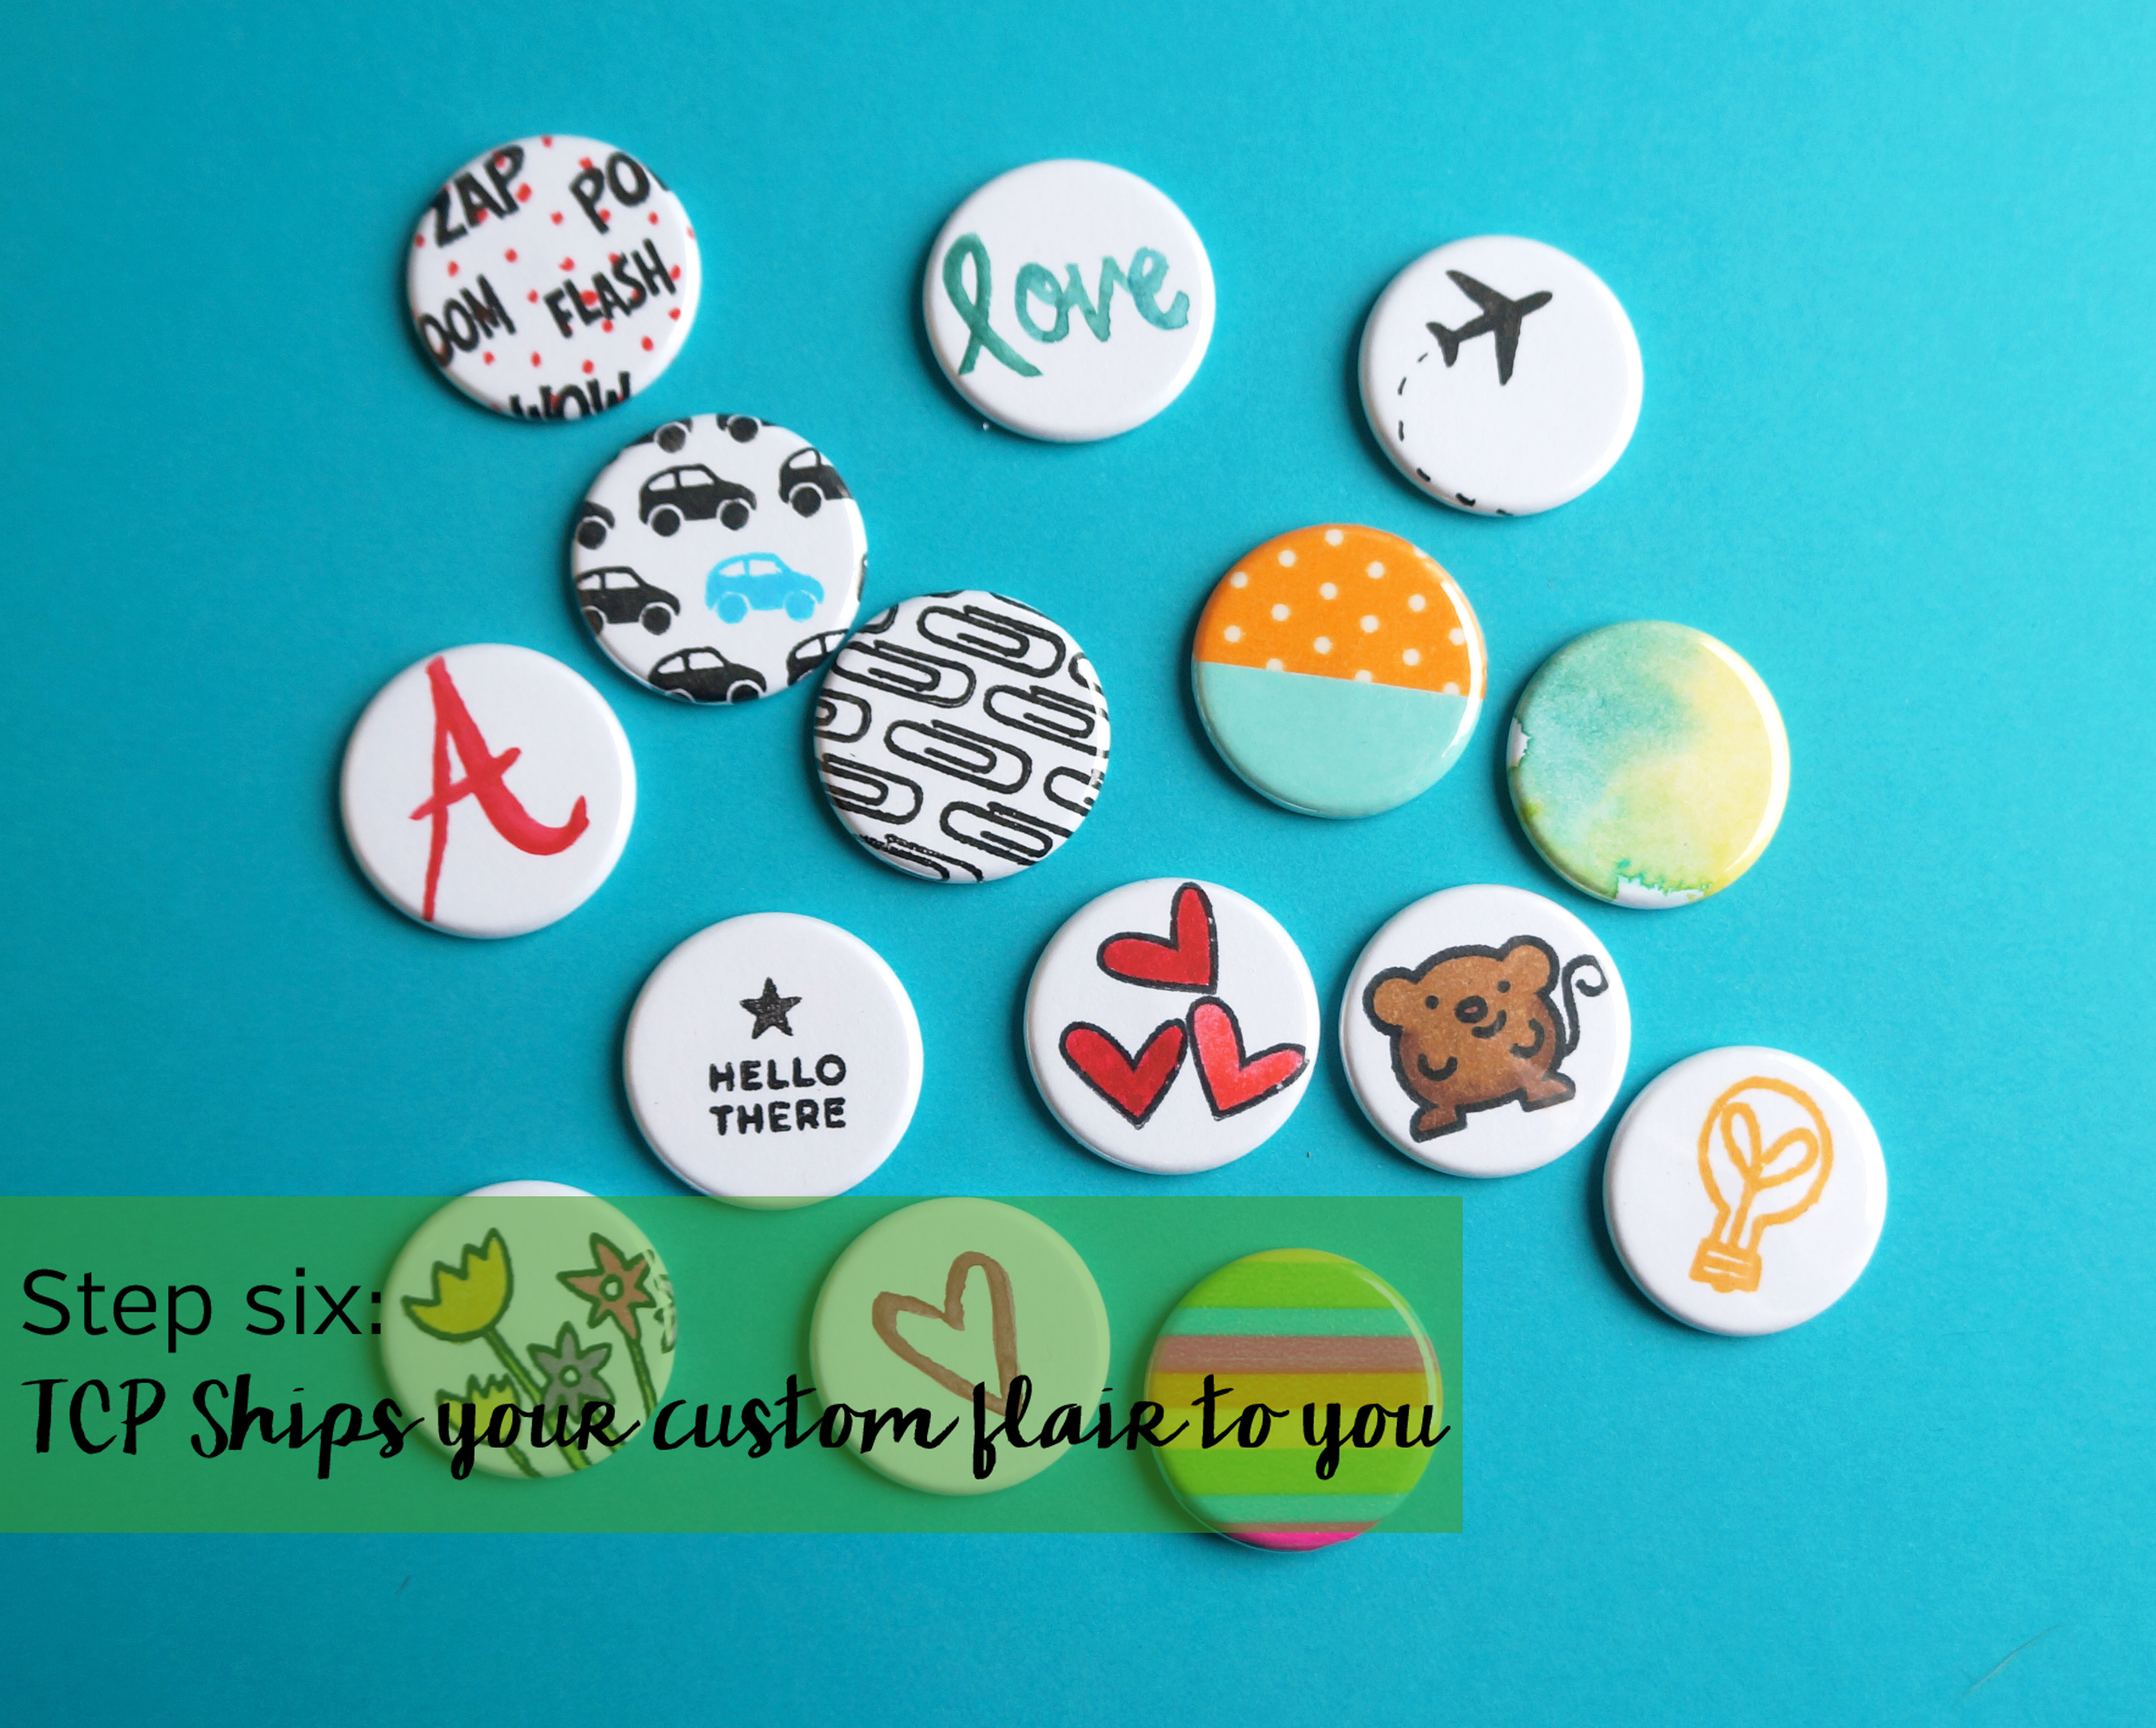
Now for the FUN part! Doodle and color your heart out! Hand letter some phrases for your project life album.  Customize monograms or personalized buttons for gifts. Create cute page markers and charms for your planners. Use your favorite stamps (even digi stamps if your handy with photoshop) to create a unique embellishment! Little planner stamps work perfect for this project and most stamp sets have small images that are an inch or smaller. Make sure that you keep your artwork in the center circle, the rest will be cut off when making the flair.

Make your own custom flair buttons with your artwork, stamps, washi, photos, and more @ TheCraftyPickle.com

Once you are finished creating your little 1 inch works of art, Cut down the sheet so that it will fit in the envelope you are using. Keeping two or more circles per cut is preferred but not required.

Make your own custom flair buttons with your artwork, stamps, washi, photos, and more @ TheCraftyPickle.com

Go to our Etsy store listing HERE to order the amount and type of buttons you would like. If there is a different amount you are wanting than what is listed in our shop just send a custom order request and we can adjust the totals for you. Once you place your order we will send you the mailing address to send your artwork to.

Make your own custom flair buttons with your artwork, stamps, washi, photos, and more @ TheCraftyPickle.com

Once we receive your artwork we will send you a confirmation email so you know we have it in hand. We will then cut and create your flair for you and then ship it back. Remember that if you are requesting traditional flat backed flair you will get our signature low profile flat flair style making them perfect for projects that you don’t want to add a lot of bulk.

Make your own custom flair buttons with your artwork, stamps, washi, photos, and more @ TheCraftyPickle.com

Usual turn around time is 2-3 business days (sometime sooner) If a rush is needed please check before completing your purchase so we can make sure we can accommodate your request. 

Remember, not only can you create traditional flat backed or pin backed flair buttons, but there is other options as well!

Flair / Button options @thecraftypickle.com

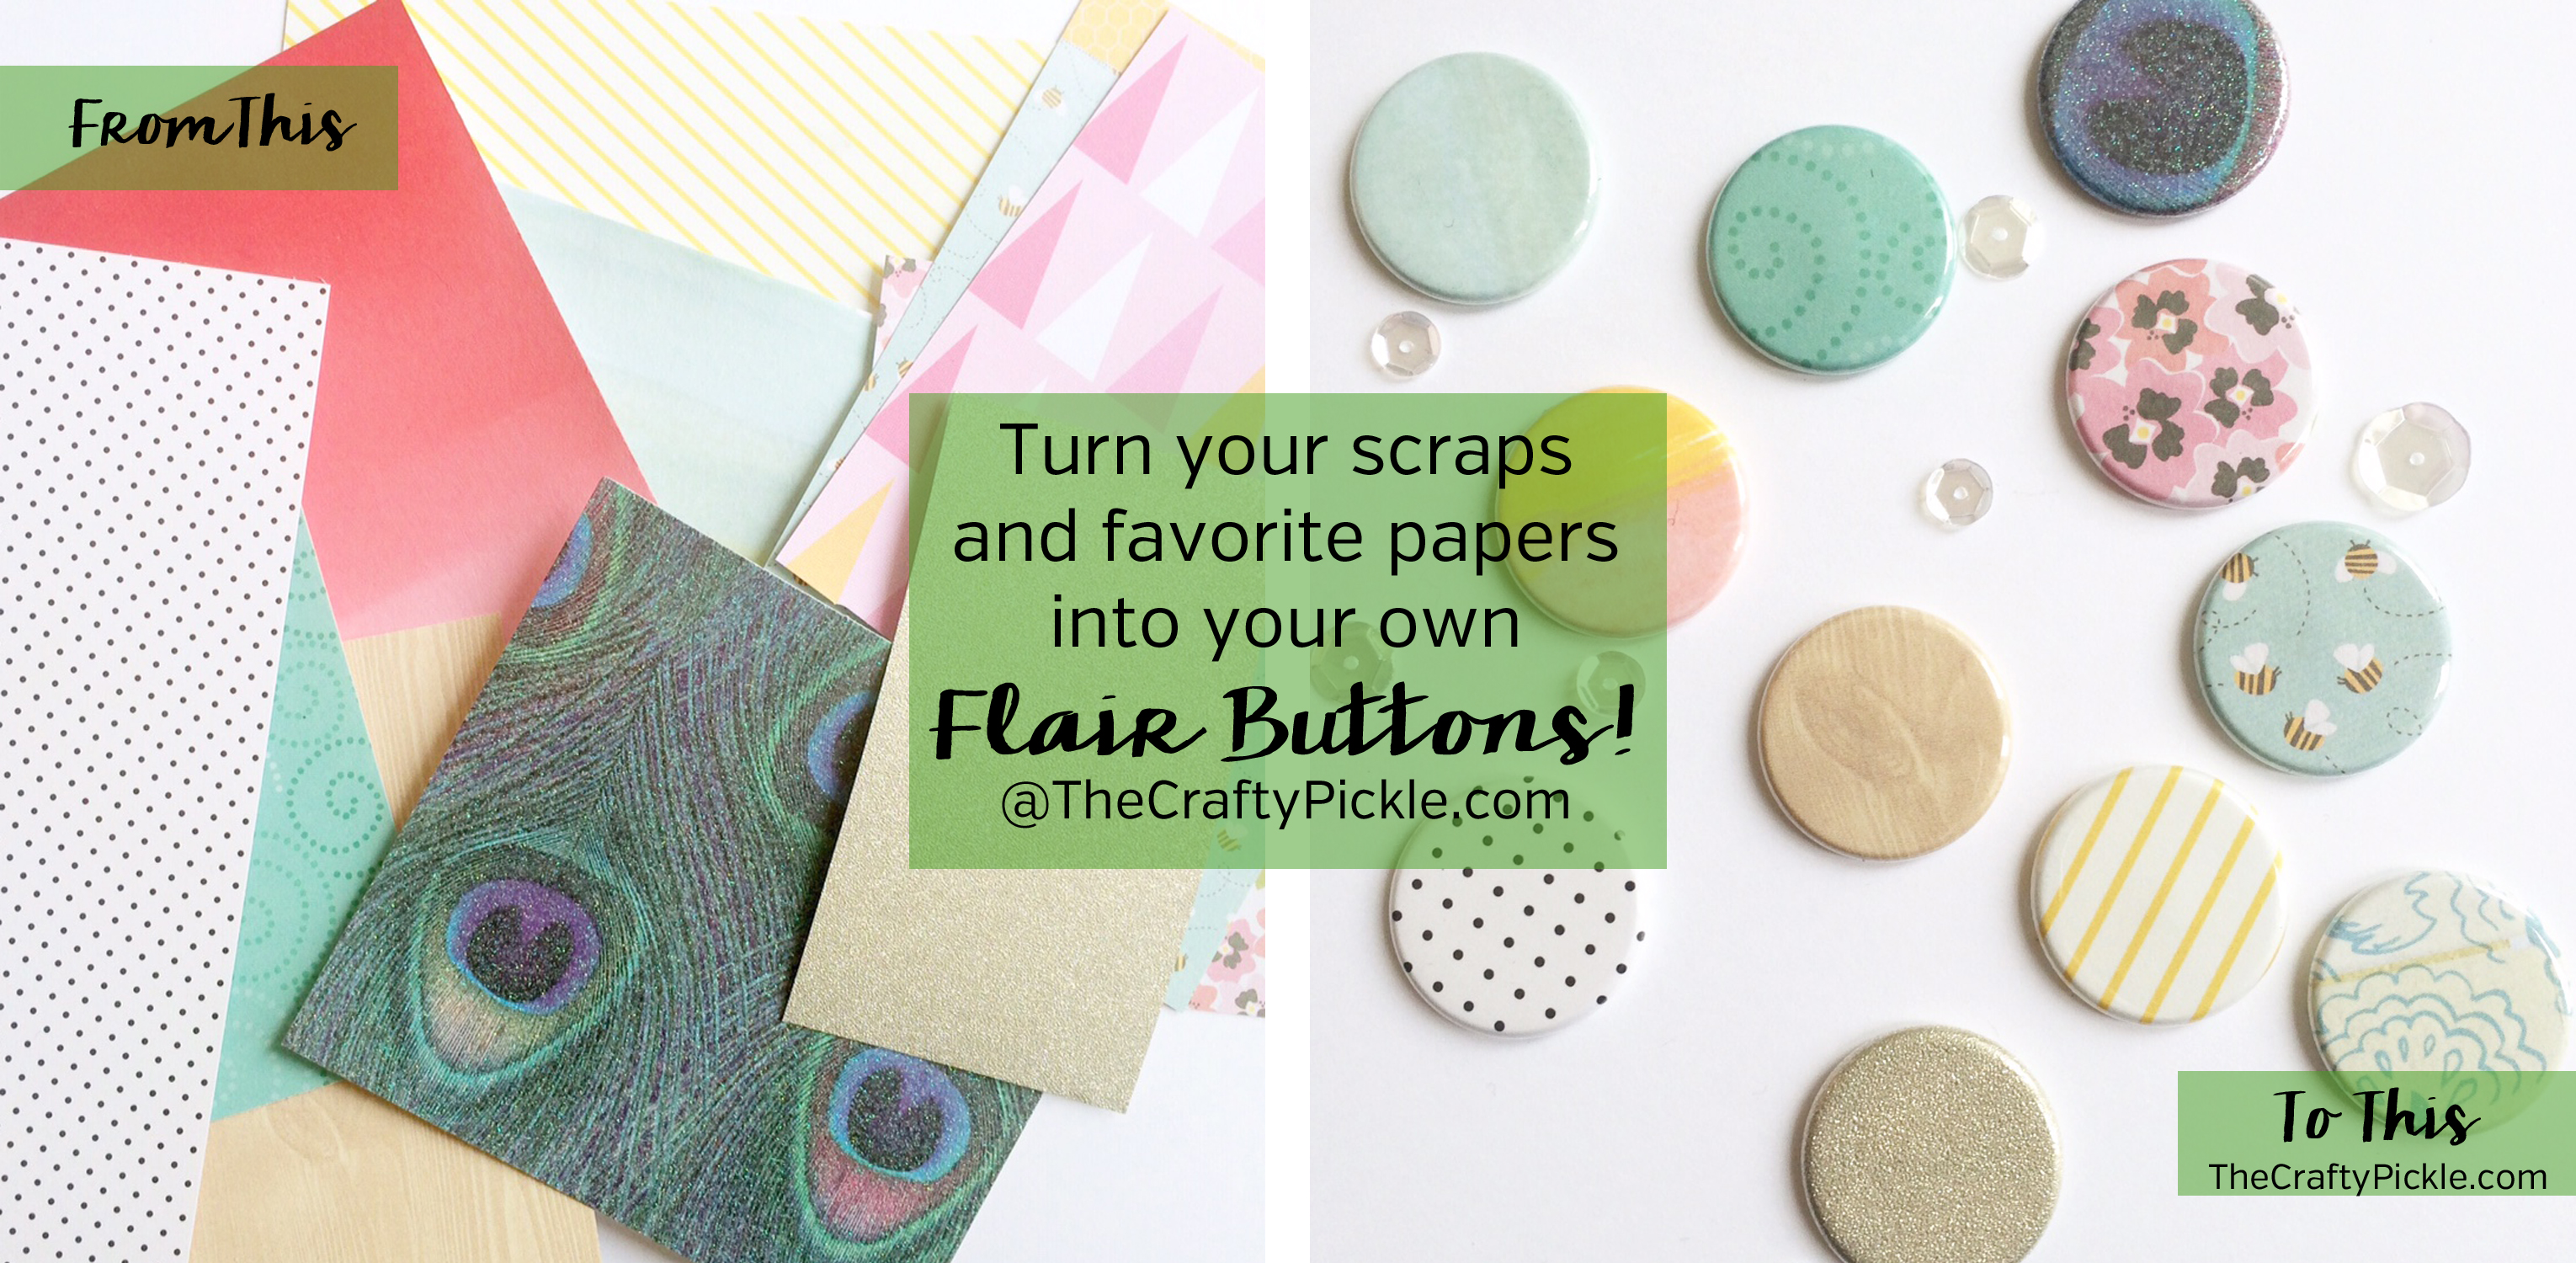
I did mention that there was TWO new listings to create your own custom flair. The next option is super easy. Simply grab your favorite papers, Journaling cards, and scraps. Make sure they are NO SMALLER than 2 inches by 2 inches. Pop those papers in an envelope and once you complete your purchase though our store we will send you the mailing address to send these papers in. You can find this shop listing HERE.

Make your own custom flair buttons with your artwork, stamps, washi, photos, and more @ TheCraftyPickle.com

We will then turn your collection of papers, cards, and/or scraps into your made to match embellishments! This is a great way to get unique flair to match your favorite paper lines and core kits.

What do you think? Sound like fun? Download the template and give it a try, There is no cost until you actually purchase the package you want to order. It is so much fun seeing something you create yourself made into a fun embellishment or accessory.

I hope you are as excited about these new options in the store as we are! Let us know what you think and share with your friends about this fun new option and you could win a $5 gift certificate to our shop! Click on the rafflecopter giveaway for several chances to win (you can enter every day) winner announced on 6/18/15!

a Rafflecopter giveaway  ****Giveaway closed. Congrats to our winner, Tina! I have sent you an email with your Gift Certificate code to the Etsy shop. Thank you to all that entered!****

Happy Crafting!

Taniesa for ThecraftyPickle.com

30 Day Color Challenge: Day 1 (officially)

Hi Crafty Friends!

Yesterday I posted that I was taking TheDailyMarker’s 30 day color challenge to complete 30 handmade project life cards. Well I guess I was a little excited and the official start date is TODAY…. so I will end up doing 31 cards during this challenge.

30 day marker challenge from TheDailyMarker.com

For today’s Project life card I am using two different Close To My Heart stamp sets. The first is the CTMH Stamp of the month : Choose Happy, the second set is Your own kind of wonderful. I was so excited to use the new SOTM that this was a perfect time to break it out. This design would work fantastic on a card as well and you could put pretty much anything in the frames.

choose happyyourownkindofwonderfulHere is the PL card that I created.

PL card using CTMH March SOTM: Choose Happy @Thecraftypickle.com

I stamped the frame with Memento black ink and then masked off the frame leaving the center open to stamp the butterflies. I used Copic markers to color in the large butterfly and then covered with CTMH Liquid Glass. Once everything was dry, I cut out the frame and used foam adhesive to pop it up on top of another framed stamped image on a 3×4 card.

PL card using CTMH March SOTM: Choose Happy @Thecraftypickle.com

Now I have a fun spring filler card for my Project Life album.

Thanks so much for visiting. See you back tomorrow for day #2 of the color challenge!

Happy Crafting!
The Crafty Pickle