Mixed Media PL cards

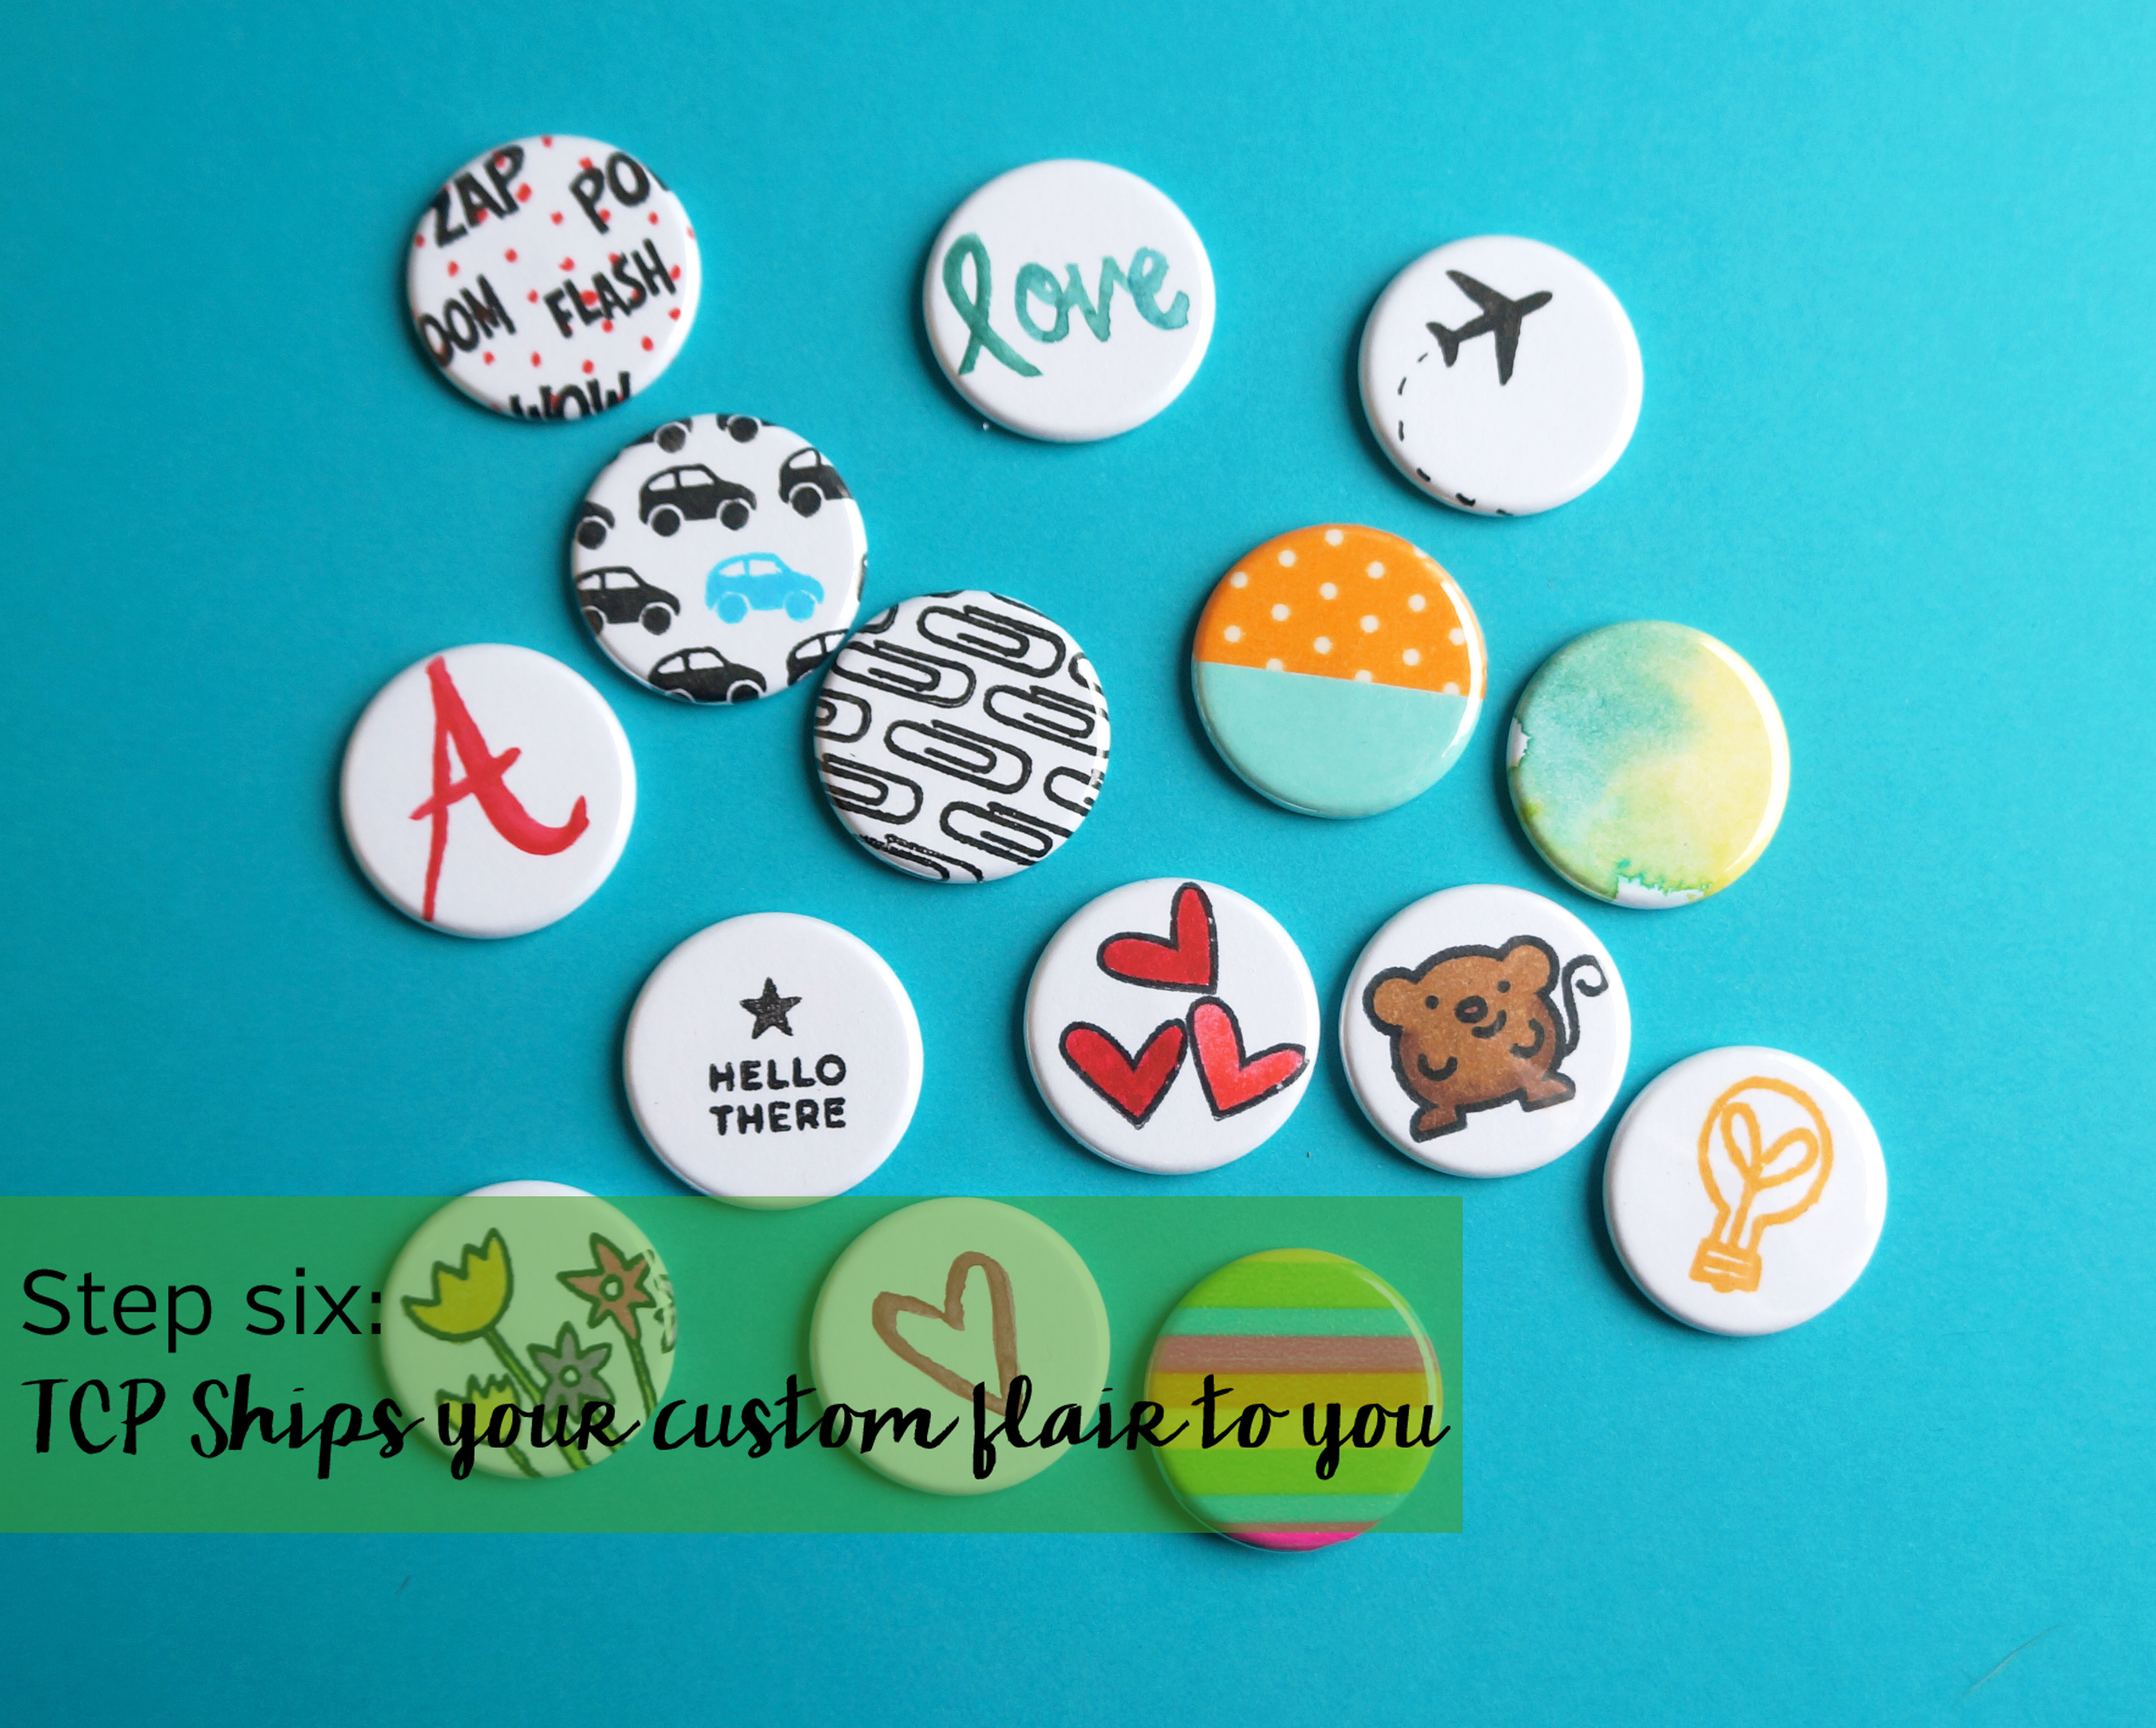
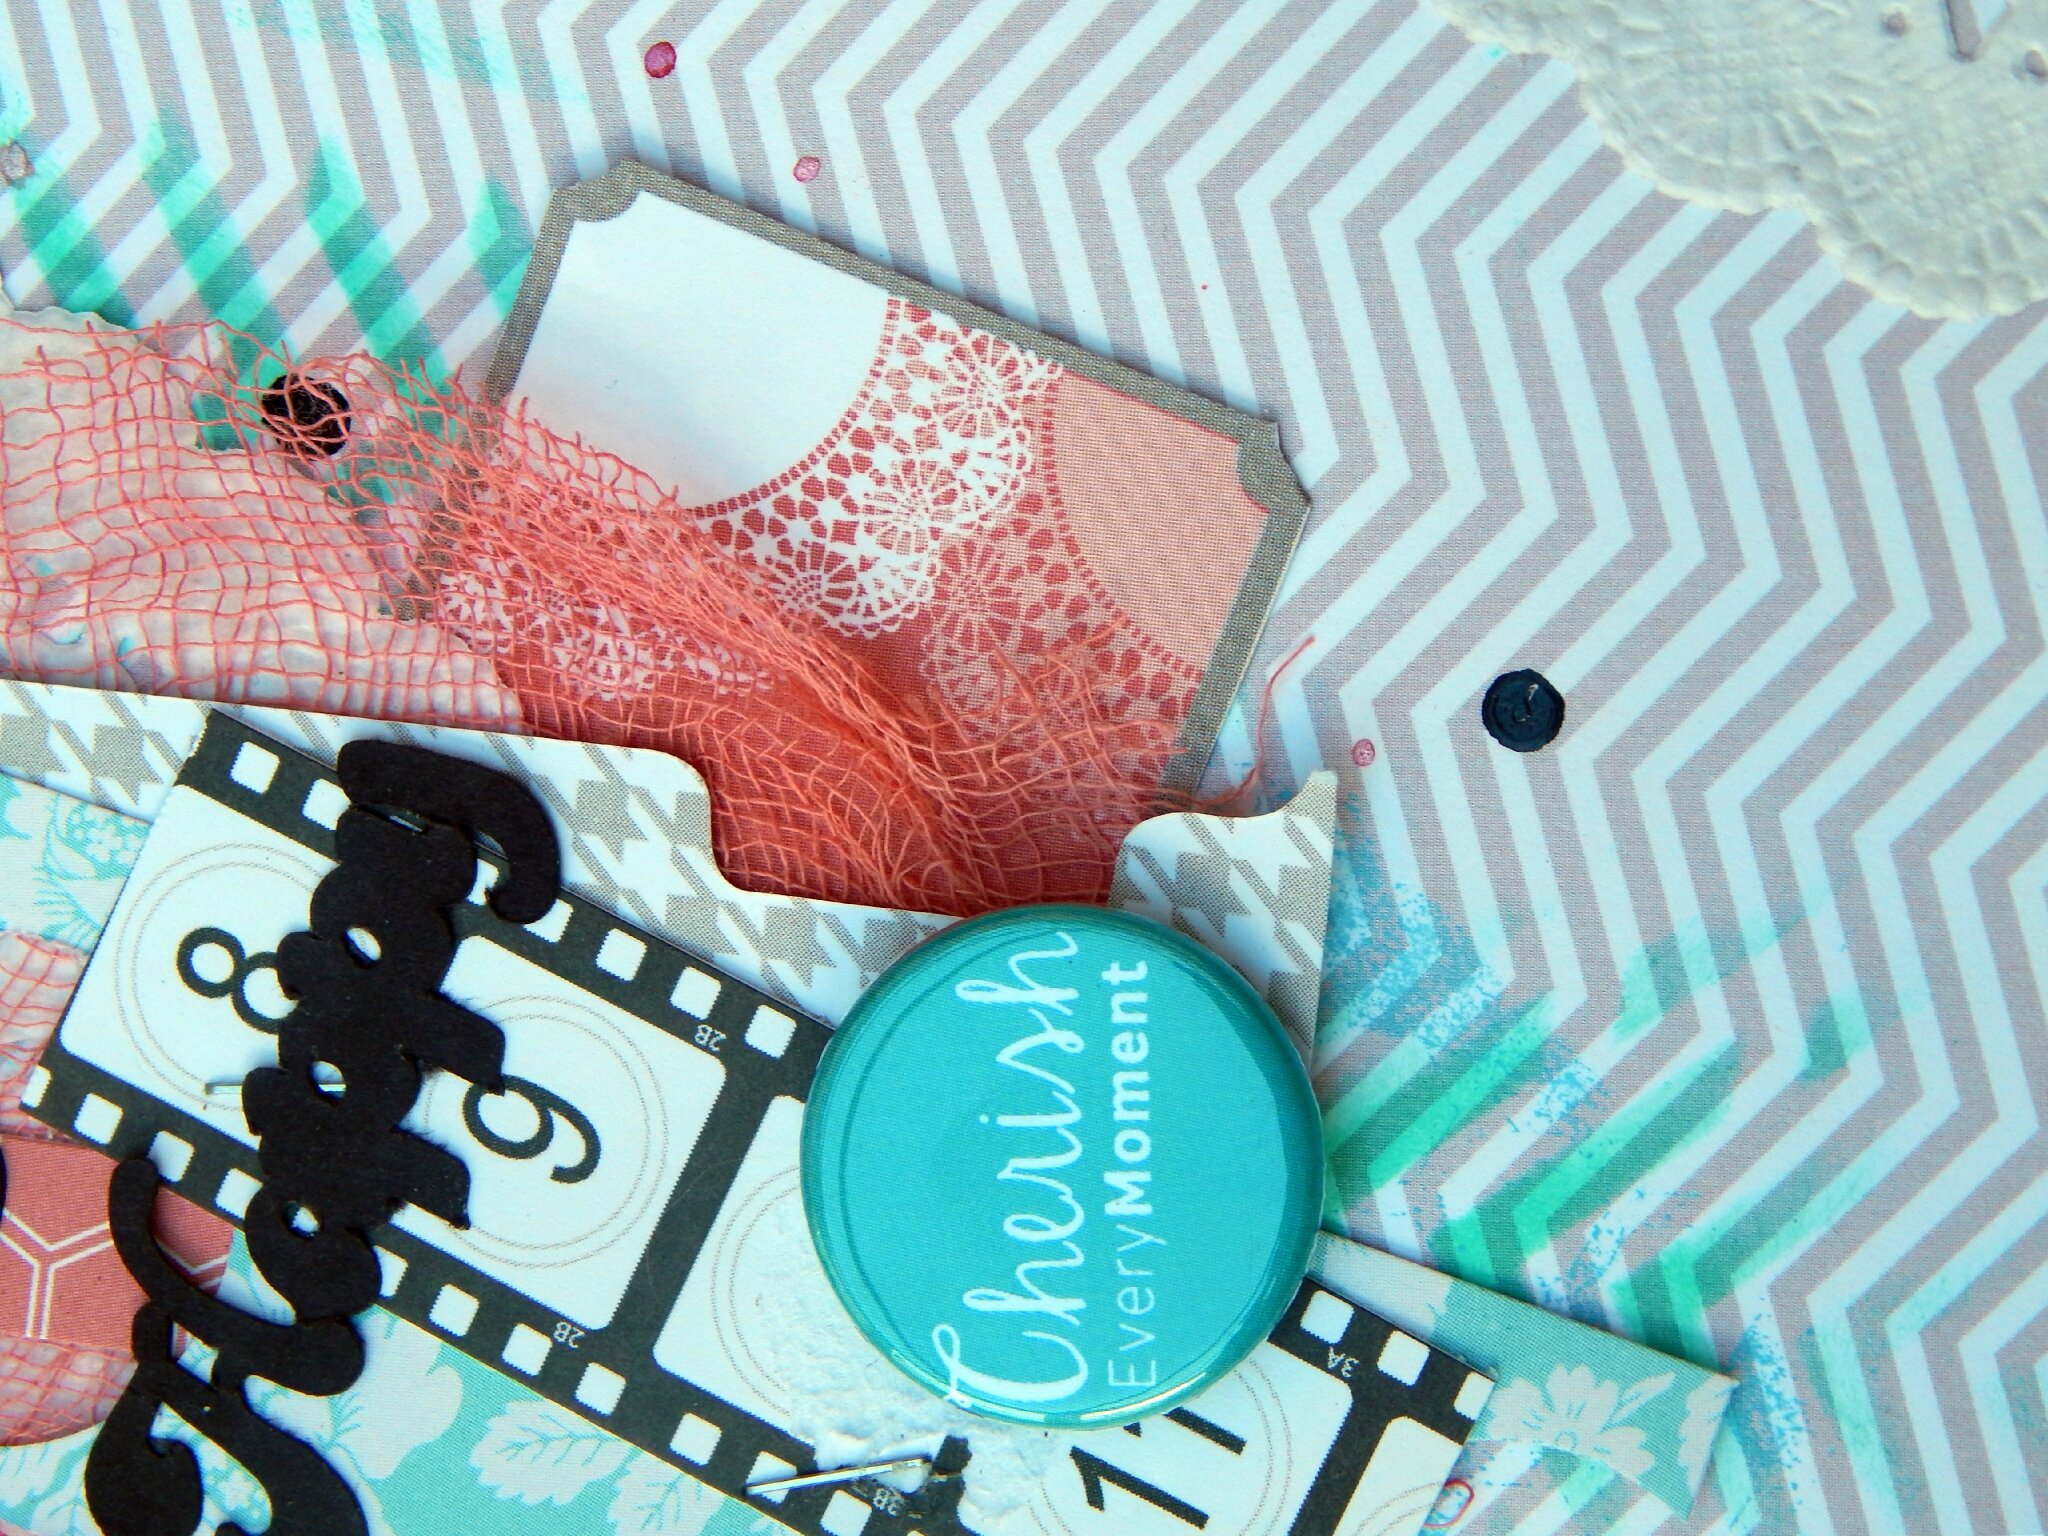
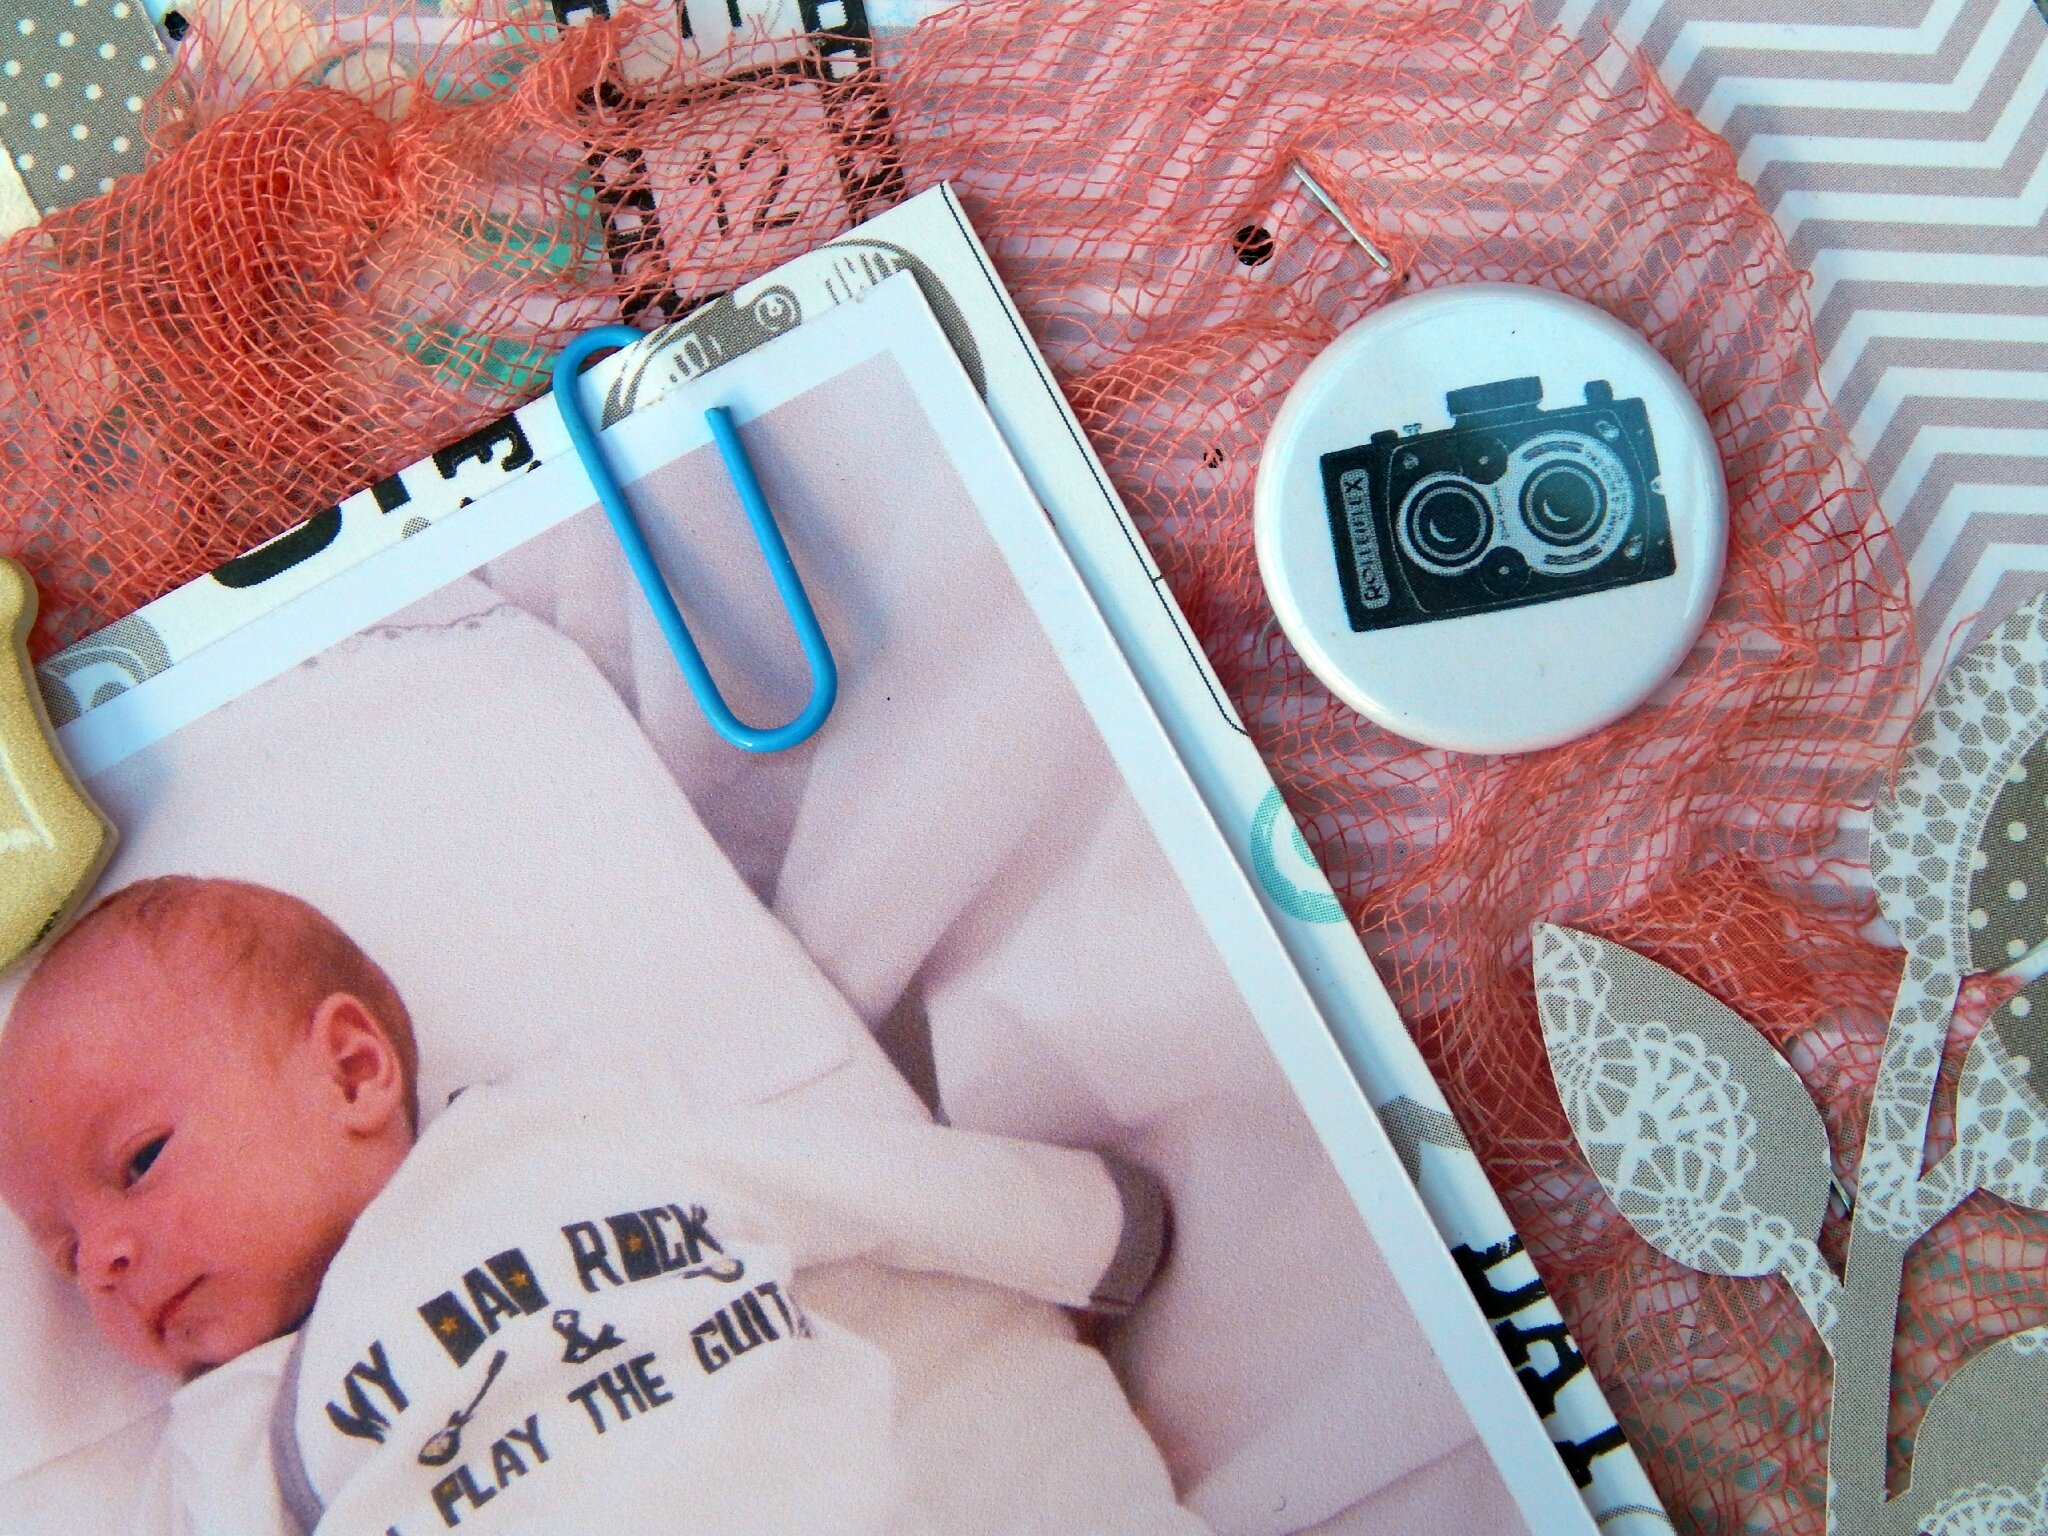
Hi Carrie here to share with you today a fun Mixed Media project life card that I created.  These are for a card swap that I am in for September over at ProjectLifeCardSwaps.com You can come check out all the Close to my Heart Products right HERE


I love the look of Mixed media Art projects.  I do not create a lot of MM on a regular basis due to the mess and time involved in creating such cards.  I am really happy with the results of this project and I hope my fellow swappers like them just as much.

I used this beautiful fall paper by Bazzill Basics for this project.  I really like this pad of 6×6 paper because it is double sided so you get lots of options. 

To create the background on my cards I tore strip of paper from several different patterns, I inked all the edges in Ground Espresso Distress ink   and using my Tombow liquid adhesive I glued the pieces, layered on top of each other onto a 4×6″ sheet of Kraft cardstock. 

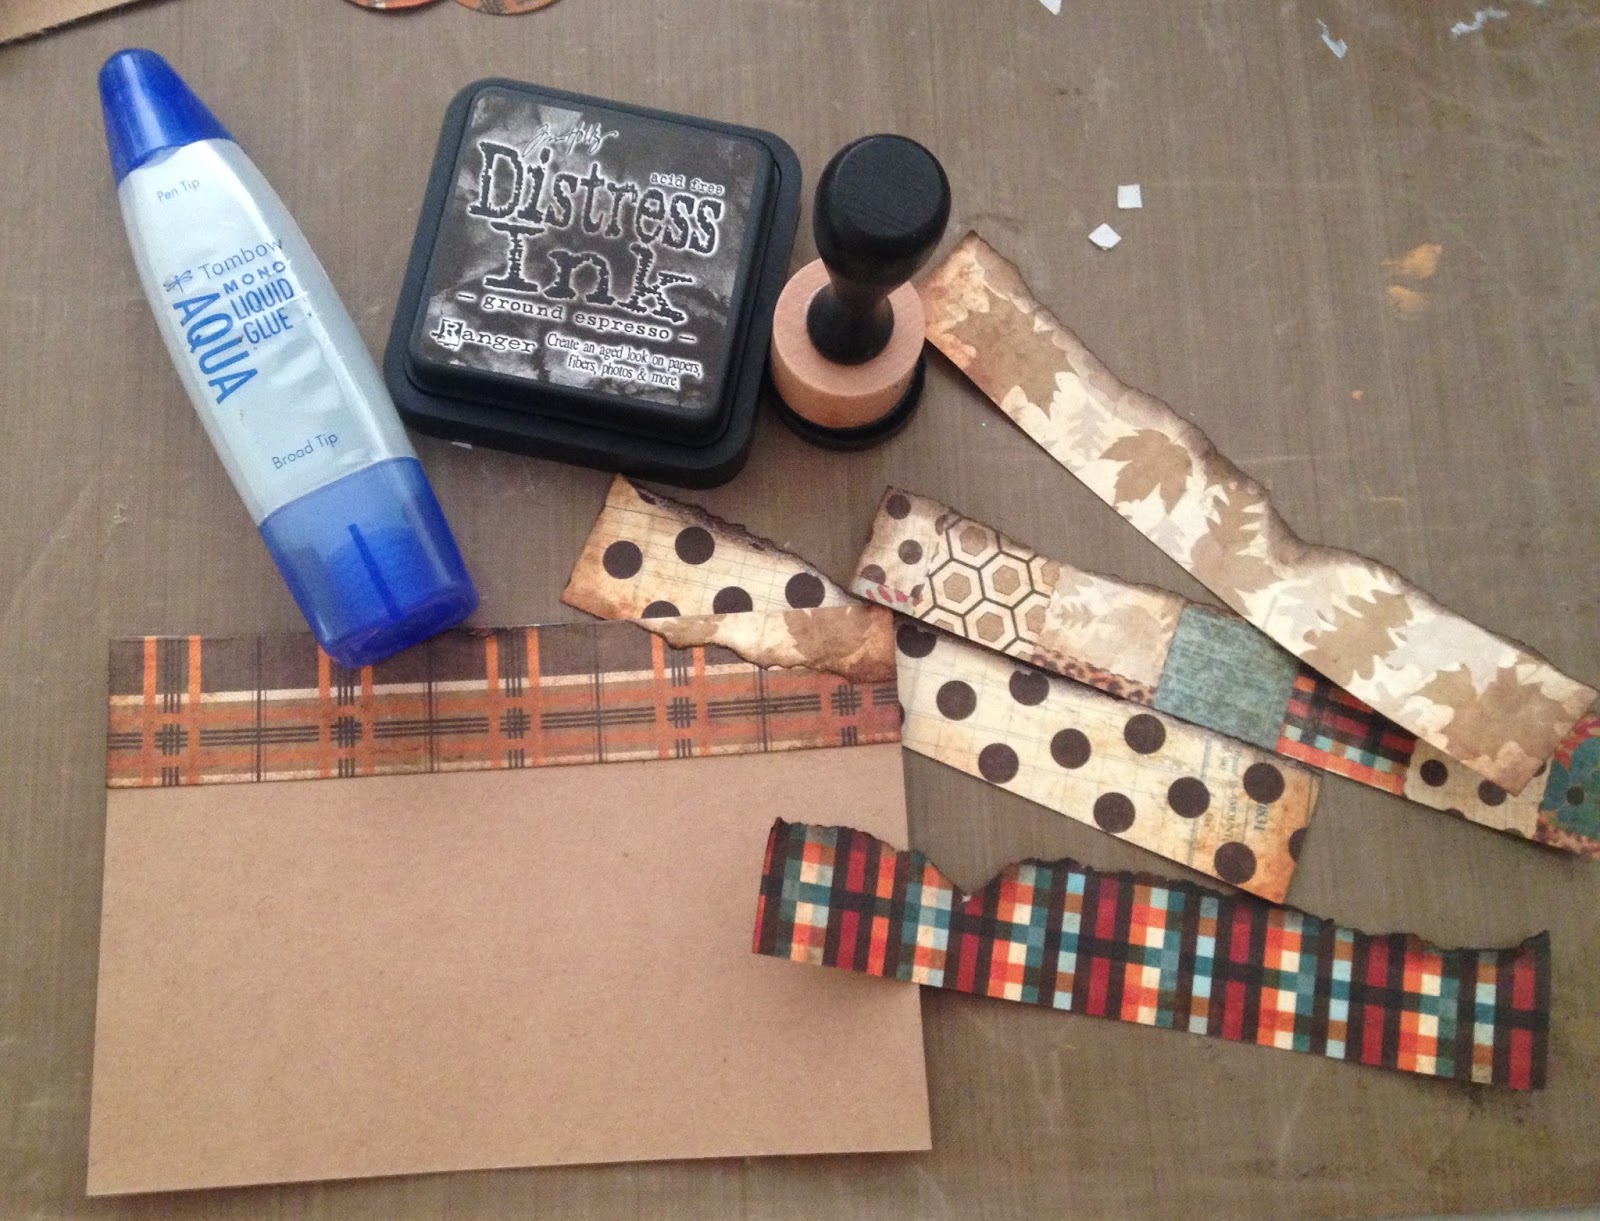
Once all my edges were sealed to the cardstock I cut the 4×6 in half leaving me with 2 – 3×4 layered cards.  I then edged the cards with Liquid Leaf paint in Renaissance Gold.  I just wanted to add a touch of something special to my cards and this Liquid Leaf was just the ticket.

To created the bird for my card I used a CTMH “Close to My Heart” Hostess exclusive stamp and stamped it onto Kraft cardstock then fussy cut around the image. I fussy cut the wing from a different patterned paper and attached it using a 3D foam square. This added some dimension to my bird. 

 I added a brass paperclip with hanging date tag to complete my card.

If you ever thought about being a hostess for a CTMH online party you should give it a try. Online parties are the best because you do not have to clean your house or make tasty treats. All you need to do is invite all your crafty friends to shop online via your own hostess link and then sit back and rack in the hostess rewards. My last online party resulted in my earning $80 in FREE stamps, ink or paper and two half price items.  Its a fantastic way to build up your CTMH stamp collection with very little effort.  If your interested follow this link http://thecraftypickle.ctmh.com/ctmh/what-we-do/be-a-hostess.aspx  you will see this at the bottom of the page. “Contact me to schedule your own Gathering today. ”  Click it to contact Taniesa to set up your party.

Thanks for stopping by today.  I hope this post inspires you to get a little messy and try something new and to host your own online CTMH gathering.

Carrie for ThecraftyPickle.com

Turn your art into your own custom flair embellishments!

Hi Crafty Friends!

Today I wanted to share with you something new and exciting in our Etsy shop! Starting today, you now have the option to create your very own flair buttons in two different ways!

Make your own custom flair buttons with your artwork, stamps, washi, photos, and more @ TheCraftyPickle.com

First, you will need to download our TCP Flair template (found HERE) then print the template on your favorite paper. I used Neenah solar white 80 lb cardstock but anything 80 lb or lighter will work.

Make your own custom flair buttons with your artwork, stamps, washi, photos, and more @ TheCraftyPickle.com

Then gather together all the supplies you would like to use to create your flair. You can use different types of coloring mediums, stamps, washi tape, anything smooth and flat will work.

Make your own custom flair buttons with your artwork, stamps, washi, photos, and more @ TheCraftyPickle.com

Now for the FUN part! Doodle and color your heart out! Hand letter some phrases for your project life album.  Customize monograms or personalized buttons for gifts. Create cute page markers and charms for your planners. Use your favorite stamps (even digi stamps if your handy with photoshop) to create a unique embellishment! Little planner stamps work perfect for this project and most stamp sets have small images that are an inch or smaller. Make sure that you keep your artwork in the center circle, the rest will be cut off when making the flair.

Make your own custom flair buttons with your artwork, stamps, washi, photos, and more @ TheCraftyPickle.com

Once you are finished creating your little 1 inch works of art, Cut down the sheet so that it will fit in the envelope you are using. Keeping two or more circles per cut is preferred but not required.

Make your own custom flair buttons with your artwork, stamps, washi, photos, and more @ TheCraftyPickle.com

Go to our Etsy store listing HERE to order the amount and type of buttons you would like. If there is a different amount you are wanting than what is listed in our shop just send a custom order request and we can adjust the totals for you. Once you place your order we will send you the mailing address to send your artwork to.

Make your own custom flair buttons with your artwork, stamps, washi, photos, and more @ TheCraftyPickle.com

Once we receive your artwork we will send you a confirmation email so you know we have it in hand. We will then cut and create your flair for you and then ship it back. Remember that if you are requesting traditional flat backed flair you will get our signature low profile flat flair style making them perfect for projects that you don’t want to add a lot of bulk.

Make your own custom flair buttons with your artwork, stamps, washi, photos, and more @ TheCraftyPickle.com

Usual turn around time is 2-3 business days (sometime sooner) If a rush is needed please check before completing your purchase so we can make sure we can accommodate your request. 

Remember, not only can you create traditional flat backed or pin backed flair buttons, but there is other options as well!

Flair / Button options @thecraftypickle.com

I did mention that there was TWO new listings to create your own custom flair. The next option is super easy. Simply grab your favorite papers, Journaling cards, and scraps. Make sure they are NO SMALLER than 2 inches by 2 inches. Pop those papers in an envelope and once you complete your purchase though our store we will send you the mailing address to send these papers in. You can find this shop listing HERE.

Make your own custom flair buttons with your artwork, stamps, washi, photos, and more @ TheCraftyPickle.com

We will then turn your collection of papers, cards, and/or scraps into your made to match embellishments! This is a great way to get unique flair to match your favorite paper lines and core kits.

What do you think? Sound like fun? Download the template and give it a try, There is no cost until you actually purchase the package you want to order. It is so much fun seeing something you create yourself made into a fun embellishment or accessory.

I hope you are as excited about these new options in the store as we are! Let us know what you think and share with your friends about this fun new option and you could win a $5 gift certificate to our shop! Click on the rafflecopter giveaway for several chances to win (you can enter every day) winner announced on 6/18/15!

a Rafflecopter giveaway  ****Giveaway closed. Congrats to our winner, Tina! I have sent you an email with your Gift Certificate code to the Etsy shop. Thank you to all that entered!****

Happy Crafting!

Taniesa for ThecraftyPickle.com

30 Day Color Challenge: Day 1 (officially)

Hi Crafty Friends!

Yesterday I posted that I was taking TheDailyMarker’s 30 day color challenge to complete 30 handmade project life cards. Well I guess I was a little excited and the official start date is TODAY…. so I will end up doing 31 cards during this challenge.

30 day marker challenge from TheDailyMarker.com

For today’s Project life card I am using two different Close To My Heart stamp sets. The first is the CTMH Stamp of the month : Choose Happy, the second set is Your own kind of wonderful. I was so excited to use the new SOTM that this was a perfect time to break it out. This design would work fantastic on a card as well and you could put pretty much anything in the frames.

choose happyyourownkindofwonderfulHere is the PL card that I created.

PL card using CTMH March SOTM: Choose Happy @Thecraftypickle.com

I stamped the frame with Memento black ink and then masked off the frame leaving the center open to stamp the butterflies. I used Copic markers to color in the large butterfly and then covered with CTMH Liquid Glass. Once everything was dry, I cut out the frame and used foam adhesive to pop it up on top of another framed stamped image on a 3×4 card.

PL card using CTMH March SOTM: Choose Happy @Thecraftypickle.com

Now I have a fun spring filler card for my Project Life album.

Thanks so much for visiting. See you back tomorrow for day #2 of the color challenge!

Happy Crafting!
The Crafty Pickle

Kathy’s 30 Day Color Challenge!

Hi Crafty Friends,

If you haven’t heard, Kathy, From TheDailyMarker.com is starting a 30 day color challenge starting today though April 2nd. I read about her idea and thought this was a great opportunity to do something creative every day for 30 days. I get caught up in a lot of things between family, chores, business stuff, ect… That I forget to do something creative for myself. You can read more about her challenge and see how she is preparing for the 30 days HERE.

I have not only decided to play but to put my own little spin on it. For the next 30 days I plan on making 30 colored Project Life cards to use in my 2015 album. I think this will help me get more practice in with a variety of markers, pencils, and watercolors that I have been neglecting.

I was up late last night so I got an early start on today’s coloring. My newly turned 15-year-old had a sushi lunch for his birthday so I made a project life card that will be perfect for that day.

Coloring Challenge day one @TheCraftyPickle.com

For this first card I used the Paper Smooches stamp set “Calorie Free” and my Copic markers. I even added a little wink of stella glitter to the ginger and used some glossy accents for the plastic grass. To finish it off I did some doodle lines around the card.

It’s simple and didn’t take me any time at all but it felt great to get into the creative mode.

Will you be joining me in taking Kathy’s 30 day color challenge? If so, please link me your projects in the comments this month, I would love to see what you will be creating!

Happy Crafting!

The Crafty Pickle

Worlds Greatest Brother

Hi Crafty Friends!

  Today we have a card for you by our fabulous DT member, Joann! She has a great card using both CTMH product and TCP flair! Take a look.

Hi, thanks for stopping by today! I am sharing with you another masculine card. A quick tip that I found was, pick your color combo out first and you’ll find out that the card will come together quite quickly.

I started off with a dotted stencil and some CTMH Lagoon ink to created a faded corner background. I cut the label using the CTMH Art Philosophy cartridge and stamped the image with a coordinating stamp set Perfect fit- Frames Flair with some CTMH Slate Ink,
I also used the stamp set Perfect fit- Dad Holiday to stamp the “World’s Greatest” on some vellum, finished the card off by cutting a few banner shape pieces, some yellow orange twine and of course some TCP Family Themed Flair!
Hope you enjoyed today’s card and as always thanks for stopping by!!
Supplies used
CTMH Inks:  LagoonSlate
Thank you so much for sharing your creativity with us, Joann. This has to be one of my favorite cards!
Happy Crafting!
The Crafty Pickle

CTMH Lifting Spirits: One Stamp Set. Two Looks.

Hi Crafty Friends!

Today we have something special for you. Design team member, Carrie Bryant, and myself have teamed up to bring you two looks with the CTMH stamp set “Lifting Spirits”.

Here is a photo of the stamp set:

Lifting Spirits by CTMH @thecraftypickle.com

I had a lot of fun creating with this stamp set. It is one of my favorites ever since it showed up as a seasonal set last year. It is now in our annual expressions catalog for $13.95. Not only can you use the sentiments included in the set but there are other sentiments like “Happy Birthday” for example, that would look great in the banner as well.

I wanted to create a one layer card but still show some dimension as well. I chose to use alcohol markers as my main medium and used a bit of ink on the edges.

Here is my finished card

CTMH Lifting Spirits card by Taniesa@TheCraftyPickle.com

I started by stamping out the images and sentiment in Memento Tuxedo Black ink. I colored the clouds, airplane, banner, and background all with alcohol markers. I used the CTMH Touch Twin markers and for extra shading used a few Copic markers as well.

Once everything was dry I took a Wink of Stella clear glitter brush pen and a Sakura Gelly roll clear glitter pen and added glitter accents. I used the Sakura pen where I wanted a high amount of shine (around the lines mostly) and the Wink of Stella as a filler.

CTMH Lifting Spirits card by Taniesa@TheCraftyPickle.com

For the final touch I used CTMH Liquid Glass to cover the body of the airplane to make it all shiny. Once completely dry, I mounted the panel on printed paper and then on a note card. You can kind of see the shiny on the airplane in the photo above.

CTMH Lifting Spirits card by Taniesa@TheCraftyPickle.com

I had a lot of fun making this card. I think this is one of my most favorite CTMH sets so far.

Here is a little peek at Carrie’s card, you will need to visit her blog HERE to see more photos as well as a walk-though on  how she created her card.

CTMH Lifting Spirits by Carrie Bryant for TheCraftyPickle.com

I love the dimensional look she achieved with her card!

I hope you enjoyed our One Stamp Set – Two Looks special feature. Let us know if you would like to see more of these kinds of posts in the future by leaving a comment below. There is some wonderful new stamp sets coming out in April!

Also, don’t forget about our Blog Hop giveaway that closes this Wednesday 2/25. Click HERE to get to the first post in the blog hop.

Have a “Uplifting” week!

Happy Crafting!

The Crafty Pickle

Handmade Greetings with Carrie Bryant

Hi Crafty Friends!!!

Today our designer, Carrie Bryant, has some beautiful cards she has created with just one Close To My Heart stamp set. Take a look!!!

Hello! Today I am sharing with you a few Handmade Greeting Cards that I created using my new “Your Own Kind of Wonderful” CTMH Acrylix stamp set  
 As you can see there are six different sayings along with six different sized butterflies.  Making this a great value with twelve different stamps in one set.
I love this set for it’s versatility in creating cards for several different occasions.  I like to make up several cards at one time so I always have a handmade card on hand for any special occasion. After all who want to pay $5.00 or more for a store bought card? Any everyone loves a handmade card better anyway.
 I used some pre-made chalkboard style cards for my base, I then pulled out my watercolors and painted the background for my stamped image.  I really like the bold outline of the butterflies and when I painted the inside with my watercolors they really pop off my cards. CTMH Arcylix stamps are some of the highest quality stamps I have worked with.  They stamp a clean image every time. They peel off the backing and are super adhesive to the stamping block, they also clean up really easy.
 I used the same butterflies on this card. After I painted them in I fussy cut them out and used some 3D pop dots to mount them to my card base.  I then created a watercolor banner that I stamped my sentiment on.  I used some sequins to embellish my cards too.  You can find this pretty Fruity Pebbles sequin mix in TheCraftyPickle Etsy shop. 
This one is my favorite. I just love this sentiment. I plan on giving this one to my daughter for her Graduation this year. 
 
Thanks for stopping by today.
Happy Scrappin’
Carrie

I just love that stamp set and what you did with it too, Carrie. Thank you for sharing with us! What is your favorite Close To My Heart stamp set or product? Leave a comment below to win a Close To My Heart stamp set and goodies out of The Crafty Pickle prize bin. Winner will be chosen Monday,Feb. 2 2015! Good Luck!!! 

Happy Crafting!

TheCraftyPickle.com

Hearts Everywhere!

Hi Crafty Friends!
  Today, designer, Kristin has a great layout to show you to get you in the valentine/hearts everywhere spirit! Check it out.
Here is some new flair to start off the new year for me and some new paper to play with from Close to my Heart out of the new catalog December 2014- March 2015 Seasonal Expressions 1!!!
This was so much fun to use the “Picture my Life” Hopscotch Scrapbooking Program on a scrapbooking page and layer it up with the “Heartstring” paper pack also from Close to my Heart to use the red and the fun turquoise in the collection …both of these collections looks so wonderful together!!!

Here is my page that I completed:

And then in the close-up you can see that I added Red Color “Pop” Flair , the star from the Artiste stamp set from Close to my Heart, Stuck on you Puffies and fun Winter sequin mix with a little Christmas Holiday Sequins

And then in the other close-up:
I added three different flair from the shop- Red Patterned Color Pop, Arrow Flair and Adoption  …you can go check them out right HERE

Thanks for looking at my work!!!

Thanks Kristin. I love how you take a project life style to this scrapbook page!
Have a great weekend everyone!Happy Crafting,

The Crafty Pickle

You Make Me So HAPPY!

Hi Crafty Friends!

   Today we have the talented, Elodie, back up on the blog with another beautiful mixed media layout. I LOVE her style! Take a look.

Hello friends!

Today I want to show you another layout made with TCP button flair. For this page I used soft colors. I used some die cuts that I made with my die cutting machine, and as always I used stencils with modeling paste and inks.

DSCN1169

DSCN1172

DSCN1171

DSCN1170

Supplies used:

CTMH All the details

Vintage Camera Button Flair 

Everyday button flair

Everyday Photo button #2

Thanks for looking!

Elodie

Thanks so much for sharing with us, Elodie. You definitely have me inspired to pull out my modeling paste and create!

Happy Crafting!
The Crafty Pickle

Project Life with Mona

Hi Project Life Friends!!

  Today we have a Project life layout from designer, Mona! Take a look and be inspired by her creative details.

Hello.

Today I want to show you another PL page made using The Crafty Pickle badges and CTMH stamps.

I’m trying be up to date with my pages till the end of the year, so I will be showing  lots of its here.
TFL!

used flairs:

OCTOBER 
COZY FALL
days of the week
speech bubbles

stamps:
feathers
LOL

Thanks so much for sharing with us Mona, LOVE your project life layouts!

Happy Crafting, 

The Crafty Pickle